Page 132 of 662

1322-2. Charging
3Press or of the meter
control switches to select
“Charging Settings”, and then
press .
The “Charging Settings” screen will
be displayed.
4Press or of the meter
control switches to select
“Charging Schedule”, and
then press .
The “Charging Schedule” screen
will be displayed.
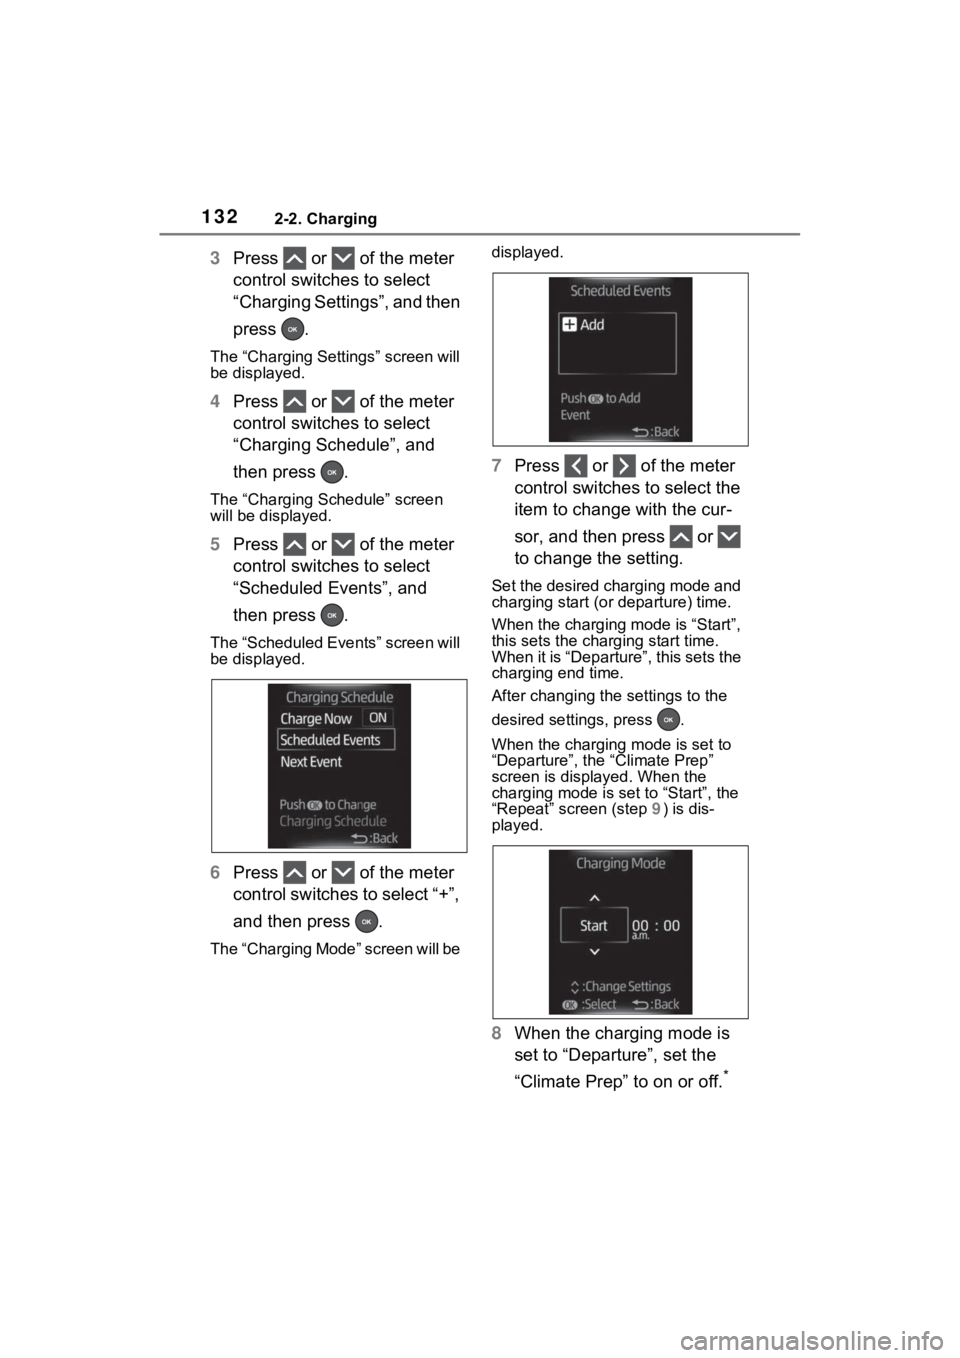
5Press or of the meter
control switches to select
“Scheduled Events”, and
then press .
The “Scheduled Events” screen will
be displayed.
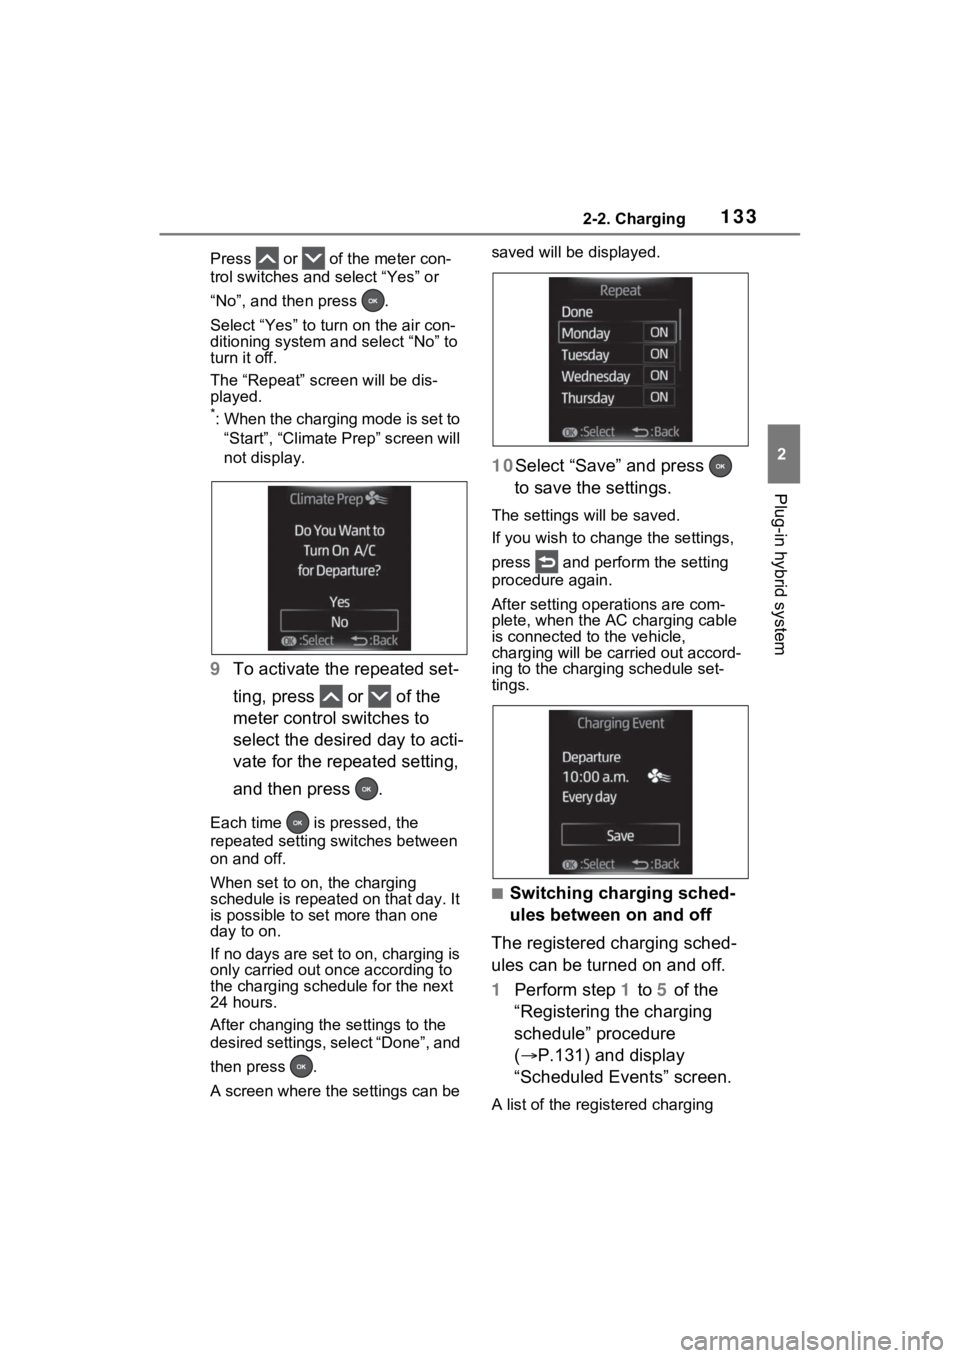
6Press or of the meter
control switches to select “+”,
and then press .
The “Charging Mode” screen will be displayed.
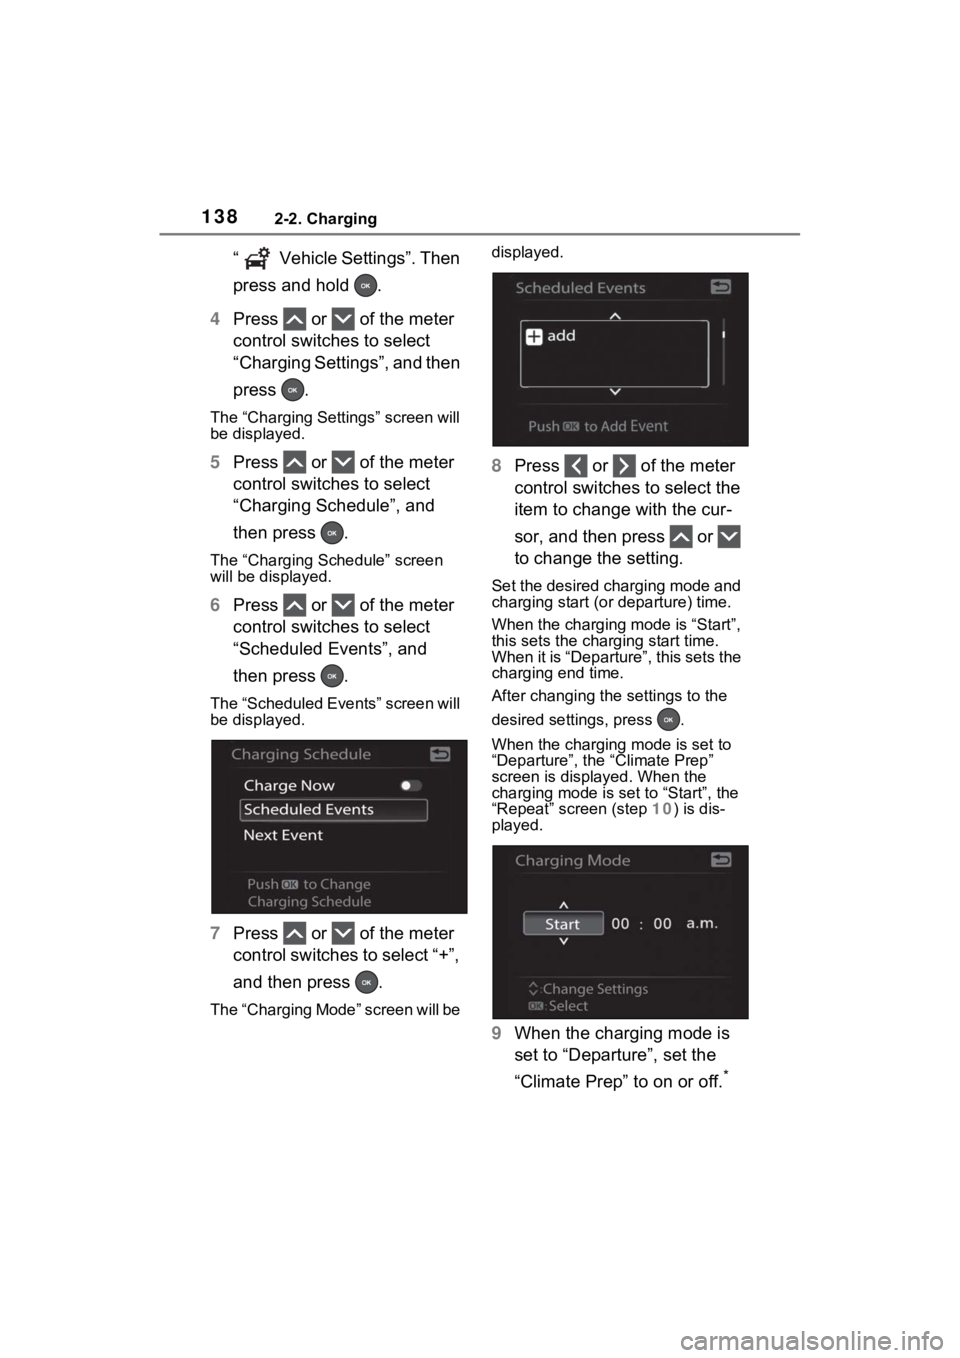
7
Press or of the meter
control switches to select the
item to change with the cur-
sor, and then press or
to change the setting.
Set the desired charging mode and
charging start (or departure) time.
When the charging mode is “Start”,
this sets the charging start time.
When it is “Departure”, this sets the
charging end time.
After changing the settings to the
desired settings, press .
When the charging mode is set to
“Departure”, the “Climate Prep”
screen is displayed. When the
charging mode is set to “Start”, the
“Repeat” screen (step 9) is dis-
played.
8 When the charging mode is
set to “Departure”, set the
“Climate Prep” to on or off.
*
Page 133 of 662

1332-2. Charging
2
Plug-in hybrid system
Press or of the meter con-
trol switches and select “Yes” or
“No”, and then press .
Select “Yes” to turn on the air con-
ditioning system and select “No” to
turn it off.
The “Repeat” screen will be dis-
played.
*: When the charging mode is set to
“Start”, “Climate Prep” screen will
not display.
9 To activate the repeated set-
ting, press or of the
meter control switches to
select the desired day to acti-
vate for the repeated setting,
and then press .
Each time is pressed, the
repeated setting switches between
on and off.
When set to on, the charging
schedule is repeated on that day. It
is possible to set more than one
day to on.
If no days are set to on, charging is
only carried out on ce according to
the charging sche dule for the next
24 hours.
After changing the settings to the
desired settings, select “Done”, and
then press .
A screen where the settings can be saved will be displayed.
10Select “Save” and press
to save the settings.
The settings will be saved.
If you wish to change the settings,
press and perform the setting
procedure again.
After setting ope rations are com-
plete, when the AC charging cable
is connected to the vehicle,
charging will be carried out accord-
ing to the charging schedule set-
tings.
■Switching charging sched-
ules between on and off
The registered charging sched-
ules can be turned on and off.
1 Perform step 1 to 5 of the
“Registering the charging
schedule” procedure
( P.131) and display
“Scheduled Events” screen.
A list of the registered charging
Page 138 of 662

1382-2. Charging
“ Vehicle Settings”. Then
press and hold .
4 Press or of the meter
control switches to select
“Charging Settings”, and then
press .
The “Charging Settings” screen will
be displayed.
5Press or of the meter
control switches to select
“Charging Schedule”, and
then press .
The “Charging Schedule” screen
will be displayed.
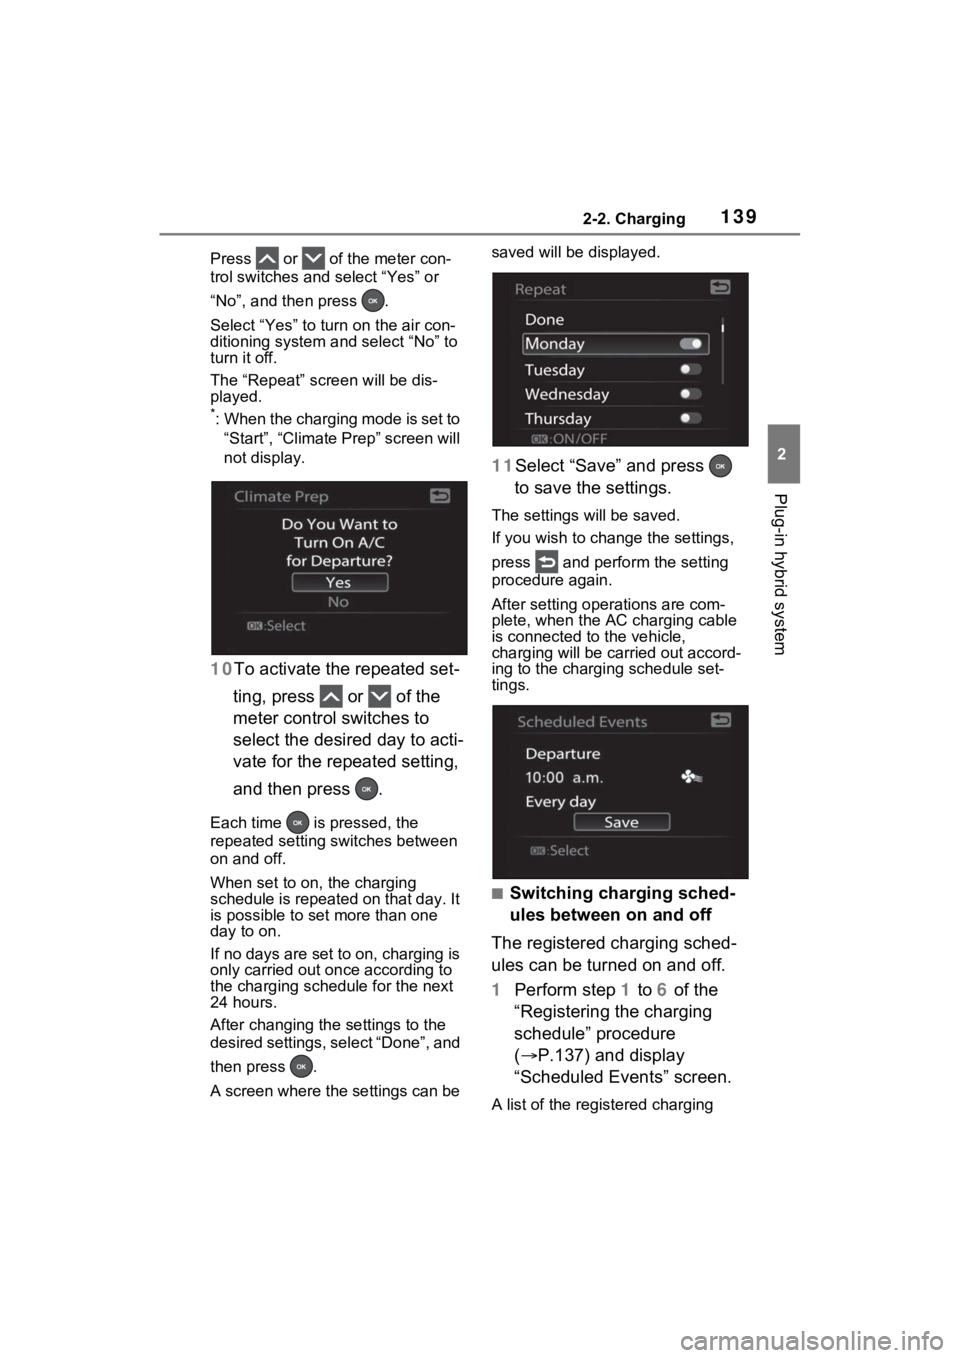
6Press or of the meter
control switches to select
“Scheduled Events”, and
then press .
The “Scheduled Events” screen will
be displayed.
7Press or of the meter
control switches to select “+”,
and then press .
The “Charging Mode” screen will be displayed.
8
Press or of the meter
control switches to select the
item to change with the cur-
sor, and then press or
to change the setting.
Set the desired charging mode and
charging start (or departure) time.
When the charging mode is “Start”,
this sets the charging start time.
When it is “Departure”, this sets the
charging end time.
After changing the settings to the
desired settings, press .
When the charging mode is set to
“Departure”, the “Climate Prep”
screen is displayed. When the
charging mode is set to “Start”, the
“Repeat” screen (step 10) is dis-
played.
9 When the charging mode is
set to “Departure”, set the
“Climate Prep” to on or off.
*
Page 139 of 662

1392-2. Charging
2
Plug-in hybrid system
Press or of the meter con-
trol switches and select “Yes” or
“No”, and then press .
Select “Yes” to turn on the air con-
ditioning system and select “No” to
turn it off.
The “Repeat” screen will be dis-
played.
*: When the charging mode is set to
“Start”, “Climate Prep” screen will
not display.
10 To activate the repeated set-
ting, press or of the
meter control switches to
select the desired day to acti-
vate for the repeated setting,
and then press .
Each time is pressed, the
repeated setting switches between
on and off.
When set to on, the charging
schedule is repeated on that day. It
is possible to set more than one
day to on.
If no days are set to on, charging is
only carried out on ce according to
the charging sche dule for the next
24 hours.
After changing the settings to the
desired settings, select “Done”, and
then press .
A screen where the settings can be saved will be displayed.
11Select “Save” and press
to save the settings.
The settings will be saved.
If you wish to change the settings,
press and perform the setting
procedure again.
After setting ope rations are com-
plete, when the AC charging cable
is connected to the vehicle,
charging will be carried out accord-
ing to the charging schedule set-
tings.
■Switching charging sched-
ules between on and off
The registered charging sched-
ules can be turned on and off.
1 Perform step 1 to 6 of the
“Registering the charging
schedule” procedure
( P.137) and display
“Scheduled Events” screen.
A list of the registered charging