Page 232 of 468

2324-5. Using the driving support systems
the brake lights may illuminate,
depending on the road conditions,
etc.
After entering the deceleration
stop phase, a buzzer will sound
continuously and a message will
be displayed to warn the driver,
and the vehicle will slowly decel-
erate and stop. After the vehicle
stops, the system will enter the
stop and hold phase.
After the vehicle is stopped, the
parking brake will be applied
automatically. After entering the
stop and hold phase, the buzzer
will continue sounding continu-
ously, the emergency flashers
(hazard lights) will flash to warn
other drivers of the emergency.
*: If equippedDeceleration stop phase
Stop hold phase
BSM (Blind Spot Moni-
tor)*
The Blind Spot Monitor is a
system that uses rear side
radar sensors installed on
the inner side of the rear
bumper on the left and right
side to assist the driver in
confirming safety when
changing lanes.
WARNING
■Cautions regarding the use of
the system
●The driver is solely responsible
for safe driving. Always drive
safely, taking care to observe
your surroundings.
●The Blind Spot Monitor is a sup-
plementary function which alerts
the driver that a vehicle is in a
blind spot of the outside rear
view mirrors or is approaching
rapidly from behind into a blind
spot. Do not overly rely on the
Blind Spot Monitor. As the func-
tion cannot judge if it is safe to
change lanes, over reliance
could lead to an accident result-
ing in death or serious injury. As
the system may not function
correctly under certain condi-
tions, the driver’s own visual
confirmation of safety is neces-
sary.
Page 249 of 468

2494-5. Using the driving support systems
4
Driving
■Enhanced VSC (Enhanced
Vehicle Stability Control)
Provides cooperative control of
the ABS, TRAC, VSC and EPS.
Helps to maintai n directional
stability when swerving on slip-
pery road surfaces by con-
trolling steering performance.
■TRAC (Traction Control)
Helps to maintain drive power
and prevent the drive wheels
from spinning when starting the
vehicle or accelerating on slip-
pery roads
■Active Cornering Assist
(ACA)
Helps to prevent the vehicle
from drifting to the outer side by
performing inner wheel brake
control when attempting to
accelerate while turning
■Hill-start assist control
Helps to reduce the backward
movement of the vehicle when
starting on an uphill
■EPS (Electric Power Steer-
ing)
Employs an electric motor to
reduce the amount of effort
needed to turn the steering
wheel.
■The Secondary Collision
Brake
When the SRS airbag sensor
detects a collision and the sys-
tem operates, the brakes and
brake lights are automatically controlled to reduce the vehicle
speed and help reduce the pos-
sibility of further damage due to
a secondary collision.
■When the TRAC/VSC systems
are operating
The slip indicator light will flash
while the TRAC/VSC systems are
operating.
■Disabling the TRAC system
If the vehicle gets stuck in mud, dirt
or snow, the TRAC system may
reduce power from the engine to the
wheels. Pressing to turn the
system off may make it easier for
you to rock the vehicle in order to
free it.
To turn the TRAC system off, quickly
press and release .
The “Traction Cont rol Turned OFF”
will be shown on the multi-informa-
tion display.
Press again to turn the system
back on.
Ty p e A
Page 254 of 468

2544-6. Driving tips
Perform the following according
to the driving conditions:
Do not try to forcibly open a
window or move a wiper that
is frozen. Pour warm water
over the frozen area to melt
the ice. Wipe away the water
immediately to prevent it from
freezing.
To ensure proper operation of
the climate control system
fan, remove any snow that
has accumulated on the air
inlet vents in front of the wind-
shield.
Check for and remove any
excess ice or snow that may
have accumulated on the
exterior lights, outside rear
view mirrors, windows, vehi-
cle’s roof, chassis, around the
tires or on the brakes.
Remove any snow or mud
from the bottom of your shoes
before getting in the vehicle.
Accelerate the vehicle slowly,
keep a safe distance between
you and the vehicle ahead, and
drive at a reduced speed suit-
able to road conditions.
Turn automatic mode of the parking brake off. Otherwise,
the parking brake may freeze
and not be able to be
released automatically.
Also, avoid using the following as
the parking brake may operate
automatically, even if automatic
mode is off.
• Brake hold system
Park the vehicle and shift the
shift lever to P without setting
the parking brake. The park-
ing brake may freeze up, pre-
venting it from being released.
If the vehicle is parked without
setting the parking brake,
make sure to block the
wheels.
Failure to do so may be dan-
gerous because it may cause
the vehicle to move unexpect-
edly, possibly leading to an
accident.
When the parking brake is in
automatic mode, release the
parking brake after shifting
the shift lever to P. ( P.169)
If the vehicle is parked without
setting the parking brake,
confirm that the shift lever
cannot be moved out of P.
If the vehicle is left parked
with the brakes damp in cold
temperatures, there is a pos-
sibility of the brakes freezing.
Use the correct tire chain size
Before driving the vehicle
When driving the vehicle
When parking the vehicleSelecting tire chains
Page 257 of 468
257
5
5
Interior features
Interior features
.5-1. Using the air conditioning system and defogger
Manual air conditioning sys- tem ............................ 258
Automatic air conditioning system ....................... 263
Heated steering wheel/seat heaters ...................... 269
5-2. Using the interior lights Interior lights list .......... 271
5-3. Using the storage features List of storage features.................................. 273
5-4. Other interior features Other interior features . 277
Page 271 of 468
2715-2. Using the interior lights
5
Interior features
5-2.Using the interior lights
Rear interior light (P.271)
Front interior/personal lights ( P.271)
■Front
1 Turns the door position on/off
When a door is opened while the
door position is on, the lights turn on.
2
Turns the lights on/off
■Rear
Turns the lights on/off
When the door position is on for
the front interior lights, the rear
Interior lights list
Location of the i nterior lights
Operating the interior
lights
Page 272 of 468

2725-2. Using the interior lights
interior light will turn on when a
door is open and turn off when
all of them are closed.
When the rear interior light is on
linked to the door position for
the front interior lights, it will not
turn off even though the switch
is pressed.
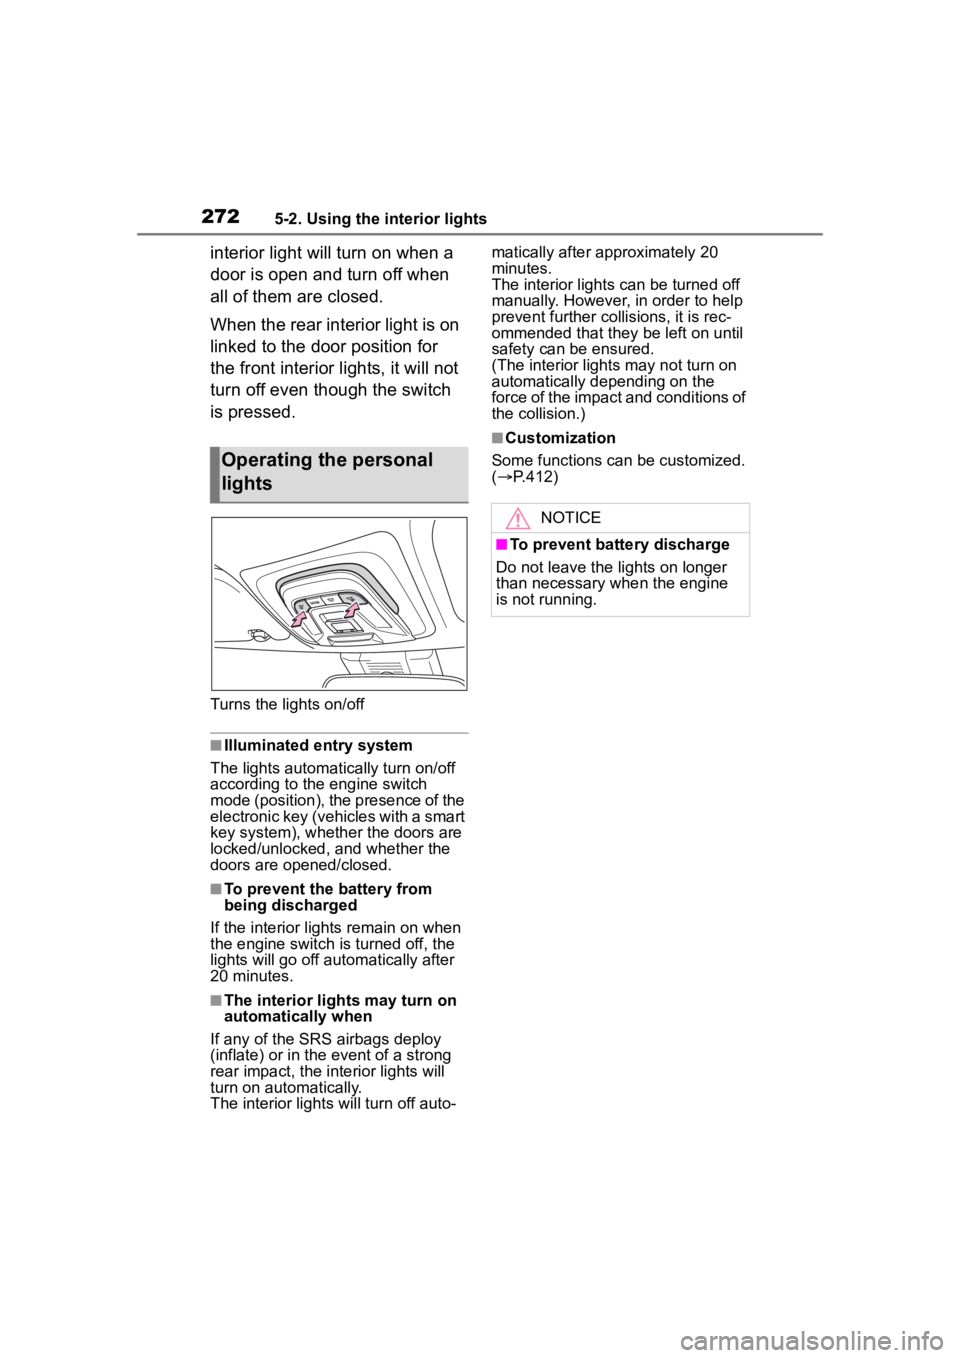
Turns the lights on/off
■Illuminated entry system
The lights automatically turn on/off
according to the engine switch
mode (position), the presence of the
electronic key (vehicles with a smart
key system), whether the doors are
locked/unlocked, and whether the
doors are opened/closed.
■To prevent the battery from
being discharged
If the interior lights remain on when
the engine switch is turned off, the
lights will go off automatically after
20 minutes.
■The interior lights may turn on
automatically when
If any of the SRS airbags deploy
(inflate) or in the event of a strong
rear impact, the interior lights will
turn on automatically.
The interior lights will turn off auto- matically after approximately 20
minutes.
The interior lights can be turned off
manually. However, in order to help
prevent further co
llisions, it is rec-
ommended that they be left on until
safety can be ensured.
(The interior lights may not turn on
automatically depending on the
force of the impact and conditions of
the collision.)
■Customization
Some functions can be customized.
( P.412)
Operating the personal
lights
NOTICE
■To prevent battery discharge
Do not leave the lights on longer
than necessary w hen the engine
is not running.
Page 274 of 468
2745-3. Using the storage features
Pull up the lever to open the
glove box.
■Glove box light (if equipped)
The glove box light turns on when
the tail lights are on.
Front
Rear (if equipped)
Pull the armrest down.
Front
Rear
Glove box
WARNING
■Caution while driving
Keep the glove box closed. In the
event of sudden braking or sud-
den swerving, an accident may
occur due to an occupant being
struck by the open glove box or
the items stored inside.
Cup holders
WARNING
■Items unsuitable for the cup
holder
Do not place anyth ing other than
cups or beverage cans in the cup
holders.
Other items may be thrown out of
the holders in the event of an
accident or sudden braking and
cause injury. If possible, cover hot
drinks to pre vent burns.
Bottle holders
Page 280 of 468

2805-4. Other interior features
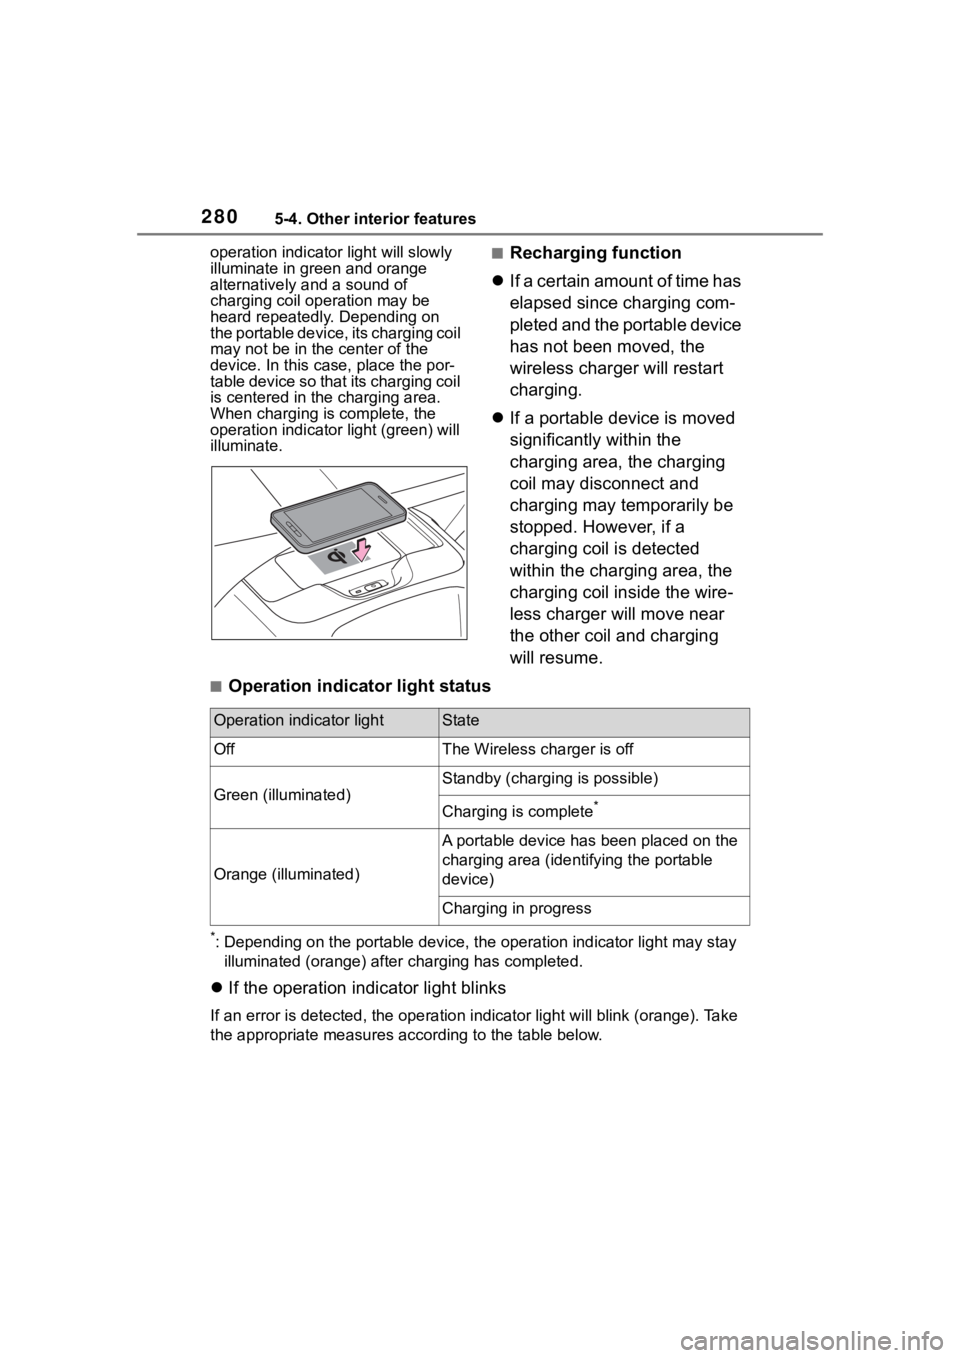
operation indicator light will slowly
illuminate in green and orange
alternatively and a sound of
charging coil operation may be
heard repeatedly. Depending on
the portable device, its charging coil
may not be in the center of the
device. In this case, place the por-
table device so that its charging coil
is centered in the charging area.
When charging is complete, the
operation indicator light (green) will
illuminate.■Recharging function
If a certain amount of time has
elapsed since charging com-
pleted and the portable device
has not been moved, the
wireless charger will restart
charging.
If a portable device is moved
significantly within the
charging area, the charging
coil may disconnect and
charging may temporarily be
stopped. However, if a
charging coil is detected
within the charging area, the
charging coil inside the wire-
less charger will move near
the other coil and charging
will resume.
■Operation indicator light status
*: Depending on the portable devic e, the operation indicator light may stay
illuminated (orange) after charging has completed.
If the operation indicator light blinks
If an error is detec ted, the operation in dicator light will blink (orange). Take
the appropriate measures according to the table below.
Operation indicator lightState
OffThe Wireless charger is off
Green (illuminated)
Standby (charging is possible)
Charging is complete*
Orange (illuminated)
A portable device has been placed on the
charging area (identifying the portable
device)
Charging in progress