2022 TOYOTA SUPRA headlights
[x] Cancel search: headlightsPage 40 of 498
382-1. QUICK REFERENCE
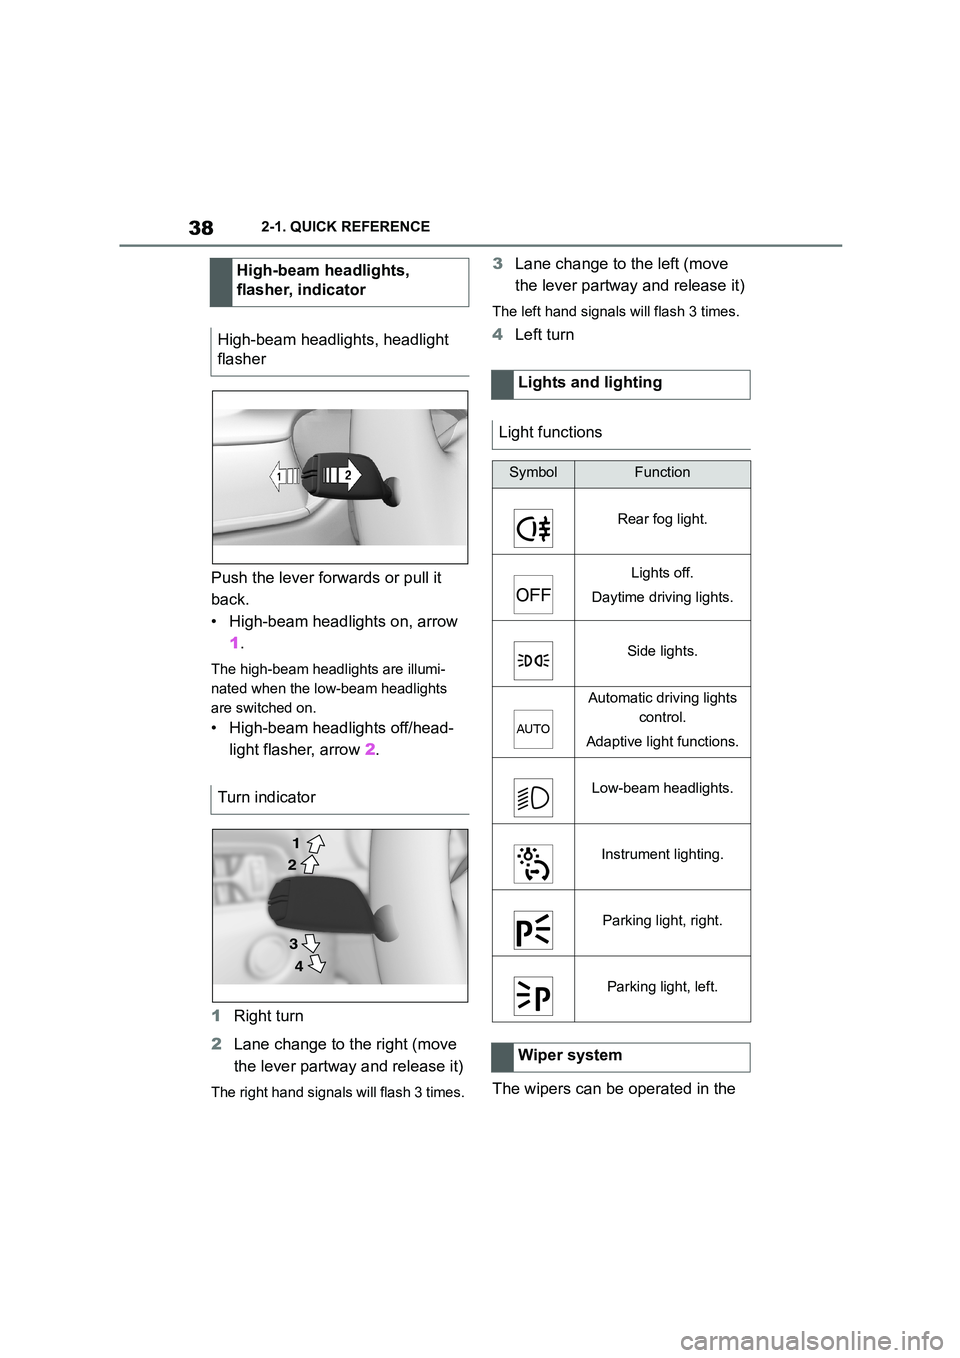
Push the lever forwards or pull it
back.
• High-beam headlights on, arrow
1 .
The high-beam headlights are illumi-
nated when the low-beam headlights
are switched on.
• High-beam headlights off/head-
light flasher, arrow 2.
1 Right turn
2 Lane change to the right (move
the lever partway and release it)
The right hand signals will flash 3 times.
3 Lane change to the left (move
the lever partway and release it)
The left hand signals will flash 3 times.
4 Left turn
The wipers can be operated in the
High-beam headlights,
flasher, indicator
High-beam headlights, headlight
flasher
Turn indicator
2
1
3
4
Lights and lighting
Light functions
SymbolFunction
Rear fog light.
Lights off.
Daytime driving lights.
Side lights.
Automatic driving lights
control.
Adaptive light functions.
Low-beam headlights.
Instrument lighting.
Parking light, right.
Parking light, left.
Wiper system
Page 49 of 498

47
3
3-1. CONTROLS
CONTROLS
Automatic driving lights
control P.185
Automatic high-beamP.188
Low-beam headlights
P. 1 8 6
Instrument lighting P.191
Right parking light P.186
Left parking light P.186
5 Steering-column lever, left
Turn indicator P.150
High-beam headlights,
headlight flasher P.150
Automatic high-beam
P. 1 8 8
On-board computer P.177
6 Shift paddle P.157
7 Buttons on steering wheel, left
Manual Speed Limiter
P. 2 3 2
Cruise Control on/off
P. 2 3 4
Resuming Cruise Con-
trolP.232
Interrupting Cr uise Control
P. 2 3 2
Dynamic radar cruise con-
trol on/off P.238
Cruise Control: to store a
speed
Speed Limit Assist: accept the
suggested speed P.246
Interrupts Cruise Con-
trol/Resuming Cruise Con-
trolP.232
Dynamic radar cruise con-
trol: to increase the distance/to
reduce the distanceP.232
Rocker switch for Cruise Con-
trolP.232
8 Instrument cluster P.162
9 Buttons on steering wheel, right
Selection lists P.177
Volume, see Navigation
system Owner's manual
Voice control system P.68
Telephone, see Owner's
Manual for Navigation, Enter-
tainment, Communication
Knurled wheel for selection lists
P. 1 7 7
10 Shift paddle P.157
11 Steering-column lever, right
Wiper P.151
Rain sensor P.152
Cleaning windscreen
P. 1 5 3
12 To adjust the steering wheel
P. 1 1 9
Page 56 of 498
543-1. CONTROLS
The vehicle switches automatically
to idle state, for example under the
following conditions:
• After a few minutes, if no opera-
tion is performed on the vehicle.
• When the battery state of charge
is low.
• Depending on the Toyota Supra
Command setting: if one or both
of the front doors is opened
when exiting the vehicle after a
journey.
In some situations, Idle state will
not be established automatically,
for example during a telephone call
or if the low-beam headlights are
switched on.
After a trip, the rest state can be
established by opening the front
doors. For this purpose, the driver
and front passenger must exit the
vehicle.
Via Toyota Supra Command:
1 "My Vehicle"
2 "Vehicle setting"
3 "Doors/Key"
4 "Switch off after door opening"
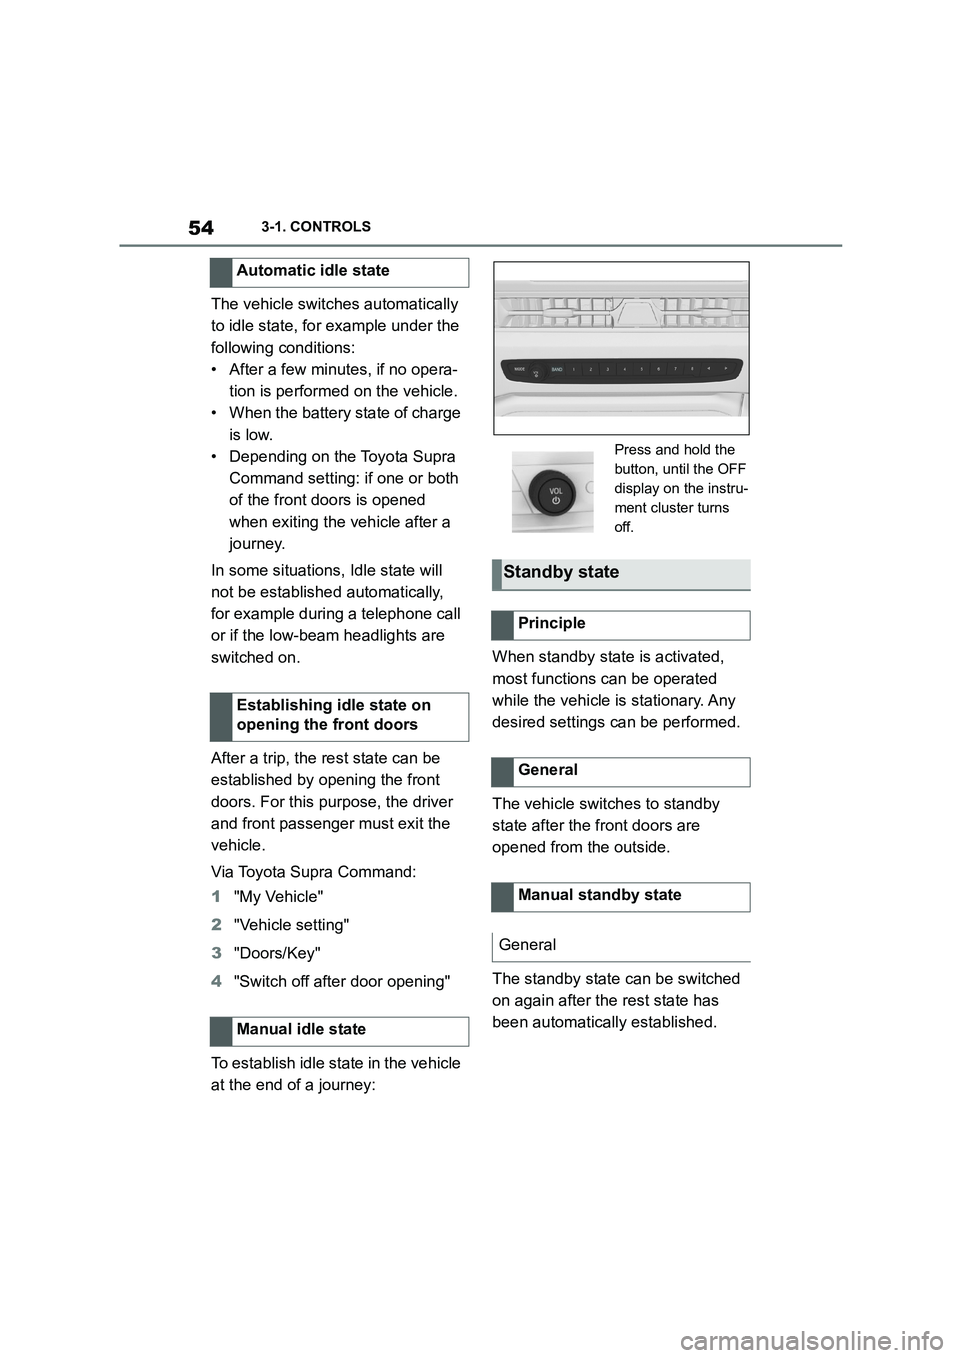
To establish idle state in the vehicle
at the end of a journey:
When standby state is activated,
most functions can be operated
while the vehicle is stationary. Any
desired settings can be performed.
The vehicle switches to standby
state after the front doors are
opened from the outside.
The standby state can be switched
on again after the rest state has
been automatically established.
Automatic idle state
Establishing idle state on
opening the front doors
Manual idle state
Press and hold the
button, until the OFF
display on the instru-
ment cluster turns
off.
Standby state
Principle
General
Manual standby state
General
Page 105 of 498

103
3
3-1. CONTROLS
CONTROLS
is opened.
• Movements inside the vehicle.
• A change in the vehicle's incline,
for instance if an attempt is made
to jack it up and steal the wheels
or to raise it prior to towing away.
• An interruption in the power sup-
ply from the battery.
• Improper use of the socket for
on-board diagnosis OBD.
• The vehicle is locked while a
device is connected to the socket
for on-board diagnosis OBD.
Socket for on-board diagnosis
OBD, see page 332.
The alarm system indicates the fol-
lowing changes visually and audi-
bly:
• Audible alarm: Depending on
local regulations, the acoustic
alarm may be suppressed.
• Visual alarm: By flashing of the
hazard warning lights and, if
applicable, the headlights.
To safeguard the function of the
alarm system, do not modify the
system.
The alarm system is switched off
and on at the same time as the
vehicle is unlocked and locked via
the remote control or Smart Key
System.
The alarm system is triggered on
opening a door if the door has been
unlocked using the integrated key
in the door lock.
To stop the alarm, see page 104.
The boot lid can be opened even
with the alarm system switched on.
On closing the boot lid, it is locked
again and monitored, as long as the
doors are locked. The hazard warn-
ing lights flash once.
• Indicator lamp flashes every 2
seconds: The alarm system is
switched on.
• Indicator lamp flashes for
approximately 10 seconds
before it flashes every 2 sec-
onds: The interior movement
detector and tilt alarm sensor are
not active because doors, bon-
Switching on/off
Opening the doors when the
alarm system is switched on
Opening the boot lid with the
alarm system switched on
Indicator lamp on the
rear-view mirror
Page 152 of 498
1503-1. CONTROLS
tor lever position P engaged and
then press it.
The procedure can take a few sec-
onds. Any sounds that occur are
normal.
Do not fold in the exterior mirrors
while driving or while operating the
turn indicators or hazard warning
lights to ensure that the turn indica-
tors in the exterior mirrors are well
recognisable.
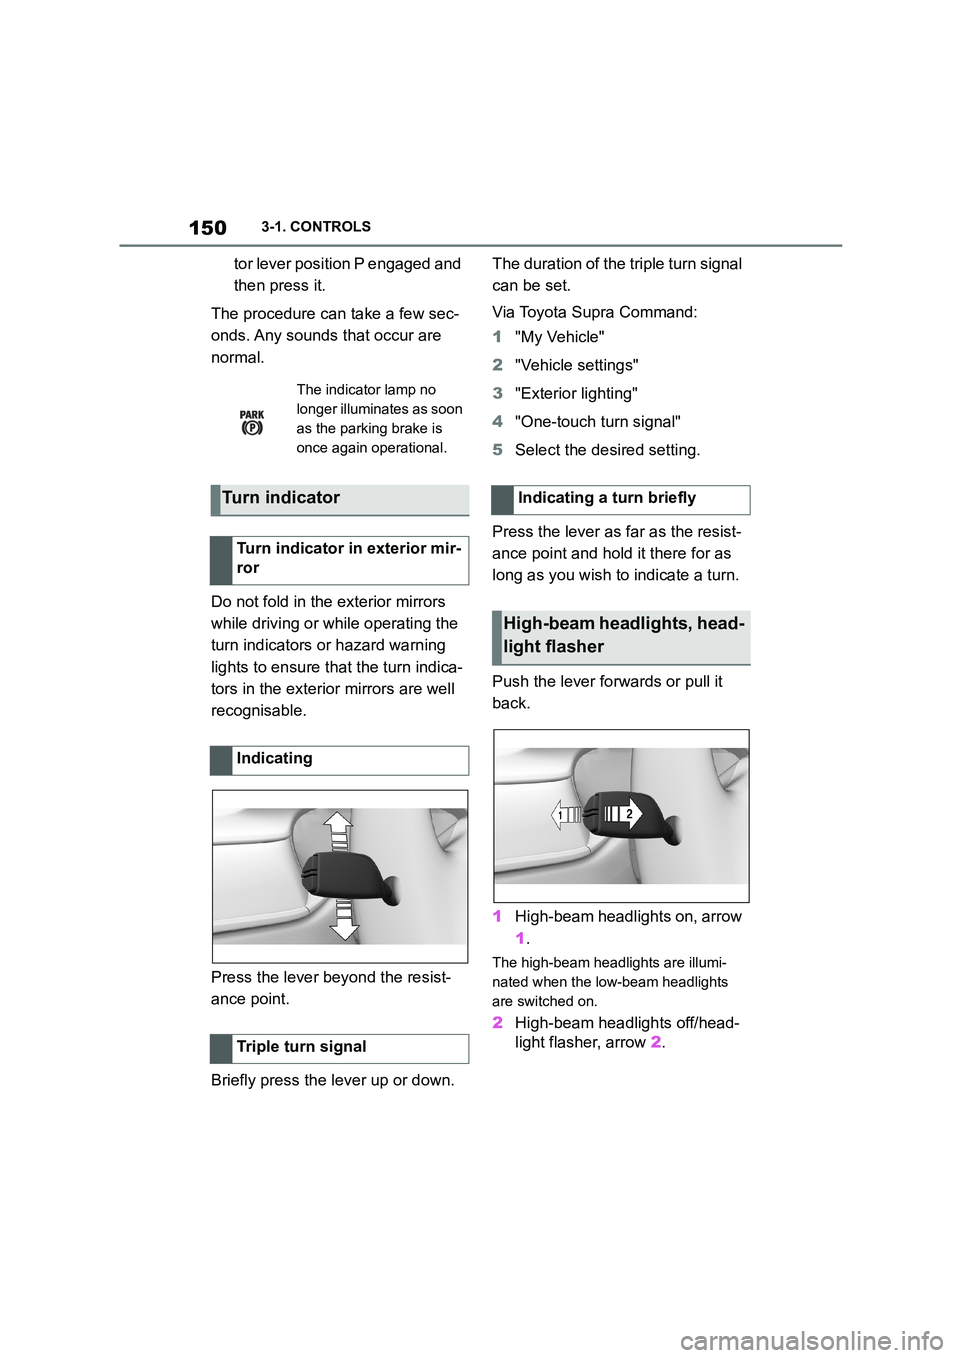
Press the lever beyond the resist-
ance point.
Briefly press the lever up or down.
The duration of the triple turn signal
can be set.
Via Toyota Supra Command:
1 "My Vehicle"
2 "Vehicle settings"
3 "Exterior lighting"
4 "One-touch turn signal"
5 Select the desired setting.
Press the lever as far as the resist-
ance point and hold it there for as
long as you wish to indicate a turn.
Push the lever forwards or pull it
back.
1 High-beam headlights on, arrow
1 .
The high-beam headlights are illumi-
nated when the low-beam headlights
are switched on.
2 High-beam headlights off/head-
light flasher, arrow 2.
The indicator lamp no
longer illuminates as soon
as the parking brake is
once again operational.
Turn indicator
Turn indicator in exterior mir-
ror
Indicating
Triple turn signal
Indicating a turn briefly
High-beam headlights, head-
light flasher
Page 169 of 498

167
3
3-1. CONTROLS
CONTROLS
Steering system
The steering system may
be faulty.
Have the system checked
by any authorized Toyota
retailer or Toyota author-
ized repairer, or any relia-
ble repairer.
Emissions
Engine malfunction.
Have the vehicle checked
by any authorized Toyota
retailer or Toyota author-
ized repairer, or any relia-
ble repairer.
Socket for on-board diag-
nosis, see page 332.
Rear fog light
Rear fog light is switched
on.
Rear fog light, see page
190.
Green lights
Turn indicator
The turn indicator is
switched on.
If the indicator lamp
flashes more rapidly than
usual, a turn signal light
has failed.
Turn indicators, see page
150.
Side lights
The side lights are
switched on.
Side lights/low-beam
headlights, see page 185.
Low-beam headlights
Low-beam headlights are
switched on.
Side lights/low-beam
headlights, see page 185.
Lane Departure Warning
If the indicator lamp is illu-
minated: the system is
switched on. At least one
lane marking has been
detected and warnings
can be issued on at least
one side of the vehicle.
Lane Departure Warning,
see page 216.
Page 170 of 498
1683-1. CONTROLS
The current fill level of the fuel tank
is displayed.
The angle of the vehicle may cause
the display to fluctuate.
For notes on refuelling, see page
290.
It is vital to avoid engine speeds in
the red warning zone. In this zone,
the fuel supply is interrupted to pro-
tect the engine.
Depending on the equipment, the
shift lights on the revolution counter
indicate the maximum shift point at
which the best possible accelera-
tion can be achieved.
When the selected driving mode is
sport mode, a shift light will be dis-
played.
1 Select SPORT using the sport
mode switch.
2 Activate manual mode of the
transmission.
Automatic high-beam
Automatic high-beams
switched on.
The high-beam head-
lights are switched on and
off automatically depend-
ing on the traffic situation.
Automatic high-beam, see
page 188.
Blue lights
High-beam headlights
The high-beam head-
lights are switched on.
High-beam headlights,
see page 150.
Fuel gauge
Principle
General
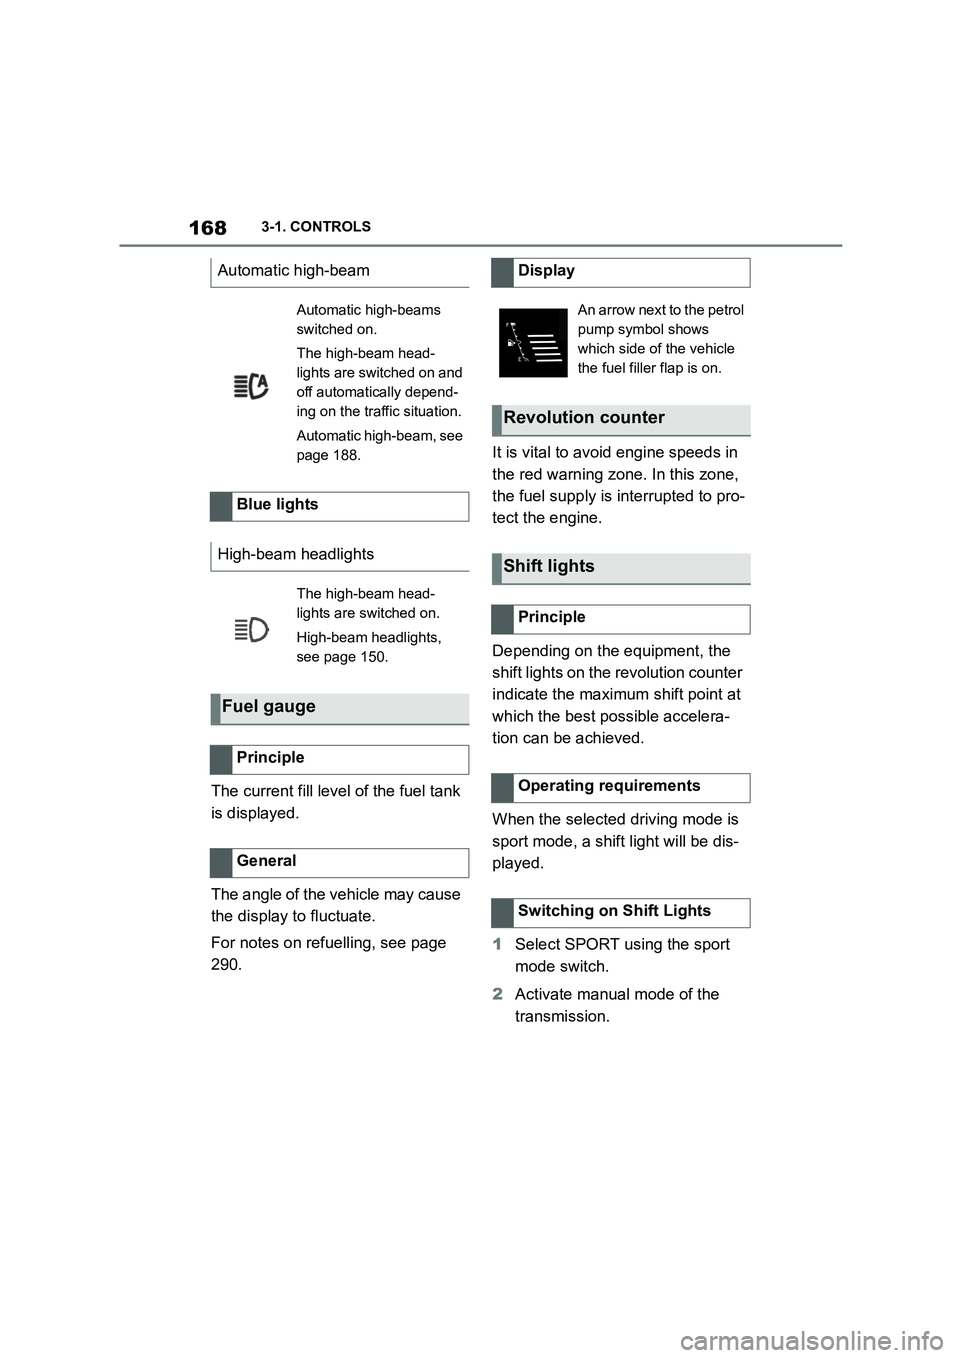
Display
An arrow next to the petrol
pump symbol shows
which side of the vehicle
the fuel filler flap is on.
Revolution counter
Shift lights
Principle
Operating requirements
Switching on Shift Lights
Page 185 of 498
183
3
3-1. CONTROLS
CONTROLS
Various views are available in the
Head-Up Display.
Via Toyota Supra Command:
1 "My vehicle"
2 "System settings"
3 "Displays"
4 "Head-up display"
5 Select the desired setting.
The brightness is automatically
adapted to the ambient light.
The dafault setting can be adjusted
manually.
Via Toyota Supra Command:
1 "My vehicle"
2 "System settings"
3 "Displays"
4 "Head-up display"
5 "Brightness"
6 Turn the Controller until the
desired brightness is obtained.
7 Press the Controller.
The brightness of the Head-Up Dis-
play can also be adjusted with the
instrument lighting if the low-beam
headlights are switched on.
Via Toyota Supra Command:
1 "My vehicle"
2 "System settings"
3 "Displays"
4 "Head-up display"
5 "Height"
6 Turn the Controller until the
desired height is obtained.
7 Press the Controller.
The height of the Head-Up Display
can also be saved with the memory
function, see page 119.
The Head-Up Display view can be
rotated.
Via Toyota Supra Command:
1 "My vehicle"
2 "System settings"
3 "Displays"
4 "Head-up display"
5 "Rotation"
6 Turn the Controller until the
desired setting is reached.
7 Press the Controller.
The visibility of the display on the
Head-Up Display can be affected
by the following:
Seat position.
Objects on the protective glass
of the Head-Up Display cover.
Dust or dirt on the protective
glass of the Head-Up Display
Selecting the view
Adjusting the brightness
Adjusting the height
Adjusting the rotation
Visibility of the display