2022 SUBARU ASCENT low
[x] Cancel search: lowPage 88 of 148
MAPS/NAVIGATION
There are many programmable map/navigation features that can be customized. These
settings are located under the "Settings" menu and then "Navigation". Listed in the table
below are some common settings you can customize for your convenience.
SETTING FUNCTION
Route Setting Allows you to select Fastest, Shortest or Economic.
Avoid Allows you to avoid things like highways, tolls, ferries,
carpool lanes and unpaved roads.
Map Display Allows you to change the brightness by selecting auto,
day or night.
Save as Home Allows you to register or edit your home address.
Save as Work Allows you to register or edit your work address.
POI Icons Allows you to turn the icons on/off.
Arrival Time Allows you to select arrival time to be displayed in
12 hour format or 24 hour format.
Auto Zoom Allows you to turn on/off.
Rest Stop Guidance Function Allows you to turn on/off.
Low Fuel Warning Allows you to turn on/off.
Checking for Map Updates
You can update the maps to the latest information. The maps should be checked and
updated regularly for the best possible navigation experience.
Atwww.subaru-maps.com, you can update the entire USA map at once via USB. The
maps can also be updated over the air. When updating over the air, you can update eight
regions at a time. This allows you to update your home state without having to download
the entire map program for the United States. This option is great if you normally stay in
your home state and/or surrounding states.
Updating Maps Over-the-Air
To update your maps over the air, first Connect to a Wi-Fi network (see page 122). Map
updates can be found by selecting “Settings”, then “Navigation” on the Touchscreen.
For more step by step directions for updating your maps through Wi-Fi, please refer to
page 131.
SETTINGS AND UPDATES
86
Page 89 of 148

Updating Maps Using Your PC/MAC
Maps can also be updated using a USB memory device, which will
allow the entire map program to be updated at one time. This is a
great option if you are going to take a cross-country trip and your
maps have not been updated in a while.
To update the map using a USB memory device, start by going to
www.subaru-maps.com.
CLOCK
You can adjust the clock manually or set the clock to update
automatically. When set to “Auto,” the clock automatically adjusts
when a Bluetooth
®connected phone is paired (vehicles without
navigation), or through the GPS signal (vehicles with navigation
system).
The following sections contain step-by-step instructions for setting
the clock, and you can scan the QR codes for a helpful “how to”
video. Choose the appropriate QR code based on your
Multi-Function Display (Color LCD or Black and White LCD).
SETTINGS AND UPDATES
87
Page 91 of 148

Automatically
To set the clock automatically, the “Auto” mode must be selected in the clock adjustment
setting. To set the clock:
1Press the “Home” button.
2Select “Settings”.
3Select “Vehicle”.
4Select “Time/Date”.
5Select “Mode”.
6Select “Auto”. Press the “Home” button when
finished.
The clock automatically adjusts as follows:
• Systems with Navigation: Automatically adjusts the
clock when a GPS signal is available.
• Systems without Navigation: Automatically adjusts
the clock when a phone is paired and connected via
Bluetooth
®. “Phonebook Download” must be enabled in the Phone Settings.
For step-by-step procedures to pair a phone to the SUBARU STARLINK®
Touchscreen, see page 111 for Android devices or page 115 for Apple devices.
SETTINGS AND UPDATES
89
Page 94 of 148
Pre-Collision Braking
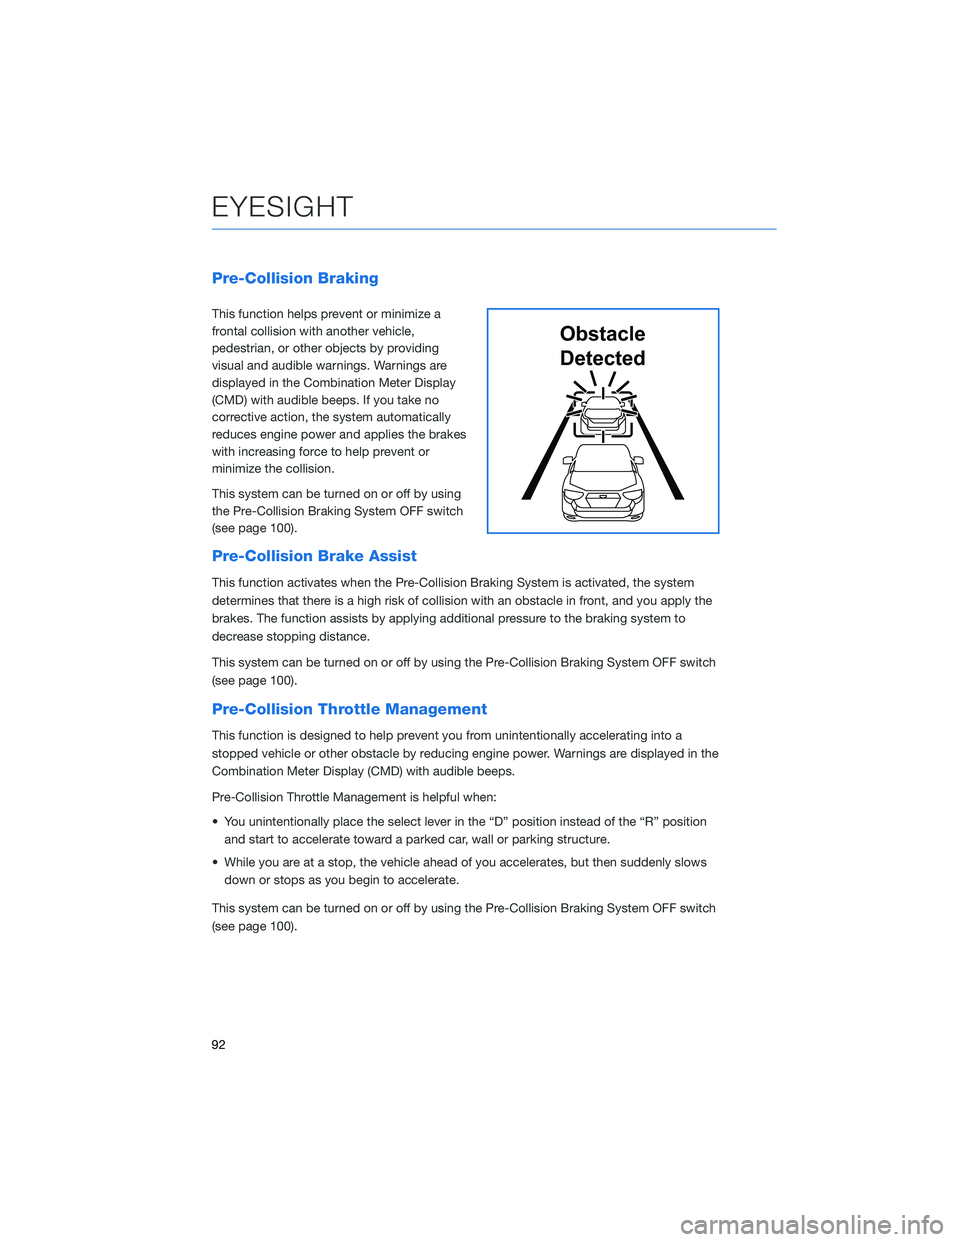
This function helps prevent or minimize a
frontal collision with another vehicle,
pedestrian, or other objects by providing
visual and audible warnings. Warnings are
displayed in the Combination Meter Display
(CMD) with audible beeps. If you take no
corrective action, the system automatically
reduces engine power and applies the brakes
with increasing force to help prevent or
minimize the collision.
This system can be turned on or off by using
the Pre-Collision Braking System OFF switch
(see page 100).
Pre-Collision Brake Assist
This function activates when the Pre-Collision Braking System is activated, the system
determines that there is a high risk of collision with an obstacle in front, and you apply the
brakes. The function assists by applying additional pressure to the braking system to
decrease stopping distance.
This system can be turned on or off by using the Pre-Collision Braking System OFF switch
(see page 100).
Pre-Collision Throttle Management
This function is designed to help prevent you from unintentionally accelerating into a
stopped vehicle or other obstacle by reducing engine power. Warnings are displayed in the
Combination Meter Display (CMD) with audible beeps.
Pre-Collision Throttle Management is helpful when:
• You unintentionally place the select lever in the “D” position instead of the “R” position
and start to accelerate toward a parked car, wall or parking structure.
• While you are at a stop, the vehicle ahead of you accelerates, but then suddenly slows
down or stops as you begin to accelerate.
This system can be turned on or off by using the Pre-Collision Braking System OFF switch
(see page 100).
Obstacle
Detected
EYESIGHT
92
Page 95 of 148
Lane Departure Warning
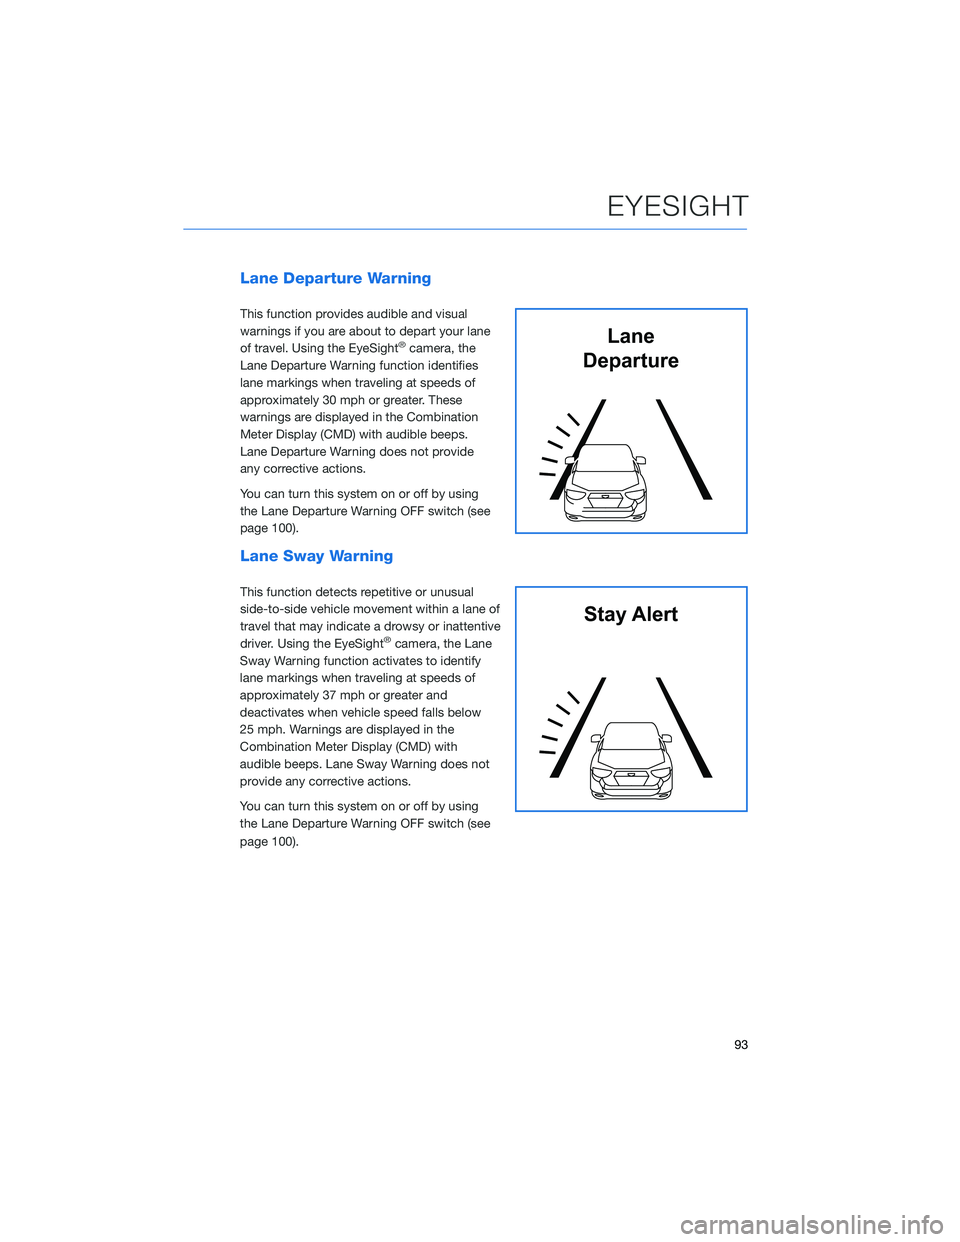
This function provides audible and visual
warnings if you are about to depart your lane
of travel. Using the EyeSight
®camera, the
Lane Departure Warning function identifies
lane markings when traveling at speeds of
approximately 30 mph or greater. These
warnings are displayed in the Combination
Meter Display (CMD) with audible beeps.
Lane Departure Warning does not provide
any corrective actions.
You can turn this system on or off by using
the Lane Departure Warning OFF switch (see
page 100).
Lane Sway Warning
This function detects repetitive or unusual
side-to-side vehicle movement within a lane of
travel that may indicate a drowsy or inattentive
driver. Using the EyeSight
®camera, the Lane
Sway Warning function activates to identify
lane markings when traveling at speeds of
approximately 37 mph or greater and
deactivates when vehicle speed falls below
25 mph. Warnings are displayed in the
Combination Meter Display (CMD) with
audible beeps. Lane Sway Warning does not
provide any corrective actions.
You can turn this system on or off by using
the Lane Departure Warning OFF switch (see
page 100).
Lane
Departure
Stay Alert
EYESIGHT
93
Page 96 of 148
Lane Departure Prevention
This function provides steering assistance to
keep you in the lane of travel when driving on
expressways, freeways, and interstate
highways at approximately 37 mph or greater.
Lane Departure Prevention uses the EyeSight
®
camera to identify lane markings and assists
steering operation to help prevent lane
departure.
This function is turned on or off using the Lane
Keep Assist button on the right side of the
steering wheel. Once the system is turned on,
a white Lane Keep Assist icon will be
displayed on the Combination Meter Display
(CMD). Lane marking graphics on the CMD
change to white to indicate that the right and/or left lane markings have been successfully
identified by the EyeSight
®camera. If the vehicle is about to depart the driving lane, the
system assists steering by gently guiding the vehicle back into your lane. When the system
is actively providing assistance, the Lane Keep Assist icon in the CMD will change from
white to green.
Advanced Adaptive Cruise Control with Lane Centering
Advanced Adaptive Cruise Control is a driving support system intended to reduce the
burden on you when driving on an expressway (including during congestion and when
driving at high speed). Advanced Adaptive Cruise Control and Lane Centering work
together to assist you by automatically controlling the accelerator, brake, and steering.
Advanced Adaptive Cruise Control
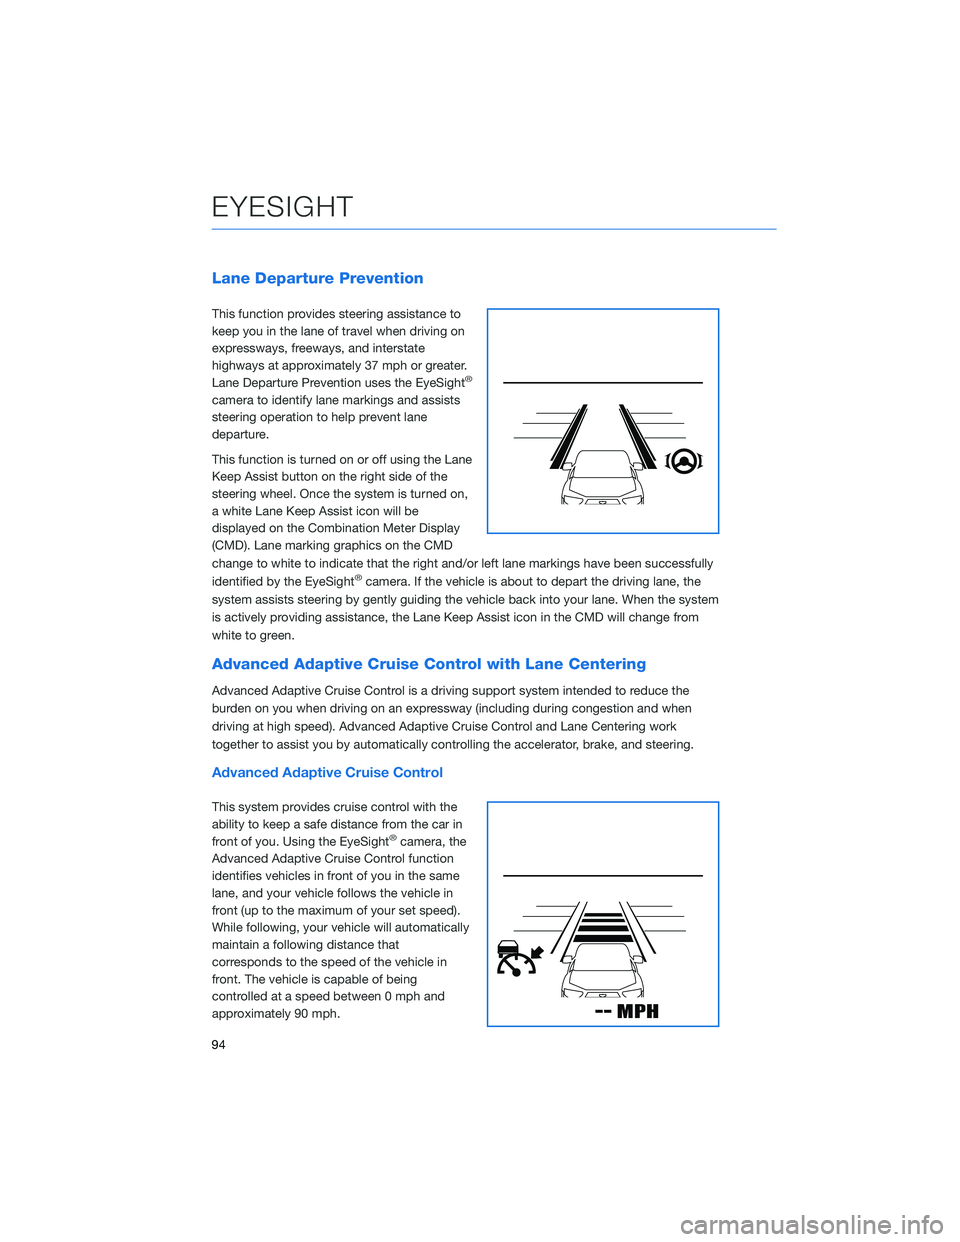
This system provides cruise control with the
ability to keep a safe distance from the car in
front of you. Using the EyeSight
®camera, the
Advanced Adaptive Cruise Control function
identifies vehicles in front of you in the same
lane, and your vehicle follows the vehicle in
front (up to the maximum of your set speed).
While following, your vehicle will automatically
maintain a following distance that
corresponds to the speed of the vehicle in
front. The vehicle is capable of being
controlled at a speed between 0 mph and
approximately 90 mph.
EYESIGHT
94
Page 97 of 148
You can turn the Advanced Adaptive Cruise Control on or off using the Adaptive Cruise
Control On/Off button on the right side of the steering wheel (see page 97). Once the
system is turned on, a white Adaptive Cruise Control icon will be displayed on the
Combination Meter Display (CMD). When all the operational conditions are met, “READY”
appears underneath the Adaptive Cruise Control icon.
To set Advanced Adaptive Cruise Control, push down the “SET/–” switch on the right side
of the steering wheel. The CMD will indicate a target speed and the icon will turn green.
This speed can be adjusted up or down using the “RES +/SET -” switch (see page 97).
When a vehicle in front of you is identified, a Lead Vehicle indicator will be displayed on the
Combination Meter Display (CMD) and/or Multi-Function Display (MFD). You can change
the desired following distance from the lead vehicle by pressing the “Increase Distance” or
“Decrease Distance” buttons (see page 97).
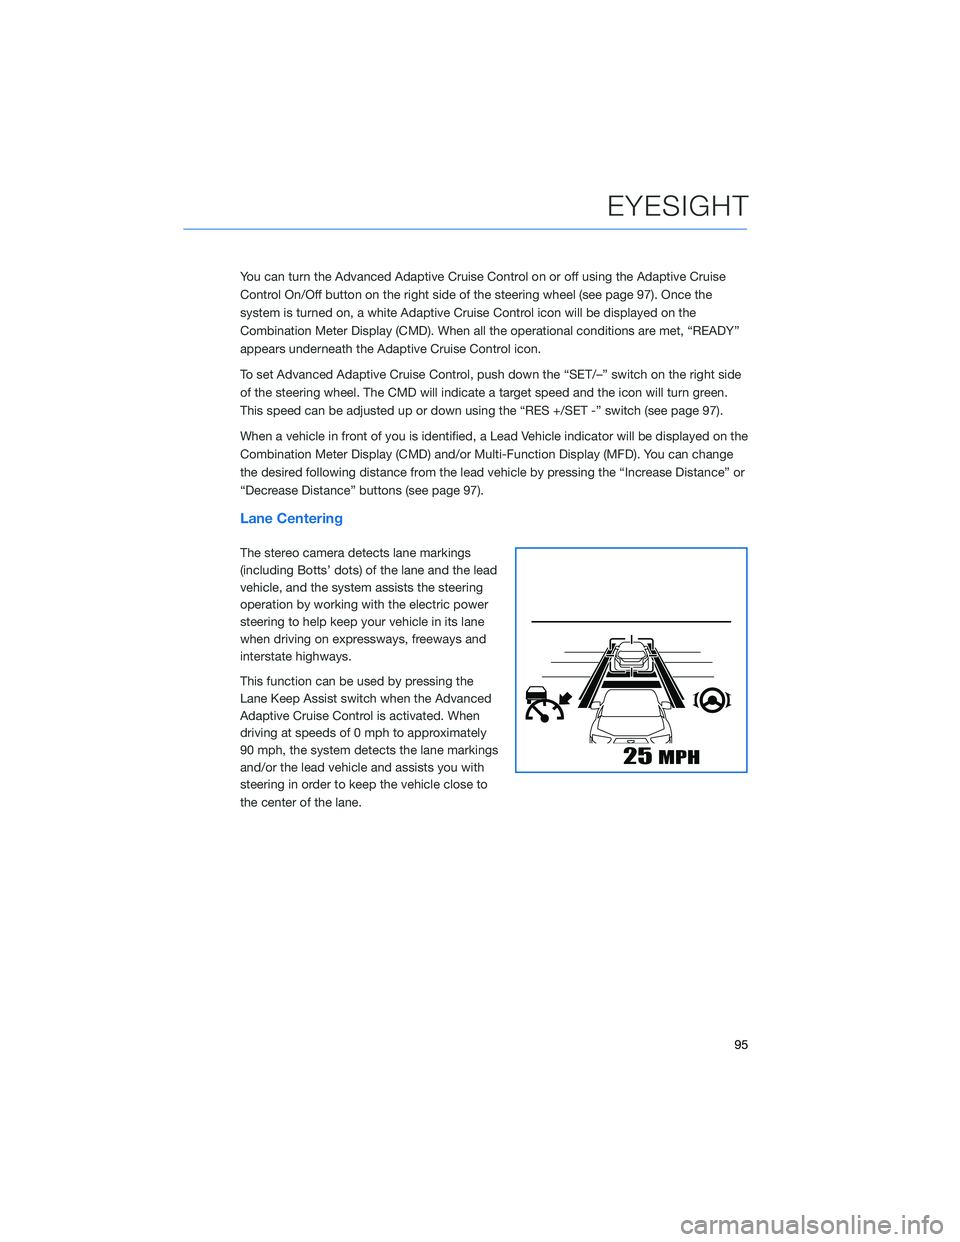
Lane Centering
The stereo camera detects lane markings
(including Botts’ dots) of the lane and the lead
vehicle, and the system assists the steering
operation by working with the electric power
steering to help keep your vehicle in its lane
when driving on expressways, freeways and
interstate highways.
This function can be used by pressing the
Lane Keep Assist switch when the Advanced
Adaptive Cruise Control is activated. When
driving at speeds of 0 mph to approximately
90 mph, the system detects the lane markings
and/or the lead vehicle and assists you with
steering in order to keep the vehicle close to
the center of the lane.
EYESIGHT
95
Page 99 of 148
STEERING WHEEL CONTROLS
Advanced Adaptive Cruise Control
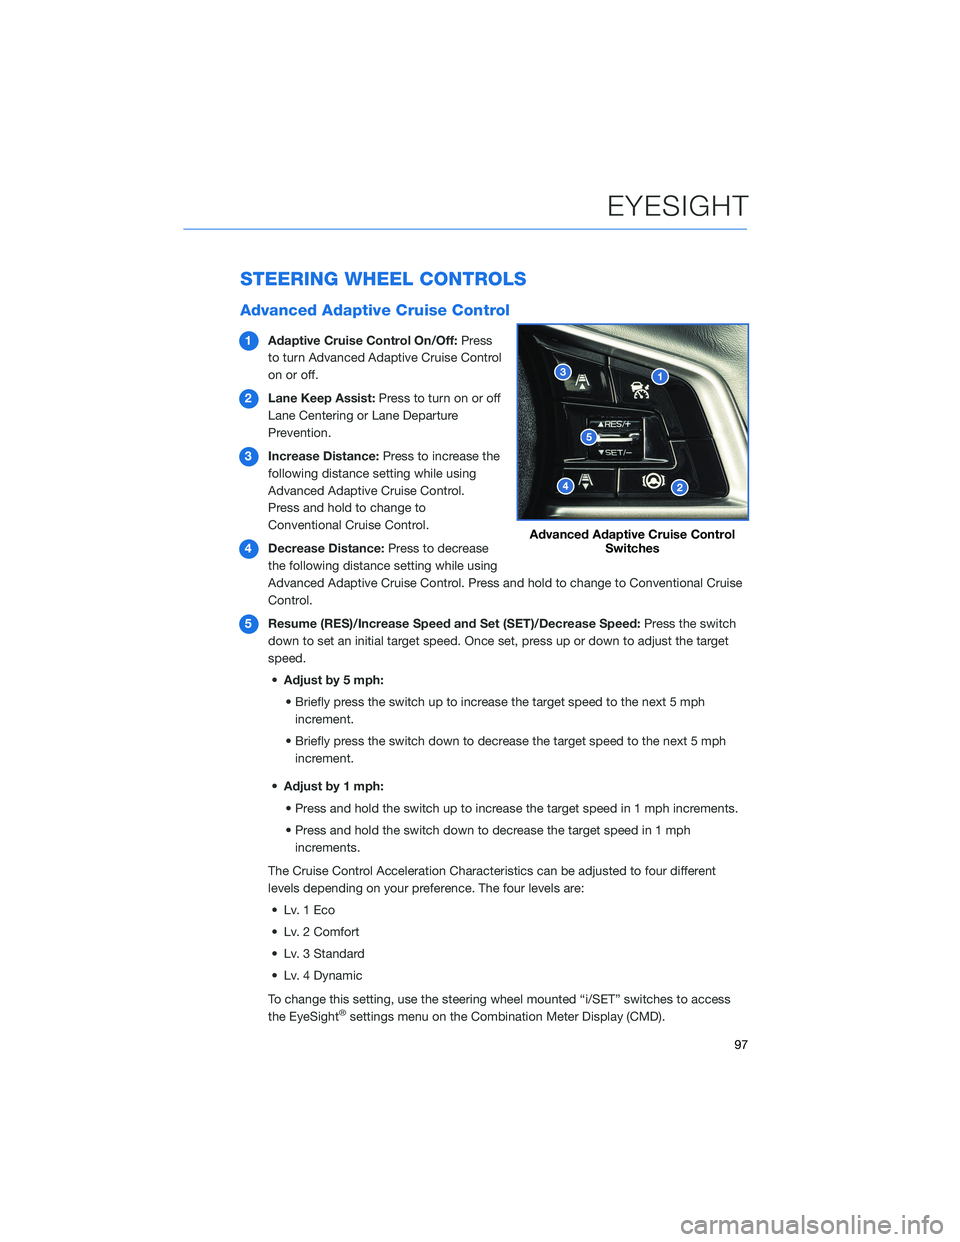
1Adaptive Cruise Control On/Off:Press
to turn Advanced Adaptive Cruise Control
on or off.
2Lane Keep Assist:Press to turn on or off
Lane Centering or Lane Departure
Prevention.
3Increase Distance:Press to increase the
following distance setting while using
Advanced Adaptive Cruise Control.
Press and hold to change to
Conventional Cruise Control.
4Decrease Distance:Press to decrease
the following distance setting while using
Advanced Adaptive Cruise Control. Press and hold to change to Conventional Cruise
Control.
5Resume (RES)/Increase Speed and Set (SET)/Decrease Speed:Press the switch
down to set an initial target speed. Once set, press up or down to adjust the target
speed.
•Adjust by 5 mph:
• Briefly press the switch up to increase the target speed to the next 5 mph
increment.
• Briefly press the switch down to decrease the target speed to the next 5 mph
increment.
•Adjust by 1 mph:
• Press and hold the switch up to increase the target speed in 1 mph increments.
• Press and hold the switch down to decrease the target speed in 1 mph
increments.
The Cruise Control Acceleration Characteristics can be adjusted to four different
levels depending on your preference. The four levels are:
• Lv. 1 Eco
• Lv. 2 Comfort
• Lv. 3 Standard
• Lv. 4 Dynamic
To change this setting, use the steering wheel mounted “i/SET” switches to access
the EyeSight
®settings menu on the Combination Meter Display (CMD).
Advanced Adaptive Cruise Control
Switches
EYESIGHT
97