Page 45 of 148
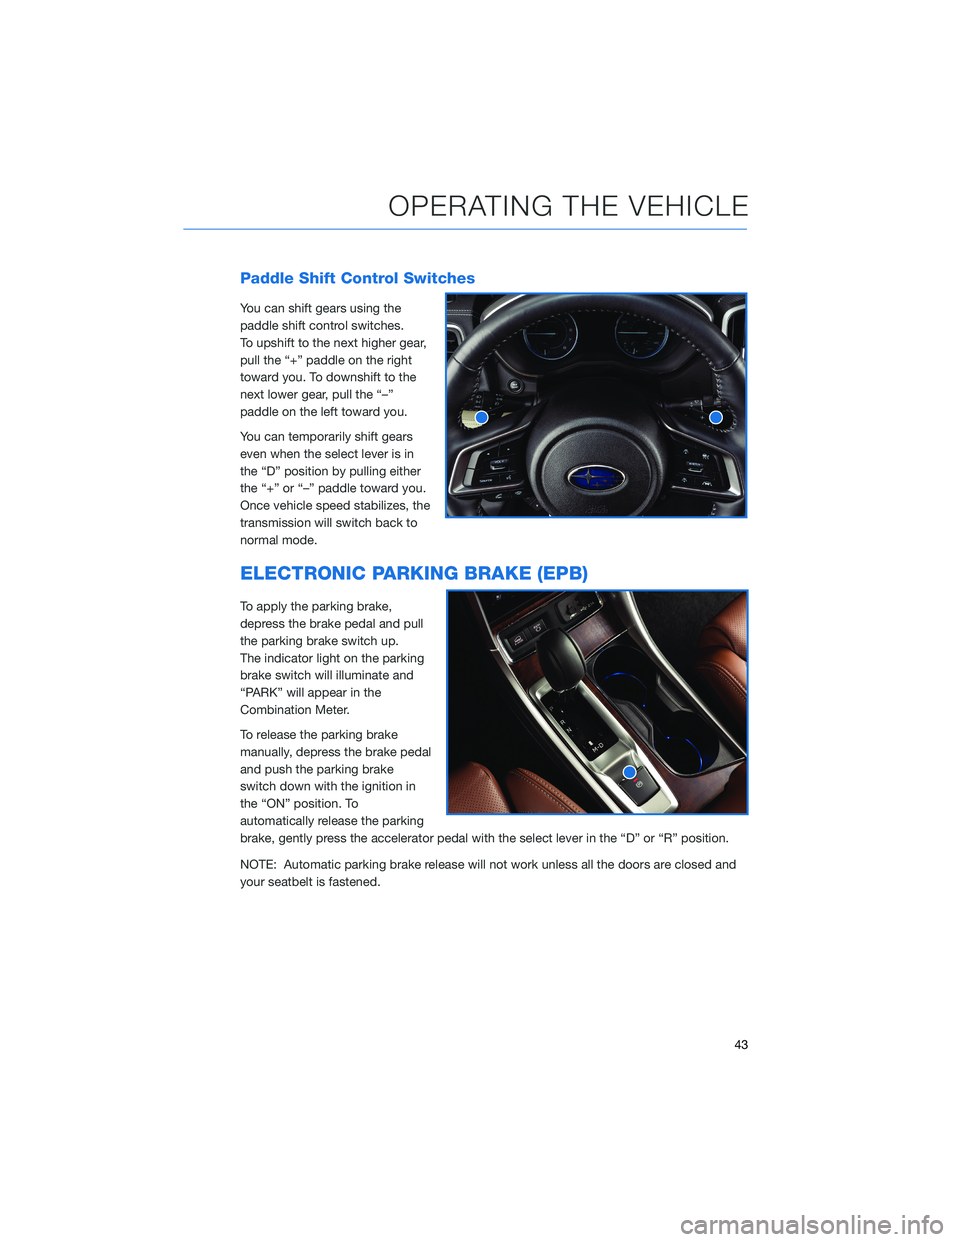
Paddle Shift Control Switches
You can shift gears using the
paddle shift control switches.
To upshift to the next higher gear,
pull the “+” paddle on the right
toward you. To downshift to the
next lower gear, pull the “–”
paddle on the left toward you.
You can temporarily shift gears
even when the select lever is in
the “D” position by pulling either
the “+” or “–” paddle toward you.
Once vehicle speed stabilizes, the
transmission will switch back to
normal mode.
ELECTRONIC PARKING BRAKE (EPB)
To apply the parking brake,
depress the brake pedal and pull
the parking brake switch up.
The indicator light on the parking
brake switch will illuminate and
“PARK” will appear in the
Combination Meter.
To release the parking brake
manually, depress the brake pedal
and push the parking brake
switch down with the ignition in
the “ON” position. To
automatically release the parking
brake, gently press the accelerator pedal with the select lever in the “D” or “R” position.
NOTE: Automatic parking brake release will not work unless all the doors are closed and
your seatbelt is fastened.
OPERATING THE VEHICLE
43
Page 47 of 148

X-MODE®
X-MODE®is the integrated control system of the
engine, All Wheel Drive, and Vehicle Dynamics Control
(VDC) systems for driving with bad road conditions.
Using X-MODE
®, you can drive more comfortably
even in slippery road conditions, such as mud or
snow, including uphill and
downhill. You can activate the
system when the vehicle speed is
less than 12 mph. If the vehicle
speed reaches 25 mph, the
X-MODE
®system is canceled and
can be reactivated once the once
the vehicle speed is lower.
To activate the X-MODE
®system,
press the X-MODE®switch. While
the system is active, the
X-MODE
®indicator appears, and
the Multi-Function Display shows
vehicle posture and function
operation status. To deactivate
X-MODE
®press the X-MODE®
switch again.
In certain situations, such as navigating a vehicle stuck in mud or
snow, it may be helpful to allow more wheel spin by turning off the
VDC system. To turn off the VDC system, push the Vehicle
Dynamics Control OFF switch located in the lower left instrument
panel. Push the Vehicle Dynamics Control OFF switch again to
reactivate the VDC system.
Hill Descent Control (HDC)
The Hill Descent Control function helps maintain a consistent
vehicle speed when driving down steep hills or declines. HDC is
automatically activated and set in standby mode when X-MODE
®
is activated. The Hill Descent Control Indicator appears when in
standby mode, and the indicator will flash when HDC is operating.
X-MODE®Multi-Function
Display
X-MODE®Switch
X-Mode®Indicator
Hill Descent
Control Indicator
OPERATING THE VEHICLE
45
Page 49 of 148

FUEL FILLER LID
The fuel filler lid is located toward the rear of the
passenger side. To open the lid:
1. Make sure your Subaru is stopped and the select
lever is placed in the “P” position. Then, turn the
ignition to the "LOCK"/ "OFF" position.
2. The fuel filler lid is unlocked by using the unlock
switch in the door, access key fob, or door handles.
3. Push the rear side of the lid.
4. When the lid opens slightly, open it further by hand.
While refueling, place the fuel filler cap on the cap
holder inside the lid.
After refueling, put the cap back on and turn it
clockwise until you hear a clicking noise. Be certain
not to catch the tether under the cap while tightening.
To close the lid, press it until you hear it latch.
NOTE: The Check Engine warning light may illuminate if the fuel filler cap is not tightened
properly.
FUEL SPECIFICATIONS AND CAPACITY
2.4L Engine Fuel Specifications and Capacity
Fuel Octane Rating
87 AKI or higher
Ethanol Content Limit
No more than 15%
Fuel Tank Capacity
19.3 US Gallons
Low Fuel Warning Light
2.6 US Gallons
Fuel Filler Lid and Cap
REFUELING
47
Page 53 of 148

LATCH/ANCHOR
Your Subaru is equipped with Lower Anchors
and Tethers for Children (LATCH). For
maximum safety, first carefully read the
LATCH system instructions from the device
manufacturer, as well as the installation
instructions in your Owner’s Manual, to
properly install the LATCH compatible restraint
system. Use the appropriate seatbelts or
anchorages provided in your Subaru. Children
age 12 and under must properly occupy the
rear seat at all times.
For more information, please refer to
“Seat, seatbelt and SRS airbags” in your
Owner’s Manual.
REAR SEAT REMINDER
The Rear Seat Reminder system assists you in
preventing a child or pet from being left in your
Subaru, prompting you to confirm the
presence of passengers and cargo in the rear
seats. The system monitors the opening and
closing of the rear doors. It does not physically
sense the presence of a child or pet.
The system activates when the rear doors are
opened and closed. When the ignition switch
is turned from the “ON” position to the “OFF”
position, the system warns you with audible
beeps and with a “Reminder, Look in Rear
Seat” message in the Combination Meter
Display (CMD).
You can turn the Rear Seat Reminder off in the Combination Meter Display (CMD).
PASSENGER/CARGO AREAS
51
Page 55 of 148
SPARE TIRE
The spare tire is located in the spare tire holder
located under the rear of your Ascent. The
holder has a hoist mechanism that can lower
and raise the spare tire.
For more information, please refer to "In
Case of Emergency" in your Owner’s Manual.
PASSENGER/CARGO AREAS
53
Page 56 of 148
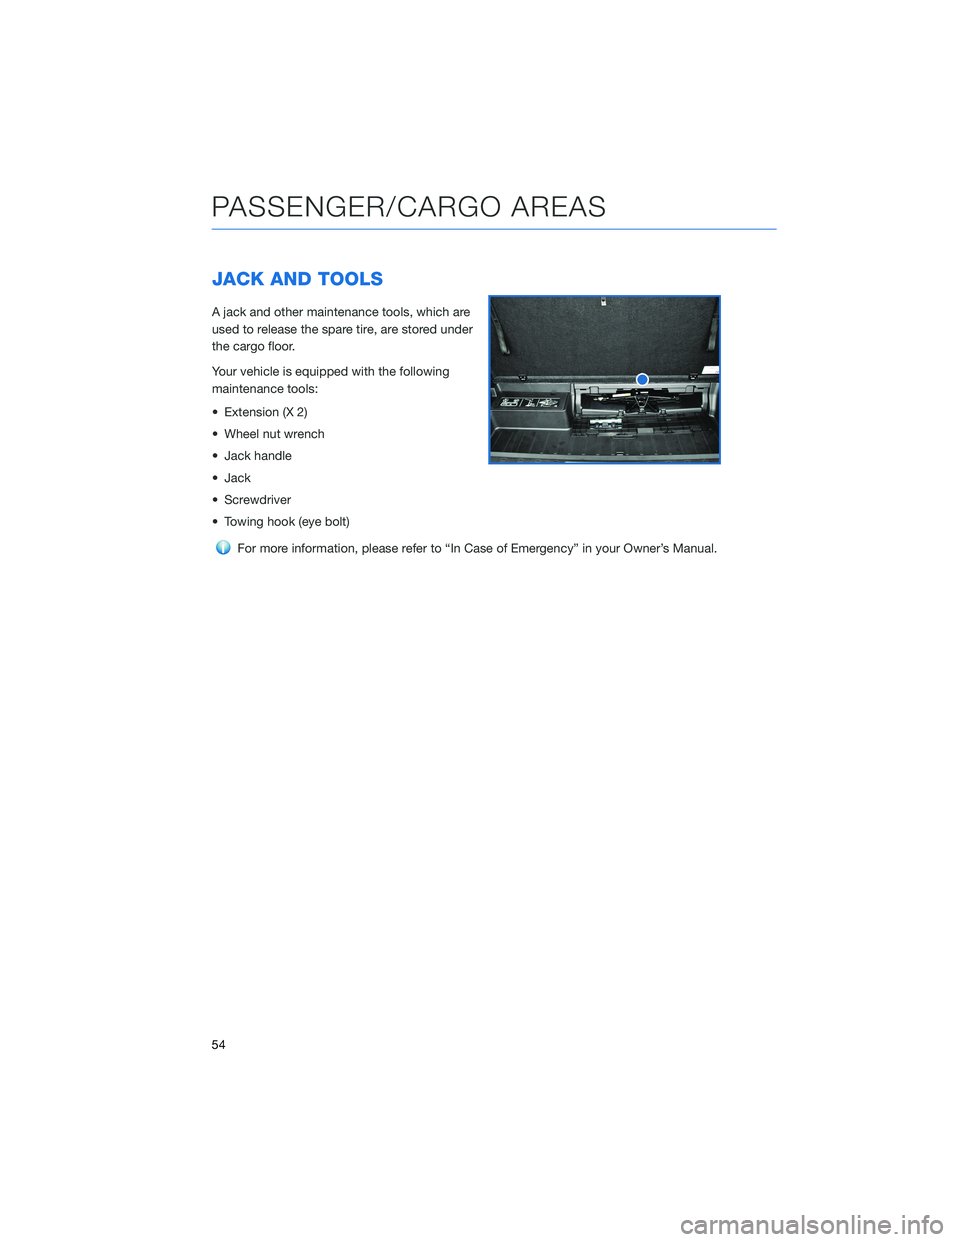
JACK AND TOOLS
A jack and other maintenance tools, which are
used to release the spare tire, are stored under
the cargo floor.
Your vehicle is equipped with the following
maintenance tools:
• Extension (X 2)
• Wheel nut wrench
• Jack handle
• Jack
• Screwdriver
• Towing hook (eye bolt)
For more information, please refer to “In Case of Emergency” in your Owner’s Manual.
PASSENGER/CARGO AREAS
54
Page 58 of 148
2.4 L ENGINE
1Brake Fluid Reservoir
2Fuse Box
3Battery
4Windshield Washer Tank
5Engine Oil Filler Cap6Radiator Cap
7Engine Coolant Reservoir
8Engine Oil Filter
9Engine Oil Dipstick
10Air Cleaner Element
The table below lists recommended first service items. Your maintenance needs may
vary depending on your driving conditions. Please consult with your retailer and refer to
the Warranty and Maintenance Booklet for complete information and recommended
replacement intervals.
Maintenance ItemMaintenance Interval
6 months
or
6,000 Miles12 months
or
12,000 Miles
Replace Engine Oil and Filter • •
Rotate and Inspect Tires • •
Replace HVAC System A/C filter •
Inspect Brake System, Steering
System, and Suspension Components•
ENGINE COMPARTMENT
56
Page 59 of 148
NEW VEHICLE BREAK-IN
The performance and long life of your Subaru are dependent on how you handle and care
for your Subaru while it is new.
Follow these instructions during the first 1,000 miles:
• Do not race the engine.
• Do not allow the engine speed to exceed 4,000 rpm except in an emergency.
• Do not drive at one consistent engine or vehicle speed for a long time, either fast or
slow.
• Avoid starting suddenly and rapid acceleration, except in an emergency.
• Avoid hard braking, except in an emergency.
ENGINE OIL
Use 0W-20 synthetic, with one of the following specifications:
• API classification SN with the words “RESOURCE CONSERVING”, SN PLUS with the
words “RESOURCE CONSERVING”, or SP with the words “RESOURCE CONSERVING”.
• ILSAC GF-5 or GF-6A, which can be identified with the ILSAC certification mark
(Starburst mark).
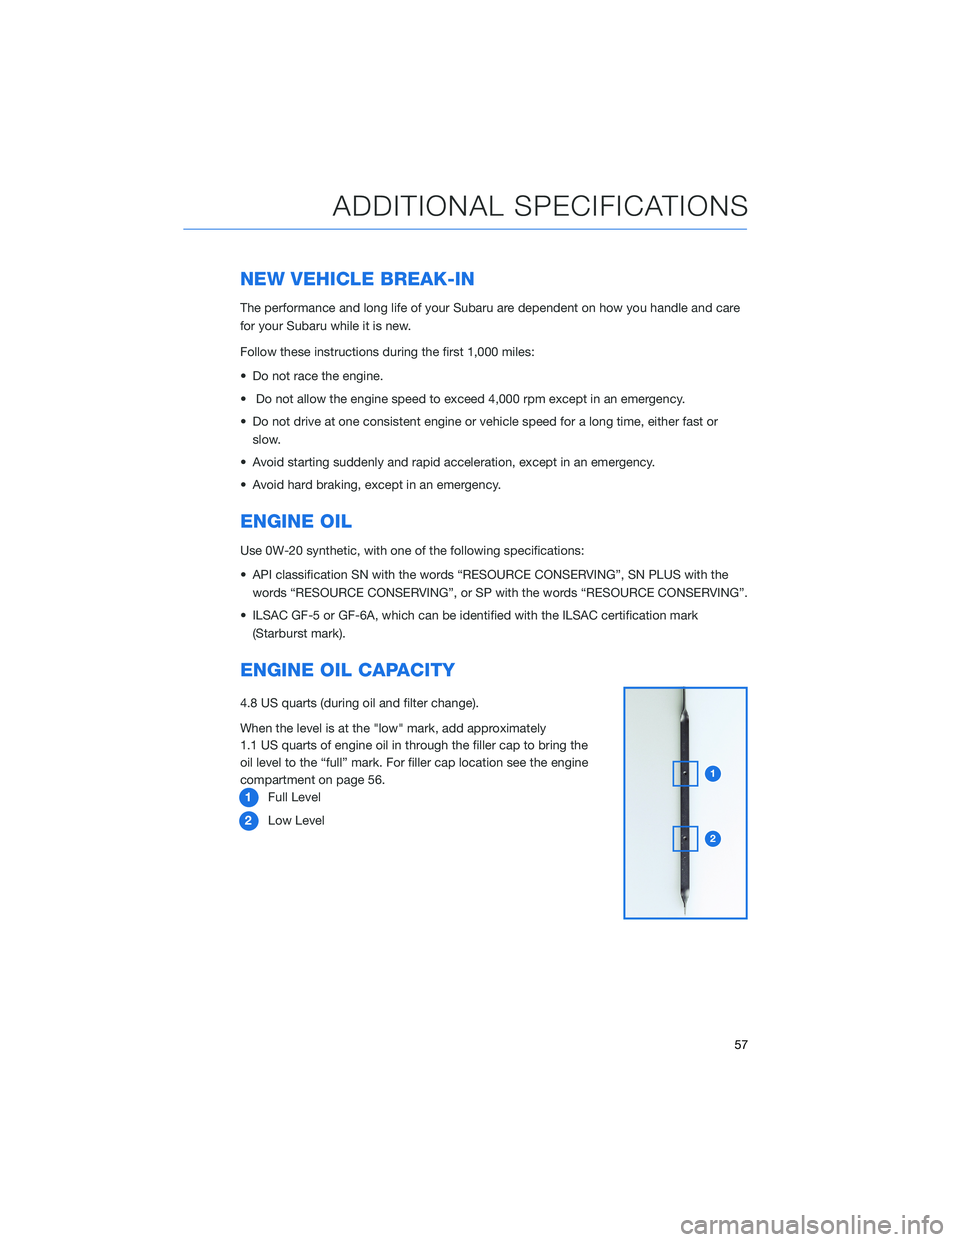
ENGINE OIL CAPACITY
4.8 US quarts (during oil and filter change).
When the level is at the "low" mark, add approximately
1.1 US quarts of engine oil in through the filler cap to bring the
oil level to the “full” mark. For filler cap location see the engine
compartment on page 56.
1Full Level
2Low Level
ADDITIONAL SPECIFICATIONS
57