2021 RAM PROMASTER CITY ESP
[x] Cancel search: ESPPage 67 of 280
STARTING AND OPERATING65
(Continued)
The following indicators should be used to
ensure that you have properly engaged the
transmission into the PARK position:
When shifting into PARK, push the lock
button on the gear selector and firmly move
the gear selector all the way forward until it
stops and is fully seated.
Look at the transmission gear position
display and verify that it indicates the PARK
position.
With brake pedal released, verify that the
gear selector will not move out of PARK.
REVERSE (R)
This range is for moving the vehicle backward.
Shift into REVERSE only after the vehicle has
come to a complete stop.
NEUTRAL (N)
Use this range when the vehicle is standing for
prolonged periods with the engine running.
Apply the parking brake and shift the
transmission into PARK if you must exit the
vehicle.When exiting the vehicle, always remove
the ignition key from the vehicle and lock
the vehicle.
Never leave children alone in a vehicle, or
with access to an unlocked vehicle.
Allowing children to be in a vehicle unat -
tended is dangerous for a number of
reasons. A child or others could be seriously
or fatally injured. Children should be
warned not to touch the parking brake,
brake pedal or the transmission gear
selector.
Do not leave the ignition key in or near the
vehicle (or in a location accessible to chil -
dren). A child could operate power windows,
other controls, or move the vehicle.
CAUTION!
Before moving the transmission gear
selector out of PARK, you must turn the igni -
tion to the ON/RUN mode, and also press
the brake pedal. Otherwise, damage to the
gear selector could result.
WARNING! (Continued)
DO NOT race the engine when shifting from
PARK or NEUTRAL into another gear range,
as this can damage the drivetrain.
CAUTION! (Continued)
WARNING!
Do not coast in NEUTRAL and never turn off
the ignition to coast down a hill. These are
unsafe practices that limit your response to
changing traffic or road conditions. You might
lose control of the vehicle and have a
collision.
CAUTION!
Towing the vehicle, coasting, or driving for any
other reason with the transmission in
NEUTRAL can cause severe transmission
damage.
For Recreational Towing Ú page 83.
For Towing A Disabled Vehicle Ú page 211.
4
21_VM_OM_EN_USC_t.book Page 65
Page 69 of 280
STARTING AND OPERATING67
Torque Converter Clutch
A feature designed to improve fuel economy
has been included in the automatic
transmission on your vehicle. A clutch within the
torque converter engages automatically at
calibrated speeds. This may result in a slightly
different feeling or response during normal
operation in the upper gears. When the vehicle
speed drops or during some accelerations, the
clutch automatically disengages.
NOTE:
The torque converter clutch will not engage until
the transmission fluid is warm [usually after 1 to
3 miles (2 to 5 km) of driving]. Because the
engine speed is higher when the torque
converter clutch is not engaged, it may seem as
if the transmission is not shifting properly when
cold. This is normal. The torque converter clutch
will function normally once the transmission is
sufficiently warm.
Electronic Range Select (ERS) Operation
The Electronic Range Select (ERS) shift control
allows the driver to limit the highest available
gear. For example, if you set the transmission
gear limit to fifth gear, the transmission will not
shift above fifth gear, but will shift through the
lower gears normally. You can switch between DRIVE and ERS mode
at any vehicle speed. When the gear selector is
in the DRIVE position, the transmission will
operate automatically, shifting between all
available gears.
Moving the gear selector to the ERS position
(beside DRIVE) will activate ERS mode, display
the current gear in the instrument cluster, and
set that gear as the top available gear. Once in
ERS mode, moving the gear selector forward (-)
or rearward (+) will change the top available
gear, which will be displayed in the instrument
cluster.
To exit ERS mode, simply return the gear
selector to the DRIVE position.
NOTE:
To select the proper gear position for maximum
deceleration (engine braking), move the gear
selector into the ERS position, then simply press
and hold it forward (-). The transmission will
shift to the range from which the vehicle can
best be slowed down.
POWER STEERING
The standard power steering system will give
you good vehicle response and increased ease
of maneuverability in tight spaces. The system
will provide mechanical steering capability if
power assist is lost.
If for some reason the power assist is
interrupted, it will still be possible to steer your
vehicle. Under these conditions, you will
observe a substantial increase in steering
effort, especially at very low vehicle speeds and
during parking maneuvers.
WARNING!
Do not downshift for additional engine
braking on a slippery surface. The drive
wheels could lose their grip and the vehicle
could skid, causing a collision or personal
injury.
4
21_VM_OM_EN_USC_t.book Page 67
Page 72 of 280

70STARTING AND OPERATING
To Resume Speed
To resume a previously set speed, push the
RES (+) button and release. Resume can be used
at any speed above 20 mph (32 km/h) up to the maximum speed of 100 mph (160 km/h).
To Deactivate
A tap on the brake pedal, pushing the CAN
button, or normal brake pressure will deactivate
the Cruise Control system without erasing the
set speed from memory.
Pushing the on/off button or turning the ignition
switch off erases the set speed from memory.
PARKSENSE REAR PARK ASSIST — IF
EQUIPPED
The ParkSense system provides an audible
indication of the distance between the rear
fascia/bumper and a detected obstacle when
backing up (e.g. during a parking maneuver)
Ú page 72.
The ParkSense system is automatically
activated when the transmission is placed into
REVERSE. As the distance from an obstacle
behind the vehicle decreases, the audible alert
becomes more frequent. Interaction With Trailer Towing
The ParkSense system is automatically
deactivated when a trailer equipped by Mopar is
hitched to the vehicle. The system will be
automatically activated as soon as the trailer is
removed. If it does not happen, turning the key
ignition switch to OFF and then to ON again
would be needed. If a non-Mopar trailer hitch is
mounted, the sensor deactivation cannot be
guaranteed.
ParkSense Rear Park Assist Sensors
The four ParkSense sensors, located in the rear
fascia/bumper, monitor the area behind the
vehicle that is within the sensors’ field of view.
The sensors can detect obstacles, in the
horizontal direction, from approximately
12 inches (30 cm) up to 55 inches (140 cm)
from the center of the rear fascia/bumper and
up to 24 inches (60 cm) from the corners of the
rear fascia/bumper, depending on the location,
type and orientation of the obstacle.
ParkSense Rear Park Assist Sensors Locations
If several obstacles are detected, the
ParkSense system indicates the nearest
obstacle.
The minimum height of a detectable obstacle
corresponds to the maximum height of an
obstacle that would clear the underside of the
vehicle during the parking maneuver.
21_VM_OM_EN_USC_t.book Page 70
Page 74 of 280

72STARTING AND OPERATING
(Continued)
ParkSense Rear Park Assist Failure
Indications
A malfunction of the ParkSense sensors or
system is indicated, during REVERSE gear
engagement, by the instrument panel warning
icon.The warning icon is illuminated and a
message is displayed on the
instrument cluster display (if
equipped) Ú page 49.
The sensors and wiring are tested continuously
when the ignition is in the MAR (ACC/ON/RUN)
position. Failures are indicated immediately if
they occur when the system is on.
Even if the system is able to identify that a
specific sensor is in failure condition, the
instrument cluster display shall indicate that
the ParkSense system is unavailable, without
reference to the sensor in failure condition. If
even a single sensor fails, the entire system will
be disabled. The system is turned off
automatically.
Cleaning The ParkSense Rear Park Assist
System
Clean the ParkSense sensors with water, car
wash soap and a soft cloth. Do not use rough or
hard cloths. In washing stations, clean sensors
quickly while keeping the vapor jet/high
pressure washing nozzles at least 4 inches
(10 cm) from the sensors. Do not scratch or
poke the sensors. Otherwise, you could damage
the sensors.
ParkSense Rear Park Assist System Usage
Precautions
NOTE:
Ensure that the outer surface and the under -
side of the rear fascia/bumper is clean and
clear of snow, ice, mud, dirt or other obstruc -
tion to keep the ParkSense Rear Park Assist
system operating properly.
Jackhammers, large trucks, and other vibra -
tions could affect the performance of the
ParkSense system.
Clean the ParkSense sensors regularly,
taking care not to scratch or damage them.
The sensors must not be covered with ice,
snow, slush, mud, dirt or debris. Failure to do so can result in the system not working prop
-
erly. The ParkSense system might not detect
an obstacle behind the fascia/bumper, or it
could provide a false indication that an
obstacle is behind the fascia/bumper.
Objects such as bicycle carriers, etc., must
not be placed within 12 inches (30 cm) from
the rear fascia/bumper while driving the
vehicle. Failure to do so can result in the
system misinterpreting a close object as a
sensor problem, causing a failure indication
to be displayed in the instrument cluster
display.
WARNING!
Drivers must be careful when backing up
even when using ParkSense. Always check
carefully behind your vehicle, look behind
you, and be sure to check for pedestrians,
animals, other vehicles, obstructions, and
blind spots before backing up. You are
responsible for safety and must continue to
pay attention to your surroundings. Failure
to do so can result in serious injury or
death.
21_VM_OM_EN_USC_t.book Page 72
Page 76 of 280
74STARTING AND OPERATING
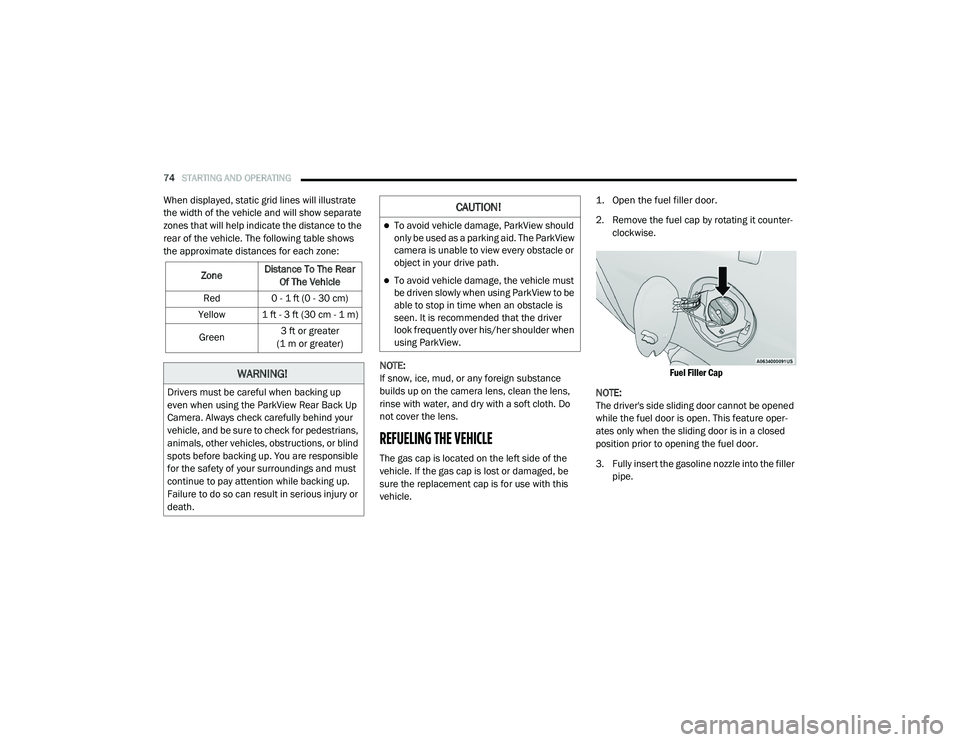
When displayed, static grid lines will illustrate
the width of the vehicle and will show separate
zones that will help indicate the distance to the
rear of the vehicle. The following table shows
the approximate distances for each zone:
NOTE:
If snow, ice, mud, or any foreign substance
builds up on the camera lens, clean the lens,
rinse with water, and dry with a soft cloth. Do
not cover the lens.
REFUELING THE VEHICLE
The gas cap is located on the left side of the
vehicle. If the gas cap is lost or damaged, be
sure the replacement cap is for use with this
vehicle.
1. Open the fuel filler door.
2. Remove the fuel cap by rotating it counter
-
clockwise.
Fuel Filler Cap
NOTE:
The driver's side sliding door cannot be opened
while the fuel door is open. This feature oper -
ates only when the sliding door is in a closed
position prior to opening the fuel door.
3. Fully insert the gasoline nozzle into the filler pipe.
Zone
Distance To The Rear
Of The Vehicle
Red 0 - 1 ft (0 - 30 cm)
Yellow 1 ft - 3 ft (30 cm - 1 m)
Green 3 ft or greater
(1 m or greater)
WARNING!
Drivers must be careful when backing up
even when using the ParkView Rear Back Up
Camera. Always check carefully behind your
vehicle, and be sure to check for pedestrians,
animals, other vehicles, obstructions, or blind
spots before backing up. You are responsible
for the safety of your surroundings and must
continue to pay attention while backing up.
Failure to do so can result in serious injury or
death.
CAUTION!
To avoid vehicle damage, ParkView should
only be used as a parking aid. The ParkView
camera is unable to view every obstacle or
object in your drive path.
To avoid vehicle damage, the vehicle must
be driven slowly when using ParkView to be
able to stop in time when an obstacle is
seen. It is recommended that the driver
look frequently over his/her shoulder when
using ParkView.
21_VM_OM_EN_USC_t.book Page 74
Page 91 of 280
MULTIMEDIA89
Display
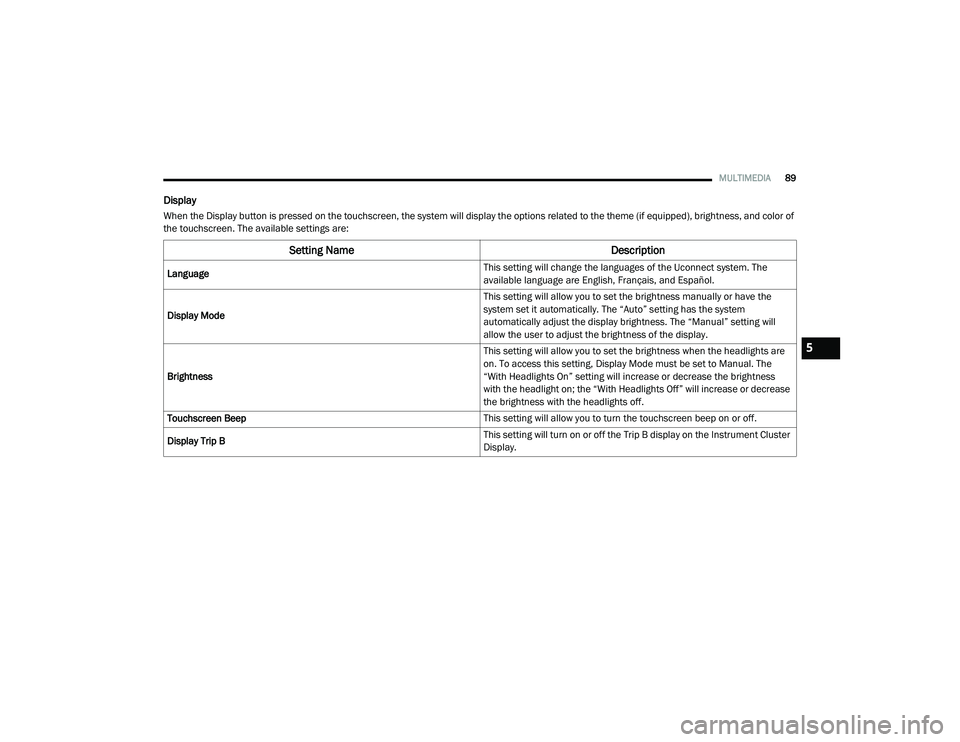
When the Display button is pressed on the touchscreen, the system will display the options related to the theme (if equipped), brightness, and color of
the touchscreen. The available settings are:
Setting Name Description
Language This setting will change the languages of the Uconnect system. The
available language are English, Français, and Español.
Display Mode This setting will allow you to set the brightness manually or have the
system set it automatically. The “Auto” setting has the system
automatically adjust the display brightness. The “Manual” setting will
allow the user to adjust the brightness of the display.
Brightness This setting will allow you to set the brightness when the headlights are
on. To access this setting, Display Mode must be set to Manual. The
“With Headlights On” setting will increase or decrease the brightness
with the headlight on; the “With Headlights Off” will increase or decrease
the brightness with the headlights off.
Touchscreen Beep This setting will allow you to turn the touchscreen beep on or off.
Display Trip B This setting will turn on or off the Trip B display on the Instrument Cluster
Display.
5
21_VM_OM_EN_USC_t.book Page 89
Page 92 of 280
90MULTIMEDIA
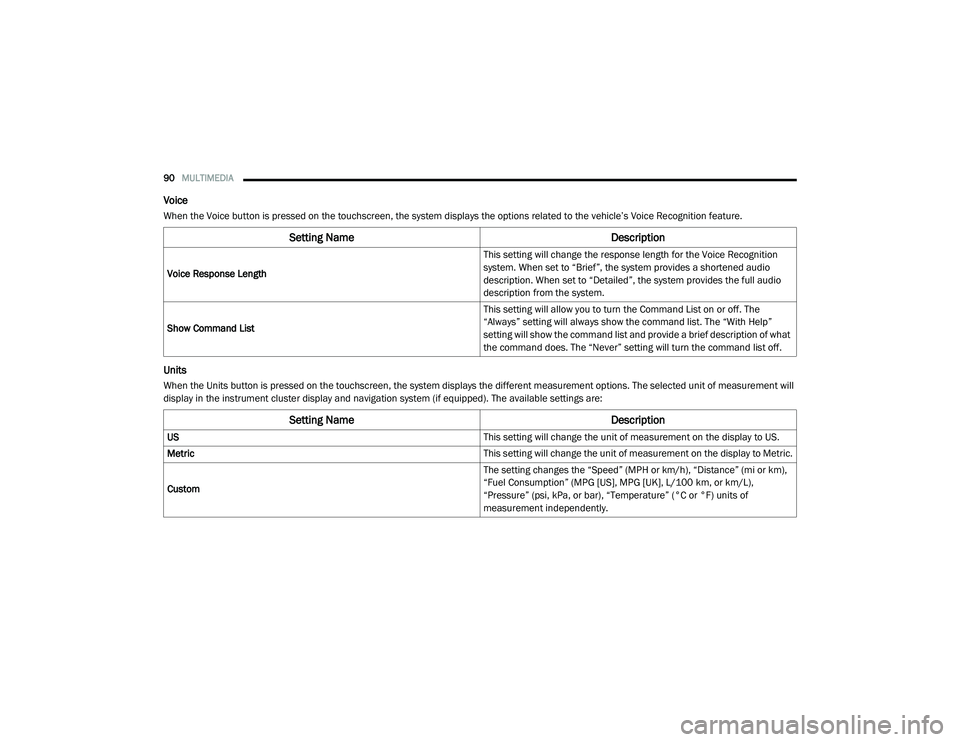
Voice
When the Voice button is pressed on the touchscreen, the system displays the options related to the vehicle’s Voice Recognition feature.
Units
When the Units button is pressed on the touchscreen, the system displays the different measurement options. The selected unit of measurement will
display in the instrument cluster display and navigation system (if equipped). The available settings are:
Setting Name Description
Voice Response Length This setting will change the response length for the Voice Recognition
system. When set to “Brief”, the system provides a shortened audio
description. When set to “Detailed”, the system provides the full audio
description from the system.
Show Command List This setting will allow you to turn the Command List on or off. The
“Always” setting will always show the command list. The “With Help”
setting will show the command list and provide a brief description of what
the command does. The “Never” setting will turn the command list off.
Setting Name
Description
US This setting will change the unit of measurement on the display to US.
Metric This setting will change the unit of measurement on the display to Metric.
Custom The setting changes the “Speed” (MPH or km/h), “Distance” (mi or km),
“Fuel Consumption” (MPG [US], MPG [UK], L/100 km, or km/L),
“Pressure” (psi, kPa, or bar), “Temperature” (°C or °F) units of
measurement independently.
21_VM_OM_EN_USC_t.book Page 90
Page 101 of 280
MULTIMEDIA99
Safety And General Information
Safety Guidelines
Please read the manual carefully before using
the system. It contains instructions on how to
use the system in a safe and effective manner.
Please read and follow these safety
precautions. Failure to do so may result in injury
or property damage.
Glance at the screen only when it is safe to do
so. If prolonged viewing of the screen is
required, park in a safe location and set the
parking brake.
Stop use immediately if a problem occurs.
Failure to do so may cause injury or damage
to the product. Return it to an authorized
dealer to repair.
Ensure the volume level of the system is set
to a level that still allows you to hear outside
traffic and emergency vehicles.
Safe Usage Of The Uconnect System
Your system is a sophisticated electronic
device. Do not let young children use your
system.
Permanent hearing loss may occur if you play
your music or sound system at loud volumes.
Exercise caution when setting the volume on
your system.
Keep drinks, rain and other sources of mois -
ture away from your system. Besides damage
to your system, moisture can cause electric
shocks as with any electronic device. NOTE:
Many features of this system are speed depen
-
dent. For your own safety, it is not possible to
use some of the touchscreen features while the
vehicle is in motion.
Care And Maintenance
Touchscreen
Do not press the touchscreen with any hard
or sharp objects (pen, USB stick, jewelry, etc.)
which could scratch the touchscreen surface!
Do not spray any liquid or caustic chemicals
directly on the screen! Use a clean and dry
microfiber lens cleaning cloth in order to
clean the touchscreen.
If necessary, use a lint-free cloth dampened
with a cleaning solution, such as isopropyl
alcohol or an isopropyl alcohol and water
solution ratio of 50:50. Be sure to follow the
solvent manufacturer's precautions and
directions Ú page 265.
WARNING!
ALWAYS drive safely with your hands on the
steering wheel. You have full responsibility
and assume all risks related to the use of the
Uconnect features and applications in this
vehicle. Only use Uconnect when it is safe to
do so. Failure to do so may result in an
accident involving serious injury or death.
CAUTION!
Do NOT attach any object to the touchscreen,
doing so can result in breaking the
touchscreen.
5
21_VM_OM_EN_USC_t.book Page 99