2020 Ram ProMaster City service
[x] Cancel search: servicePage 174 of 350

STARTING AND OPERATING 171
POWER STEERING
The standard power steering system will give you good
vehicle response and increased ease of maneuverability in
tight spaces. The system will provide mechanical steering
capability if power assist is lost.
If for some reason the power assist is interrupted, it will still be
possible to steer your vehicle. Under these conditions, you will
observe a substantial increase in steering effort, especially at
very low vehicle speeds and during parking maneuvers.
NOTE:
• Increased noise levels at the end of the steering wheeltravel are considered normal and do not indicate that there
is a problem with the power steering system.
• Upon initial start-up in cold weather, the power steering pump may make noise for a short amount of time. This is
due to the cold, thick fluid in the steering system. This
noise should be considered normal, and it does not in any
way damage the steering system.
Power Steering Fluid Check
Checking the power steering fluid level at a defined service
interval is not required. The fluid should only be checked if
a leak is suspected, abnormal noises are apparent, and/or
the system is not functioning as anticipated. Coordinate
inspection efforts through your authorized dealer. CAUTION!
Prolonged operation of the steering system at the end of
the steering wheel travel will increase the steering fluid
temperature and it should be avoided when possible.
Damage to the power steering pump may occur.
WARNING!
Fluid level should be checked on a level surface and with
the engine off to prevent injury from moving parts and
to ensure accurate fluid level reading. Do not overfill.
Use only manufacturer's recommended power steering
fluid.
5
2020_RAM_PROMASTER_CITY_OM_USA=GUID-7B6A7FCA-79B0-423F-95C5-ED2A949C3D13=1=en=.book Page 171
Page 186 of 350

STARTING AND OPERATING 183
Gross Vehicle Weight Rating (GVWR)
The GVWR is the total allowable weight of your vehicle. This
includes driver, passengers, and cargo. The total load must
be limited so that you do not exceed the GVWR.
Gross Axle Weight Rating (GAWR)
The GAWR is the maximum capacity of the front and rear
axles. Distribute the load over the front and rear axles evenly.
Make sure that you do not exceed either front or rear GAWR.
Tire Size
The tire size on the Vehicle Certification Label represents the
actual tire size on your vehicle. Replacement tires must be
equal to the load capacity of this tire size.
Rim Size
This is the rim size that is appropriate for the tire size listed.
Inflation Pressure
This is the cold tire inflation pressure for your vehicle for all
loading conditions up to full GAWR.
Curb Weight
The curb weight of a vehicle is defined as the total weight of
the vehicle with all fluids, including vehicle fuel, at full
capacity conditions, and with no occupants or cargo loaded
into the vehicle. The front and rear curb weight values are
determined by weighing your vehicle on a commercial scale
before any occupants or cargo are added.
Overloading
The load carrying components (axle, springs, tires, wheels,
etc.) of your vehicle will provide satisfactory service as long
as you do not exceed the GVWR and the front and rear
GAWR.
The best way to figure out the total weight of your vehicle is
to weigh it when it is fully loaded and ready for operation.
Weigh it on a commercial scale to ensure that it is not over
the GVWR.
WARNING!
Because the front wheels steer the vehicle, it is important
that you do not exceed the maximum front or rear
GAWR. A dangerous driving condition can result if
either rating is exceeded. You could lose control of the
vehicle and have a collision.5
2020_RAM_PROMASTER_CITY_OM_USA=GUID-7B6A7FCA-79B0-423F-95C5-ED2A949C3D13=1=en=.book Page 183
Page 187 of 350

184 STARTING AND OPERATING
Figure out the weight on the front and rear of the vehicle
separately. It is important that you distribute the load evenly
over the front and rear axles.
Overloading can cause potential safety hazards and shorten
useful service life. Heavier axles or suspension components
do not necessarily increase the vehicle's GVWR.
Loading
To load your vehicle properly, first figure out its empty
weight, axle-by-axle and side-by-side. Store heavier items
down low and be sure you distribute their weight as evenly
as possible. Stow all loose items securely before driving. If
weighing the loaded vehicle shows that you have exceeded
either GAWR, but the total load is within the specified
GVWR, you must redistribute the weight. Improper weight
distribution can have an adverse effect on the way your
vehicle steers and handles and the way the brakes operate.
NOTE:
Refer to the “Vehicle Certification Label” affixed to the
B-Pillar or the rear of the driver's door for your vehicle's
GVWR and GAWRs.
TRAILER TOWING
In this section you will find safety tips and information on
limits to the type of towing you can reasonably do with your
vehicle. Before towing a trailer, carefully review this infor-
mation to tow your load as efficiently and safely as possible.
To maintain the New Vehicle Limited Warranty coverage,
follow the requirements and recommendations in this
manual concerning vehicles used for trailer towing.
Common Towing Definitions
The following trailer towing related definitions will assist
you in understanding the following information:
Gross Vehicle Weight Rating (GVWR)
The GVWR is the total allowable weight of your vehicle. This
includes driver, passengers, cargo and tongue weight. The
total load must be limited so that you do not exceed the
GVWR. Refer to “Vehicle Loading/Vehicle Certification
Label” in this chapter for further information.
2020_RAM_PROMASTER_CITY_OM_USA=GUID-7B6A7FCA-79B0-423F-95C5-ED2A949C3D13=1=en=.book Page 184
Page 204 of 350

IN CASE OF EMERGENCY 201
Replacing Exterior Bulbs
Headlamps
To change the bulb, proceed as follows:
1. Remove the plastic cap from the back of the headlamphousing.
2. Rotate the bulb counterclockwise.
3. Remove the bulb and replace as needed. 4. Install the bulb and rotate clockwise to lock in place.
5. Reinstall the plastic cap.
Front Turn Signal Lamps
To change the bulb, proceed as follows:
1. Remove the cap from the back of the outer upper head
-
lamp housing.
2. Rotate the bulb counterclockwise and remove.
Rear Stop Lamp
P21W
Rear Turn Signal Lamps PY21W
Rear Tail Lamps P21/5W
Rear Side Marker Lamps LED (See an authorized dealer)
Center Mount Brake Lamp W5W
Reverse Light W16W
Front Fog Lamps H11
NOTE:
Numbers refer to commercial bulb types that can be purchased from your authorized dealer. If a bulb needs to be replaced
visit an authorized dealer or refer to the applicable Service Manual. Exterior Bulbs
Lamps Bulb Number
6
2020_RAM_PROMASTER_CITY_OM_USA=GUID-7B6A7FCA-79B0-423F-95C5-ED2A949C3D13=1=en=.book Page 201
Page 205 of 350

202 IN CASE OF EMERGENCY
3. Install the bulb into socket.
4. Rotate the bulb/socket clockwise into the lamp locking itin place.
5. Reinstall the plastic cap.
Parking And Daytime Running Lights
To change the bulb, proceed as follows:
1. Remove the cap from the back of the outer lower head -
lamp housing.
2. Rotate the bulb counterclockwise and remove.
3. Install the bulb into socket, and rotate bulb/socket clock -
wise into lamp locking it in place.
4. Reinstall the plastic cap.
Front/Rear Side Marker Lamps
To change the bulb, proceed as follows:
The front/rear side marker lamps are LED and not serviced
separately. See an authorized dealer for replacement of these
lights. Rear Tail, Stop, Backup And Turn Signal Lamps
The rear light clusters contain taillight, brake light, direction
indicator and reverse/rear fog light bulbs. To access the light
clusters, proceed as follows:
1. Open the rear doors.
2. Remove the screws and remove the tail lamp assembly.
3. Remove the screws and separate the backplate from the
lamp housing.
4. Remove the tail, stop, or turn signal bulbs by pushing them slightly and turning counterclockwise.
5. Remove the backup lamp bulb by pulling straight out.
6. Replace lamps as required and reinstall lamp.
The bulbs are arranged inside the light cluster as follows:
2020_RAM_PROMASTER_CITY_OM_USA=GUID-7B6A7FCA-79B0-423F-95C5-ED2A949C3D13=1=en=.book Page 202
Page 209 of 350

206 IN CASE OF EMERGENCY
FUSESUnderhood Fuses
The Front Distribution Unit is located on the right side of the
engine compartment, next to the battery. To access the fuses,
remove fasteners and remove the cover.
Front Distribution Unit
The ID number of the electrical component corresponding to
each fuse can be found on the back of the cover.WARNING!
• When replacing a blown fuse, always use an appro -
priate replacement fuse with the same amp rating as the
original fuse. Never replace a fuse with another fuse of
higher amp rating. Never replace a blown fuse with
metal wires or any other material. Do not place a fuse
inside a circuit breaker cavity or vice versa. Failure to
use proper fuses may result in serious personal injury,
fire and/or property damage.
• Before replacing a fuse, make sure that the ignition is off and that all the other services are switched off and/
or disengaged.
• If the replaced fuse blows again, contact an authorized dealer.
• If a general protection fuse for safety systems (air bag system, braking system), power unit systems (engine
system, transmission system) or steering system blows,
contact an authorized dealer.
2020_RAM_PROMASTER_CITY_OM_USA=GUID-7B6A7FCA-79B0-423F-95C5-ED2A949C3D13=1=en=.book Page 206
Page 215 of 350

212 IN CASE OF EMERGENCY
JACKING AND TIRE CHANGING Jack Location — If Equipped
The jack and tools are stowed under the rear drivers front
seat or in the rear cargo area. It depends on the trim level.
Jack/Tools LocationWARNING!
• Do not attempt to change a tire on the side of the vehicle close to moving traffic. Pull far enough off the road to
avoid the danger of being hit when operating the jack
or changing the wheel.
• Being under a jacked-up vehicle is dangerous. The vehicle could slip off the jack and fall on you. You
could be crushed. Never put any part of your body
under a vehicle that is on a jack. If you need to get
under a raised vehicle, take it to a service center where
it can be raised on a lift.
• Never start or run the engine while the vehicle is on a jack.
• The jack is designed to be used as a tool for changing tires only. The jack should not be used to lift the
vehicle for service purposes. The vehicle should be
jacked on a firm level surface only. Avoid ice or slip -
pery areas.
2020_RAM_PROMASTER_CITY_OM_USA=GUID-7B6A7FCA-79B0-423F-95C5-ED2A949C3D13=1=en=.book Page 212
Page 221 of 350

218 IN CASE OF EMERGENCY
(Continued)
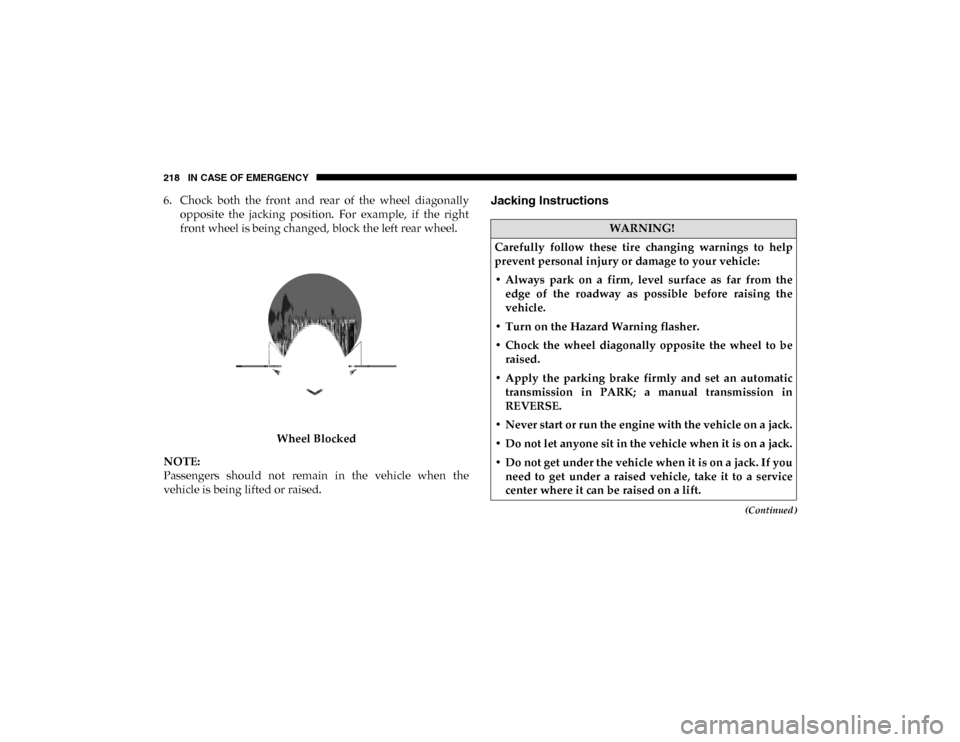
6. Chock both the front and rear of the wheel diagonallyopposite the jacking position. For example, if the right
front wheel is being changed, block the left rear wheel.
Wheel Blocked
NOTE:
Passengers should not remain in the vehicle when the
vehicle is being lifted or raised.Jacking Instructions
WARNING!
Carefully follow these tire changing warnings to help
prevent personal injury or damage to your vehicle:
• Always park on a firm, level surface as far from the edge of the roadway as possible before raising the
vehicle.
• Turn on the Hazard Warning flasher.
• Chock the wheel diagonally opposite the wheel to be raised.
• Apply the parking brake firmly and set an automatic transmission in PARK; a manual transmission in
REVERSE.
• Never start or run the engine with the vehicle on a jack.
• Do not let anyone sit in the vehicle when it is on a jack.
• Do not get under the vehicle when it is on a jack. If you need to get under a raised vehicle, take it to a service
center where it can be raised on a lift.
2020_RAM_PROMASTER_CITY_OM_USA=GUID-7B6A7FCA-79B0-423F-95C5-ED2A949C3D13=1=en=.book Page 218