2020 PEUGEOT PARTNER TEPEE fuel consumption
[x] Cancel search: fuel consumptionPage 7 of 216

5
As a passenger, if you avoid connecting your
multimedia devices (film, music, video game,
etc.), you will contribute towards limiting
the consumption of electrical energy and
therefore of fuel.
Disconnect your portable devices before
leaving the vehicle.
Eco- driving
Eco-driving is a range of everyday practices that allow the motorist to optimise their fuel consumption and CO2 emissions.
Optimise the use of your
gearbox
With a manual gearbox, move off gently and
change up without waiting. While accelerating,
change up early.
With an automatic gearbox, give preference
to automatic mode and avoid pressing the
accelerator pedal heavily or suddenly.
The gear shift indicator invites you to engage
the most suitable gear: as soon as the
indication is displayed in the instrument panel,
follow it straight away.
For vehicles fitted with an automatic gearbox,
this indicator appears only in manual mode.
Drive smoothly
Maintain a safe distance between vehicles,
use engine braking rather than the brake
pedal and press the accelerator gradually.
These practices contribute towards a
reduction in fuel consumption and CO
2
emissions and also help to reduce the
background traffic noise.
If your vehicle has cruise control, make use of
the system at speeds above 25
mph (40 km/h)
when the traffic is flowing well.
Control the use of your electrical
equipment
Before moving off, if the passenger
compartment is too warm, ventilate it by opening
the windows and air vents before using the air
conditioning.
Above 31
mph (50 km/h), close the windows and
open the air vents.
Consider using equipment that can help keep
the temperature in the passenger compartment
down (sunroof blind and window blinds, etc.).
Switch off the headlamps and foglamps when
there is sufficient visibility without them.
Avoid running the engine before moving off,
particularly in winter; your vehicle will warm up
much faster while driving.
Unless it has automatic regulation, switch off
the air conditioning as soon as the desired
temperature has been reached.
Switch off the demisting and defrosting controls,
if these are not automatically managed.
Switch off the heated seat as soon as possible.
.
.
Eco-drivingsommaire
Page 8 of 216

6
Limit the causes of excess
consumption
Spread loads throughout the vehicle; place
the heaviest items in the bottom of the boot,
as close as possible to the rear seats.
Limit the loads carried in the vehicle and
reduce wind resistance (roof bars, roof rack,
bicycle carrier, trailer, etc.). Preferably, use a
roof box.
Remove roof bars and the roof rack after use.
At the end of winter, remove snow tyres and
refit your summer tyres.
Observe the recommendations
on maintenance
Check the tyre pressures regularly, when cold,
referring to the label in the door aperture,
driver's side.
Carry out this check in particular:
-
b
efore a long journey,
-
a
t each change of season,
-
a
fter a long period out of use.
Do not forget the spare wheel and the tyres on
any trailer or caravan. Have your vehicle ser viced regularly (engine
oil, oil filter, air filter, passenger compartment
filter, etc.) and obser ve the schedule of
operations in the manufacturer's service
schedule.
When filling the tank, do not continue after the
3
rd cut-off of the nozzle to avoid over flow.
At the wheel of your new vehicle, it is only
after the first 1,900
miles (3,000 kilometres)
that you will see the fuel consumption settle
down to a consistent average. With a BlueHDi Diesel engine, if the SCR
system is faulty, your vehicle becomes
polluting. Visit a PEUGEOT dealer or a
qualified workshop as soon as possible to
bring your vehicle’s nitrogen oxide emissions
back in line with the regulations.
Eco-driving
Page 18 of 216

16
Warning/indicator lampStateIndicates Action/Observations
Dipped beam
headlamps/daytime
running lamps Fixed.
A manual selection or automatic
illumination. Rotate the lighting control stalk ring to the second
position.
Activation of the dipped beam
headlamps on switching on the
ignition: daytime running lamps
(depending on country of sale).
Blue warning/indicator lamps
Main beam
headlamps Fixed.
The lighting control stalk has
been pulled towards you. Pull the stalk to return to dipped beam headlamps.
Warning/indicator lamp in
the display screen State
Indicates Action/Observations
Cruise control Fixed. Cruise control is selected. Manual selection.
For more information on the Cruise control , refer to
the corresponding section.
Speed limiter Fixed. The limiter is selected. Manual selection.
For more information on the Speed limiter , refer to
the corresponding section.
Gear shift
indicator Fixed.
A recommendation which does
not take into account the road
configuration and the traffic
density. To reduce fuel consumption with a manual gearbox,
engage the appropriate gear. The driver remains
responsible for deciding whether or not to follow this
advice.
Instruments
Page 25 of 216

23
Each press of the button on the end of the
wiper control stalk allows you to scroll through
the various trip computer information displays,
depending on the screen.
The "vehicle" tab with the range, current fuel
consumption and remaining distance to travel.
The "1" tab (trip 1) with the average speed,
average fuel consumption and distance
travelled in trip 1 .
The "2" tab (trip 2) with the same information
for a 2
nd trip.
Zero reset
F When the desired trip is displayed, press the control for more than two seconds.
A few definitions
Range: displays the distance that can still be
travelled with the fuel detected in the tank on
the basis of the average consumption over the
last few miles (kilometres) travelled. If dashes instead of figures continue to
be displayed when driving, contact a
PEUGEOT dealer.
This displayed value can vary greatly
following a change in the vehicle's driving
conditions or the terrain. When the range falls below 19
miles (30 km),
dashes are displayed. After filling with at least
10 litres of fuel, the range is recalculated and is
displayed if it exceeds 62 miles (100 km).
Current fuel consumption: calculated
and displayed only when exceeding 19 mph
(30
km/h).
Average consumption: this is the average
fuel consumption since the last trip computer
zero reset.
Distance travelled: calculated from the last
trip computer zero reset.
Remaining distance: calculated according
to the final destination entered by the user. If
navigation is activated, the navigation system
calculates it instantaneously.
Average speed: this is the average speed
calculated since the last trip computer zero
reset (with the ignition on).
Date and time setting
Centre console without
screen
To adjust the time on the clock, use the left-
hand button on the instrument panel.
F
T
urn to the left: the minutes flash.
F
T
urn to the right to increase the minutes
(hold the button towards the right to scroll
through faster).
F
T
urn to the left: the hours flash.
F
T
urn to the right to increase the hours (hold
the button towards the right to scroll through
faster).
F
T
urn to the left: 24H or 12H is displayed.
F
T
urn to the right to select 24H or 12H.
F
T
urn to the left to finish setting the time.
The usual screen displays again when the
button has not been pressed for approximately
30
seconds.
1
Instruments
Page 41 of 216

39
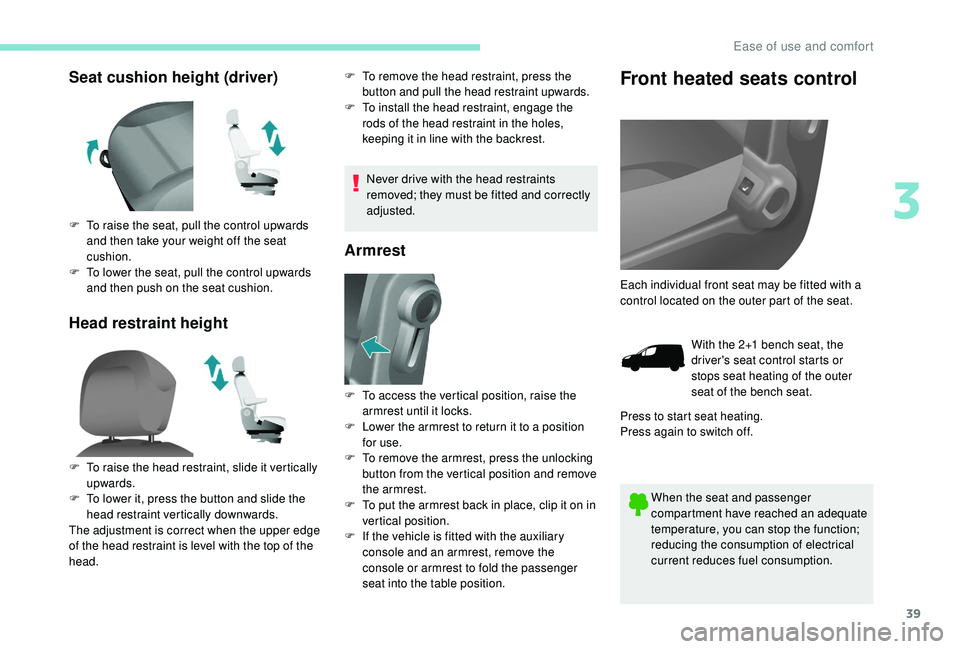
Seat cushion height (driver)
Head restraint heightF To remove the head restraint, press the button and pull the head restraint upwards.
F
T
o install the head restraint, engage the
rods of the head restraint in the holes,
keeping it in line with the backrest.
Never drive with the head restraints
removed; they must be fitted and correctly
adjusted.
Armrest
Front heated seats control
When the seat and passenger
compartment have reached an adequate
temperature, you can stop the function;
reducing the consumption of electrical
current reduces fuel consumption.
F
T
o raise the seat, pull the control upwards
and then take your weight off the seat
cushion.
F
T
o lower the seat, pull the control upwards
and then push on the seat cushion.
F
T
o raise the head restraint, slide it vertically
upwards.
F
T
o lower it, press the button and slide the
head restraint vertically downwards.
The adjustment is correct when the upper edge
of the head restraint is level with the top of the
head. F
T
o access the vertical position, raise the
armrest until it locks.
F
L
ower the armrest to return it to a position
for use.
F
T
o remove the armrest, press the unlocking
button from the vertical position and remove
the armrest.
F
T
o put the armrest back in place, clip it on in
vertical position.
F
I
f the vehicle is fitted with the auxiliary
console and an armrest, remove the
console or armrest to fold the passenger
seat into the table position. Each individual front seat may be fitted with a
control located on the outer part of the seat.
With the 2+1 bench seat, the
driver's seat control starts or
stops seat heating of the outer
seat of the bench seat.
Press to start seat heating.
Press again to switch off.
3
Ease of use and comfort
Page 109 of 216

107
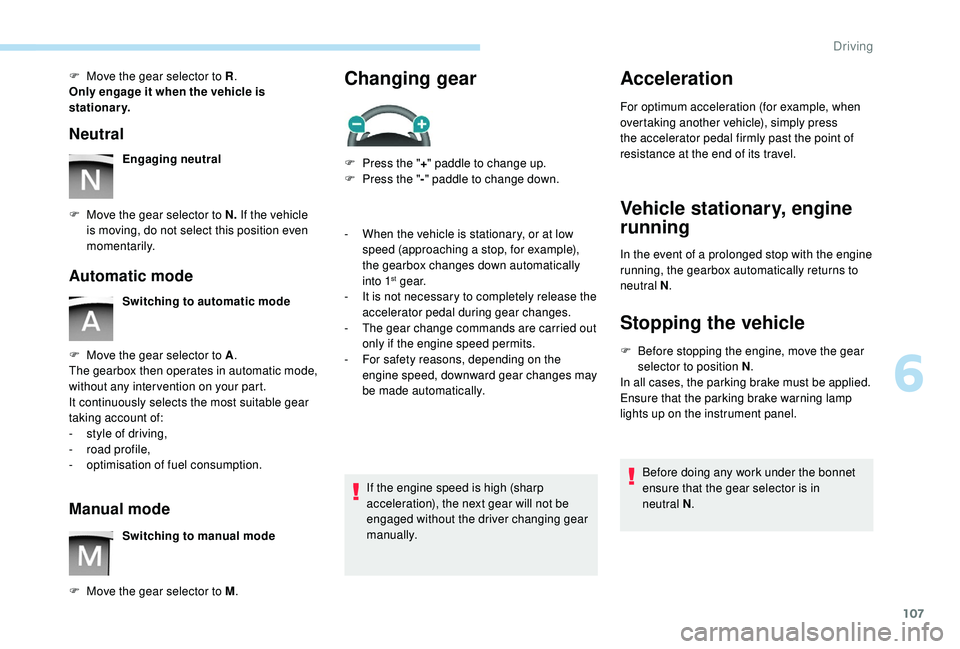
F Move the gear selector to R.
Only engage it when the vehicle is
stationary.
Neutral
Engaging neutral
F
M
ove the gear selector to N. If the vehicle
is moving, do not select this position even
m o m e nt a r i l y.
Automatic mode
Switching to automatic mode
F
M
ove the gear selector to A .
The gearbox then operates in automatic mode,
without any inter vention on your part.
It continuously selects the most suitable gear
taking account of:
-
s
tyle of driving,
-
ro
ad profile,
-
o
ptimisation of fuel consumption.
Manual mode
Switching to manual mode
F
M
ove the gear selector to M .
Changing gear
F Press the "+" paddle to change up.
F P ress the " -" paddle to change down.
-
W
hen the vehicle is stationary, or at low
speed (approaching a stop, for example),
the gearbox changes down automatically
into 1
st g e a r.
-
I
t is not necessary to completely release the
accelerator pedal during gear changes.
-
T
he gear change commands are carried out
only if the engine speed permits.
-
F
or safety reasons, depending on the
engine speed, downward gear changes may
be made automatically.
If the engine speed is high (sharp
acceleration), the next gear will not be
engaged without the driver changing gear
manually.
Acceleration
For optimum acceleration (for example, when
overtaking another vehicle), simply press
the accelerator pedal firmly past the point of
resistance at the end of its travel.
Vehicle stationary, engine
running
In the event of a prolonged stop with the engine
running, the gearbox automatically returns to
neutral N .
Stopping the vehicle
F Before stopping the engine, move the gear
selector to position N .
In all cases, the parking brake must be applied.
Ensure that the parking brake warning lamp
lights up on the instrument panel.
Before doing any work under the bonnet
ensure that the gear selector is in
neutral
N.
6
Driving
Page 110 of 216

108
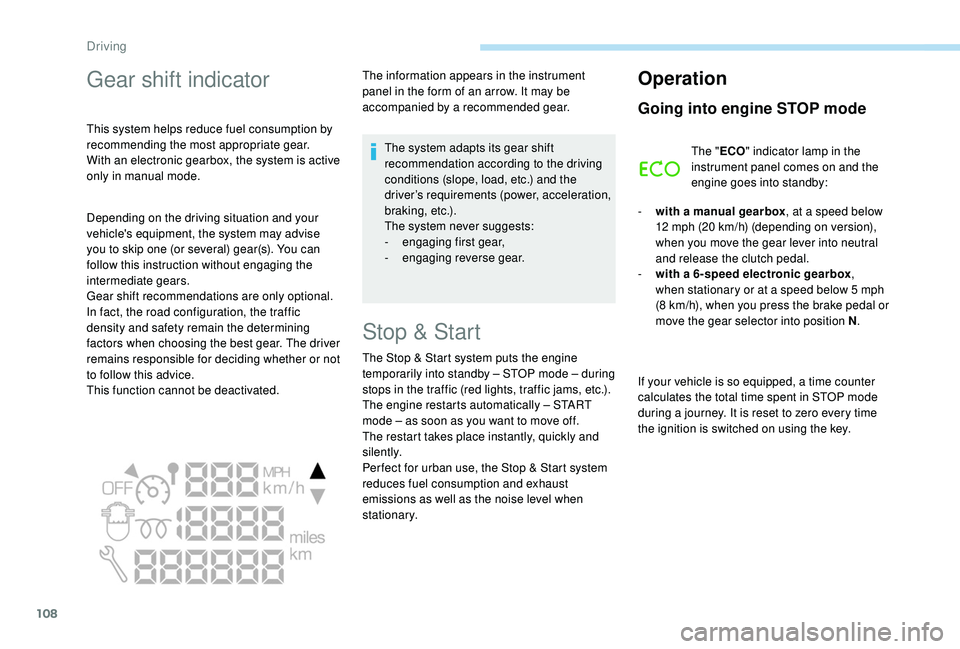
Gear shift indicator
This system helps reduce fuel consumption by
recommending the most appropriate gear.
With an electronic gearbox, the system is active
only in manual mode.The information appears in the instrument
panel in the form of an arrow. It may be
accompanied by a recommended gear.
The system adapts its gear shift
recommendation according to the driving
conditions (slope, load, etc.) and the
driver’s requirements (power, acceleration,
b r a k i n g , e t c .) .
The system never suggests:
-
e
ngaging first gear,
-
enga
ging reverse gear.
Stop & Start
The Stop & Start system puts the engine
t emporarily into standby – STOP mode – during
stops in the traffic (red lights, traffic jams, etc.).
The engine restarts automatically – START
mode – as soon as you want to move off.
The restart takes place instantly, quickly and
silently.
Per fect for urban use, the Stop & Start system
reduces fuel consumption and exhaust
emissions as well as the noise level when
stationary.
Operation
Going into engine STOP mode
The " ECO" indicator lamp in the
instrument panel comes on and the
engine goes into standby:
-
w
ith a manual gearbox , at a speed below
12
mph (20 km/h) (depending on version),
when you move the gear lever into neutral
and release the clutch pedal.
-
w
ith a 6-speed electronic gearbox ,
when stationary or at a speed below 5
mph
(8
km/h), when you press the brake pedal or
move the gear selector into position N .
If your vehicle is so equipped, a time counter
calculates the total time spent in STOP mode
during a journey. It is reset to zero every time
the ignition is switched on using the key.
Depending on the driving situation and your
vehicle's equipment, the system may advise
you to skip one (or several) gear(s). You can
follow this instruction without engaging the
intermediate gears.
Gear shift recommendations are only optional.
In fact, the road configuration, the traffic
density and safety remain the determining
factors when choosing the best gear. The driver
remains responsible for deciding whether or not
to follow this advice.
This function cannot be deactivated.
Driving
Page 114 of 216

112
Tyre under-inflation
detection
This system automatically monitors the tyre
pressure while driving.
The system continuously monitors the
pressures of the four tyres, as soon as the
vehicle is moving.
A pressure sensor is located in the valve of
each tyre (except the spare wheel).
The system triggers an alert as soon as it
detects a drop in the pressure of one or more
tyres.This system does not eliminate the need
to check the tyre pressures (including
the spare wheel) every month as well as
before a long journey.
Driving with under-inflated tyres impairs
handling, extends braking distances and
causes early tyre wear, particularly in
adverse conditions (heavy loads, high
speeds, long journeys).
Driving with under-inflated tyres
increases fuel consumption. The tyre pressure specifications for your
vehicle can be found on the tyre pressure
label.
Tyre pressure should be checked when
the tyres are "cold" (vehicle stopped for
1
hour or after a journey of less than
6
miles (10 km) at moderate speeds).
Other wise, add 0.3
bar (30 kPa) to the
values indicated on the label.
For more information on Identification
markings , including the tyre pressure
label, refer to the corresponding section.
Under-inflation alert
This is indicated by continuous
illumination of this warning lamp, an
audible signal and, depending on
equipment, the display of a message.
- In the event of a puncture, use the temporary puncture repair kit or the spare
wheel (depending on equipment).
or
-
i
f you have a compressor, such as the one
in the temporary puncture repair kit, check
the pressures of the four tyres when cold,
or
-
i
f it is not possible to make this check
immediately, drive carefully at reduced
speed.
The loss of pressure detected does not
always cause visible bulging of the tyre.
Do not rely on a simple visual check.
The alert continues until the tyre or tyres
concerned are reinflated, repaired or
replaced.
The spare wheel (space-saver or a steel
rim type) does not have a sensor.
In the event of a problem with one of the tyres,
depending on equipment, the symbol or the
message appears to identify it.
-
R
educe speed immediately, avoid excessive
steering movements and sudden braking.
-
S
top as soon as it is safe to do so.
Driving