2020 Hyundai Ioniq Hybrid tow
[x] Cancel search: towPage 285 of 613
3-138
Convenient features of your vehicle
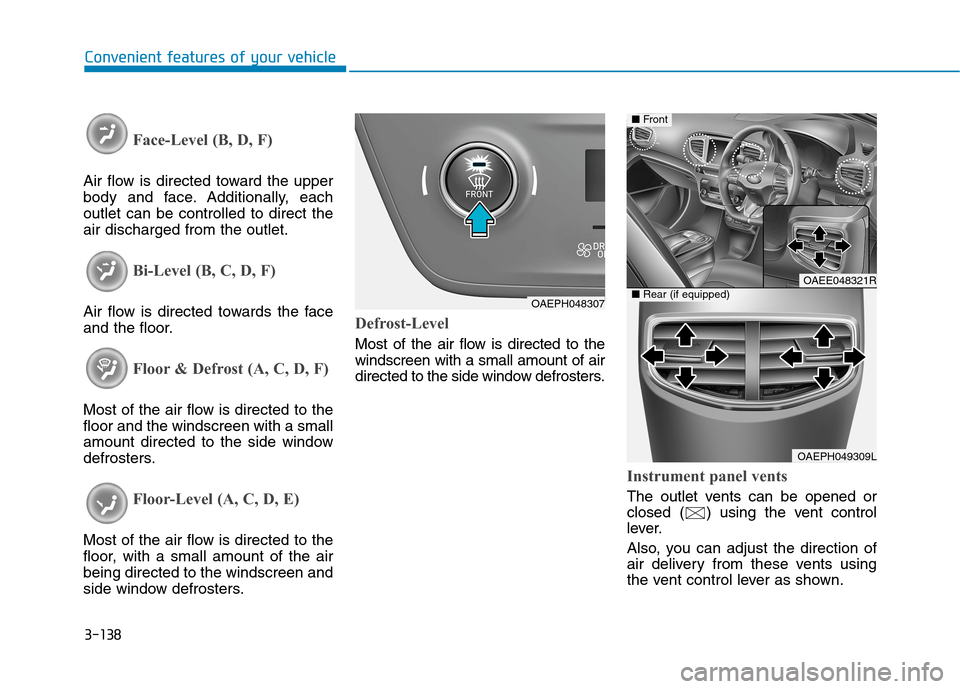
Face-Level (B, D, F)
Air flow is directed toward the upper
body and face. Additionally, each
outlet can be controlled to direct the
air discharged from the outlet.
Bi-Level (B, C, D, F)
Air flow is directed towards the face
and the floor.
Floor & Defrost (A, C, D, F)
Most of the air flow is directed to the
floor and the windscreen with a small
amount directed to the side window
defrosters.
Floor-Level (A, C, D, E)
Most of the air flow is directed to the
floor, with a small amount of the air
being directed to the windscreen and
side window defrosters.
Defrost-Level
Most of the air flow is directed to the
windscreen with a small amount of air
directed to the side window defrosters.
Instrument panel vents
The outlet vents can be opened or
closed ( ) using the vent control
lever.
Also, you can adjust the direction of
air delivery from these vents using
the vent control lever as shown.
OAEPH048307
OAEE048321R
OAEPH049309L
■Front
■Rear (if equipped)
Page 297 of 613
3-150
Convenient features of your vehicle
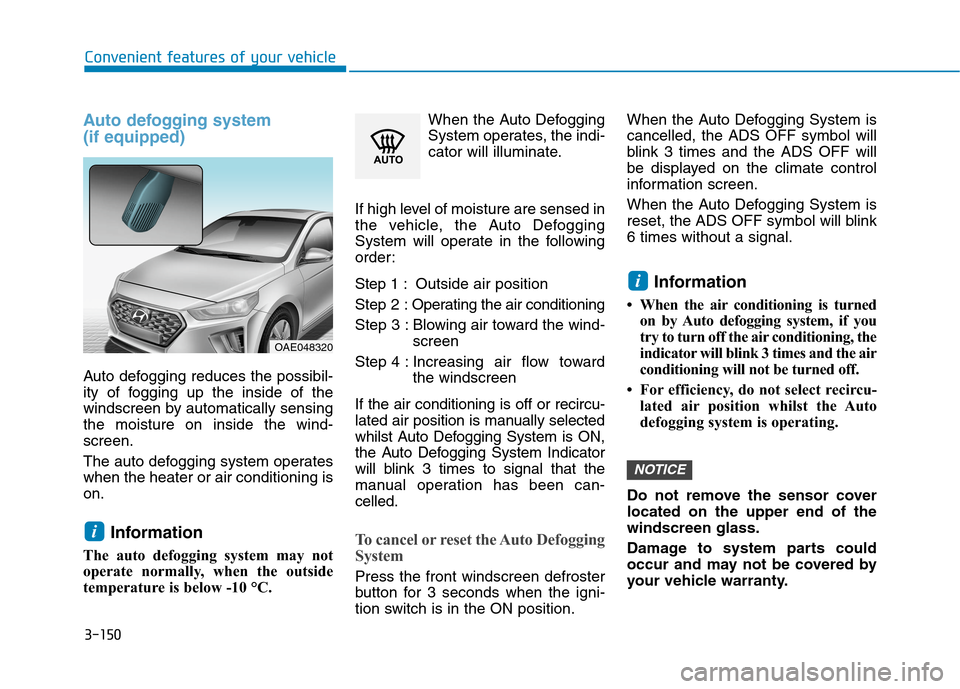
Auto defogging system
(if equipped)
Auto defogging reduces the possibil-
ity of fogging up the inside of the
windscreen by automatically sensing
the moisture on inside the wind-
screen.
The auto defogging system operates
when the heater or air conditioning is
on.
Information
The auto defogging system may not
operate normally, when the outside
temperature is below -10 °C.When the Auto Defogging
System operates, the indi-
cator will illuminate.
If high level of moisture are sensed in
the vehicle, the Auto Defogging
System will operate in the following
order:
Step 1 : Outside air position
Step 2 :Operating the air conditioning
Step 3 : Blowing air toward the wind-
screen
Step 4 : Increasing air flow toward
the windscreen
If the air conditioning is off or recircu-
lated air position is manually selected
whilst Auto Defogging System is ON,
the Auto Defogging System Indicator
will blink 3 times to signal that the
manual operation has been can-
celled.To cancel or reset the Auto Defogging
System
Press the front windscreen defroster
button for 3 seconds when the igni-
tion switch is in the ON position.When the Auto Defogging System is
cancelled, the ADS OFF symbol will
blink 3 times and the ADS OFF will
be displayed on the climate control
information screen.
When the Auto Defogging System is
reset, the ADS OFF symbol will blink
6 times without a signal.
Information
• When the air conditioning is turned
on by Auto defogging system, if you
try to turn off the air conditioning, the
indicator will blink 3 times and the air
conditioning will not be turned off.
• For efficiency, do not select recircu-
lated air position whilst the Auto
defogging system is operating.
Do not remove the sensor cover
located on the upper end of the
windscreen glass.
Damage to system parts could
occur and may not be covered by
your vehicle warranty.
NOTICE
i
i
OAE048320
Page 316 of 613
5
Lane Keeping Assist (LKA) .................................5-98
LKA operation ..................................................................5-99
Warning light and message ........................................5-103
Limitations of the System...........................................5-104
LKA system function change .....................................5-106
Driver Attention Warning (DAW) system .......5-107
System setting and operation....................................5-107
Resetting the system ...................................................5-110
System standby .............................................................5-110
System malfunction......................................................5-110
Speed limit control .............................................5-113
Speed Limit Control operation ...................................5-113
Intelligent Speed Limit Warning (ISLW) ..........5-115
System setting and operation....................................5-116
Display .............................................................................5-117
Limitations of the System...........................................5-121
Cruise control .....................................................5-123
Cruise Control operation .............................................5-123
Smart cruise control (with stop & go system).5-129
To adjust the sensitivity of Smart Cruise Control ..5-131
To convert to Cruise Control mode ..........................5-132
Smart Cruise Control speed........................................5-132
Smart Cruise Control Vehicle-to-Vehicle Distance .5-137
Sensor to detect distance to the vehicle ahead ...5-141
Limitations of the system ...........................................5-142
Leading vehicle departure alert ......................5-148
System setting and operating conditions ...............5-148
Special driving conditions .................................5-150
Hazardous driving conditions ....................................5-150
Rocking the vehicle ......................................................5-150
Smooth cornering .........................................................5-151
Driving at night ..............................................................5-151
Driving in the rain .........................................................5-151
Driving in flooded areas..............................................5-152
Highway driving .............................................................5-152
Winter driving .....................................................5-153
Snow or icy conditions ................................................5-153
Winter Precautions .......................................................5-155
Vehicle weight ....................................................5-158
Overloading ....................................................................5-158
Trailer towing .....................................................5-159
Page 321 of 613
5-7
Driving your vehicle
5
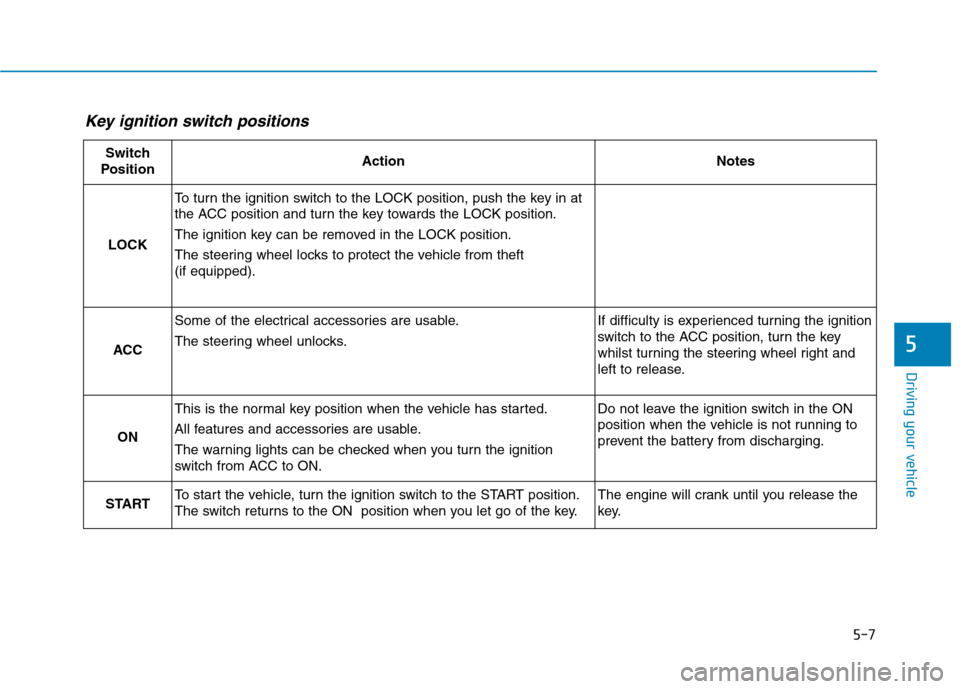
Key ignition switch positions
Switch
PositionActionNotes
LOCK
To turn the ignition switch to the LOCK position, push the key in at
the ACC position and turn the key towards the LOCK position.
The ignition key can be removed in the LOCK position.
The steering wheel locks to protect the vehicle from theft
(if equipped).
ACC
Some of the electrical accessories are usable.
The steering wheel unlocks.If difficulty is experienced turning the ignition
switch to the ACC position, turn the key
whilst turning the steering wheel right and
left to release.
ON
This is the normal key position when the vehicle has started.
All features and accessories are usable.
The warning lights can be checked when you turn the ignition
switch from ACC to ON.Do not leave the ignition switch in the ON
position when the vehicle is not running to
prevent the battery from discharging.
STARTTo start the vehicle, turn the ignition switch to the START position.
The switch returns to the ON position when you let go of the key.The engine will crank until you release the
key.
Page 322 of 613
5-8
Driving your vehicle
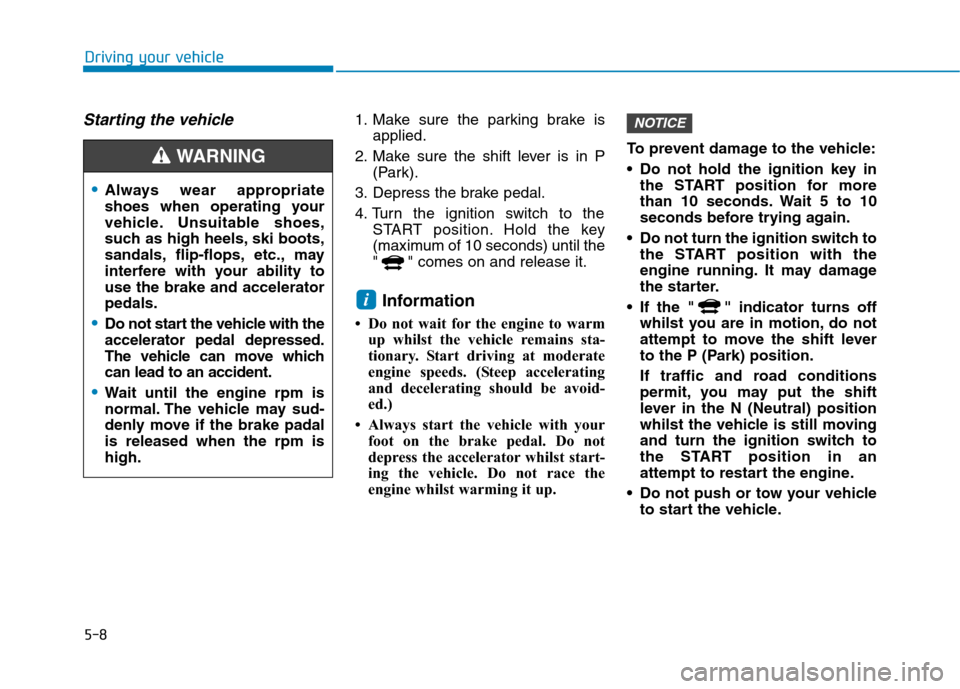
Starting the vehicle1. Make sure the parking brake is
applied.
2. Make sure the shift lever is in P
(Park).
3. Depress the brake pedal.
4. Turn the ignition switch to the
START position. Hold the key
(maximum of 10 seconds) until the
" " comes on and release it.
Information
• Do not wait for the engine to warm
up whilst the vehicle remains sta-
tionary. Start driving at moderate
engine speeds. (Steep accelerating
and decelerating should be avoid-
ed.)
• Always start the vehicle with your
foot on the brake pedal. Do not
depress the accelerator whilst start-
ing the vehicle. Do not race the
engine whilst warming it up.To prevent damage to the vehicle:
Do not hold the ignition key in
the START position for more
than 10 seconds. Wait 5 to 10
seconds before trying again.
Do not turn the ignition switch to
the START position with the
engine running. It may damage
the starter.
If the " " indicator turns off
whilst you are in motion, do not
attempt to move the shift lever
to the P (Park) position.
If traffic and road conditions
permit, you may put the shift
lever in the N (Neutral) position
whilst the vehicle is still moving
and turn the ignition switch to
the START position in an
attempt to restart the engine.
Do not push or tow your vehicle
to start the vehicle.
NOTICE
i
Always wear appropriate
shoes when operating your
vehicle. Unsuitable shoes,
such as high heels, ski boots,
sandals, flip-flops, etc., may
interfere with your ability to
use the brake and accelerator
pedals.
Do not start the vehicle with the
accelerator pedal depressed.
The vehicle can move which
can lead to an accident.
Wait until the engine rpm is
normal. The vehicle may sud-
denly move if the brake padal
is released when the rpm is
high.
WARNING
Page 327 of 613
5-13
Driving your vehicle
5
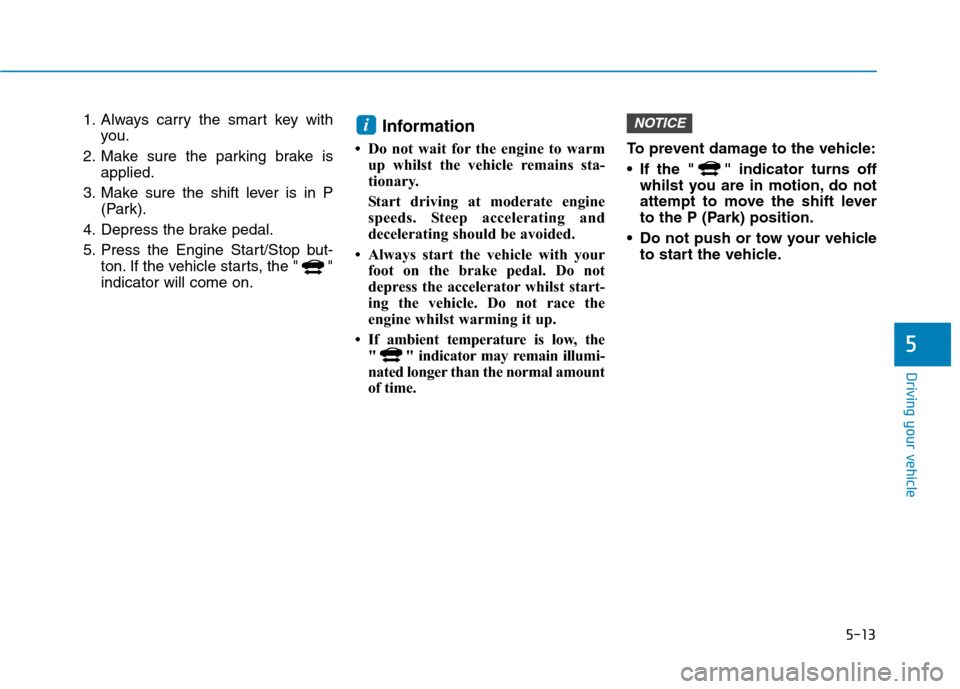
1. Always carry the smart key with
you.
2. Make sure the parking brake is
applied.
3. Make sure the shift lever is in P
(Park).
4. Depress the brake pedal.
5. Press the Engine Start/Stop but-
ton. If the vehicle starts, the " "
indicator will come on.Information
• Do not wait for the engine to warm
up whilst the vehicle remains sta-
tionary.
Start driving at moderate engine
speeds. Steep accelerating and
decelerating should be avoided.
• Always start the vehicle with your
foot on the brake pedal. Do not
depress the accelerator whilst start-
ing the vehicle. Do not race the
engine whilst warming it up.
• If ambient temperature is low, the
" " indicator may remain illumi-
nated longer than the normal amount
of time. To prevent damage to the vehicle:
If the " " indicator turns off
whilst you are in motion, do not
attempt to move the shift lever
to the P (Park) position.
Do not push or tow your vehicle
to start the vehicle.
NOTICEi
Page 349 of 613
5-35
Driving your vehicle
Emergency braking
If there is a problem with the brake
pedal whilst driving, emergency
braking is possible by pulling up and
holding the EPB switch. Braking is
possible only whilst you are holding
the EPB switch.
Information
During emergency braking, the park-
ing brake warning light will illumi-
nate to indicate that the system is
operating.If you continuously notice a noise
or burning smell when the EPB is
used for emergency braking, we
recommend that the system be
checked by an authorised HYUNDAI
dealer.
When the EPB (Electronic Parking
Brake) does not release
If the EPB does not release normal-
ly, we recommend that you contact
an authorised HYUNDAI dealer by
loading the vehicle on a flatbed tow
truck and have the system checked.
Releasing the parking brake
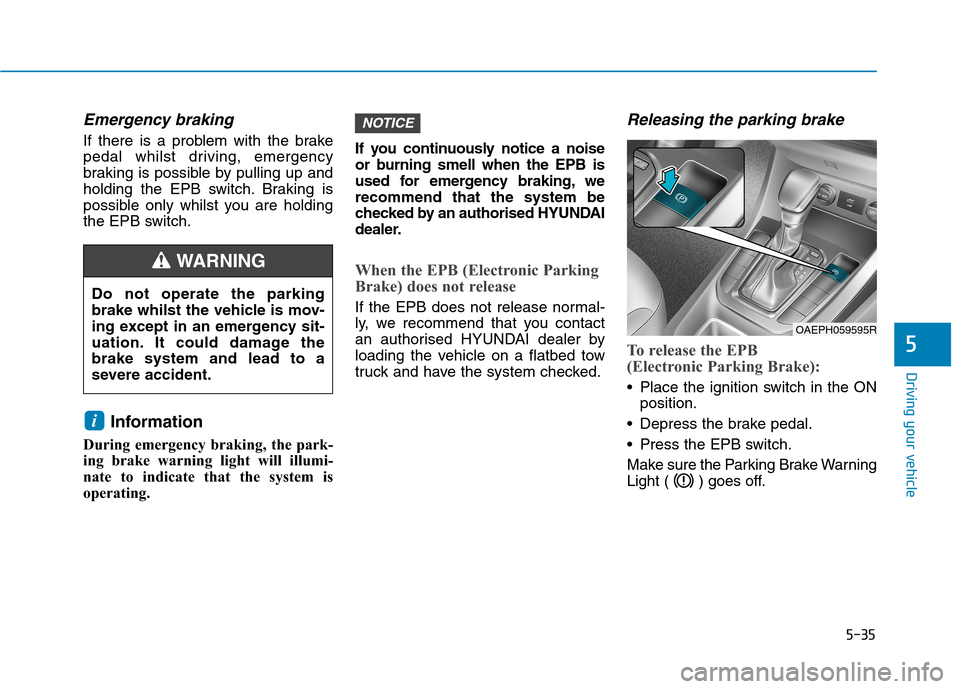
To release the EPB
(Electronic Parking Brake):
Place the ignition switch in the ON
position.
Depress the brake pedal.
Press the EPB switch.
Make sure the Parking Brake Warning
Light ( ) goes off.
NOTICE
i
5
OAEPH059595R
Do not operate the parking
brake whilst the vehicle is mov-
ing except in an emergency sit-
uation. It could damage the
brake system and lead to a
severe accident.
WARNING
Page 375 of 613
5-61
Driving your vehicle
5
The FCA warning message may
appear along with the illumination
of the ESC (Electronic Stability
Control) warning light. Both FCA
warning light and warning mes-
sage will disappear once the ESC
warning light issue is resolved.
FCA is only a supplemental
system for the driver's con-
venience. The driver should
hold the responsibility to con-
trol the vehicle operation. Do
not solely depend on the FCA
system. Rather, maintain a
safe braking distance, and, if
necessary, depress the brake
pedal to reduce the driving
speed or to stop the vehicle.
(Continued)(Continued)
In certain instances and
under certain driving condi-
tions, the FCA system may
activate unintentionally. This
initial warning message
appears on the LCD display
with a warning chime.
Also due to sensing limita-
tions, in certain situations, the
front radar sensor or camera
recognition system may not
detect the vehicle, pedestrian
or cyclist (if equipped) ahead.
The FCA system may not acti-
vate and the warning mes-
sage may not be displayed.
Even if there is any problem
with the brake control func-
tion of the FCA system, the
vehicle's basic braking per-
formance will operate normal-
ly. However, brake control
function for avoiding collision
will not activate.
(Continued)
WARNING
(Continued)
If the vehicle in front stops
suddenly, you may have less
control of the brake system.
Therefore, always keep a safe
distance between your vehicle
and the vehicle in front of you.
The FCA system may activate
during braking and the vehi-
cle may stop suddenly shift-
ing loose objects toward the
passengers. Always keep
loose objects secured.
The FCA system may not acti-
vate if the driver applies the
brake pedal to avoid collision.
The brake control may be
insufficient, possibly causing
a collision, if a vehicle in front
abruptly stops. Always pay
extreme caution.
(Continued)