2020 FORD EXPLORER tire pressure
[x] Cancel search: tire pressurePage 376 of 555

Customer action required
Possible cause
Low tire pressure
warning light
Make sure tires are at the proper pres-
sure. See Inflating your tires in this
chapter. After inflating your tires to the
manufacturer’s recommended pressure
as shown on the Tire Label (located on
the edge of driver ’s door or the B-Pillar),
the vehicle must be driven for at least
two minutes over 20 mph (32 km/h)
before the light turns off.
Tire(s) under-inflated
Solid warning light Repair the damaged road wheel and tire
assembly and reinstall it on the vehicle
to restore system function. For a
description on how the system functions,
see When Your Temporary Spare Tire
is Installed
in this section.
Spare tire in use
If the tires are properly inflated and the
spare tire is not in use but the light
remains on, contact your authorized
dealer as soon as possible.
TPMS malfunction
On vehicles with different front and rear
tire pressures, the system must be
retrained following every tire rotation.
See Tire Pressure Monitoring System
Reset
procedure later in this section.
Tire rotation without
sensor training
Repair the damaged road wheel and tire
assembly and reinstall it on the vehicle
to restore system function. For a
description on how the system functions,
see When Your Temporary Spare Tire
is Installed
in this section.
Spare tire in use
Flashing warning light
If the tires are properly inflated and the
spare tire is not in use but the light
remains on, contact your authorized
dealer as soon as possible.
TPMS malfunction
373
Explorer (CTW) Canada/United States of America, enUSA, Edition date: 201902, Third-Printing- Wheels and Tires
Page 377 of 555

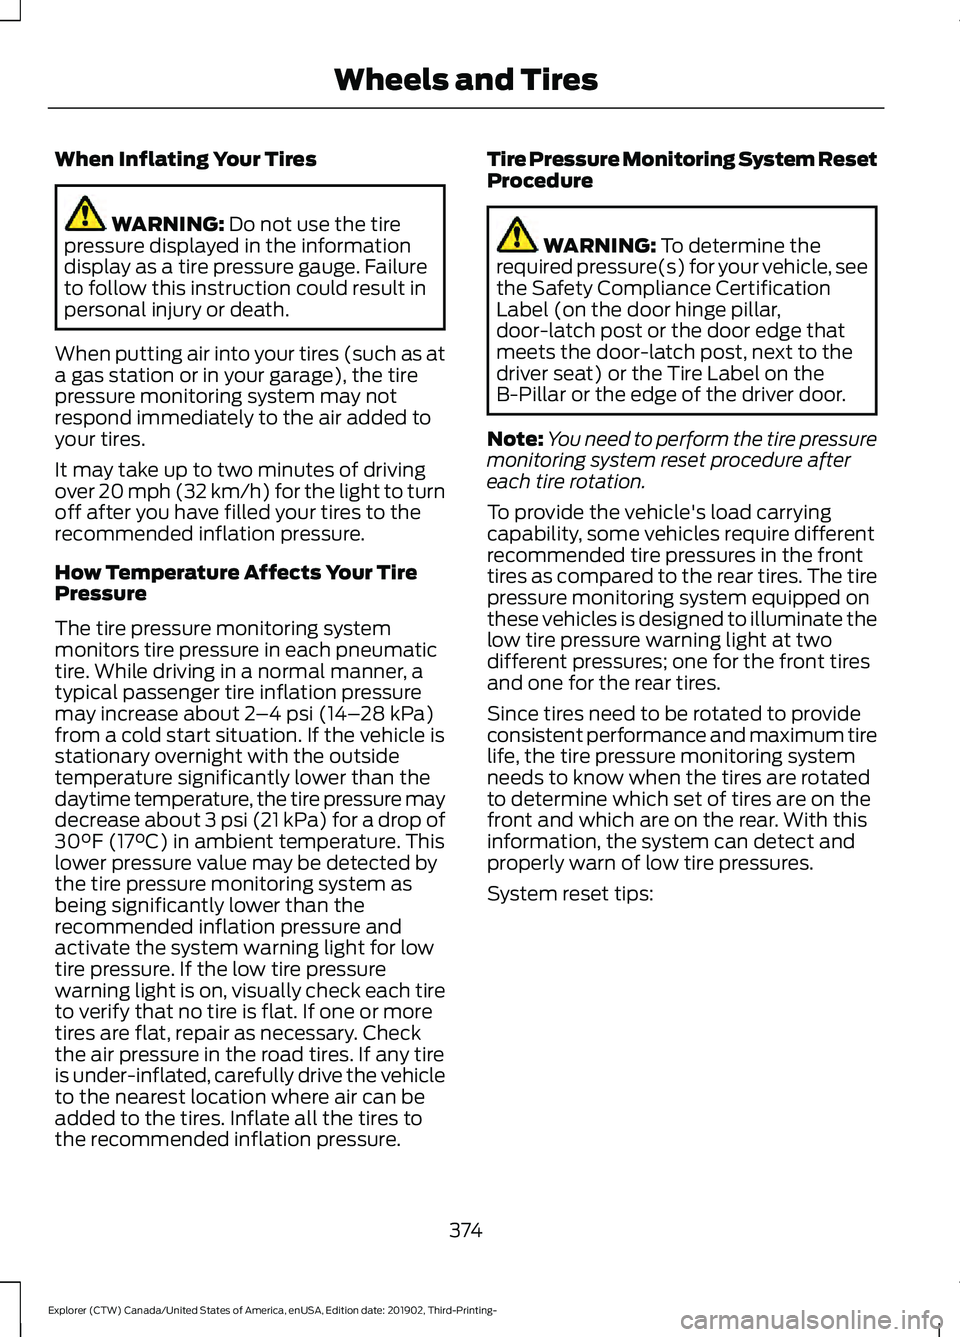
When Inflating Your Tires
WARNING: Do not use the tire
pressure displayed in the information
display as a tire pressure gauge. Failure
to follow this instruction could result in
personal injury or death.
When putting air into your tires (such as at
a gas station or in your garage), the tire
pressure monitoring system may not
respond immediately to the air added to
your tires.
It may take up to two minutes of driving
over 20 mph (32 km/h) for the light to turn
off after you have filled your tires to the
recommended inflation pressure.
How Temperature Affects Your Tire
Pressure
The tire pressure monitoring system
monitors tire pressure in each pneumatic
tire. While driving in a normal manner, a
typical passenger tire inflation pressure
may increase about
2 –4 psi (14– 28 kPa)
from a cold start situation. If the vehicle is
stationary overnight with the outside
temperature significantly lower than the
daytime temperature, the tire pressure may
decrease about 3 psi (21 kPa) for a drop of
30°F (17°C) in ambient temperature. This
lower pressure value may be detected by
the tire pressure monitoring system as
being significantly lower than the
recommended inflation pressure and
activate the system warning light for low
tire pressure. If the low tire pressure
warning light is on, visually check each tire
to verify that no tire is flat. If one or more
tires are flat, repair as necessary. Check
the air pressure in the road tires. If any tire
is under-inflated, carefully drive the vehicle
to the nearest location where air can be
added to the tires. Inflate all the tires to
the recommended inflation pressure. Tire Pressure Monitoring System Reset
Procedure WARNING:
To determine the
required pressure(s) for your vehicle, see
the Safety Compliance Certification
Label (on the door hinge pillar,
door-latch post or the door edge that
meets the door-latch post, next to the
driver seat) or the Tire Label on the
B-Pillar or the edge of the driver door.
Note: You need to perform the tire pressure
monitoring system reset procedure after
each tire rotation.
To provide the vehicle's load carrying
capability, some vehicles require different
recommended tire pressures in the front
tires as compared to the rear tires. The tire
pressure monitoring system equipped on
these vehicles is designed to illuminate the
low tire pressure warning light at two
different pressures; one for the front tires
and one for the rear tires.
Since tires need to be rotated to provide
consistent performance and maximum tire
life, the tire pressure monitoring system
needs to know when the tires are rotated
to determine which set of tires are on the
front and which are on the rear. With this
information, the system can detect and
properly warn of low tire pressures.
System reset tips:
374
Explorer (CTW) Canada/United States of America, enUSA, Edition date: 201902, Third-Printing- Wheels and Tires
Page 378 of 555

•
To reduce the chances of interference
from another vehicle, perform the
system reset procedure at least 3 ft
(1 m) away from another Ford Motor
Company vehicle undergoing the
system reset procedure at the same
time.
• Do not wait more than two minutes
between resetting each tire sensor or
the system can time-out and you have
to repeat the entire procedure on all
four wheels.
• A double horn sounds indicating the
need to repeat the procedure.
Performing the System Reset Procedure
Read the entire procedure before
attempting.
1. Drive the vehicle above
20 mph
(32 km/h) for at least two minutes,
then park in a safe location where you
can easily get to all four tires and have
access to an air pump.
2. Place the ignition in the off position and
keep the key in the ignition.
3. Cycle the ignition to the on position with the engine off.
4. Turn the hazard flashers on then off three times. You must accomplish this
within 10 seconds. If you successfully
enter the reset mode, the horn sounds
once, the system indicator flashes and
a message shows in the information
display. If this does not occur, please
try again starting at step 2. If after
repeated attempts to enter the reset
mode, the horn does not sound, the
system indicator does not flash and no
message shows in the information
display, seek service from your
authorized dealer. 5. Train the tire pressure monitoring
system sensors in the tires using the
following system reset sequence
starting with the left front tire in the
following clockwise order: Left front -
driver side front tire, Right front -
passenger side front tire, Right rear -
passenger side rear tire, Left rear -
driver side rear tire.
6. Remove the valve cap from the valve stem on the left front tire. Decrease the
air pressure until the horn sounds.
Note: The single horn tone confirms that
the sensor identification code has been
learned by the module for this position. If a
double horn is heard, the reset procedure
was unsuccessful, and you must repeat it.
7. Remove the valve cap from the valve stem on the right front tire. Decrease
the air pressure until the horn sounds.
8. Remove the valve cap from the valve stem on the right rear tire. Decrease the
air pressure until the horn sounds.
9. Remove the valve cap from the valve stem on the left rear tire. Decrease the
air pressure until the horn sounds.
Training is complete after the horn
sounds for the last tire trained, driver
side rear tire, the system indicator
stops flashing, and a message shows
in the information display.
10. Turn the ignition off. If two short horn
beeps are heard, the reset procedure
was unsuccessful and you must
repeat it. If after repeating the
procedure and two short beeps are
heard when the ignition is turned to
off, seek assistance from your
authorized dealer.
375
Explorer (CTW) Canada/United States of America, enUSA, Edition date: 201902, Third-Printing- Wheels and Tires
Page 379 of 555

11.
Set all four tires to the recommended
air pressure as indicated on the
Safety Compliance Certification
Label, affixed to either the door hinge
pillar, door-latch post, or the door
edge that meets the door-latch post,
next to the driver seating position or
Tire Label located on the B-Pillar or
the edge of the driver door.
CHANGING A ROAD WHEEL WARNING: If the tire pressure
monitor sensor becomes damaged it
may not function.
Note: You should only use tire sealants in
roadside emergencies as they may cause
damage to the tire pressure monitoring
system sensor.
Note: The tire pressure monitoring system
indicator light illuminates when the spare
tire is in use. To restore the full function of
the monitoring system, all road wheels
equipped with tire pressure monitoring
sensors must be mounted on the vehicle.
If you get a flat tire when driving, do not
apply the brake heavily. Instead, gradually
decrease your speed. Hold the steering
wheel firmly and slowly move to a safe
place on the side of the road.
Have a flat serviced by an authorized
dealer in order to prevent damage to the
tire pressure monitoring system sensors.
See
Tire Pressure Monitoring System
(page 370). Replace the spare tire with a
road tire as soon as possible. During
repairing or replacing of the flat tire, have
the authorized dealer inspect the tire
pressure monitoring system sensor for
damage. Dissimilar Spare Wheel and Tire
Assembly Information WARNING:
Failure to follow these
guidelines could result in an increased
risk of loss of vehicle control, injury or
death.
If you have a dissimilar spare wheel and
tire, then it is intended for temporary use
only. This means that if you need to use it,
you should replace it as soon as possible
with a road wheel and tire assembly that
is the same size and type as the road tires
and wheels that were originally provided
by us. If the dissimilar spare tire or wheel
is damaged, you should replace it rather
than repair it.
A dissimilar spare wheel and tire assembly
is defined as a spare wheel and tire
assembly that is different in brand, size or
appearance from the road tires and wheels
and can be one of three types:
1. T-type mini-spare:
This spare tire
begins with the letter T for tire size and
may have Temporary Use Only molded in
the sidewall.
2. Full-size dissimilar spare with label
on wheel:
This spare tire has a label on
the wheel that states: THIS WHEEL AND
TIRE ASSEMBLY FOR TEMPORARY USE
ONLY.
When driving with one of the dissimilar
spare tires listed above, do not:
• Exceed
50 mph (80 km/h).
• Load the vehicle beyond maximum
vehicle load rating listed on the Safety
Compliance Label.
• Tow a trailer.
• Use snow chains on the end of the
vehicle with the dissimilar spare tire.
• Use more than one dissimilar spare tire
at a time.
376
Explorer (CTW) Canada/United States of America, enUSA, Edition date: 201902, Third-Printing- Wheels and Tires
Page 492 of 555

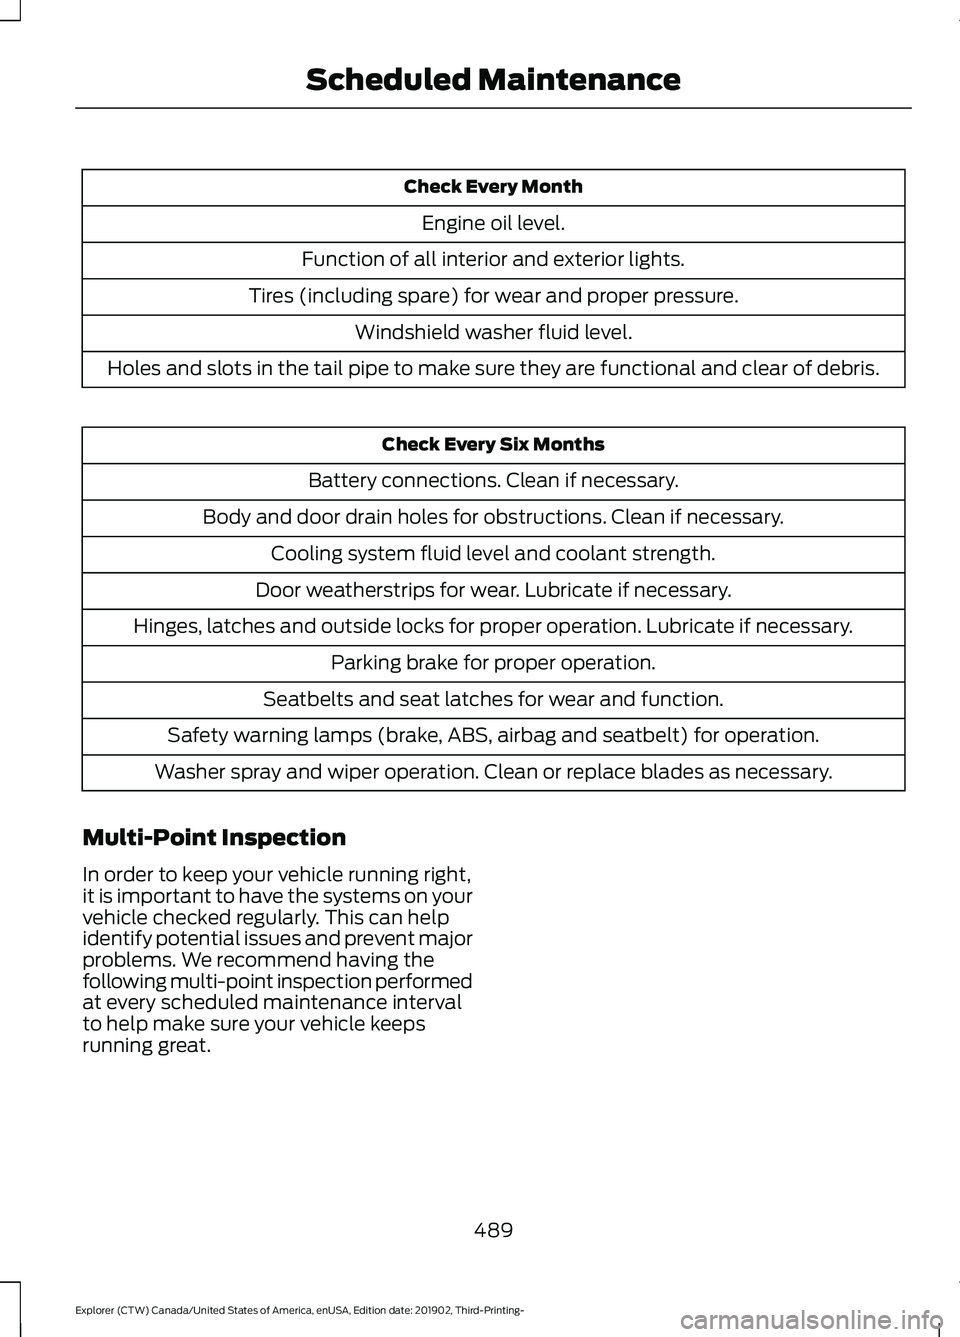
Check Every Month
Engine oil level.
Function of all interior and exterior lights.
Tires (including spare) for wear and proper pressure. Windshield washer fluid level.
Holes and slots in the tail pipe to make sure they are functional and clear of debris. Check Every Six Months
Battery connections. Clean if necessary.
Body and door drain holes for obstructions. Clean if necessary. Cooling system fluid level and coolant strength.
Door weatherstrips for wear. Lubricate if necessary.
Hinges, latches and outside locks for proper operation. Lubricate if necessary. Parking brake for proper operation.
Seatbelts and seat latches for wear and function.
Safety warning lamps (brake, ABS, airbag and seatbelt) for operation.
Washer spray and wiper operation. Clean or replace blades as necessary.
Multi-Point Inspection
In order to keep your vehicle running right,
it is important to have the systems on your
vehicle checked regularly. This can help
identify potential issues and prevent major
problems. We recommend having the
following multi-point inspection performed
at every scheduled maintenance interval
to help make sure your vehicle keeps
running great.
489
Explorer (CTW) Canada/United States of America, enUSA, Edition date: 201902, Third-Printing- Scheduled Maintenance
Page 493 of 555

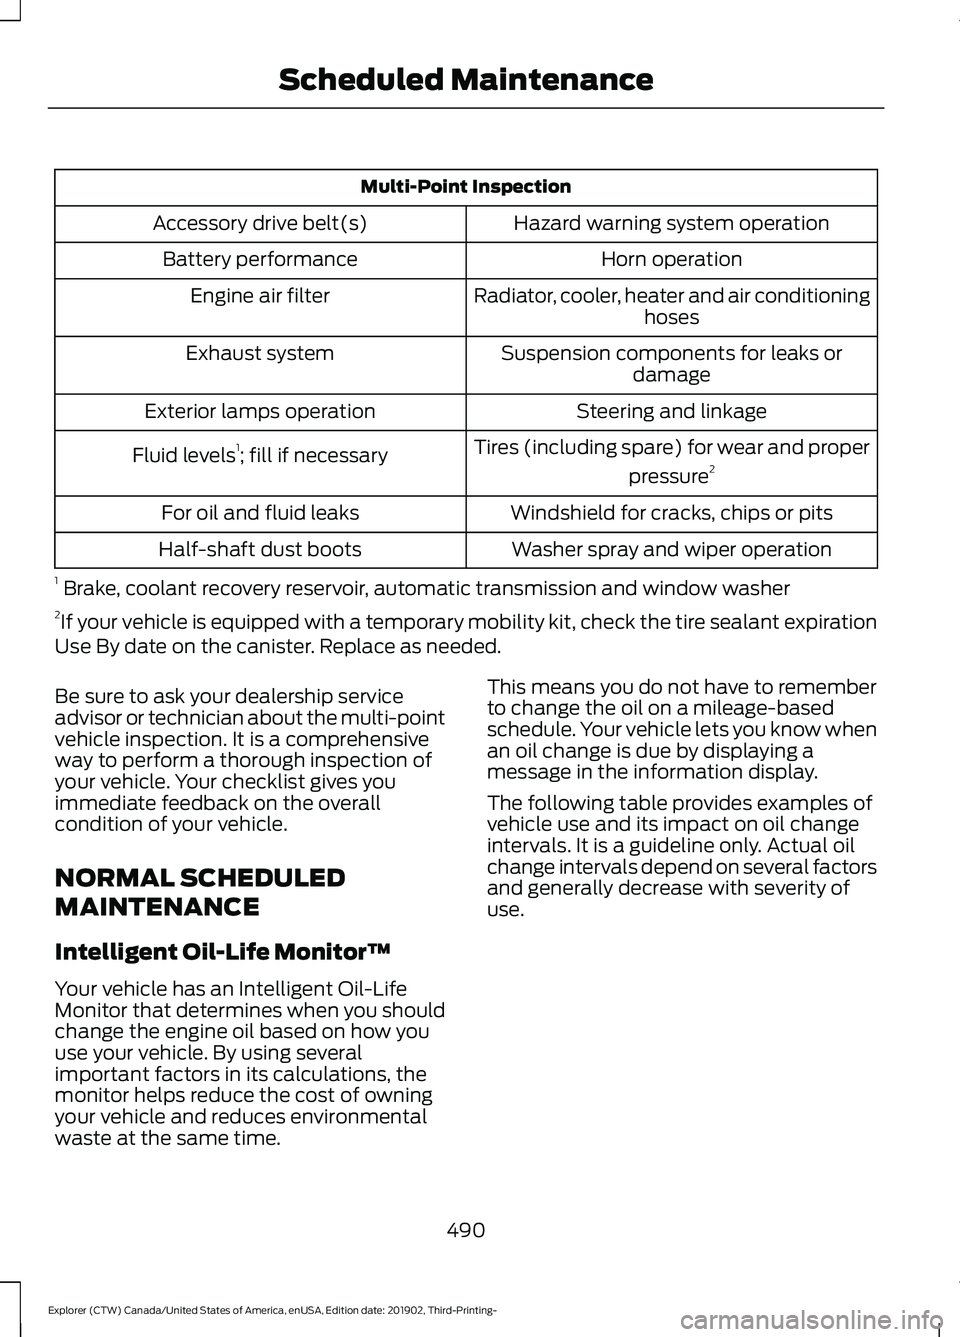
Multi-Point Inspection
Hazard warning system operation
Accessory drive belt(s)
Horn operation
Battery performance
Radiator, cooler, heater and air conditioninghoses
Engine air filter
Suspension components for leaks ordamage
Exhaust system
Steering and linkage
Exterior lamps operation
Tires (including spare) for wear and properpressure2
Fluid levels 1
; fill if necessary
Windshield for cracks, chips or pits
For oil and fluid leaks
Washer spray and wiper operation
Half-shaft dust boots
1 Brake, coolant recovery reservoir, automatic transmission and window washer
2 If your vehicle is equipped with a temporary mobility kit, check the tire sealant expiration
Use By date on the canister. Replace as needed.
Be sure to ask your dealership service
advisor or technician about the multi-point
vehicle inspection. It is a comprehensive
way to perform a thorough inspection of
your vehicle. Your checklist gives you
immediate feedback on the overall
condition of your vehicle.
NORMAL SCHEDULED
MAINTENANCE
Intelligent Oil-Life Monitor™
Your vehicle has an Intelligent Oil-Life
Monitor that determines when you should
change the engine oil based on how you
use your vehicle. By using several
important factors in its calculations, the
monitor helps reduce the cost of owning
your vehicle and reduces environmental
waste at the same time. This means you do not have to remember
to change the oil on a mileage-based
schedule. Your vehicle lets you know when
an oil change is due by displaying a
message in the information display.
The following table provides examples of
vehicle use and its impact on oil change
intervals. It is a guideline only. Actual oil
change intervals depend on several factors
and generally decrease with severity of
use.
490
Explorer (CTW) Canada/United States of America, enUSA, Edition date: 201902, Third-Printing- Scheduled Maintenance
Page 509 of 555

ELECTROMAGNETIC
COMPATIBILITY
WARNING: Do not place objects
or mount equipment on or near the
airbag cover, on the side of the front or
rear seatbacks, or in areas that may
come into contact with a deploying
airbag. Failure to follow these
instructions may increase the risk of
personal injury in the event of a crash. WARNING: Do not fasten antenna
cables to vehicle wiring, fuel pipes and
brake pipes. WARNING:
Keep antenna and
power cables at least 4 in (10 cm) from
any electronic modules and airbags. Note:
We test and certify your vehicle to
meet electromagnetic compatibility
legislation. It is your responsibility to make
sure that any equipment an authorized
dealer installs on your vehicle complies with
applicable local legislation and other
requirements. Installation of some
aftermarket electronic devices could
degrade the performance of vehicle
functions, which use radio frequency signals
such as broadcast radio receiver, tire
pressure monitoring system, push button
start, Bluetooth connectivity or satellite
navigation.
Note: Any radio frequency transmitter
equipment in your vehicle (such as cellular
telephones and amateur radio transmitters)
must keep to the parameters in the
following illustrations and table. We do not
provide any other special provisions or
conditions for installations or use.
Car 506
Explorer (CTW) Canada/United States of America, enUSA, Edition date: 201902, Third-Printing- AppendicesE239120
Page 548 of 555

Lane Keeping System.......................................
128
Maintenance......................................................... 128
MyKey...................................................................... 129
Park Aid.................................................................. 130
Park Brake............................................................... 131
Power Steering..................................................... 132
Pre-Collision Assist............................................ 132
Remote Start........................................................ 132
Seats........................................................................\
133
Starting System................................................... 133
Tire Pressure Monitoring System.................. 133
Trailer....................................................................... 134
Transmission........................................................ 134
Installing Child Restraints...........................25
Child Seats.............................................................. 25
Using Lap and Shoulder Belts......................... 25
Using Lower Anchors and Tethers for CHildren (LATCH)........................................... 28
Using Tether Straps............................................. 29
Instrument Cluster.......................................104
Instrument Lighting Dimmer
.....................89
Instrument Panel.............................................21
Interior Air Quality.........................................143
Interior Lamps
.................................................92
Front Interior Lamp.............................................. 92
Rear Interior Lamps............................................. 92
Interior Mirror
...................................................101
Automatic Dimming Mirror.............................. 101
Manual Dimming Mirror.................................... 101
Introduction........................................................9
J
Jump Starting the Vehicle.........................301 Connecting the Jumper Cables..................... 301
Jump Starting...................................................... 302
Locating the Jump Starting Connection Points................................................................. 301
Preparing Your Vehicle..................................... 301
Removing the Jumper Cables....................... 302
K
Keyless Entry
....................................................72
SECURICODE™ Keyless Entry Keypad........72
Keyless Starting
.............................................172
Ignition Modes...................................................... 173
Keys and Remote Controls.........................57 L
Lane Keeping System
................................260
Switching the System On and Off...............261
Liftgate...............................................................74
Lighting Control
..............................................88
Flashing High Beam Headlamps................... 89
Lighting Control Selections............................. 88
Switching High Beam Headlamps On and Off........................................................................\
. 88
Lighting..............................................................88 General Information........................................... 88
Load Carriers See: Roof Racks and Load Carriers.............282
Load Carrying.................................................281
Load Limit.......................................................283 Special Loading Instructions for Owners of
Pick-up Trucks and Utility-type
Vehicles............................................................. 287
Vehicle Loading - with and without a Trailer................................................................. 283
Locating the Cabin Air Filter.....................143
Locking and Unlocking................................69 Activating Intelligent Access............................ 70
Autolock.................................................................... 71
Battery Saver.......................................................... 72
Illuminated Entry.................................................... 71
Illuminated Exit...................................................... 72
Locking and Unlocking the Doors with the Key Blade........................................................... 69
Power Door Locks................................................ 69
Remote Control.................................................... 69
Smart Unlocks for Integrated Keyhead Remote Control................................................ 70
Smart Unlocks for Intelligent Access Keys........................................................................\
71
Luggage Covers
............................................282
Lug Nuts See: Changing a Road Wheel........................ 376
M
Maintenance..................................................323 General Information.......................................... 323
Manual Seats
..................................................147
Adjusting the Seat Backrest........................... 147
Moving the Seat Backward and Forward.............................................................. 147
545
Explorer (CTW) Canada/United States of America, enUSA, Edition date: 201902, Third-Printing- Index