Page 17 of 196
15
Instruments
1
Menu...
Press...Sub-menu... Press...Select... Validate
and exit Allows you to...
7 Date setting
Year / Month / Day Increase Set the date.
Decrease
Menu…
Press... Sub-menu... Press...Select... Validate
and exit Allows you to...
8 Autoclose
ON Activate / Deactivate
automatic closing of the
doors above 12 mph (20
km/h).
OFF
9 Unit
Distance km Choose the distance display
unit.
miles
Consumption
km/l
Choose the consumption
display unit.
l/100km
Temperature
°C
Choose the temperature
display unit.
°F
Tyre pressure psi Choose the tyre pressure
display unit.
bar
kPa
Page 18 of 196
16
Instruments
Menu…
Press...Sub-menu... Press...Select... Validate
and exit Allows you to...
10 Languages
List of available
languages Choose the display
language.
11 Volume of
announcements
(Buzz)
IncreaseIncrease / Decrease the
volume of announcements
or of the warning audible
signal.
Decrease
Menu…
Press... Sub-menu... Press...Select... Validate
and exit Allows you to...
12 Service
Service (miles/
km before
service) Display the remaining miles
/ kilometres to be travelled
before the next service.
Oil change
(miles/km
before oil
change) Display the remaining miles
/ kilometres to be travelled
before the next oil change.
13 Daytime running
lamps
ON Activate / Deactivate the
daytime running lamps.
OFF
14 Automatic main
beam headlamps
ON Activate / Deactivate
the automatic main beam
headlamps.
OFF
Page 19 of 196
17
Instruments
1
Menu…
Press...Sub-menu... Press...Select... Validate
and exit Allows you to...
15 Passenger airbag
(P BAG)
ON Ye s Activate / Deactivate
the passenger airbag.
No
OFF Ye s Deactivate the passenger
airbag.
No
16 Blind spot
OFF Adjust the parameters of
the blind spot monitoring
system.
Visual
Visual and
audible
Max
Auto
17Active Safety
Brake
ON Activate / Deactivate the
function.
OFF
18 Exit menu
Exit the menu.
Pressing the down arrow
brings you back to the first
menu.
Page 20 of 196

18
Instruments
Touch screen audio and telematics system
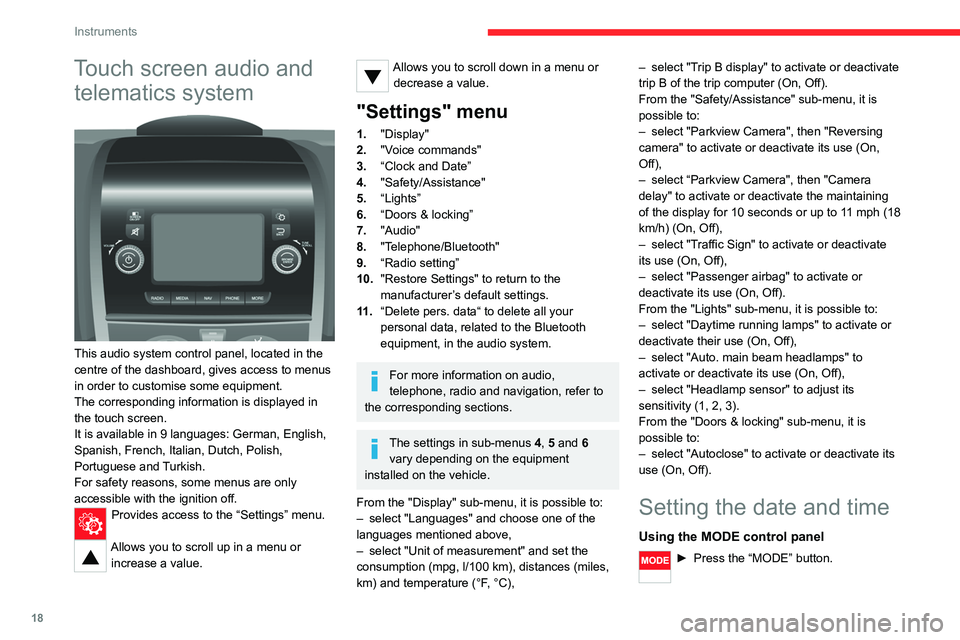
This audio system control panel, located in the
centre of the dashboard, gives access to menus
in order to customise some equipment.
The corresponding information is displayed in
the touch screen.
It is available in 9 languages: German, English,
Spanish, French, Italian, Dutch, Polish,
Portuguese and Turkish.
For safety reasons, some menus are only
accessible with the ignition off.
Provides access to the “Settings” menu.
Allows you to scroll up in a menu or
increase a value.
Allows you to scroll down in a menu or decrease a value.
"Settings" menu
1. "Display"
2. "Voice commands"
3. “Clock and Date”
4. "Safety/Assistance"
5. “Lights”
6. “Doors & locking”
7. "Audio"
8. "Telephone/Bluetooth"
9. “Radio setting”
10. "Restore Settings" to return to the
manufacturer’s default settings.
11 . “Delete pers. data“ to delete all your
personal data, related to the Bluetooth
equipment, in the audio system.
For more information on audio,
telephone, radio and navigation, refer to
the corresponding sections.
The settings in sub-menus 4, 5 and 6
vary depending on the equipment
installed on the vehicle.
From the "Display" sub-menu, it is possible to:
– select "Languages" and choose one of the
languages mentioned above,
– select "Unit of measurement" and set the
consumption (mpg, l/100 km), distances (miles,
km) and temperature (°F, °C), –
select "Trip B display" to activate or deactivate
trip B of the trip computer (On, Off).
From the "Safety/Assistance" sub-menu, it is
possible to:
– select "Parkview Camera", then "Reversing
camera" to activate or deactivate its use (On,
Off),
– select “Parkview Camera", then "Camera
delay" to activate or deactivate the maintaining
of the display for 10 seconds or up to 11 mph (18
km/h) (On, Off),
– select "Traffic Sign" to activate or deactivate
its use (On, Off),
– select "Passenger airbag" to activate or
deactivate its use (On, Off).
From the "Lights" sub-menu, it is possible to:
– select "Daytime running lamps" to activate or
deactivate their use (On, Off),
– select "Auto. main beam headlamps" to
activate or deactivate its use (On, Off),
– select "Headlamp sensor" to adjust its
sensitivity (1, 2, 3).
From the "Doors & locking" sub-menu, it is
possible to:
– select "Autoclose" to activate or deactivate its
use (On, Off).
Setting the date and time
Using the MODE control panel
► Press the “MODE” button.
Page 21 of 196

19
Instruments
1► Select the "Time setting" menu to set the time
and the clock format (24h or 12h) or select the
"Date setting" menu to set the day, month and
year.
For more information on Vehicle configuration
(MODE), refer to the corresponding section.
Using the touch screen audio and
telematics system
From the "Clock and Date" sub-menu:
► Select "Time setting and format" to set the
hour, minutes and seconds and choose the
format (24h, 12h with am or pm).
► Select "Date setting" to set the day, month
and year.
To set the time manually, "Time Synchro" must be deactivated (Off).
Trip computer
Information displayed about the current journey
(range, current fuel consumption, average fuel
consumption, etc.).
► To access trip computer information, press
the TRIP button, located at the end of the wiper
control stalk.
Range
This indicates the distance which can still be
travelled with the fuel remaining in the tank,
depending on the average fuel consumption over
the last few miles (kilometres) travelled.
Distance A
This indicates the distance travelled since the
last trip computer zero reset.
Average consumption A
This is the average fuel consumption since the
last trip computer zero reset.
Current consumption A
This is the average fuel consumption over the
last few seconds.
Average speed A
This is the average speed calculated since the
last trip computer zero reset (with the ignition
on).
Trip A duration
This indicates the cumulative time since the last
trip computer zero reset.
If TRIP B is activated in the MODE menu:
– Distance B
– Average consumption B
– Average speed B
– Trip B duration Tachograph
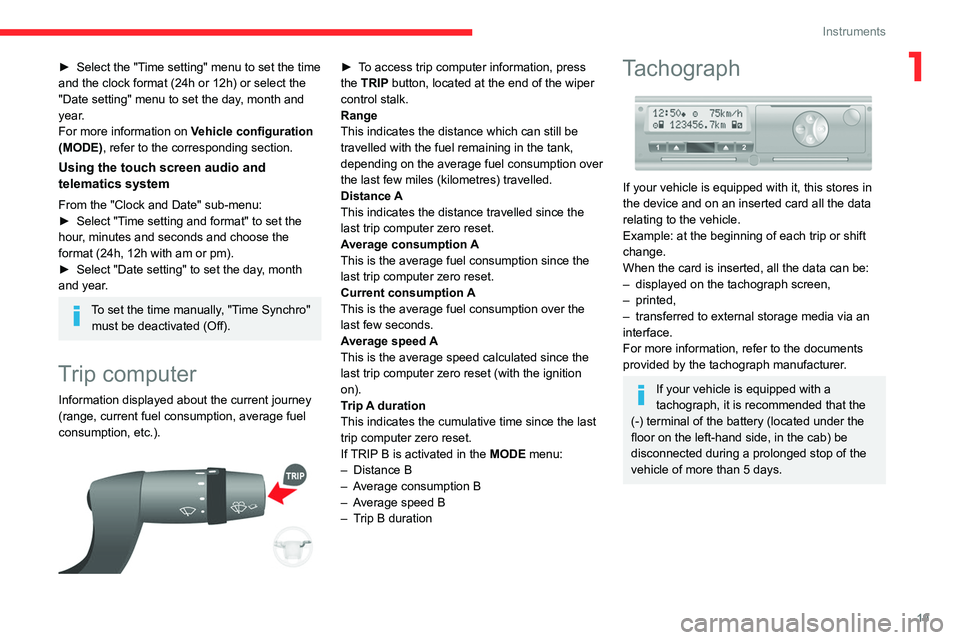
If your vehicle is equipped with it, this stores in
the device and on an inserted card all the data
relating to the vehicle.
Example: at the beginning of each trip or shift
change.
When the card is inserted, all the data can be:
– displayed on the tachograph screen,
– printed,
– transferred to external storage media via an
interface.
For more information, refer to the documents
provided by the tachograph manufacturer.
If your vehicle is equipped with a
tachograph, it is recommended that the
(-) terminal of the battery (located under the
floor on the left-hand side, in the cab) be
disconnected during a prolonged stop of the
vehicle of more than 5 days.
Page 22 of 196

20
Access
Key
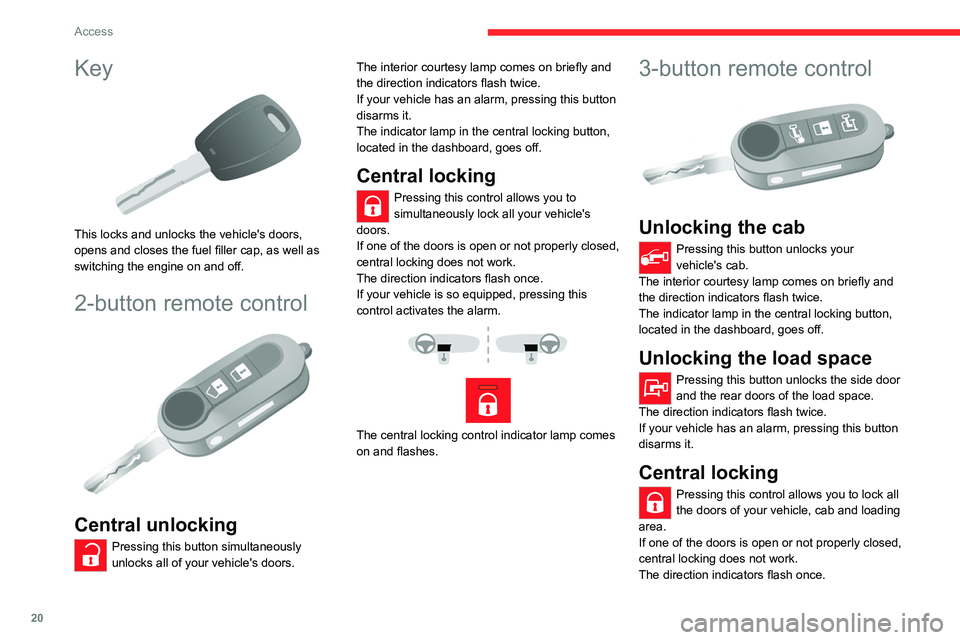
This locks and unlocks the vehicle's doors,
opens and closes the fuel filler cap, as well as
switching the engine on and off.
2-button remote control
Central unlocking
Pressing this button simultaneously
unlocks all of your vehicle's doors. The interior courtesy lamp comes on briefly and
the direction indicators flash twice.
If your vehicle has an alarm, pressing this button
disarms it.
The indicator lamp in the central locking button,
located in the dashboard, goes off.
Central locking
Pressing this control allows you to
simultaneously lock all your vehicle's
doors.
If one of the doors is open or not properly closed,
central locking does not work.
The direction indicators flash once.
If your vehicle is so equipped, pressing this
control activates the alarm.
The central locking control indicator lamp comes
on and flashes.
3-button remote control
Unlocking the cab
Pressing this button unlocks your
vehicle's cab.
The interior courtesy lamp comes on briefly and
the direction indicators flash twice.
The indicator lamp in the central locking button,
located in the dashboard, goes off.
Unlocking the load space
Pressing this button unlocks the side door
and the rear doors of the load space.
The direction indicators flash twice.
If your vehicle has an alarm, pressing this button
disarms it.
Central locking
Pressing this control allows you to lock all
the doors of your vehicle, cab and loading
area.
If one of the doors is open or not properly closed,
central locking does not work.
The direction indicators flash once.
If your vehicle is so equipped, pressing this
control activates the alarm.
The central locking control indicator lamp comes
on and flashes.
Folding / Unfolding the
key
► Press this button to unfold / fold the
key.
If you do not press the button, you risk
damaging the mechanism.
Summary of the main functions of the key
Type of key Unlocking the cabLocking the doorsUnlocking the rear doors
Basic key Turn anti-clockwise (driver’s side).Turn clockwise (driver’s side).-
Remote control key
Signalling
Page 23 of 196

21
Access
2If your vehicle is so equipped, pressing this
control activates the alarm.
The central locking control indicator lamp comes
on and flashes.
Folding / Unfolding the
key
► Press this button to unfold / fold the
key.
If you do not press the button, you risk
damaging the mechanism.
Deadlocking
Pressing this button twice in succession
deadlocks the vehicle.
It is then impossible to open the doors from the
inside or the outside.
The direction indicators flash three times.
Never leave anyone inside the vehicle
when it is deadlocked.
Changing the battery
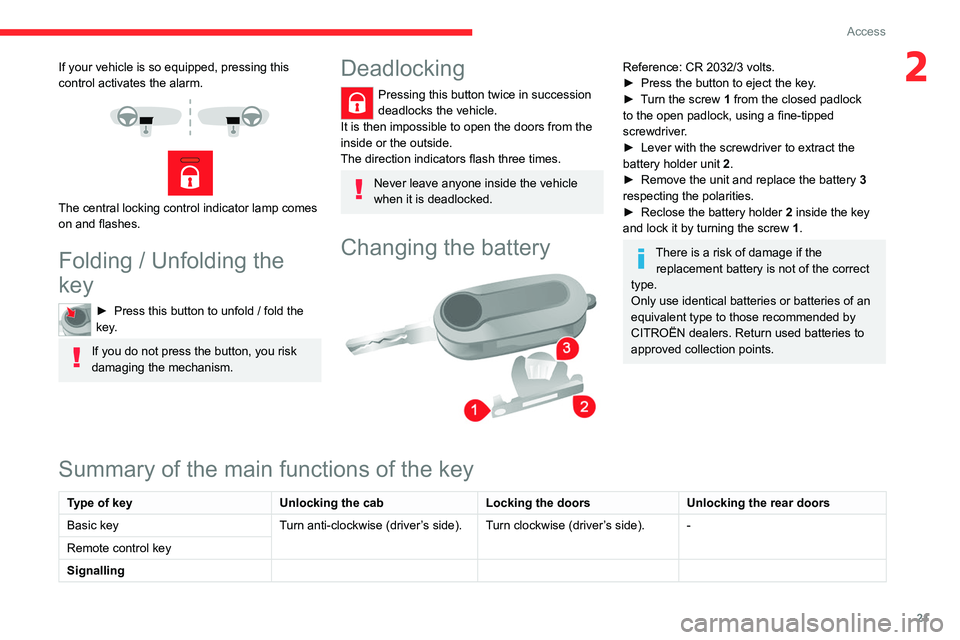
Reference: CR 2032/3 volts.
► Press the button to eject the key.
► Turn the screw 1 from the closed padlock
to the open padlock, using a fine-tipped
screwdriver.
► Lever with the screwdriver to extract the
battery holder unit 2.
► Remove the unit and replace the battery 3
respecting the polarities.
► Reclose the battery holder 2 inside the key
and lock it by turning the screw 1.
There is a risk of damage if the
replacement battery is not of the correct
type.
Only use identical batteries or batteries of an
equivalent type to those recommended by
CITROËN dealers. Return used batteries to
approved collection points.
Summary of the main functions of the key
Type of key Unlocking the cabLocking the doorsUnlocking the rear doors
Basic key Turn anti-clockwise (driver’s side).Turn clockwise (driver’s side).-
Remote control key
Signalling
Page 24 of 196

22
Access
Type of keyUnlocking the cabLocking the doorsUnlocking the rear doors
Direction indicators 2 flashes.1 flash.2 flashes.
Central locking control indicator
lamp on the dashboard Off.
Fixed for approximately 3
seconds, then flashing. Flashing.
Using the key in the driver's door lock does not activate/deactivate the alarm.
Locking/Unlocking from
inside
Cab and loading area
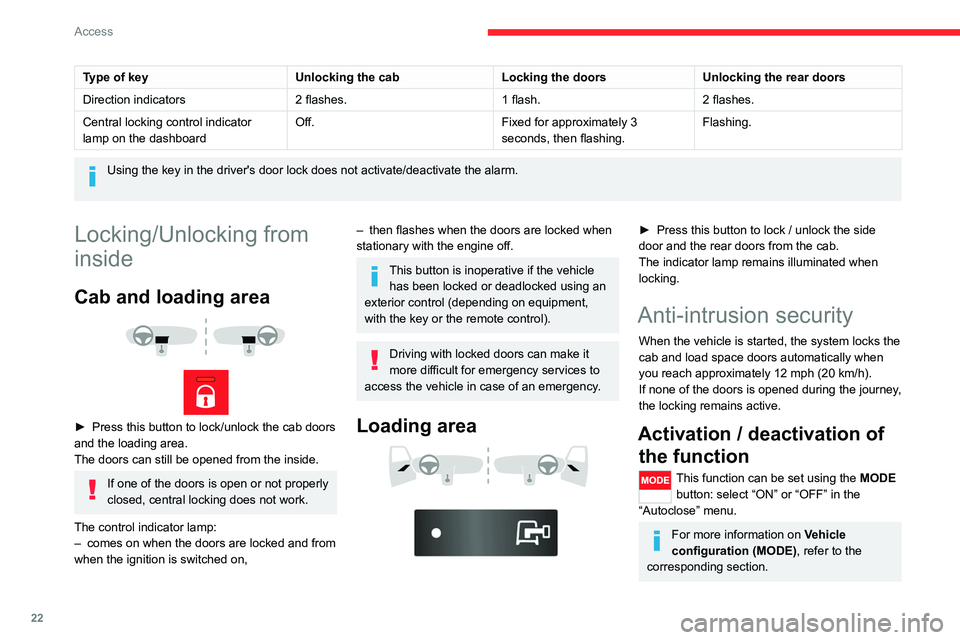
► Press this button to lock/unlock the cab doors
and the loading area.
The doors can still be opened from the inside.
If one of the doors is open or not properly
closed, central locking does not work.
The control indicator lamp:
– comes on when the doors are locked and from
when the ignition is switched on,
– then flashes when the doors are locked when
stationary with the engine off.
This button is inoperative if the vehicle has been locked or deadlocked using an
exterior control (depending on equipment,
with the key or the remote control).
Driving with locked doors can make it
more difficult for emergency services to
access the vehicle in case of an emergency.
Loading area
► Press this button to lock / unlock the side
door and the rear doors from the cab.
The indicator lamp remains illuminated when
locking.
Anti-intrusion security
When the vehicle is started, the system locks the
cab and load space doors automatically when
you reach approximately 12 mph (20 km/h).
If none of the doors is opened during the journey,
the locking remains active.
Activation / deactivation of the function
This function can be set using the MODE
button: select “ON” or “OFF” in the
“Autoclose” menu.
For more information on Vehicle
configuration (MODE) , refer to the
corresponding section.
Front doors
► Use the corresponding button on the remote
control or use the key in the driver's door lock to
unlock.
► Pull the handle towards you.
Sliding side door
Take care not to block the guide space
on the floor to allow the door to slide
correctly.
Opening
From outside
► Pull the handle towards you and then towards
the rear.