2019 MERCEDES-BENZ GLB SUV reset
[x] Cancel search: resetPage 375 of 689
#
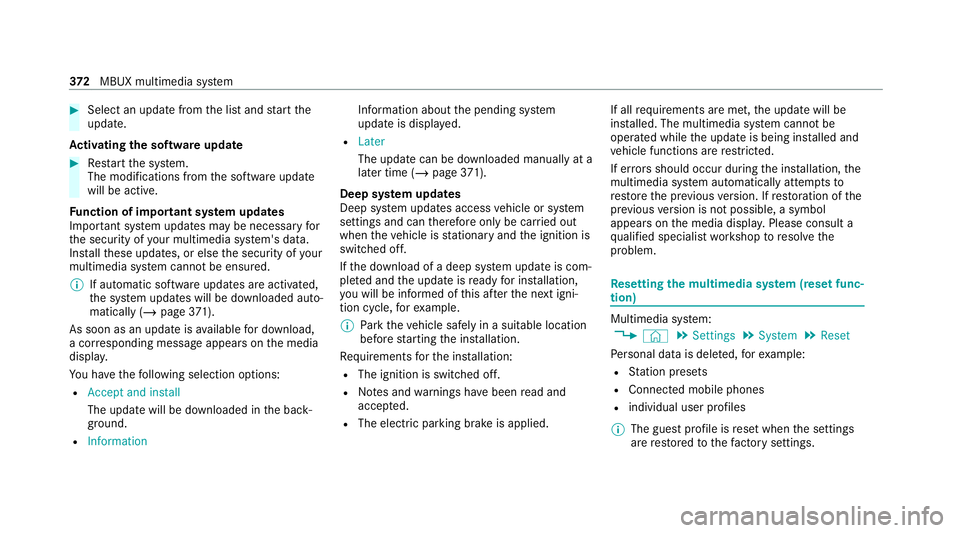
Select an upda tefrom the list and start the
update.
Ac tivating the so ftwa reupdate #
Restart the sy stem.
The modifications from the software update
will be active.
Fu nction of important sy stem upda tes
Impor tant sy stem updates may be necessary for
th e security of your multimedia sy stem's data.
Ins tallth ese updates, or else the security of your
multimedia sy stem cann otbe ensured.
% If automatic software updates are activated,
th e sy stem updates will be downloaded auto‐
matically (/ page371).
As soon as an update is available for download,
a cor responding message appears onthe media
displa y.
Yo u ha vethefo llowing selection options:
R Accept and install
The update will be downloaded in the back‐
ground.
R Information Information about
the pending sy stem
update is displa yed.
R Later
The update can be downloaded manually at a
later time (/ page371).
Dee p sy stem upda tes
Deep sy stem updates access vehicle or sy stem
settings and can therefore only be car ried out
when theve hicle is stationary and the ignition is
switched off.
If th e download of a deep sy stem update is com‐
ple ted and the update is ready for ins tallation,
yo u will be informed of this af terth e next igni‐
tion cycle, forex ample.
% Park theve hicle safely in a suitable location
before starting the ins tallation.
Re quirements forth e ins tallation:
R The ignition is switched off.
R Notes and warnings ha vebeen read and
accep ted.
R The elect ric pa rking brake is applied. If all
requirements are met, the update will be
ins talled. The multimedia sy stem cann otbe
operated while the update is being ins talled and
ve hicle functions are restricted.
If er rors should occur during the ins tallation, the
multimedia sy stem automatically attem ptsto
re store the pr evious version. If restoration of the
pr ev ious version is not possible, a symbol
appears on the media displa y.Please consult a
qu alified specialist workshop toresol vethe
problem. Re
setting the multimedia sy stem (reset func‐
tion) Multimedia sy
stem:
4 © 5
Settings 5
System 5
Reset
Pe rsonal data is dele ted, forex ample:
R Station presets
R Connec ted mobile phones
R individual user profiles
% The guest profile is reset when the settings
are restored tothefa ctory settings. 372
MBUX multimedia sy stem
Page 376 of 689
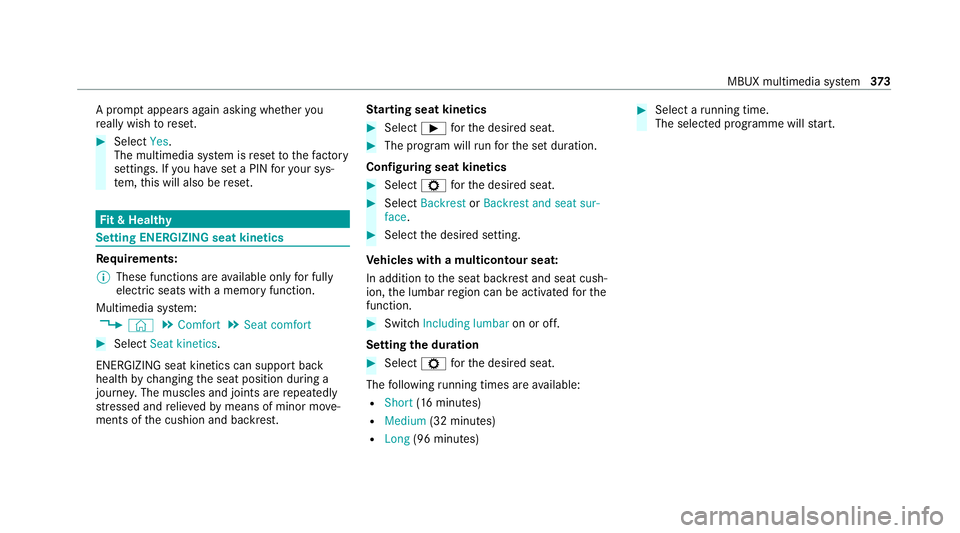
A prom
ptappears again asking whe ther you
re ally wish toreset. #
Select Yes.
The multimedia sy stem is reset tothefa ctory
settings. If you ha veset a PIN foryo ur sys‐
te m, this will also be reset. Fi
t & Healthy Setting ENE
RGIZING seat kinetics Re
quirements:
% These functions are available on lyfor fully
electric seats with a memory function.
Multimedia sy stem:
4 © 5
Comfort 5
Seat comfort #
Select Seat kinetics .
ENERG IZING seat kinetics can support back
health bychanging the seat position during a
journe y.The muscles and joints are repeatedly
st re ssed and relie vedby means of minor mo ve‐
ments of the cushion and backrest. St
arting seat kinetics #
Select Ìforth e desired seat. #
The program will runfo rth e set duration.
Configuring seat kinetics #
Select Zforth e desired seat. #
Select Backrest orBackrest and seat sur-
face. #
Select the desired setting.
Ve hicles with a multicontour seat:
In addition tothe seat backrest and seat cush‐
ion, the lumbar region can be activated forthe
function. #
Switch Including lumbar on or off.
Setting the du ration #
Select Zforth e desired seat.
The following running times are available:
R Short (16 minutes)
R Medium (32 minutes)
R Long (96 minutes) #
Select a running time.
The selected programme will start. MBUX multimedia sy
stem 373
Page 415 of 689
#
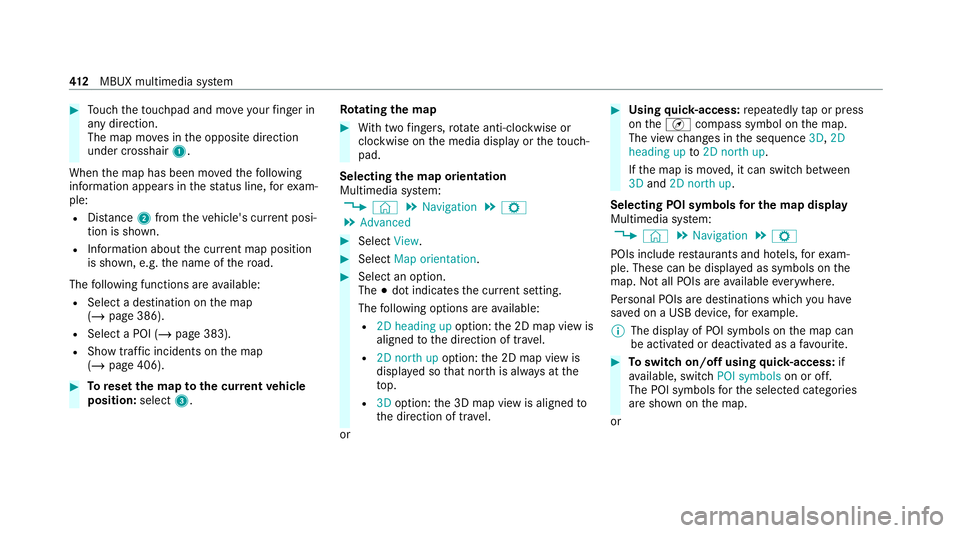
Touch theto uchpad and mo veyour finger in
any di rection.
The map mo ves in the opposite direction
under crosshair 1.
When the map has been mo vedth efo llowing
information appears in thest atus line, forex am‐
ple:
R Distance 2from theve hicle's cur rent posi‐
tion is shown.
R Information about the cur rent map position
is shown, e.g. the name of thero ad.
The following functions are available:
R Select a destination on the map
(/ page 386).
R Select a POI (/ page 383).
R Show tra ffic incidents on the map
(/ page 406). #
Toreset the map tothe cur rent vehicle
position: select3. Ro
tating the map #
With two fingers, rotate anti-clockwise or
clo ckwise on the media display or theto uch‐
pad.
Selecting the map orientation
Multimedia sy stem:
4 © 5
Navigation 5
Z
5 Advanced #
Select View. #
Select Map orientation. #
Select an option.
The #dot indicates the cur rent setting.
The following options are available:
R 2D heading up option:the 2D map view is
aligned tothe direction of tra vel.
R 2D north up option:the 2D map view is
displa yed so that no rth is alw ays at the
to p.
R 3Doption: the 3D map view is aligned to
th e direction of tra vel.
or #
Using quick- access: repeatedly tap or press
on theÄ compass symbol on the map.
The view changes in the sequence 3D,2D
heading up to2D north up .
If th e map is mo ved, it can switch between
3D and 2D north up .
Selecting POI symbols for the map display
Multimedia sy stem:
4 © 5
Navigation 5
Z
POIs include restaurants and ho tels, forex am‐
ple. These can be displa yed as symbols on the
map. Not all POIs are available everywhere.
Pe rsonal POIs are destinations which you ha ve
sa ve d on a USB device, forex ample.
% The display of POI symbols on the map can
be activated or deactivated as a favo urite. #
Toswitch on/off using quick- access: if
av ailable, swit chPOI symbols on or off.
The POI symbols forth e selected categories
are shown on the map.
or 412
MBUX multimedia sy stem
Page 416 of 689
#
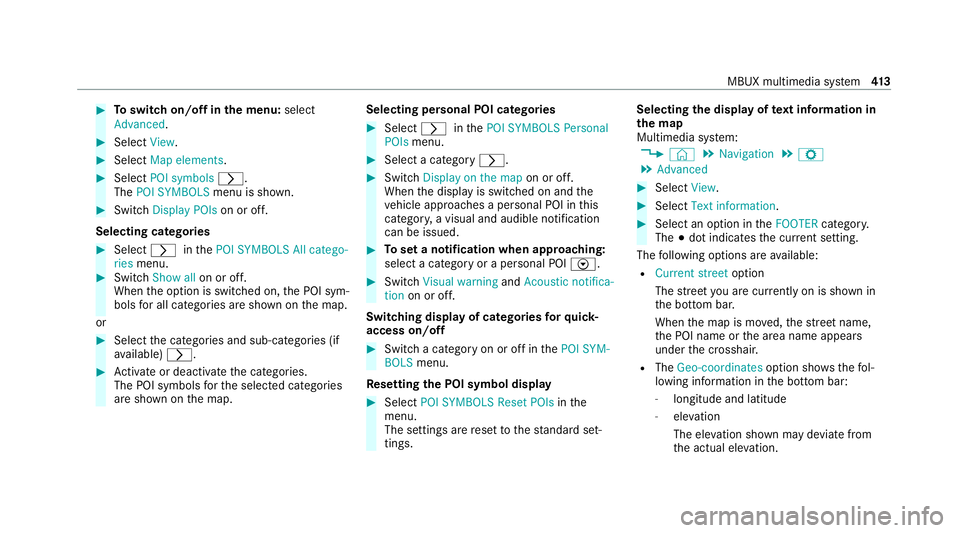
Toswitch on/off in the menu: select
Advanced. #
Select View. #
Select Map elements. #
Select POI symbols r.
The POI SYMBOLS menu is shown. #
Swit chDisplay POIs on or off.
Selecting ca tegories #
Select rinthePOI SYMBOLS All catego-
ries menu. #
Switch Show all on or off.
When the option is switched on, the POI sym‐
bols for all categories are shown on the map.
or #
Select the categories and sub-categories (if
av ailable) r. #
Activate or deacti vate the categories.
The POI symbols forth e selected categories
are shown on the map. Selecting personal POI categories #
Select rinthePOI SYMBOLS Personal
POIs menu. #
Select a category r. #
Switch Display on the map on or off.
When the display is switched on and the
ve hicle approaches a personal POI in this
categor y,a visual and audible notification
can be issued. #
Toset a notification when appro aching:
select a category or a personal POI V. #
Switch Visual warning andAcoustic notifica-
tion on or off.
Switching display of catego ries forqu ick-
access on/off #
Switch a category on or off in thePOI SYM-
BOLS menu.
Re setting the POI symbol display #
Select POI SYMBOLS Reset POIs inthe
menu.
The settings are reset tothest andard set‐
tings. Selecting
the display of text information in
th e map
Multimedia sy stem:
4 © 5
Navigation 5
Z
5 Advanced #
Select View. #
Select Text information. #
Select an option in theFOOTER category.
The #dot indicates the cur rent setting.
The following options are available:
R Current street option
The stre et you are cur rently on is shown in
th e bottom bar.
When the map is mo ved, thest re et name,
th e POI name or the area name appears
under the crosshair.
R The Geo-coordinates option showsthefo l‐
lowing information in the bottom bar:
- longitude and latitude
- elevation
The el evation shown may deviate from
th e actual ele vation. MBUX multimedia sy
stem 413
Page 420 of 689
Displaying
the compass
Multimedia sy stem:
4 © 5
Navigation 5
¡ 5
Position #
Select Compass.
The compass display sho wsthefo llowing
information:
R the cur rent di rection of tr avel with bear‐
ing (360° form at) and compass direction
R longitude and latitude coo rdinates in
degrees, minutes and seconds
R height (rounded)
R number of satellites from which a signal
can be recei ved
The information is not available in every count ry.
Displaying Qibla
Multimedia sy stem:
4 © 5
Navigation 5
¡ 5
Position #
Select Qibla.
The ar rowonthe compass sho wsthe direc‐
tion toMecca in relation tothe cur rent di rec‐
tion of tr avel. The number of satellites
recei ved is shown.
% This function is not available in all countries.
Setting the map scale automatically
Multimedia sy stem:
4 © 5
Navigation 5
Z
5 Advanced #
Select View. #
Select Map orientation. #
Activate Auto zoom.
The display button is acti vated. The map
scale is set automatically depending on your
driving speed and the type of road.
% The automatically selec ted map scale can be
ch anged manuall y.After a few seconds, this
is automatically reset.
Displaying the satellite map
Multimedia sy stem:
4 © 5
Navigation 5
Z
5 Advanced #
Select View. #
Select Map elements. #
Switch Satellite map on or off.
If th e display button is activated, satellite
maps are displa yed in map scales from 2 km.
If th e display button is deactivated, satellite
maps are not displa yed in map scales from
2 km to20 km.
% The satellite maps forth ese map scales are
not available in all countries.
Displ aying thera nge
Re quirements:
R The multimedia sy stem supports the func‐
tion.
Multimedia sy stem:
4 © 5
Navigation 5
Z
5 Advanced #
Select View. #
Select Map elements. #
Activate Range.
The display button is acti vated.
The range on the map is shown with green
display for petrol and diesel vehicles. MBUX multimedia sy
stem 417
Page 449 of 689
Ac
cepting/rejecting the data pr otection reg‐
ulations
Fo rth e initial start of the application: a message
with the data pr otection pr ovisions appears. #
Select Accept & start .
Exiting Android Auto #
Press theò button.
% Android Autostarts automatically when the
mobile phone is connected with the sy stem
using a cable. If Android Autowa s not dis‐
pla yed in thefo re ground before disconnect‐
ing, the application starts in the bac kground
when reconnected. You can call up Android
Au tointhe main menu.
Calling up the Android Autosound settings
Multimedia sy stem:
4 © 5
Mercedes me & Apps
5 Smartphone 5
Android Auto 5
Z #
Select sound settings. Setting control of
the application but tons
(Android Auto)
Multimedia sy stem:
4 © 5
Mercedes me & Apps
5 Smartphone 5
Android Auto 5
Z
5 General #
Toswitch on Control via application buttons :
activate the display button. #
Toswitch off Control via application buttons :
deactivate the display button.
Ending Android Auto #
Toend the connection of Android Auto
(with cable): disconnectthe connection via
th e connecting cable between the mobile
phone and multimedia sy stem.
% Mercedes-Benz recommends disconnecting
th e connecting cable only when theve hicle
is stationar y. Tr
ansfer redve hicle data with Android Auto
and Apple CarPlay ® Overview of transfer
redve hicle data
When using Android Autoor Apple CarPlay ®
, cer‐
ta in vehicle data is transfer redto the mobile
phone. This enables youto getth e best out of
selected mobile phone services. Vehicle data is
not directly accessible.
The following sy stem information is transmit ted:
R Software release of the multimedia sy stem
R System ID (anonymised)
The transfer of this data is used tooptimise
communication between theve hicle and the
mobile phone.
To do this, and toassign se veralve hicles tothe
mobile phone, a vehicle identifier is randomly
ge nerated.
This has no connection totheve hicle identifica‐
tion number (VIN) and is dele ted when the multi‐
media sy stem is reset (/ page372).
The following driving status data is transmit ted:
R Transmission position engaged 446
MBUX multimedia sy stem
Page 482 of 689
Calling up
thera dio station list Multimedia sy
stem:
4 © 5
Radio #
Select 4.
The station list appears. #
Select a station. Sear
ching forra dio stations using station
names or frequency entry Multimedia sy
stem:
4 © 5
Radio #
Select è. #
Ente r astation name or frequenc y.#
Select a station. St
oring radio stations Multimedia sy
stem:
4 © 5
Radio #
Select a radio station. Memory slots are
available in station presets #
Select f.
or #
Press and hold on thera dio station.
Re placing an entry in the station presets #
Press and hold on an entry in thest ation pre‐
sets. #
Select Yes. Editing
station presets Multimedia sy
stem:
4 © 5
Radio
Moving stations #
Press and hold a stored station. #
Select Move. #
Movethest ation tothe new position.
Deleting stations #
Press and hold a station. #
Select Delete. Re
placing a station #
Press and hold a station. #
Select Replace radio station . Calling up a slide show (FM/DAB
radio mode) Multimedia sy
stem:
4 © 5
Radio
The slide show displa ysadditional information
pr ov ided bythest ation as an image. This can
include logos, album co vers, music trac ks, pro‐
gr ammes, ne wsor service information, forex am‐
ple. #
Select 2. Ac
tivating/deactivating the frequency fix
function Multimedia sy
stem:
4 © 5
Radio 5
Z 5
General #
Switch Frequency fix on or off.
If th e function is activated, the set frequency
is ke pt eve n ifthere ception is poo r. MBUX multimedia sy
stem 47 9
Page 488 of 689
fi
ed based on the actual operating conditions
and/or loads.
Examples of arduous operating conditions:
R regular city driving with frequent intermedi‐
ate stops
R mainly short-dis tance driving
R frequent operation in mountainous terrain or
on poor road sur faces
R when the engine is of ten le ftidling for long
periods
R operation in particula rly dusty conditions
and/or if air-recirculation mode is frequently
used
In these or similar operating conditions, ha vethe
interior air filter, engine air cleaner, engine oil
and oil filter etc. changed more frequent ly. The
ty re s must be checked more frequently if the
ve hicle is operated under increased loads. Fur‐
th er information can be obtained at a qualified
specialist workshop. Battery disconnection periods
The ASS
YST PLUS se rvice inter val display
can only calculate the service due da tewhen
th e bat tery is connected. #
Notedown the service due date displa yed on
th e instrument display before disconnecting
th e battery (/ page 484). Engine compartment
Ac
tive bonn et(pedestrian pr otection) Operation of
the active bonnet (pedestrian
pr otection)
In cer tain accident situations, therisk of injury
to pedestrians can be reduced bythe actuation
of the active bonn et. The rear area of the engine
bonn etisraised byappr oximately 70 mm.
Fo rth e drive tothewo rkshop, reset the trig‐
ge red active bonn etyourself. Af terth e active
bonn ethas been triggered, pedestrian pr otection
may be limited.
A qu alified specialist workshop must re-ins tate
th e full functionality of the active bonn et. The active bonnet is not
available in all coun‐
tries.
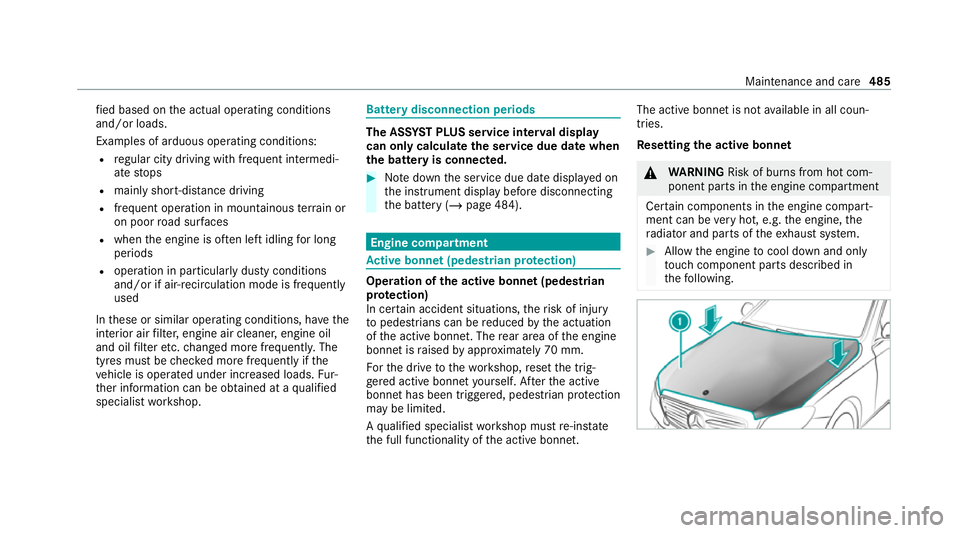
Re setting the active bonnet &
WARNING Risk of bu rns from hot com‐
ponent parts in the engine compartment
Cer tain components in the engine compart‐
ment can be very hot, e.g. the engine, the
ra diator and parts of theex haust sy stem. #
Allow the engine tocool down and only
to uch co mponent parts described in
th efo llowing. Maintenance and care
485