Page 337 of 689

#
Tomo vethe digital map: swipe in any
direction. #
Touse handwriting toenter characters:
write thech aracter with one finger on the
to uchsc reen.
Tw o-finger swipe #
Tozoom in and out of the map: movetwo
fi ngers toget her or apart. #
Toenlar georreduce the size of a section
of a website: movetwo fingers toget her or
apart. #
Toturn the map: turn anti-clockwise or
clockwise using two fingers.
To uching, holding and moving #
Tomo vethe map: touch theto uchsc reen
and mo veyour finger in any di rection. #
Toset thevo lume on a scale: touch the
to uchsc reen and mo vethefinger tothe left
or right. To
uching and holding #
Tosave the destination in the map: touch
th eto uchsc reen and hold until a message is
shown. #
Tocall up a global menu in the applica‐
tions: touch theto uchsc reen and hold until
th eOPTIONS menu appears.
Setting acoustic operation feedba ckfor the
to uchscreen
Multimedia sy stem:
4 © 5
Settings 5
System
5 Controls
The function is suppor tedby the selection in a
list. #
Select Acoustic operating feedback. #
Set Normal, LoudorOff.
If th e function is activated you will hear a
clicking sound when sc rolling in a list. When
th e beginning or end of the list is reached
yo u will hear ano ther clicking sound. To
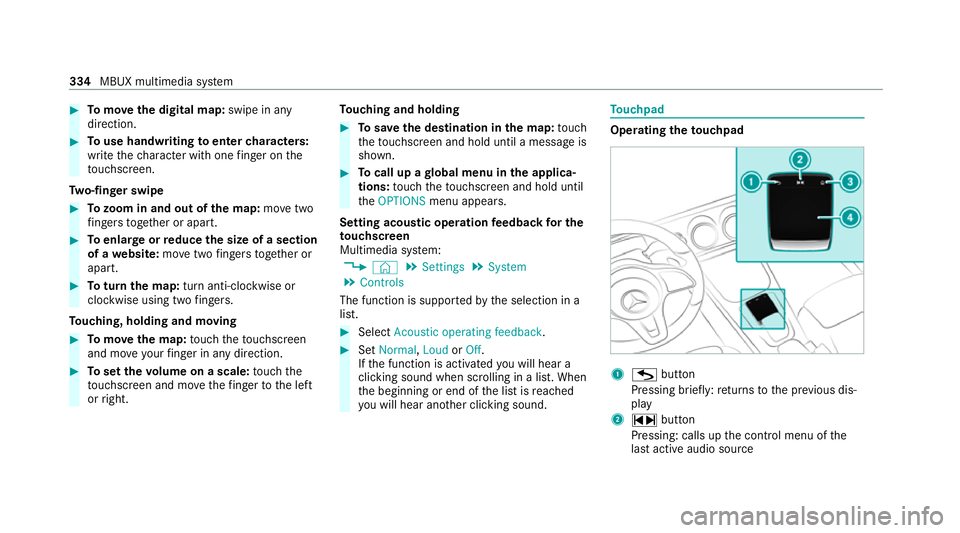
uchpad Operating
theto uchpad 1
G button
Pressing brief ly:re turns tothe pr evious dis‐
play
2 ~ button
Pressing: calls up the control menu of the
last active audio source 334
MBUX multimedia sy stem
Page 415 of 689

#
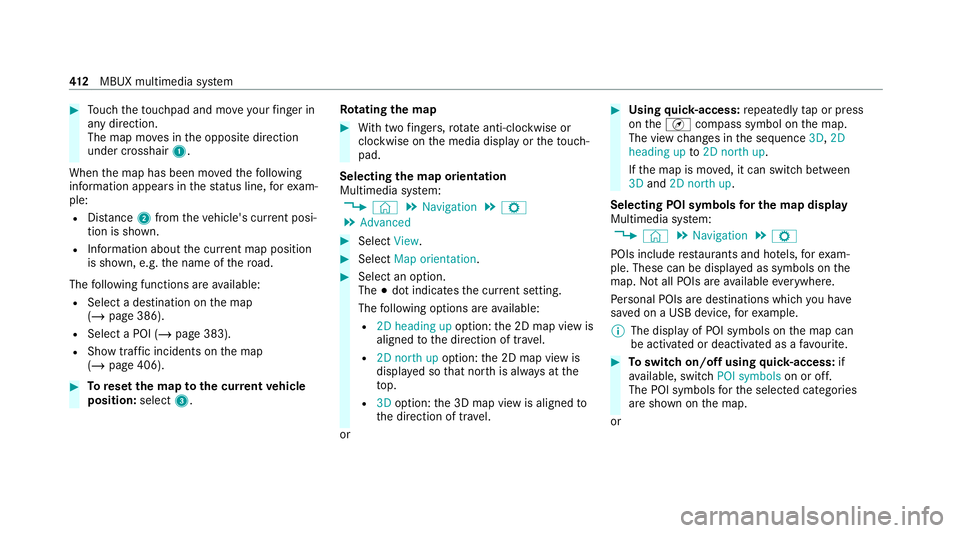
Touch theto uchpad and mo veyour finger in
any di rection.
The map mo ves in the opposite direction
under crosshair 1.
When the map has been mo vedth efo llowing
information appears in thest atus line, forex am‐
ple:
R Distance 2from theve hicle's cur rent posi‐
tion is shown.
R Information about the cur rent map position
is shown, e.g. the name of thero ad.
The following functions are available:
R Select a destination on the map
(/ page 386).
R Select a POI (/ page 383).
R Show tra ffic incidents on the map
(/ page 406). #
Toreset the map tothe cur rent vehicle
position: select3. Ro
tating the map #
With two fingers, rotate anti-clockwise or
clo ckwise on the media display or theto uch‐
pad.
Selecting the map orientation
Multimedia sy stem:
4 © 5
Navigation 5
Z
5 Advanced #
Select View. #
Select Map orientation. #
Select an option.
The #dot indicates the cur rent setting.
The following options are available:
R 2D heading up option:the 2D map view is
aligned tothe direction of tra vel.
R 2D north up option:the 2D map view is
displa yed so that no rth is alw ays at the
to p.
R 3Doption: the 3D map view is aligned to
th e direction of tra vel.
or #
Using quick- access: repeatedly tap or press
on theÄ compass symbol on the map.
The view changes in the sequence 3D,2D
heading up to2D north up .
If th e map is mo ved, it can switch between
3D and 2D north up .
Selecting POI symbols for the map display
Multimedia sy stem:
4 © 5
Navigation 5
Z
POIs include restaurants and ho tels, forex am‐
ple. These can be displa yed as symbols on the
map. Not all POIs are available everywhere.
Pe rsonal POIs are destinations which you ha ve
sa ve d on a USB device, forex ample.
% The display of POI symbols on the map can
be activated or deactivated as a favo urite. #
Toswitch on/off using quick- access: if
av ailable, swit chPOI symbols on or off.
The POI symbols forth e selected categories
are shown on the map.
or 412
MBUX multimedia sy stem
Page 542 of 689

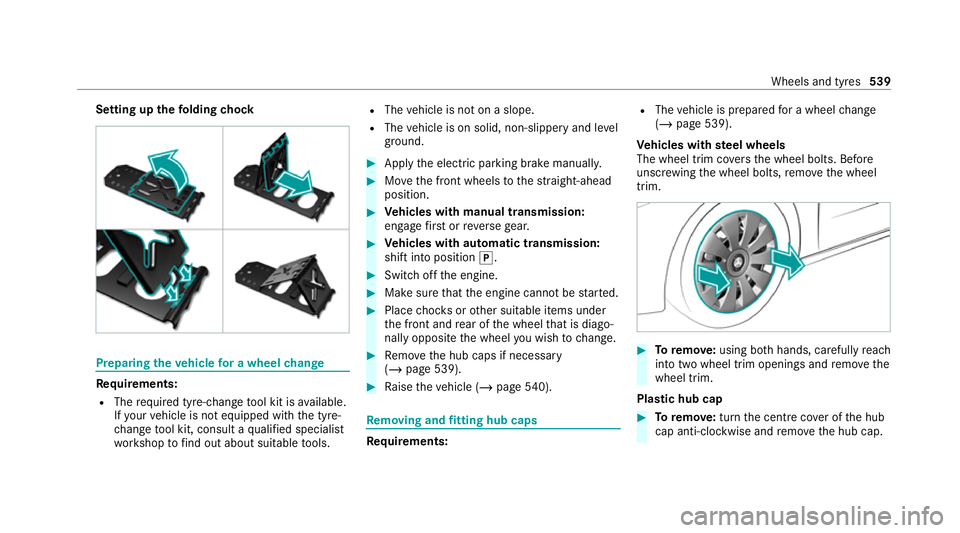
Setting up
thefo lding chock Prepa
ring theve hicle for a wheel change Re
quirements:
R The requ ired tyre-change tool kit is available.
If yo ur vehicle is not equipped with the tyre-
ch ange tool kit, consult a qualified specialist
wo rkshop tofind out about suitable tools. R
The vehicle is not on a slope.
R The vehicle is on solid, non-slippery and le vel
ground. #
Apply the electric parking brake manually. #
Movethe front wheels tothest ra ight-ahead
position. #
Vehicles with manual transmission:
engage firs t or reve rsege ar. #
Vehicles with automatic transmission:
shift into position j. #
Switch off the engine. #
Make sure that the engine cann otbe star ted. #
Place choc ks orother suitable items under
th e front and rear of the wheel that is diago‐
nally opposite the wheel you wish tochange. #
Remo vethe hub caps if necessary
(/ page 539). #
Raise theve hicle (/ page540). Re
moving and fitting hub caps Re
quirements: R
The vehicle is prepared for a wheel change
(/ page 539).
Ve hicles with steel wheels
The wheel trim co vers the wheel bolts. Before
unscr ewing the wheel bolts, remo vethe wheel
trim. #
Toremo ve:using bo thhands, carefully reach
into two wheel trim openings and remo vethe
wheel trim.
Plastic hub cap #
Toremo ve:turn the cent recover of the hub
cap anti-clockwise and remo vethe hub cap. Wheels and tyres
539