2019 MERCEDES-BENZ GLA check engine light
[x] Cancel search: check engine lightPage 153 of 346
take advantage of engine braking. For thisyou must first activate manual gearshifting.This helps you to avoid overheating thebrakes and wearing them out excessively.
When you take advantage of engine braking,it is possible that a drive wheel will notrotate for some time, e.g. on a slippery roadsurface. This could cause damage to thedrive train. This type of damage is not cov-ered by the Mercedes-Benz warranty.
Briefly depressing the accelerator pedal ondownhill gradients while the manual drive pro-gramMis temporarily activated: the automatictransmission may switch to the last activeautomatic drive programEorS. The automatictransmission may shift to a higher gear. Thiscan reduce the engine's braking effect.
Heavy and light loads
GWARNING
If you rest your foot on the brake pedal
while driving, the braking system can over-
heat. This increases the stopping distance
and can even cause the braking system to
fail. There is a risk of an accident.
Never use the brake pedal as a footrest.
Never depress the brake pedal and the
accelerator pedal at the same time.
!Depressing the brake pedal constantlyresults in excessive and premature wear tothe brake pads.
If the brakes have been subjected to a heavyload, do not stop the vehicle immediately.Drive on for a short while. This allows the air-flow to cool the brakes more quickly.
Wet roads
If you have driven for a long time in heavy rainwithout braking, there may be a delayed reac-tion from the brakes when braking for the firsttime. This may also occur after the vehicle hasbeen washed or driven through deep water.
You have to depress the brake pedal morefirmly. Maintain a greater distance from thevehicle in front.
After driving on a wet road or having the vehi-cle washed, brake firmly while paying attentionto the traffic conditions. This will warm up the
brake discs, thereby drying them more quicklyand protecting them against corrosion.
Limited braking performance on salt-
treated roads
If you drive on salted roads, a layer of salt resi-due may form on the brake discs and brakepads. This can result in a significantly longerbraking distance.
RIn order to prevent any salt build-up, applythe brakes occasionally while paying atten-tion to the traffic conditions.
RCarefully depress the brake pedal and thebeginning and end of a journey.
RMaintain a greater distance to the vehicleahead.
Servicing the brakes
!The brake fluid level may be too low, if:
Rif the red brake warning lamp lights up inthe instrument cluster and
Ryou hear a warning tone while the engineis running
Observe additional warning messages in themultifunction display.
The brake fluid level may be too low due tobrake pad wear or leaking brake lines.
Have the brake system checked immedi-ately. Consult a qualified specialist work-shop to arrange this.
!A function or performance test should onlybe carried out on a 2-axle dynamometer. Ifyou wish to operate the vehicle on such adynamometer, please consult a qualifiedspecialist workshop in advance. You couldotherwise damage the drive train or thebrake system.
!As the ESP®system operates automati-cally, the engine and the ignition must beswitched off (the SmartKey must be in posi-tion�
Page 157 of 346
RDrive slowly and evenly, if necessary at awalking pace.
REnsure that the wheels are in contact withthe ground at all times.
RDrive with extreme care on unfamiliar off-road routes where visibility is poor. Forsafety reasons, get out of the vehicle firstand survey the off-road route.
RCheck the depth of water before fording riv-ers and streams.
RWatch out for obstacles.
RTake care when turning on an uphill ordownhill slope or when driving across aslope. The vehicle could otherwise tip over.
RAlways keep the side windows and the pan-orama roof with power tilt/sliding panelclosed during the journey.
RDo not deviate from marked routes.
RDo not use the HOLD function when drivingoff-road, on steep uphill or downhill gradi-ents or on slippery or loose surfaces. TheHOLD function cannot hold the vehicle onsuch surfaces.
Checklist before driving off-road
XEngine oil level:check the engine oil leveland add oil if necessary.
When driving on steep gradients, the engineoil level must be sufficiently high to ensure acorrect oil supply in the vehicle.
XWheels and tires:check the tire treaddepth and tire pressure.
XCheck for damage and remove any foreignobjects, e.g. small stones, from the wheels/tires.
XReplace any missing valve caps.
XReplace dented or damaged wheels.
XRims:dented or bent rims can result in aloss of tire pressure and damage the tirebead. Before driving off-road, check thewheels and replace them if necessary.
Checklist after driving off-road
!If you detect damage to the vehicle afterdriving off-road, have the vehicle checkedimmediately at a qualified specialist work-shop.
XDeactivate off-road program (Ypage 132).
XDeactivate DSR (Ypage 169).
XClean the headlamps and rear lights andcheck for damage.
XClean the front and rear license plates.
XClean the wheels and tires with a water jetand remove any foreign objects.
XClean the wheels, wheel housings and thevehicle underside with a water jet; check forany foreign objects and damage.
XCheck whether twigs or other parts of plantshave become trapped. These increase therisk of fire and can damage fuel pipes, brakehoses or the air bellows of the axle jointsand propeller shafts.
XAfter the trip, examine without fail the entireundercarriage, wheels, tires, brakes, body-work structure, steering, chassis andexhaust system for damage.
XAfter driving in sand, mud, gravel, water orsimilar dirty conditions, have the followingchecked and cleaned:
Rbrake discs
Rwheels
Rbrake pads
Raxle joints
XIf you detect strong vibrations after off-roadtravel, check for foreign objects in thewheels and drive train and remove them ifnecessary. Foreign objects can disturb thebalance and cause vibrations.
Driving over poor road surfaces places greaterdemands on your vehicle than driving on nor-mal roads. After driving off-road, check thevehicle. This allows you to detect damagepromptly and reduce the risk of an accident toyourself and other road users.
Driving on sand
Observe the following rules when driving onsand:
RActivate the off-road program (Ypage 132).
RAvoid high engine speeds.
RUse the left-hand steering wheel paddleshifter to shift to a lower gear appropriate tothe terrain.
Drivingtips155
Driving an d parking
Z
Page 158 of 346
RDrive quickly to overcome the rolling resist-ance. Otherwise the vehicle's wheels couldbecome stuck in loose ground.
RDrive in the tracks of other vehicles if possi-ble. Make sure that:
-the tire ruts are not too deep.
-the sand is sufficiently firm.
-the ground clearance of the vehicle is suf-ficient.
Tire ruts and gravel roads
!Check that the ruts are not too deep andthat your vehicle has sufficient clearance.Otherwise, your vehicle could be damagedor bottom out and get stuck.
Observe the following rules when driving alongruts in off-road terrain or on roads with loosegravel:
RActivate the off-road program (Ypage 132).
RAvoid high engine speeds.
RShift to a lower gear using the left-handsteering wheel paddle shifter.
RDrive slowly.
RWhere ruts are too deep, drive with thewheels of one side on the center grassyarea, if possible.
Traveling uphill
Approach/departure angle
GWARNING
If you drive on a steep incline at an angle or
turn when driving on an incline, the vehicle
could slip sideways, tip and rollover. There is
a risk of an accident.
Always drive on a steep incline in the line of
fall (straight up or down) and do not turn the
vehicle.
RObserve the warnings for off-road driving(Ypage 153).
RFollow the line of fall when driving on slopesand steep inclines.
RBefore driving on extreme uphill and down-hill gradients, select the off-road program(Ypage 132).
RDrive slowly.
RAccelerate gently and make sure that thewheels are gripping.
RAvoid high engine speeds, except when driv-ing on sandy and muddy routes with highdriving resistance.
RUse the left-hand steering wheel paddleshifter to shift to a lower gear appropriate tothe gradient.
RUse the left-hand steering wheel paddleshifter to shift into a lower gear in good timeon long and steep downhill gradients.
Hill start assist will aid you when pulling awayon a hill. For further information about hillstart assist, see (Ypage 128).
Do not shift into transmission position�\\when driving off-road. You could lose controlof the vehicle if you attempt to brake the vehi-cle using the service brake. If the gradient istoo steep for your vehicle, drive back down inreverse gear.
Always observe the approach/departure anglevalues (Ypage 340).
Maximum gradient-climbing capability
Always observe the maximum gradient climb-ing ability values (Ypage 340).
Hilltops
When driving up an uphill gradient, slightlyreduce pressure on the accelerator immedi-ately before reaching the brow of the hill.Make use of the vehicle's own impetus totravel over the brow.
This style of driving prevents:
Rthe vehicle from lifting off the ground on thebrow of a hill
Rthe vehicle from traveling too quickly downthe other side
Driving downhill
RDrive slowly.
RDo not drive at an angle down steepinclines. Steer into the line of fall and drivewith the front wheels aligned straight. Oth-erwise, the vehicle could slip sideways, tipand rollover.
RShift to a lower gear using the left-handsteering wheel paddle shifter before tacklingsteep downhill gradients.
156Drivingtips
Driving an d parking
Page 159 of 346
RActivate DSR. If this is not sufficient, brakegently. When doing so, make sure that thevehicle is facing in the direction of the lineof fall.
RCheck that the brakes are working normallyafter a long downhill stretch.
Off-road ABS is activated when the off-roadprogram is selected.
At speeds below 18 mph (30 km/h), the frontwheels lock cyclically during braking. The dig-ging-in effect achieved in the process reducesthe stopping distance on off-road terrain. Thesteerability of the vehicle is considerablyreduced if the wheels lock.
Driving systems
Cruise control
General notes
Cruise control maintains a constant roadspeed for you. It brakes automatically in orderto avoid exceeding the set speed. On long andsteep downhill gradients, especially if the vehi-cle is laden, you must select a low gear ingood time. You need to shift manually usingthe steering wheel paddle shifters beforehand.By doing so, you will make use of the brakingeffect of the engine. This relieves the load onthe brake system and prevents the brakesfrom overheating and wearing too quickly.
When the engine is running, you can use thecruise control lever to limit the speed to anyspeed between 20 mph (30 km/h) and thetechnically permitted maximum speed of thevehicle.
Use cruise control if road and traffic condi-tions make it appropriate to maintain a steadyspeed for a prolonged period.
The speed indicated in the speedometer maydiffer slightly from the speed stored.
Important safety notes
If you fail to adapt your driving style, cruisecontrol can neither reduce the risk of an acci-dent nor override the laws of physics. Cruisecontrol cannot take into account the road,traffic and weather conditions. Cruise controlis only an aid. You are responsible for the dis-tance to the vehicle in front, for vehicle speed,
for braking in good time and for staying in yourlane.
Do not use cruise control:
Rin road and traffic conditions which do notallow you to maintain a constant speed, e.g.in heavy traffic or on winding roads
Ron slippery road surfaces. Braking or accel-erating could cause the drive wheels to losetraction and the vehicle could then skid
Rin poor visibility, e.g. due to fog, heavy rainor snow
If there is a change of drivers, advise the newdriver of the speed stored.
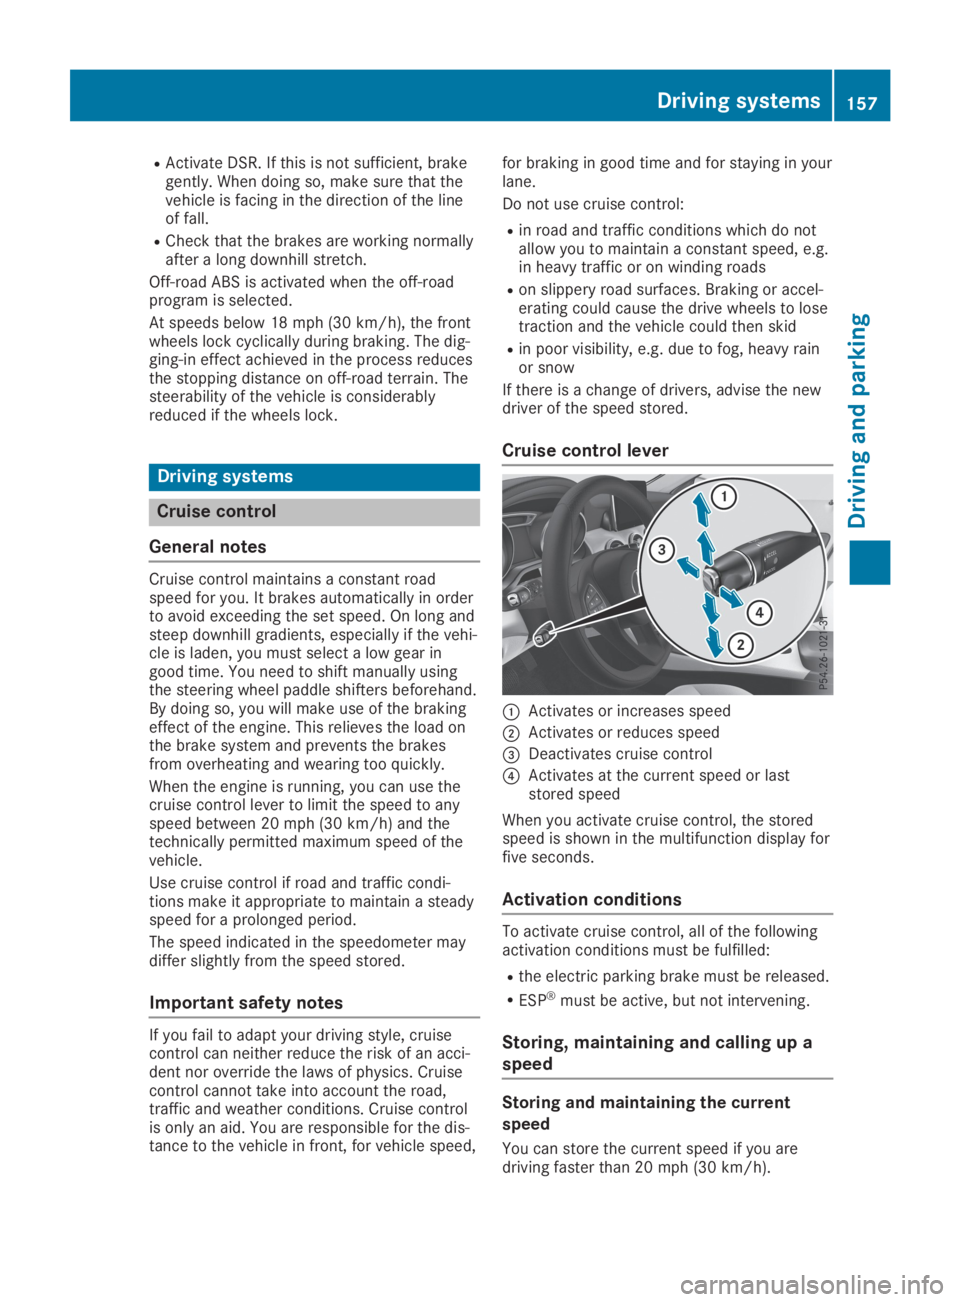
Cruise control lever
�CActivates or increases speed
�DActivates or reduces speed
�
Page 190 of 346
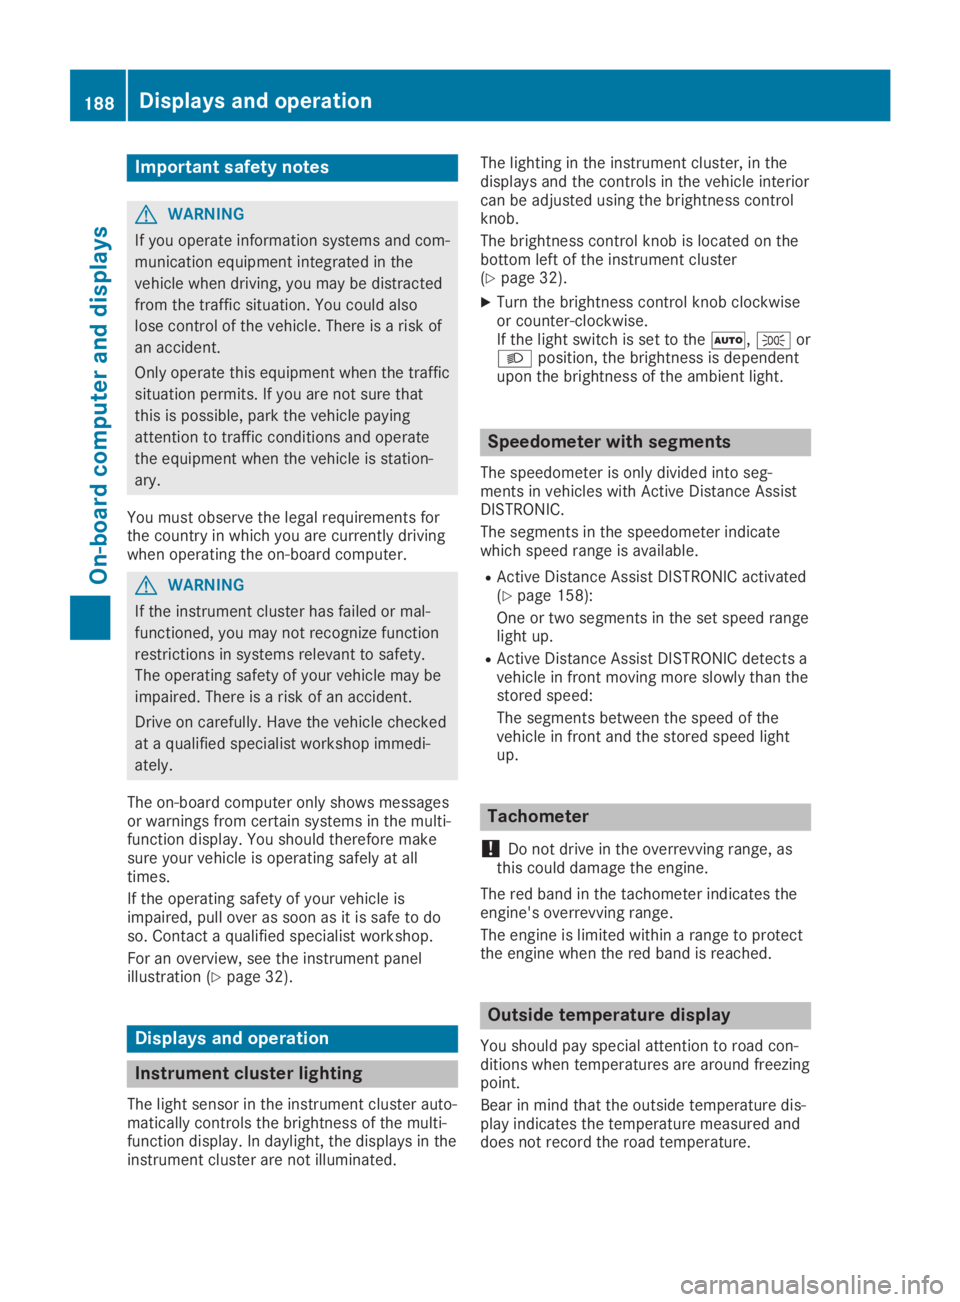
Important safety notes
GWARNING
If you operate information systems and com-
munication equipment integrated in the
vehicle when driving, you may be distracted
from the traffic situation. You could also
lose control of the vehicle. There is a risk of
an accident.
Only operate this equipment when the traffic
situation permits. If you are not sure that
this is possible, park the vehicle paying
attention to traffic conditions and operate
the equipment when the vehicle is station-
ary.
You must observe the legal requirements forthe country in which you are currently drivingwhen operating the on-board computer.
GWARNING
If the instrument cluster has failed or mal-
functioned, you may not recognize function
restrictions in systems relevant to safety.
The operating safety of your vehicle may be
impaired. There is a risk of an accident.
Drive on carefully. Have the vehicle checked
at a qualified specialist workshop immedi-
ately.
The on-board computer only shows messagesor warnings from certain systems in the multi-function display. You should therefore makesure your vehicle is operating safely at alltimes.
If the operating safety of your vehicle isimpaired, pull over as soon as it is safe to doso. Contact a qualified specialist workshop.
For an overview, see the instrument panelillustration (Ypage 32).
Displays and operation
Instrument cluster lighting
The light sensor in the instrument cluster auto-matically controls the brightness of the multi-function display. In daylight, the displays in theinstrument cluster are not illuminated.
The lighting in the instrument cluster, in thedisplays and the controls in the vehicle interiorcan be adjusted using the brightness controlknob.
The brightness control knob is located on thebottom left of the instrument cluster(Ypage 32).
XTurn the brightness control knob clockwiseor counter-clockwise.If the light switch is set to the�X,�`or�Xposition, the brightness is dependentupon the brightness of the ambient light.
Speedometer with segments
The speedometer is only divided into seg-ments in vehicles with Active Distance AssistDISTRONIC.
The segments in the speedometer indicatewhich speed range is available.
RActive Distance Assist DISTRONIC activated(Ypage 158):
One or two segments in the set speed rangelight up.
RActive Distance Assist DISTRONIC detects avehicle in front moving more slowly than thestored speed:
The segments between the speed of thevehicle in front and the stored speed lightup.
Tachometer
!Do not drive in the overrevving range, asthis could damage the engine.
The red band in the tachometer indicates theengine's overrevving range.
The engine is limited within a range to protectthe engine when the red band is reached.
Outside temperature display
You should pay special attention to road con-ditions when temperatures are around freezingpoint.
Bear in mind that the outside temperature dis-play indicates the temperature measured anddoes not record the road temperature.
188Displays and operation
On-board computer and displays
Page 296 of 346
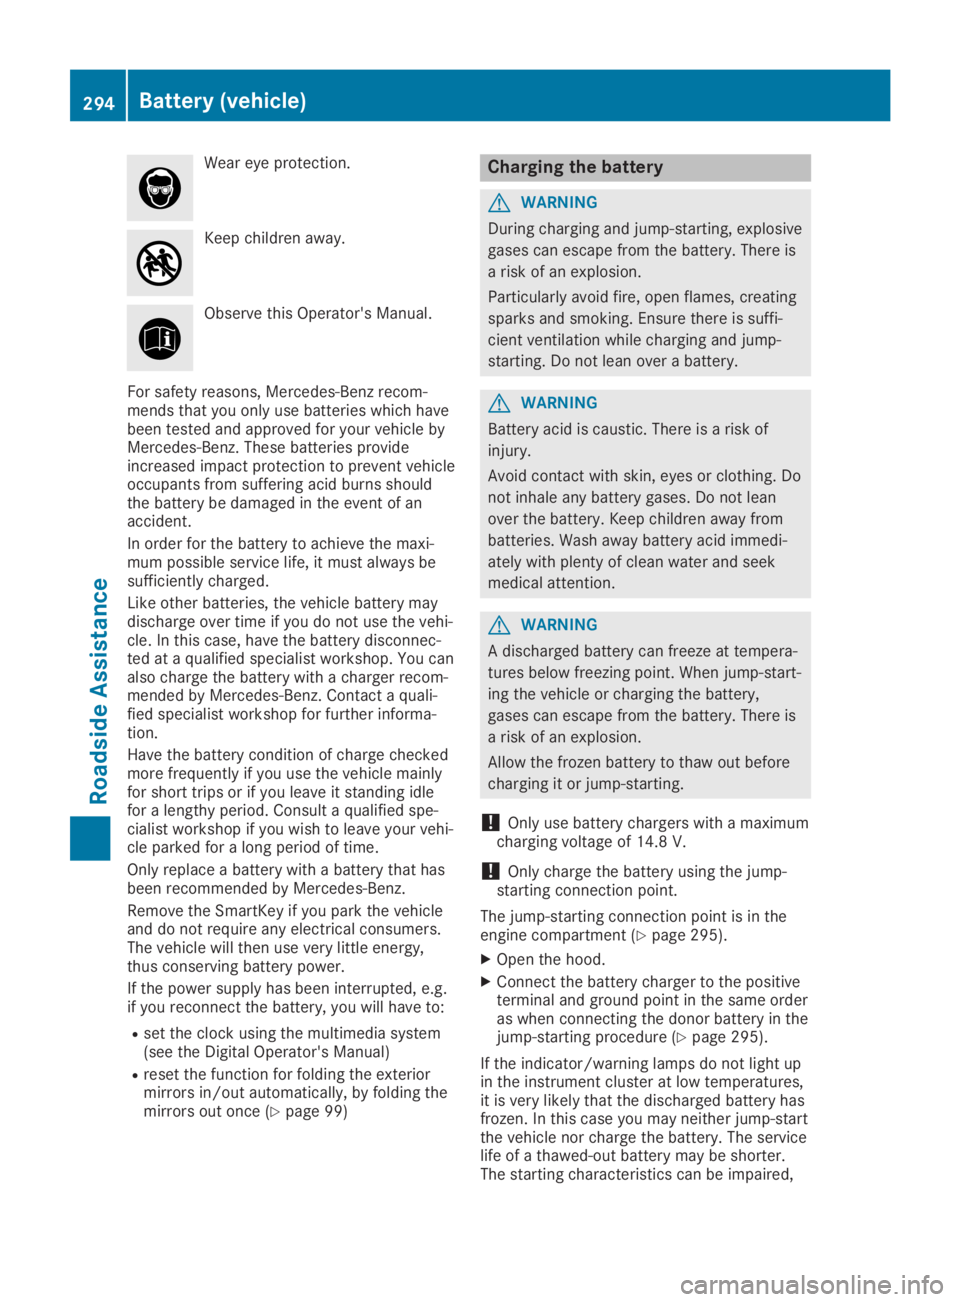
Wear eye protection.
Keep children away.
Observe this Operator's Manual.
For safety reasons, Mercedes-Benz recom-mends that you only use batteries which havebeen tested and approved for your vehicle byMercedes-Benz. These batteries provideincreased impact protection to prevent vehicleoccupants from suffering acid burns shouldthe battery be damaged in the event of anaccident.
In order for the battery to achieve the maxi-mum possible service life, it must always besufficiently charged.
Like other batteries, the vehicle battery maydischarge over time if you do not use the vehi-cle. In this case, have the battery disconnec-ted at a qualified specialist workshop. You canalso charge the battery with a charger recom-mended by Mercedes-Benz. Contact a quali-fied specialist workshop for further informa-tion.
Have the battery condition of charge checkedmore frequently if you use the vehicle mainlyfor short trips or if you leave it standing idlefor a lengthy period. Consult a qualified spe-cialist workshop if you wish to leave your vehi-cle parked for a long period of time.
Only replace a battery with a battery that hasbeen recommended by Mercedes-Benz.
Remove the SmartKey if you park the vehicleand do not require any electrical consumers.The vehicle will then use very little energy,thus conserving battery power.
If the power supply has been interrupted, e.g.if you reconnect the battery, you will have to:
Rset the clock using the multimedia system(see the Digital Operator's Manual)
Rreset the function for folding the exteriormirrors in/out automatically, by folding themirrors out once (Ypage 99)
Charging the battery
GWARNING
During charging and jump-starting, explosive
gases can escape from the battery. There is
a risk of an explosion.
Particularly avoid fire, open flames, creating
sparks and smoking. Ensure there is suffi-
cient ventilation while charging and jump-
starting. Do not lean over a battery.
GWARNING
Battery acid is caustic. There is a risk of
injury.
Avoid contact with skin, eyes or clothing. Do
not inhale any battery gases. Do not lean
over the battery. Keep children away from
batteries. Wash away battery acid immedi-
ately with plenty of clean water and seek
medical attention.
GWARNING
A discharged battery can freeze at tempera-
tures below freezing point. When jump-start-
ing the vehicle or charging the battery,
gases can escape from the battery. There is
a risk of an explosion.
Allow the frozen battery to thaw out before
charging it or jump-starting.
!Only use battery chargers with a maximumcharging voltage of 14.8 V.
!Only charge the battery using the jump-starting connection point.
The jump-starting connection point is in theengine compartment (Ypage 295).
XOpen the hood.
XConnect the battery charger to the positiveterminal and ground point in the same orderas when connecting the donor battery in thejump-starting procedure (Ypage 295).
If the indicator/warning lamps do not light upin the instrument cluster at low temperatures,it is very likely that the discharged battery hasfrozen. In this case you may neither jump-startthe vehicle nor charge the battery. The servicelife of a thawed-out battery may be shorter.The starting characteristics can be impaired,
294Battery (vehicle)
Roadside Assistance
Page 298 of 346
GWARNING
During the charging process, a battery produces hydrogen gas. If a short circuit occurs or
sparks are created, the hydrogen gas can ignite. There is a risk of an explosion.
RMake sure that the positive terminal of a connected battery does not come into contact with
vehicle parts.
RNever place metal objects or tools on a battery.
RIt is important that you observe the described order of the battery terminals when connect-
ing and disconnecting a battery.
RWhen jump-starting, make sure that the battery poles with identical polarity are connected.
RIt is particularly important to observe the described order when connecting and disconnect-
ing the jumper cables.
RNever connect or disconnect the battery terminals while the engine is running.
GWARNING
A discharged battery can freeze at temperatures below freezing point. When jump-starting the
vehicle or charging the battery, gases can escape from the battery. There is a risk of an explo-
sion.
Allow the frozen battery to thaw out before charging it or jump-starting.
!Avoid repeated and lengthy starting attempts. Otherwise, the catalytic converter could bedamaged by the non-combusted fuel.
If the indicator/warning lamps do not light up in the instrument cluster at low temperatures, it isvery likely that the discharged battery has frozen. In this case you may neither jump-start thevehicle nor charge the battery. Let the battery thaw first. The service life of a thawed-out batterymay be shorter. The starting characteristics can be impaired, particularly at low temperatures.Have the thawed-out battery checked at a qualified specialist workshop.
Do not start the vehicle using a rapid charging device. If your vehicle's battery is discharged, theengine can be jump-started from another vehicle or from a second battery using jumper cables.Observe the following points:
RThe battery is not accessible in all vehicles. If the other vehicle's battery is not accessible,jump-start the vehicle using a second battery or a jump-starting device.
RYou may only jump-start the vehicle when the engine and exhaust system are cold.
RDo not start the engine if the battery is frozen. Let the battery thaw first.
ROnly jump-start from batteries with a 12 V voltage rating.
ROnly use jumper cables that are not damaged and have a sufficient cross-section and insula-ted terminal clamps.
RMake sure that the two vehicles do not touch.
Make sure that:
RThe jumper cables are not damaged.
RNon-insulated parts of the terminal clamps do not come into contact with other metal partswhile the jumper cables are connected to the battery.
RThe jumper cables cannot come into contact with parts that can move when the engine is run-ning, such as the V-belt pulley or the fan.
XSecure the vehicle by applying the electric parking brake.
XShift the transmission to position�].
XTurn the SmartKey to position�Zin the ignition lock and remove it.
296Jump-starting
Roadside Assistance