2019 FORD F650/750 Instrument
[x] Cancel search: InstrumentPage 77 of 387
3. Direct air to the instrument panel air
vents.
Vehicle Stationary for Extended
Periods During Extreme High
Ambient Temperatures
1. Apply the parking brake.
2. Place your vehicle in park (P) or neutral.
3. Select MAX A/C.
4. Adjust the blower motor speed to the lowest speed setting.
Defogging the Side Windows in
Cold Weather
1. Direct air to the instrument panel and windshield air vents.
2. Press and release
A/C.
3. Adjust the temperature control to the setting you prefer.
4. Adjust the blower motor speed to the highest setting.
5. Direct air toward the side windows.
6. Close the instrument panel air vents.
HEATED EXTERIOR MIRRORS Press the button to clear the
exterior mirrors of thin ice and
fog. Press the button again to
switch them off. They switch off after a
short period of time.
Note: Do not remove ice from the mirrors
with a scraper or adjust the mirror glass
when it is frozen in place. These actions
could cause damage to the glass and
mirrors.
Note: Do not clean the mirror housing or
glass with harsh abrasives, fuel or other
petroleum-based cleaning products.
74
F650750 (TBC) , enUSA, Edition date: 201804, Second-Printing Climate Control
Page 86 of 387
12 Volt DC Power Point
WARNING: Do not plug optional
electrical accessories into the cigar
lighter socket. Incorrect use of the cigar
lighter can cause damage not covered
by the vehicle warranty, and can result
in fire or serious injury.
Note: When you switch the ignition on, you
can use the socket to power 12 volt
appliances with a maximum current rating
of 15 amps.
If the power supply does not work after you
switch the ignition off, switch the ignition
on.
Note: Do not hang any accessory from the
accessory plug.
Note: Do not use the power point over the
vehicle capacity of 12 volt DC 180 watts or
a fuse may blow.
Note: Always keep the power point caps
closed when not in use.
Do not insert objects other than an
accessory plug into the power point. This
damages the power point and may blow
the fuse.
Run the vehicle for full capacity use of the
power point.
To prevent the battery from running out of
charge:
• Do not use the power point longer than
necessary when the vehicle is not
running.
• Do not leave devices plugged in
overnight or when you park your vehicle
for extended periods. Locations
Power points may be in the following
locations:
•
On the instrument panel (two
locations).
• Inside the front under-seat storage
compartment.
• Inside the rear under-seat storage
compartment.
110 Volt AC Power Point
(If Equipped) WARNING: Do not keep electrical
devices plugged in the power point
whenever the device is not in use. Do not
use any extension cord with the 110 volt
AC power point, since it will defeat the
safety protection design. Doing so may
cause the power point to overload due
to powering multiple devices that can
reach beyond the 150 watt load limit and
could result in fire or serious injury.
Note: The power point turns off when you
switch the ignition off, or when the battery
voltage drops below 11 volts.
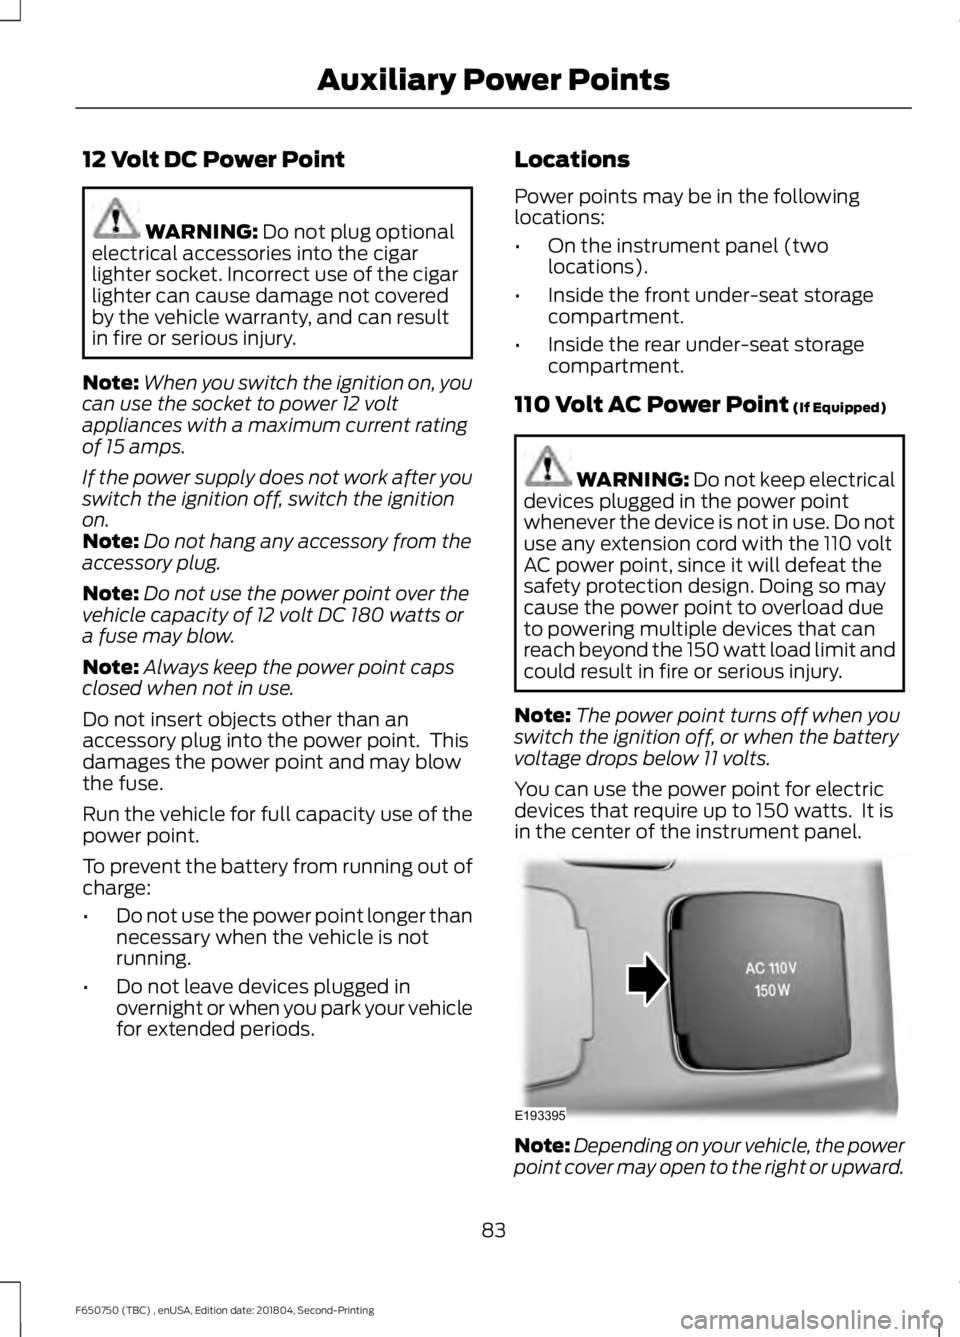
You can use the power point for electric
devices that require up to 150 watts. It is
in the center of the instrument panel. Note:
Depending on your vehicle, the power
point cover may open to the right or upward.
83
F650750 (TBC) , enUSA, Edition date: 201804, Second-Printing Auxiliary Power PointsE193395
Page 101 of 387

Fuel Filler Cap
WARNING: The fuel system may
be under pressure. If you hear a hissing
sound near the fuel filler inlet, do not
refuel until the sound stops. Otherwise,
fuel may spray out, which could cause
serious personal injury. WARNING:
If you do not use the
correct fuel filler cap, excessive pressure
or vacuum in the fuel tank may damage
the fuel system or cause the fuel cap to
disengage in a crash. Failure to follow
this warning could result in serious
personal injury.
The fuel tank has a threaded fuel filler cap.
Note: If you must replace the fuel filler cap,
replace it with a fuel filler cap that is
designed for your vehicle. The vehicle
Warranty may be void for any damage to
the fuel tank or fuel system if the correct
genuine Ford, Motorcraft or other certified
fuel filler cap is not used.
When refueling the vehicle fuel tank do the
following.
1. When your vehicle has stopped, shift into neutral (N) or park (P).
2. Apply the parking brake and switch the
ignition off.
3. Turn the fuel filler cap counterclockwise and remove it.
4. Refuel your vehicle as required.
5. Replace the fuel filler cap, turn it clockwise until you feel a strong
resistance.
If the fuel cap warning lamp or a warning
message appears in the instrument cluster,
you may not have installed the fuel filler
cap correctly. If the fuel cap warning lamp remains on,
at the next opportunity, safely pull off of
the road, remove the fuel filler cap, align
the cap properly and reinstall it. The check
fuel cap warning lamp or warning message
may not reset immediately. It may take
several driving cycles for the indicators to
turn off. A driving cycle consists of an
engine start-up (after four or more hours
with the engine off) followed by normal
city and highway driving.
Fuel Fill Rate
Your vehicle has a fuel fill pipe that is able
to accept fuel up to
20 gal (75 L) per
minute from a fuel-dispensing nozzle.
Pumping fuel at greater flow rates may
result in premature nozzle shut-off or spit
back.
Truck stops have fuel pumps and nozzles
designed for larger, heavy-duty trucks. If
you are refueling your vehicle at a truck
stop and the nozzle shuts off repeatedly,
wait 5-10 seconds, then use a slower fill
rate.
REFUELING - GASOLINE WARNING:
Fuel vapor burns
violently and a fuel fire can cause severe
injuries. WARNING:
Read and follow all
the instructions on the pump island. WARNING: When refueling always
shut the engine off and never allow
sparks or open flames near the fuel tank
filler valve. Never smoke or use a cell
phone while refueling. Fuel vapor is
extremely hazardous under certain
conditions. Avoid inhaling excess fumes.
98
F650750 (TBC) , enUSA, Edition date: 201804, Second-Printing Fuel and Refueling
Page 102 of 387

WARNING: Stay outside your
vehicle and do not leave the fuel pump
unattended when refueling your vehicle. WARNING:
Keep children away
from the fuel pump; never let children
pump fuel. WARNING:
Wait at least 10
seconds before removing the fuel pump
nozzle to allow any residual fuel to drain
into the fuel tank. WARNING:
Stop refueling after
the fuel pump nozzle automatically
shuts off for the second time. Failure to
follow this will fill the expansion space
in the fuel tank and could lead to fuel
overflowing. WARNING: Do not remove the fuel
pump nozzle from its fully inserted
position when refueling.
Use the following guidelines to avoid
electrostatic charge build-up when filling
an ungrounded fuel container:
• Place approved fuel container on the
ground.
• Do not fill a fuel container while it is in
the vehicle (including the cargo area).
• Keep the fuel pump nozzle in contact
with the fuel container while filling.
• Do not use a device that would hold
the fuel pump handle in the fill position. Fuel Filler Cap WARNING:
The fuel system may
be under pressure. If you hear a hissing
sound near the fuel filler inlet, do not
refuel until the sound stops. Otherwise,
fuel may spray out, which could cause
serious personal injury. WARNING:
If you do not use the
correct fuel filler cap, excessive pressure
or vacuum in the fuel tank may damage
the fuel system or cause the fuel cap to
disengage in a crash. Failure to follow
this warning could result in serious
personal injury.
The fuel tank has a threaded fuel filler cap.
Note: If you must replace the fuel filler cap,
replace it with a fuel filler cap that is
designed for your vehicle. The vehicle
Warranty may be void for any damage to
the fuel tank or fuel system if the correct
genuine Ford, Motorcraft or other certified
fuel filler cap is not used.
When refueling the vehicle fuel tank do the
following.
1. When your vehicle has stopped, shift into neutral (N) or park (P).
2. Apply the parking brake and switch the
ignition off.
3. Turn the fuel filler cap counterclockwise and remove it.
4. Refuel your vehicle as required.
5. Replace the fuel filler cap, turn it clockwise until you feel a strong
resistance.
If the fuel cap warning lamp or a warning
message appears in the instrument cluster,
you may not have installed the fuel filler
cap correctly.
99
F650750 (TBC) , enUSA, Edition date: 201804, Second-Printing Fuel and Refueling
Page 104 of 387
Conditions That Affect Fuel Economy
•
Heavily loading your vehicle or towing
a trailer may reduce fuel economy at
any speed.
• Carrying unnecessary weight in your
vehicle may reduce fuel economy.
• Adding certain accessories to your
vehicle such as bug deflectors, rollbars
or light bars, running boards and ski
racks may reduce fuel economy.
• Using fuel blended with alcohol may
lower fuel economy.
• Fuel economy may decrease with lower
temperatures.
• You will get better fuel economy when
driving on flat terrain than when driving
on hilly terrain.
• Transmissions give their best fuel
economy when operated in the top
cruise gear and with steady pressure
on the accelerator pedal.
• Close the windows for high-speed
driving. FUEL TANK SELECTOR
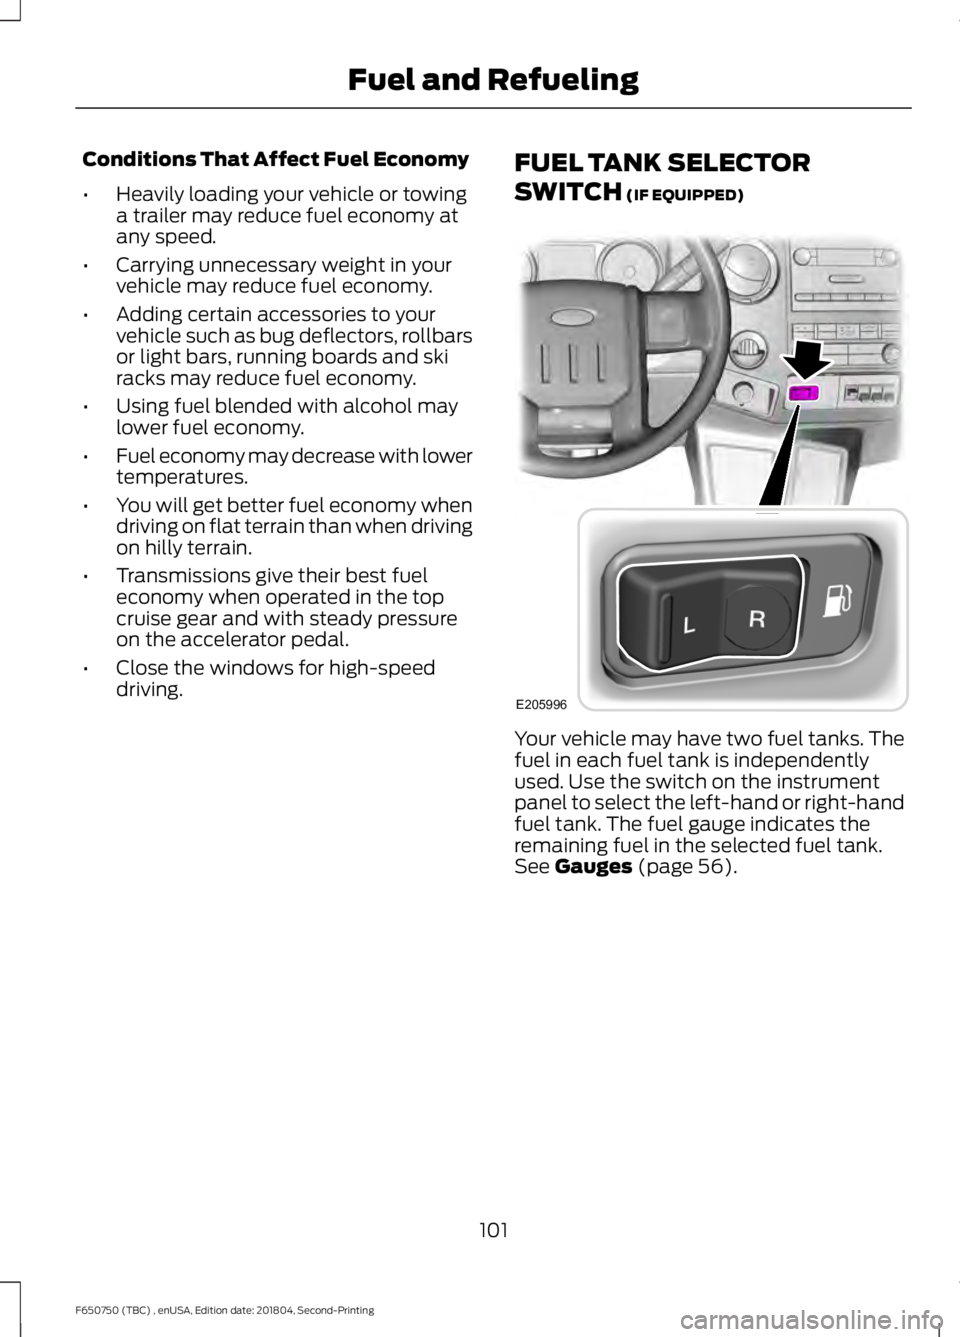
SWITCH (IF EQUIPPED) Your vehicle may have two fuel tanks. The
fuel in each fuel tank is independently
used. Use the switch on the instrument
panel to select the left-hand or right-hand
fuel tank. The fuel gauge indicates the
remaining fuel in the selected fuel tank.
See
Gauges (page 56).
101
F650750 (TBC) , enUSA, Edition date: 201804, Second-Printing Fuel and RefuelingE205996
Page 118 of 387
AUTOMATIC TRANSMISSION
WARNING: Apply the parking
brake, shift into park (P), switch the
ignition off and remove the key before
you leave your vehicle. Failure to follow
this instruction could result in personal
injury or death.
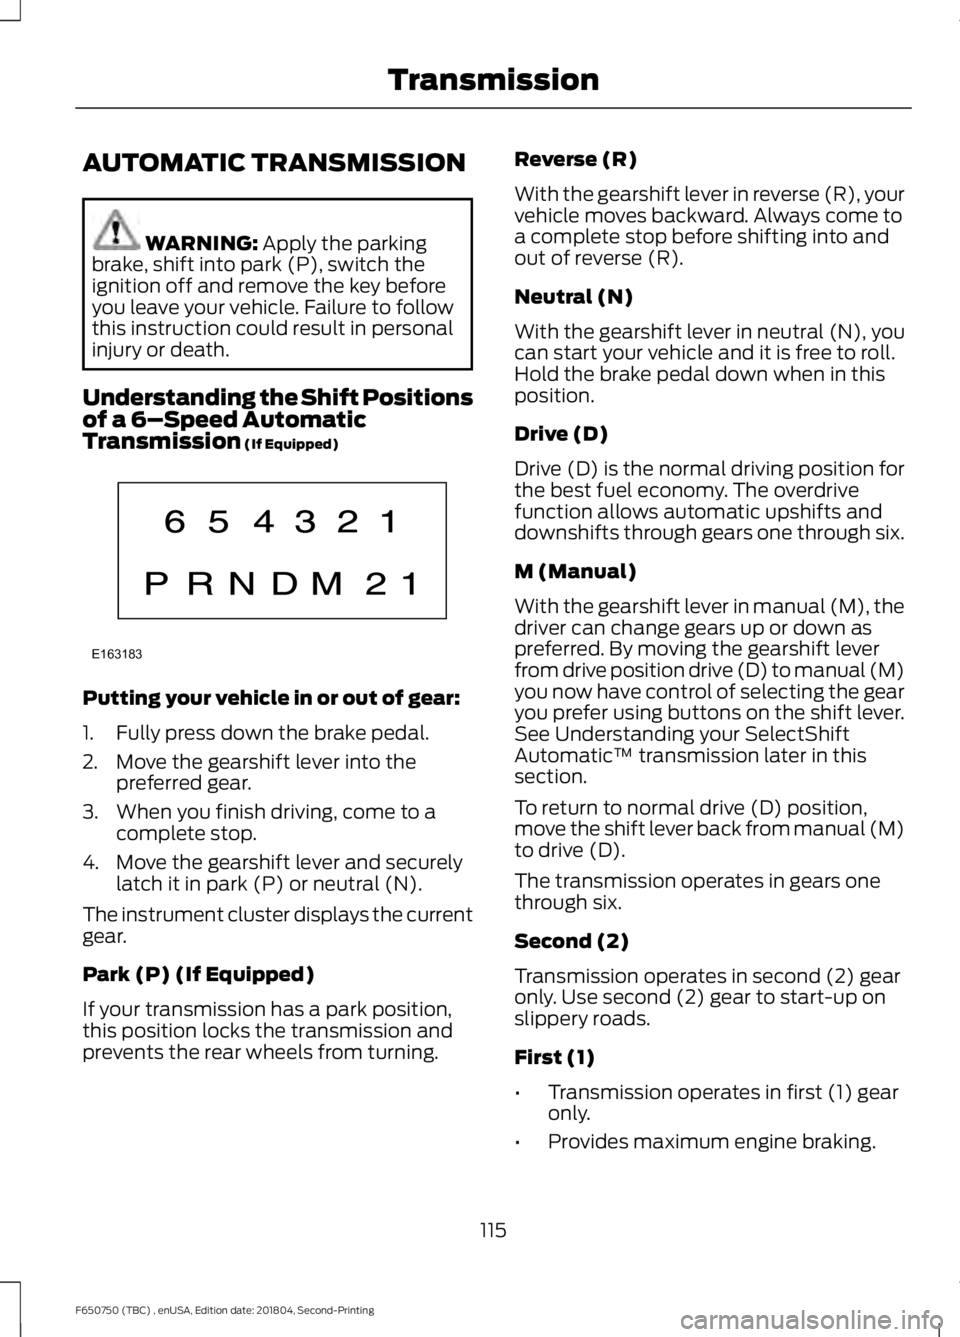
Understanding the Shift Positions
of a 6– Speed Automatic
Transmission
(If Equipped) Putting your vehicle in or out of gear:
1. Fully press down the brake pedal.
2. Move the gearshift lever into the
preferred gear.
3. When you finish driving, come to a complete stop.
4. Move the gearshift lever and securely latch it in park (P) or neutral (N).
The instrument cluster displays the current
gear.
Park (P) (If Equipped)
If your transmission has a park position,
this position locks the transmission and
prevents the rear wheels from turning. Reverse (R)
With the gearshift lever in reverse (R), your
vehicle moves backward. Always come to
a complete stop before shifting into and
out of reverse (R).
Neutral (N)
With the gearshift lever in neutral (N), you
can start your vehicle and it is free to roll.
Hold the brake pedal down when in this
position.
Drive (D)
Drive (D) is the normal driving position for
the best fuel economy. The overdrive
function allows automatic upshifts and
downshifts through gears one through six.
M (Manual)
With the gearshift lever in manual (M), the
driver can change gears up or down as
preferred. By moving the gearshift lever
from drive position drive (D) to manual (M)
you now have control of selecting the gear
you prefer using buttons on the shift lever.
See Understanding your SelectShift
Automatic
™ transmission later in this
section.
To return to normal drive (D) position,
move the shift lever back from manual (M)
to drive (D).
The transmission operates in gears one
through six.
Second (2)
Transmission operates in second (2) gear
only. Use second (2) gear to start-up on
slippery roads.
First (1)
• Transmission operates in first (1) gear
only.
• Provides maximum engine braking.
115
F650750 (TBC) , enUSA, Edition date: 201804, Second-Printing TransmissionE163183
Page 119 of 387
•
Allows upshifts by moving gearshift
lever.
• Does not downshift into first (1) gear
at high speeds; allows for first (1) gear
when vehicle reaches slower speeds.
Forced downshifts
• Allowed in drive (D) with the tow/haul
feature on or off.
• Press the accelerator to the floor.
• Allows transmission to select an
appropriate gear.
Tow/Haul Mode To activate tow/haul, press the
button on the gearshift lever
once. The TOW HAUL indicator
light illuminates in the instrument cluster.
The tow/haul feature:
• Delays upshifts to reduce the frequency
of transmission shifting.
• Provides engine braking in all forward
gears, which slows your vehicle and
assists you in controlling your vehicle
when descending a grade.
• Depending on driving conditions and
load conditions, could downshift the
transmission to slow your vehicle and
help to control your vehicle speed
when descending a hill, without
pressing the accelerator pedal. Tapping
the brake pedal downshifts the
transmission to provide additional
braking, only if the downshift does not
cause an engine overspeed condition.
The tow/haul feature improves
transmission operation when towing a
trailer or a heavy load. All transmission
gear ranges are available when using
tow/haul. Note:
Under certain conditions, the
automatic tow/haul feature engages and
the TOW HAUL indicator comes on without
pressing the Tow/Haul button.
To deactivate the tow/haul feature and
return to normal driving mode, press the
button on the gearshift lever twice. The
TOW HAUL light deactivates. Tow/haul
also deactivates when you power down
your vehicle. WARNING: Do not use tow/haul
when the road surface is slippery. Failure
to follow this instruction could result in
the loss of control of your vehicle. WARNING:
Do not use diesel
engine exhaust braking when the road
surface is slippery. Failure to follow this
instruction could result in the loss of
control of your vehicle.
Understanding your SelectShift™
Automatic transmission
(If Equipped)
Your vehicle is equipped with a SelectShift
Automatic transmission gearshift lever.
SelectShift Automatic transmission gives
you the ability to change gears up or down
(without a clutch) as you prefer. 116
F650750 (TBC) , enUSA, Edition date: 201804, Second-Printing TransmissionE161509 E163184
Page 120 of 387
Use the buttons on the shifter to lock or
unlock gears and manually select gears.
Press the + button to upshift or the –
button to downshift.
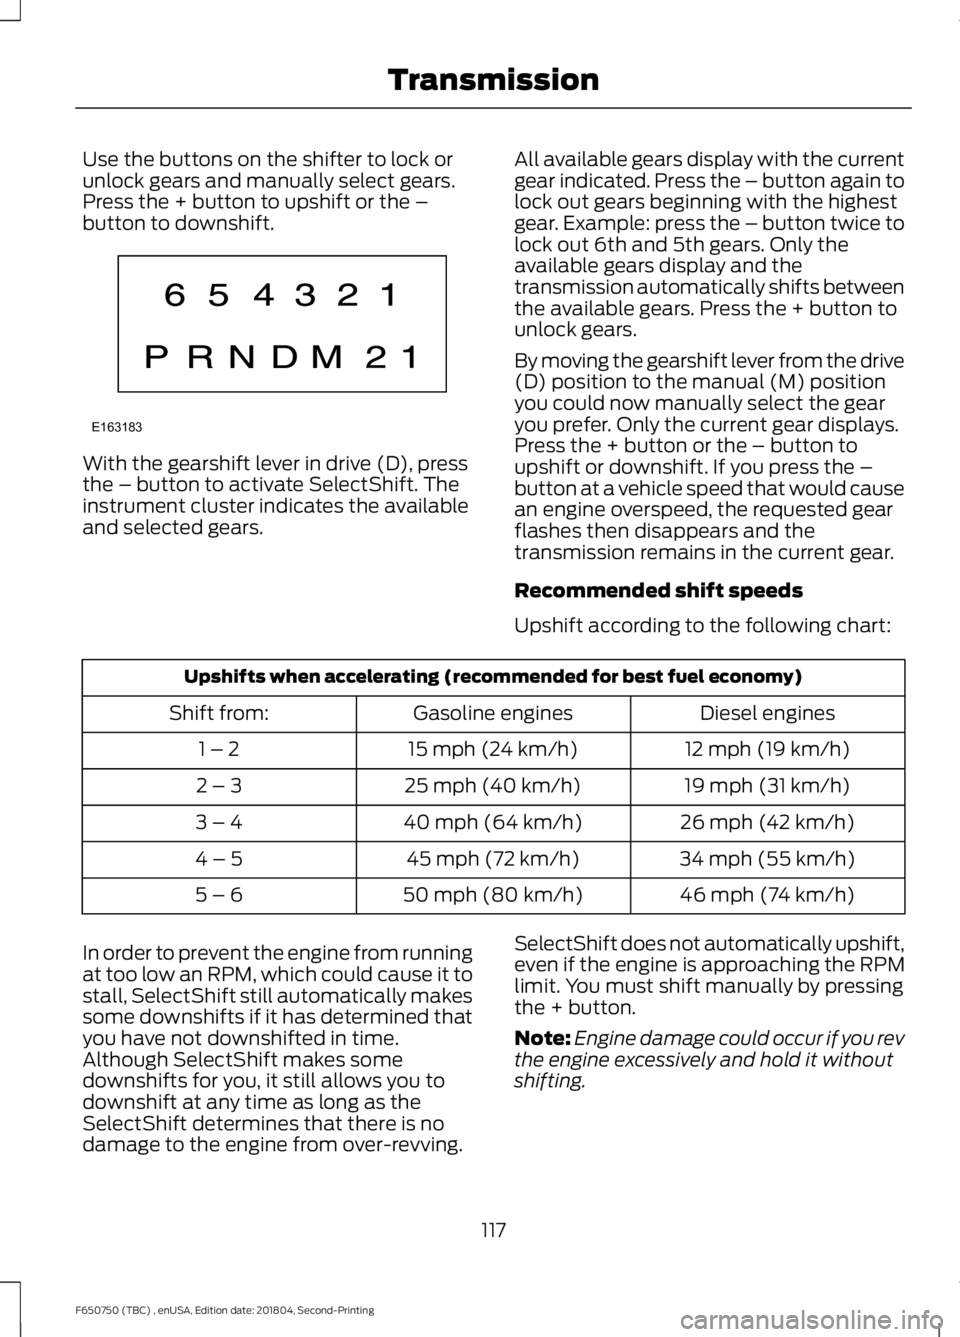
With the gearshift lever in drive (D), press
the – button to activate SelectShift. The
instrument cluster indicates the available
and selected gears.
All available gears display with the current
gear indicated. Press the – button again to
lock out gears beginning with the highest
gear. Example: press the – button twice to
lock out 6th and 5th gears. Only the
available gears display and the
transmission automatically shifts between
the available gears. Press the + button to
unlock gears.
By moving the gearshift lever from the drive
(D) position to the manual (M) position
you could now manually select the gear
you prefer. Only the current gear displays.
Press the + button or the – button to
upshift or downshift. If you press the –
button at a vehicle speed that would cause
an engine overspeed, the requested gear
flashes then disappears and the
transmission remains in the current gear.
Recommended shift speeds
Upshift according to the following chart:Upshifts when accelerating (recommended for best fuel economy)
Diesel engines
Gasoline engines
Shift from:
12 mph (19 km/h)
15 mph (24 km/h)
1 – 2
19 mph (31 km/h)
25 mph (40 km/h)
2 – 3
26 mph (42 km/h)
40 mph (64 km/h)
3 – 4
34 mph (55 km/h)
45 mph (72 km/h)
4 – 5
46 mph (74 km/h)
50 mph (80 km/h)
5 – 6
In order to prevent the engine from running
at too low an RPM, which could cause it to
stall, SelectShift still automatically makes
some downshifts if it has determined that
you have not downshifted in time.
Although SelectShift makes some
downshifts for you, it still allows you to
downshift at any time as long as the
SelectShift determines that there is no
damage to the engine from over-revving. SelectShift does not automatically upshift,
even if the engine is approaching the RPM
limit. You must shift manually by pressing
the + button.
Note:
Engine damage could occur if you rev
the engine excessively and hold it without
shifting.
117
F650750 (TBC) , enUSA, Edition date: 201804, Second-Printing TransmissionE163183