2019 FORD F650/750 Instrument
[x] Cancel search: InstrumentPage 62 of 387
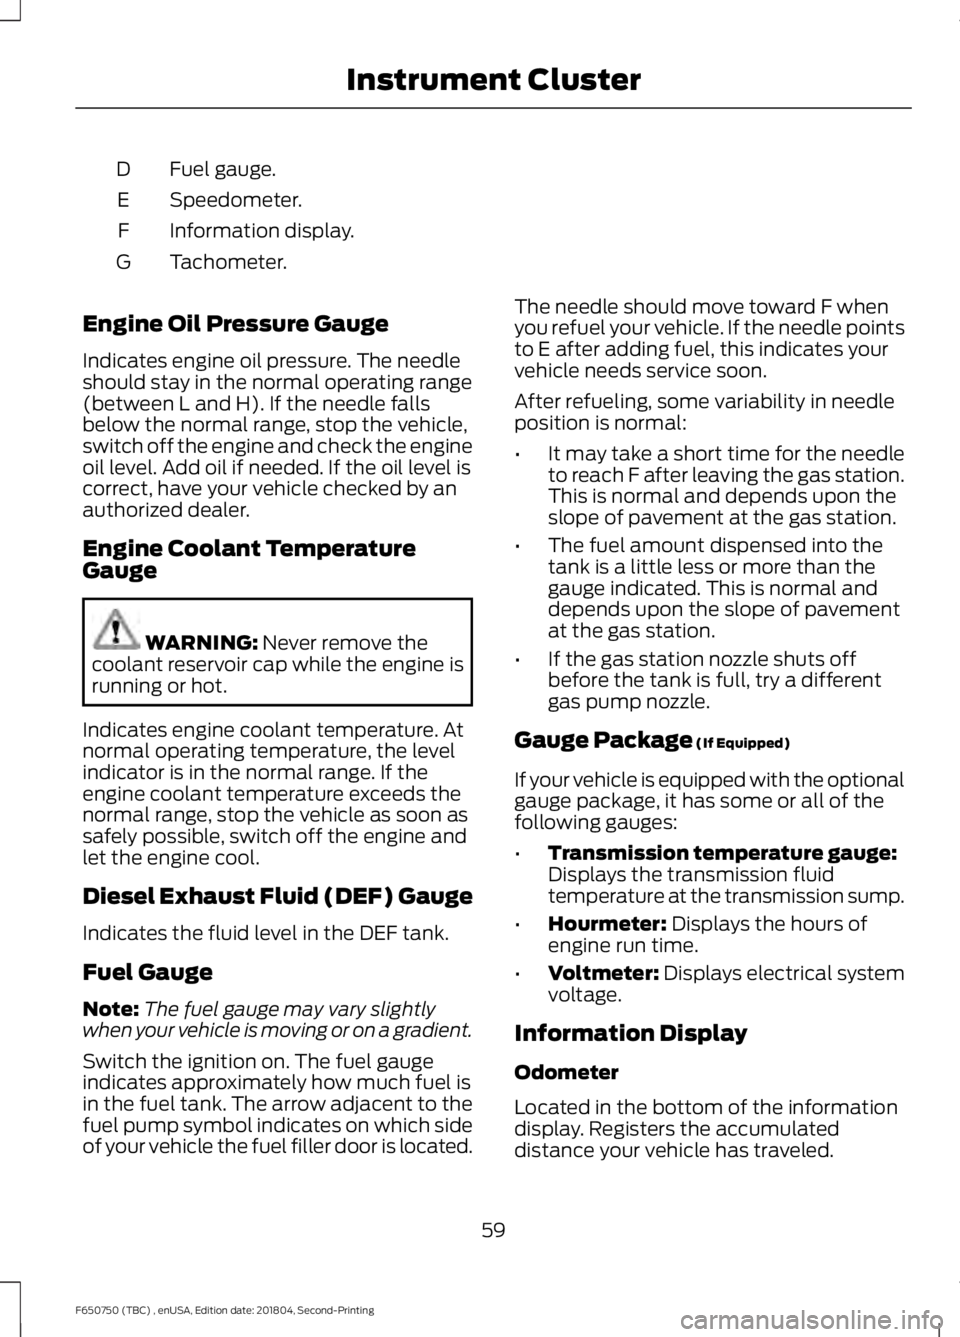
Fuel gauge.
D
Speedometer.
E
Information display.
F
Tachometer.
G
Engine Oil Pressure Gauge
Indicates engine oil pressure. The needle
should stay in the normal operating range
(between L and H). If the needle falls
below the normal range, stop the vehicle,
switch off the engine and check the engine
oil level. Add oil if needed. If the oil level is
correct, have your vehicle checked by an
authorized dealer.
Engine Coolant Temperature
Gauge WARNING: Never remove the
coolant reservoir cap while the engine is
running or hot.
Indicates engine coolant temperature. At
normal operating temperature, the level
indicator is in the normal range. If the
engine coolant temperature exceeds the
normal range, stop the vehicle as soon as
safely possible, switch off the engine and
let the engine cool.
Diesel Exhaust Fluid (DEF) Gauge
Indicates the fluid level in the DEF tank.
Fuel Gauge
Note: The fuel gauge may vary slightly
when your vehicle is moving or on a gradient.
Switch the ignition on. The fuel gauge
indicates approximately how much fuel is
in the fuel tank. The arrow adjacent to the
fuel pump symbol indicates on which side
of your vehicle the fuel filler door is located. The needle should move toward F when
you refuel your vehicle. If the needle points
to E after adding fuel, this indicates your
vehicle needs service soon.
After refueling, some variability in needle
position is normal:
•
It may take a short time for the needle
to reach F after leaving the gas station.
This is normal and depends upon the
slope of pavement at the gas station.
• The fuel amount dispensed into the
tank is a little less or more than the
gauge indicated. This is normal and
depends upon the slope of pavement
at the gas station.
• If the gas station nozzle shuts off
before the tank is full, try a different
gas pump nozzle.
Gauge Package
(If Equipped)
If your vehicle is equipped with the optional
gauge package, it has some or all of the
following gauges:
• Transmission temperature gauge:
Displays the transmission fluid
temperature at the transmission sump.
• Hourmeter:
Displays the hours of
engine run time.
• Voltmeter:
Displays electrical system
voltage.
Information Display
Odometer
Located in the bottom of the information
display. Registers the accumulated
distance your vehicle has traveled.
59
F650750 (TBC) , enUSA, Edition date: 201804, Second-Printing Instrument Cluster
Page 63 of 387
Trip Computer
See General Information (page 64).
Vehicle Settings and Personalization
See
General Information (page 64).
WARNING LAMPS AND
INDICATORS
The following warning lamps and
indicators alert you to a vehicle condition
that may become serious. Some lamps
illuminate when you start your vehicle to
make sure they work. If any lamps remain
on after starting your vehicle, refer to the
respective system warning lamp for further
information.
Note: Some warning indicators appear in
the information display and operate the
same as a warning lamp but do not
illuminate when you start your vehicle.
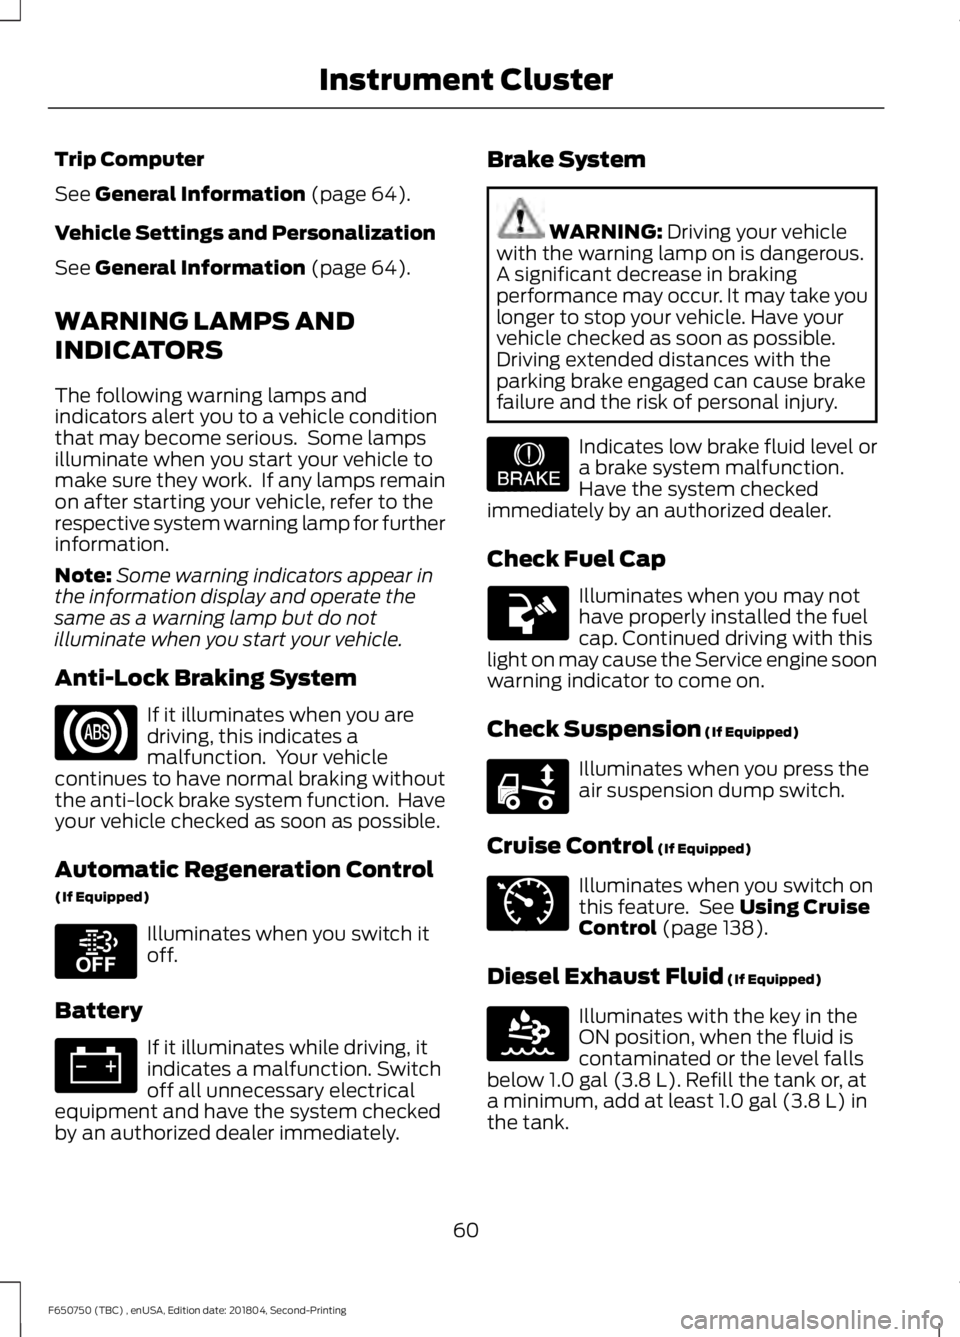
Anti-Lock Braking System If it illuminates when you are
driving, this indicates a
malfunction. Your vehicle
continues to have normal braking without
the anti-lock brake system function. Have
your vehicle checked as soon as possible.
Automatic Regeneration Control
(If Equipped) Illuminates when you switch it
off.
Battery If it illuminates while driving, it
indicates a malfunction. Switch
off all unnecessary electrical
equipment and have the system checked
by an authorized dealer immediately. Brake System WARNING:
Driving your vehicle
with the warning lamp on is dangerous.
A significant decrease in braking
performance may occur. It may take you
longer to stop your vehicle. Have your
vehicle checked as soon as possible.
Driving extended distances with the
parking brake engaged can cause brake
failure and the risk of personal injury. Indicates low brake fluid level or
a brake system malfunction.
Have the system checked
immediately by an authorized dealer.
Check Fuel Cap Illuminates when you may not
have properly installed the fuel
cap. Continued driving with this
light on may cause the Service engine soon
warning indicator to come on.
Check Suspension
(If Equipped) Illuminates when you press the
air suspension dump switch.
Cruise Control
(If Equipped) Illuminates when you switch on
this feature. See
Using Cruise
Control (page 138).
Diesel Exhaust Fluid
(If Equipped) Illuminates with the key in the
ON position, when the fluid is
contaminated or the level falls
below
1.0 gal (3.8 L). Refill the tank or, at
a minimum, add at least 1.0 gal (3.8 L) in
the tank.
60
F650750 (TBC) , enUSA, Edition date: 201804, Second-Printing Instrument Cluster E208811 E209041 E208808 E71340 E163176
Page 64 of 387
Direction Indicator
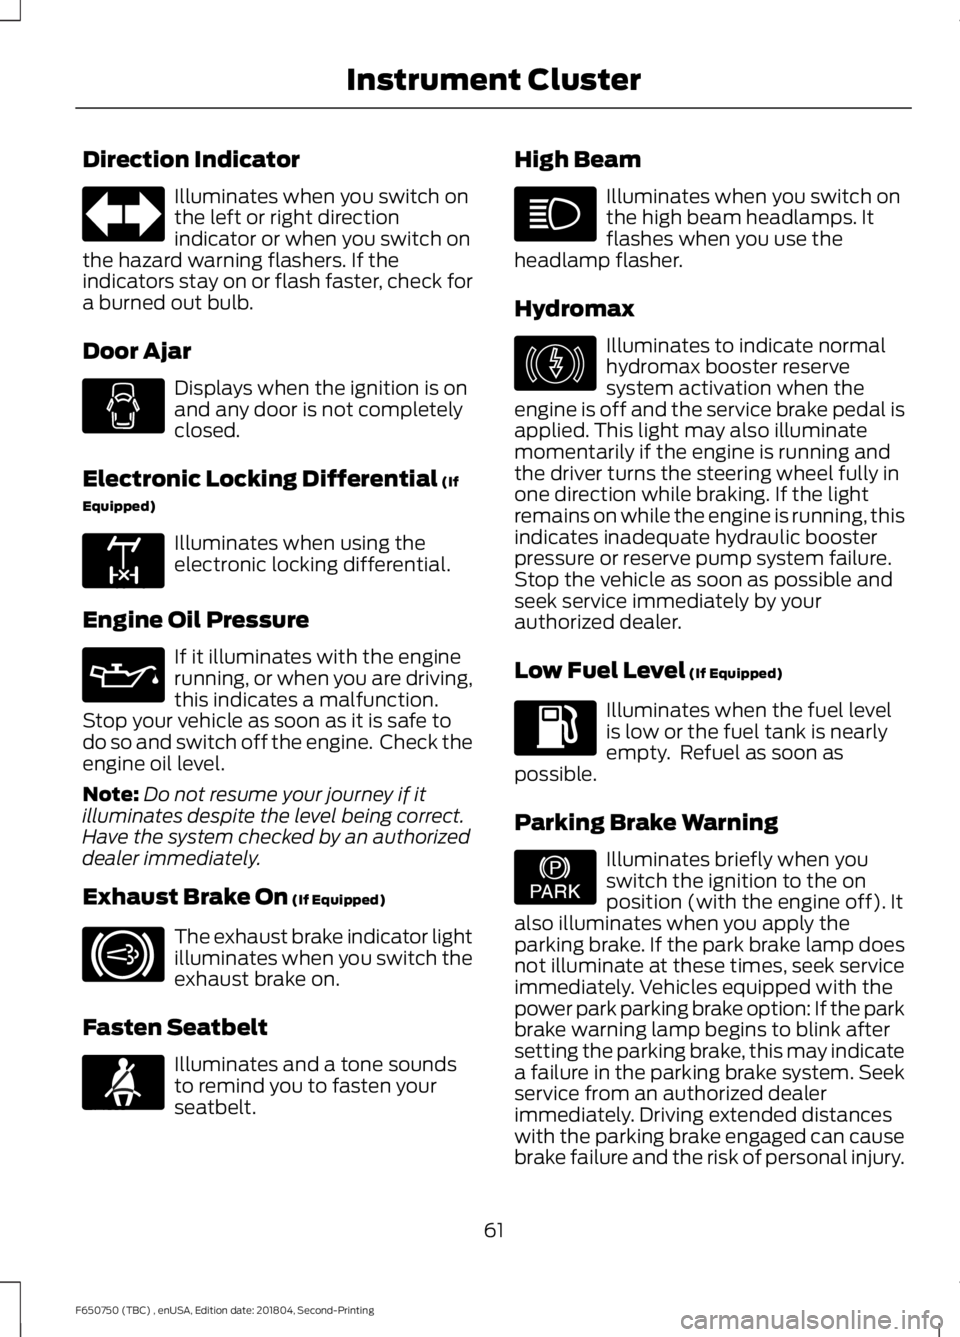
Illuminates when you switch on
the left or right direction
indicator or when you switch on
the hazard warning flashers. If the
indicators stay on or flash faster, check for
a burned out bulb.
Door Ajar Displays when the ignition is on
and any door is not completely
closed.
Electronic Locking Differential (If
Equipped) Illuminates when using the
electronic locking differential.
Engine Oil Pressure If it illuminates with the engine
running, or when you are driving,
this indicates a malfunction.
Stop your vehicle as soon as it is safe to
do so and switch off the engine. Check the
engine oil level.
Note: Do not resume your journey if it
illuminates despite the level being correct.
Have the system checked by an authorized
dealer immediately.
Exhaust Brake On
(If Equipped) The exhaust brake indicator light
illuminates when you switch the
exhaust brake on.
Fasten Seatbelt Illuminates and a tone sounds
to remind you to fasten your
seatbelt. High Beam Illuminates when you switch on
the high beam headlamps. It
flashes when you use the
headlamp flasher.
Hydromax Illuminates to indicate normal
hydromax booster reserve
system activation when the
engine is off and the service brake pedal is
applied. This light may also illuminate
momentarily if the engine is running and
the driver turns the steering wheel fully in
one direction while braking. If the light
remains on while the engine is running, this
indicates inadequate hydraulic booster
pressure or reserve pump system failure.
Stop the vehicle as soon as possible and
seek service immediately by your
authorized dealer.
Low Fuel Level
(If Equipped) Illuminates when the fuel level
is low or the fuel tank is nearly
empty. Refuel as soon as
possible.
Parking Brake Warning Illuminates briefly when you
switch the ignition to the on
position (with the engine off). It
also illuminates when you apply the
parking brake. If the park brake lamp does
not illuminate at these times, seek service
immediately. Vehicles equipped with the
power park parking brake option: If the park
brake warning lamp begins to blink after
setting the parking brake, this may indicate
a failure in the parking brake system. Seek
service from an authorized dealer
immediately. Driving extended distances
with the parking brake engaged can cause
brake failure and the risk of personal injury.
61
F650750 (TBC) , enUSA, Edition date: 201804, Second-Printing Instrument Cluster E163170 E171217 E71880 E146190 E208810
Page 65 of 387
Powertrain Malfunction/Reduced
Power/Electronic Throttle Control
(If Equipped)
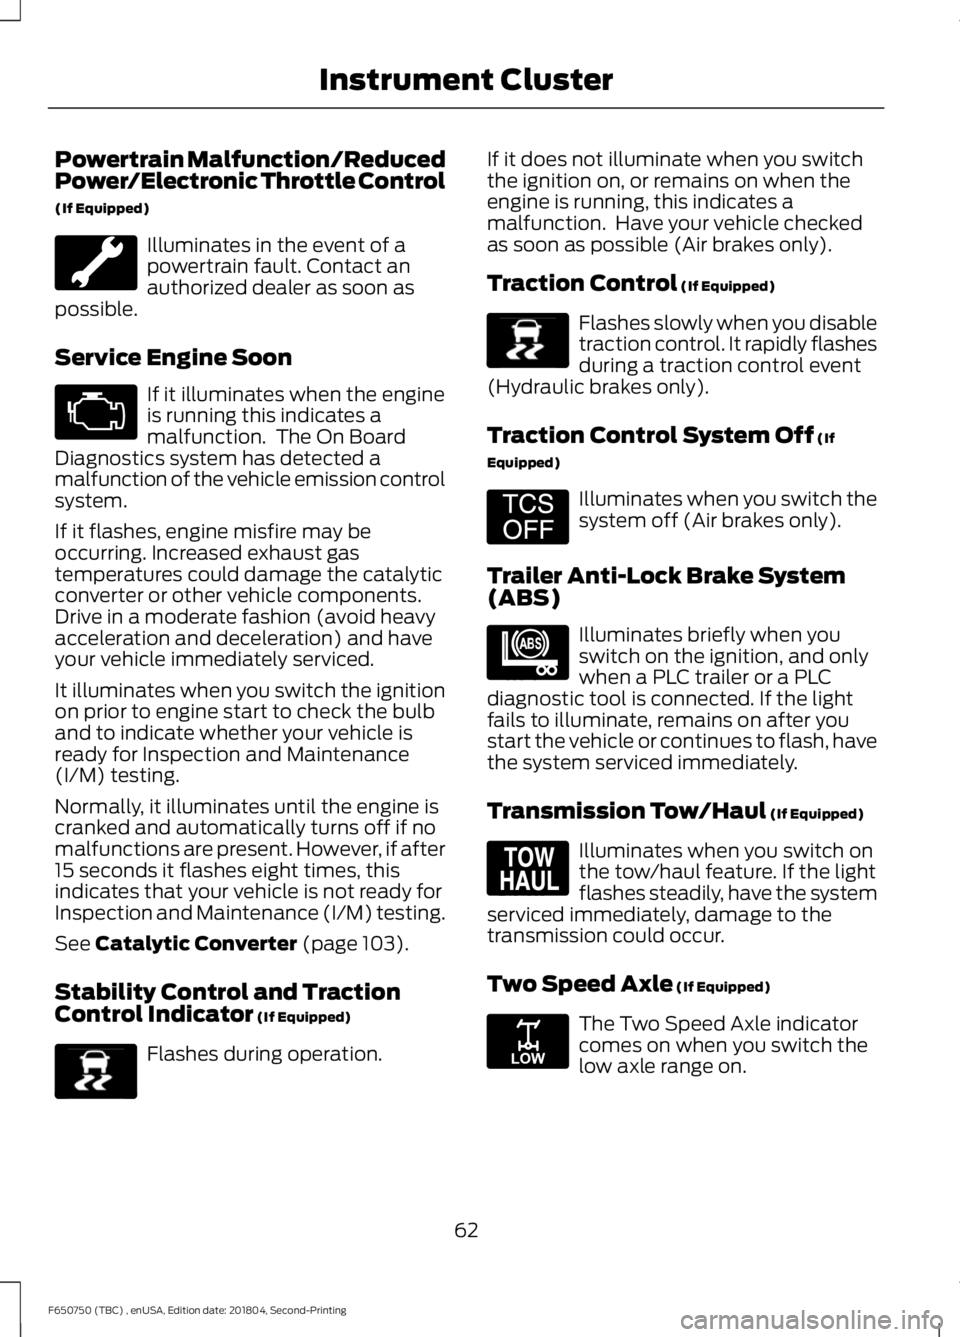
Illuminates in the event of a
powertrain fault. Contact an
authorized dealer as soon as
possible.
Service Engine Soon If it illuminates when the engine
is running this indicates a
malfunction. The On Board
Diagnostics system has detected a
malfunction of the vehicle emission control
system.
If it flashes, engine misfire may be
occurring. Increased exhaust gas
temperatures could damage the catalytic
converter or other vehicle components.
Drive in a moderate fashion (avoid heavy
acceleration and deceleration) and have
your vehicle immediately serviced.
It illuminates when you switch the ignition
on prior to engine start to check the bulb
and to indicate whether your vehicle is
ready for Inspection and Maintenance
(I/M) testing.
Normally, it illuminates until the engine is
cranked and automatically turns off if no
malfunctions are present. However, if after
15 seconds it flashes eight times, this
indicates that your vehicle is not ready for
Inspection and Maintenance (I/M) testing.
See Catalytic Converter (page 103).
Stability Control and Traction
Control Indicator
(If Equipped) Flashes during operation. If it does not illuminate when you switch
the ignition on, or remains on when the
engine is running, this indicates a
malfunction. Have your vehicle checked
as soon as possible (Air brakes only).
Traction Control
(If Equipped) Flashes slowly when you disable
traction control. It rapidly flashes
during a traction control event
(Hydraulic brakes only).
Traction Control System Off
(If
Equipped) Illuminates when you switch the
system off (Air brakes only).
Trailer Anti-Lock Brake System
(ABS) Illuminates briefly when you
switch on the ignition, and only
when a PLC trailer or a PLC
diagnostic tool is connected. If the light
fails to illuminate, remains on after you
start the vehicle or continues to flash, have
the system serviced immediately.
Transmission Tow/Haul
(If Equipped) Illuminates when you switch on
the tow/haul feature. If the light
flashes steadily, have the system
serviced immediately, damage to the
transmission could occur.
Two Speed Axle
(If Equipped) The Two Speed Axle indicator
comes on when you switch the
low axle range on.
62
F650750 (TBC) , enUSA, Edition date: 201804, Second-Printing Instrument Cluster E138639 E138639 E194301 E209040 E161509 E208809
Page 66 of 387
Wait to Start (If Equipped)
Illuminates when you switch the
ignition on as part of the
pre-start system. Wait until the
wait to start indicator turns off before
attempting to start vehicle. WARNING:
Do not use starting
fluid, for example ether, in the air intake
system. Such fluid could cause
immediate explosive damage to the
engine and possible personal injury.
Water in Fuel
(If Equipped) Illuminates when the fuel
filter/water separator has a
significant quantity of water in
it.
If the light illuminates when the engine is
running, stop the vehicle as soon as safely
possible, shut off the engine, then drain the
fuel filter/water separator.
Allowing water to stay in the system could
result in extensive damage to, or failure of,
the fuel injection system. WARNING:
Do not drain the
water-in-fuel separator while the engine
is running. Failure to follow this warning
may result in fire, serious injury, death or
property damage.
AUDIBLE WARNINGS AND
INDICATORS
Beltminder Warning
Sounds when a safety belt is unfastened
in an occupied seat and your vehicle is
moving. Door Ajar
Sounds when a door is not fully closed and
your vehicle is moving.
Headlamps On Warning Chime
Sounds when you remove the key from the
ignition and open the driver's door and you
have left the headlamps or parking lamps
on.
Key in Ignition Warning Chime
Sounds when you open the driver's door
and you have left the key in the ignition
with it in the off or accessory position.
Parking Brake On Warning Chime
Sounds when you have left the parking
brake on and drive your vehicle. If the
warning chime remains on after you have
released the parking brake, have the
system checked by your authorized dealer
immediately.
63
F650750 (TBC) , enUSA, Edition date: 201804, Second-Printing Instrument Cluster
Page 70 of 387

3. Once OIL LIFE SET TO XXX% is
displayed, release and press the RESET
button to change the Oil Life Start
Value. Each release and press reduces
the value by 10%.
UNITS
Displays the current units English or Metric.
LANGUAGE = ENGLISH / SPANISH /
FRENCH
Allows you to choose which language the
message center displays.
Waiting four seconds or pressing the
RESET button cycles the message center
through each of the language choices.
Press the RESET button to set the
language choice. INFORMATION MESSAGES
Note:
Depending on your vehicle options
and instrument cluster type, not all of the
messages display or are available.
Additionally, the information display may
abbreviate or shorten certain messages.
Press the RESET button to acknowledge
and remove some messages from the
information display. The information
display automatically removes other
messages after a short time.
You need to confirm certain messages
before you can access the menus.
Diesel Messages WARNING: When the CLEANING
EXHAUST FILTER message appears in
the information display, do not park near
flammable materials, vapors or
structures until filter cleaning is
complete. Action
Message
The coolant additive needs checking.
CHECK COOLANT
ADDITIVE
Your vehicle has entered the cleaning mode. Various engine
actions raise the exhaust temperature in the diesel particulate filter system to burn off the particles (exhaust soot). After
the vehicle burns off the particles, the exhaust temperature returns to normal levels. This message is normal.
CLEANING EXHAUST
FILTER
The diesel particulate filter is full of particles (exhaust soot)
and you are not operating the vehicle in a manner that allows normal cleaning. One of these messages stays on until the
exhaust filter cleaning has begun, at which time the CLEANING EXHAUST FILTER message displays. We recommend you
drive the vehicle above 30 mph (48 km/h) until the CLEANING EXHAUST FILTER message turns off.
EXHAUST OVER-
LOADED DRIVE TO CLEAN
EXHAUST AT LIMIT
DRIVE TO CLEAN NOW
67
F650750 (TBC) , enUSA, Edition date: 201804, Second-Printing Information Displays
Page 75 of 387
MANUAL CLIMATE CONTROL
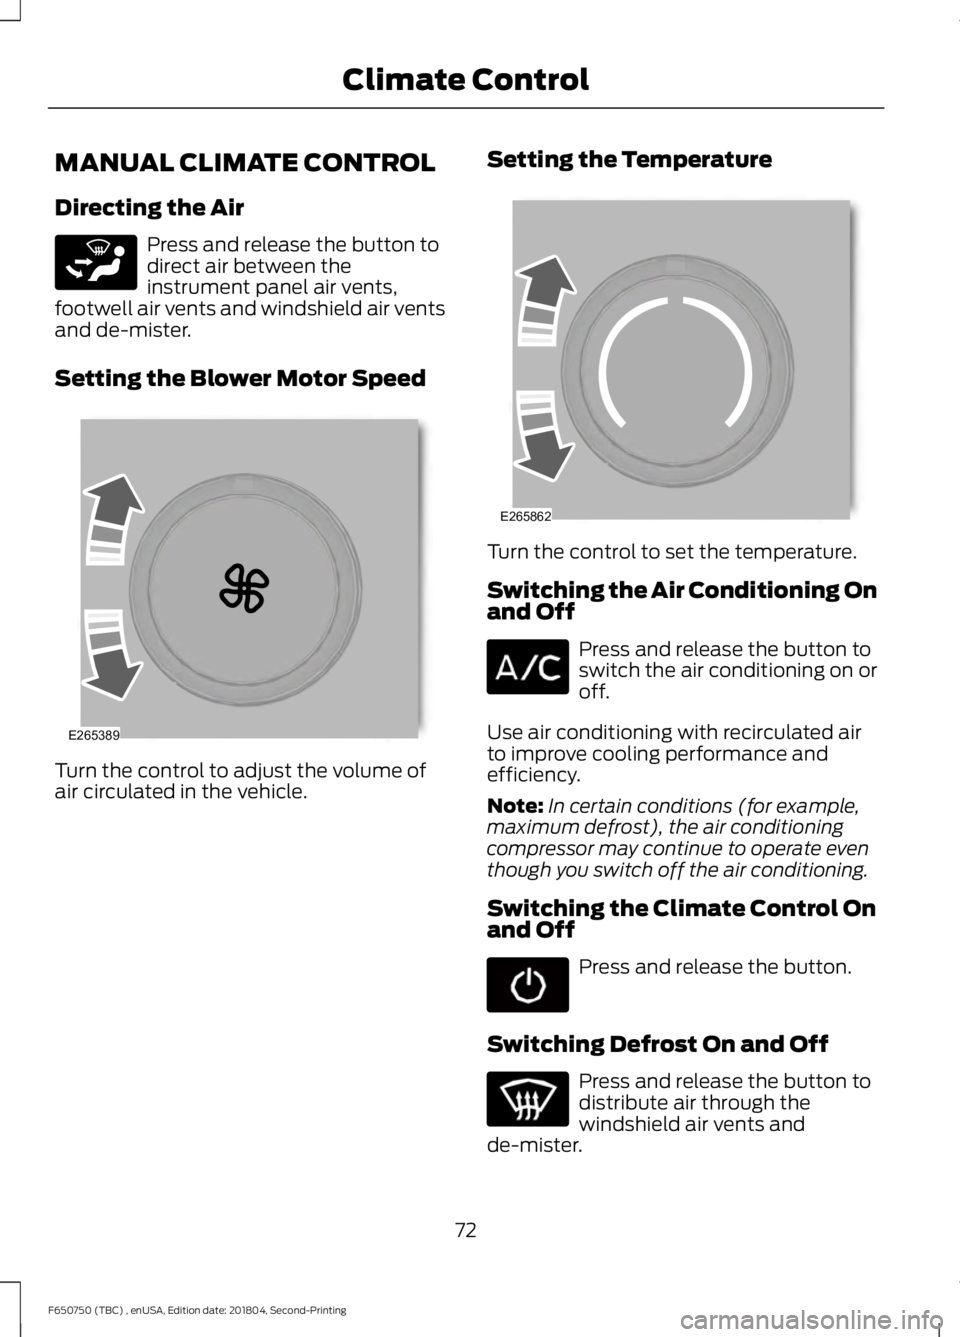
Directing the Air
Press and release the button to
direct air between the
instrument panel air vents,
footwell air vents and windshield air vents
and de-mister.
Setting the Blower Motor Speed Turn the control to adjust the volume of
air circulated in the vehicle. Setting the Temperature Turn the control to set the temperature.
Switching the Air Conditioning On
and Off
Press and release the button to
switch the air conditioning on or
off.
Use air conditioning with recirculated air
to improve cooling performance and
efficiency.
Note: In certain conditions (for example,
maximum defrost), the air conditioning
compressor may continue to operate even
though you switch off the air conditioning.
Switching the Climate Control On
and Off Press and release the button.
Switching Defrost On and Off Press and release the button to
distribute air through the
windshield air vents and
de-mister.
72
F650750 (TBC) , enUSA, Edition date: 201804, Second-Printing Climate ControlE265283 E265389 E265862
Page 76 of 387
Air directed to the instrument panel and
footwell air vents turns off. You can also
use this setting to defog and clear the
windshield of a thin covering of ice.
Switching Maximum Air
Conditioning On and Off
Press and release the button for
maximum cooling.
The left-hand and right-hand settings set
to LO, recirculated air flows through the
instrument panel air vents, air conditioning
turns on and the blower motor adjusts to
the highest speed.
Switching Recirculated Air On and
Off Press and release the button to
switch between outside air and
recirculated air.
The air currently in the passenger
compartment recirculates. This may
reduce the time needed to cool the interior
(when used with A/C) and reduce
unwanted odors from entering your vehicle.
Note: Recirculated air may turn off (or
prevent you from switching on) in all air flow
modes except MAX A/C to reduce the risk
of fogging. Recirculation may also turn on
and off in various air distribution control
combinations during hot weather in order
to improve cooling efficiency.
HINTS ON CONTROLLING THE
INTERIOR CLIMATE
General Hints
Note: Prolonged use of recirculated air may
cause the windows to fog up.
Note: You may feel a small amount of air
from the footwell air vents regardless of the
air distribution setting. Note:
To reduce humidity build-up inside
your vehicle, do not drive with the system
switched off or with recirculated air always
switched on.
Note: Do not place objects under the front
seats as this may interfere with the airflow
to the rear seats.
Note: Remove any snow, ice or leaves from
the air intake area at the base of the
windshield.
Note: To improve the time to reach a
comfortable temperature in hot weather,
drive with the windows open until you feel
cold air through the air vents.
Quickly Heating the Interior
1. Adjust the blower motor speed to the highest speed setting.
2. Adjust the temperature control to the highest setting.
3. Direct air to the footwell air vents.
Recommended Settings for
Heating
1. Adjust the blower motor speed to the center setting.
2. Adjust the temperature control to the midway point of the hot settings.
3. Direct air to the footwell air vents.
Quickly Cooling the Interior
1. Select MAX A/C.
2. Drive with the windows open for a short
period of time.
Recommended Settings for
Cooling
1. Adjust the blower motor speed to the center setting.
2. Adjust the temperature control to the midway point of the cold settings.
73
F650750 (TBC) , enUSA, Edition date: 201804, Second-Printing Climate Control