2019 DODGE GRAND CARAVAN side door
[x] Cancel search: side doorPage 204 of 490
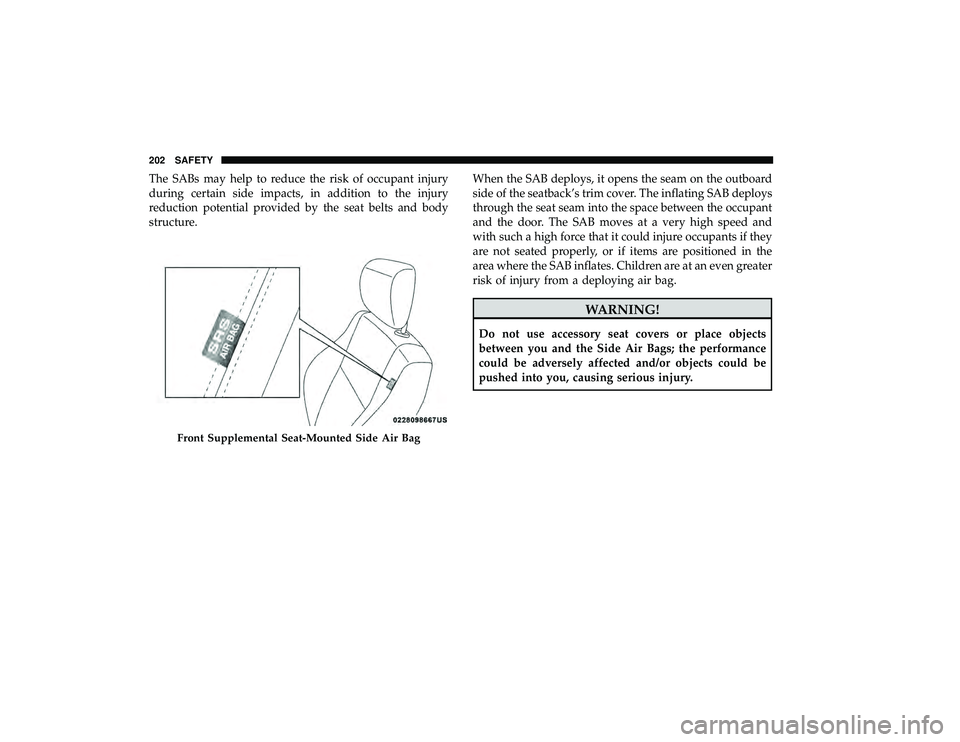
The SABs may help to reduce the risk of occupant injury
during certain side impacts, in addition to the injury
reduction potential provided by the seat belts and body
structure.When the SAB deploys, it opens the seam on the outboard
side of the seatback’s trim cover. The inflating SAB deploys
through the seat seam into the space between the occupant
and the door. The SAB moves at a very high speed and
with such a high force that it could injure occupants if they
are not seated properly, or if items are positioned in the
area where the SAB inflates. Children are at an even greater
risk of injury from a deploying air bag.
WARNING!
Do not use accessory seat covers or place objects
between you and the Side Air Bags; the performance
could be adversely affected and/or objects could be
pushed into you, causing serious injury.
Front Supplemental Seat-Mounted Side Air Bag
202 SAFETY
Page 206 of 490
Side Impacts
The Side Air Bags are designed to activate in certain side
impacts. The Occupant Restraint Controller (ORC) deter-
mines whether the deployment of the Side Air Bags in a
particular impact event is appropriate, based on the sever-
ity and type of collision. The side impact sensors aid the
ORC in determining the appropriate response to impact
events. The system is calibrated to deploy the Side Air Bags
on the impact side of the vehicle during impacts that
require Side Air Bag occupant protection. In side impacts,
the Side Air Bags deploy independently; a left side impact
deploys the left Side Air Bags only and a right-side impact
deploys the right Side Air Bags only. Vehicle damage by
itself is not a good indicator of whether or not Side Air
Bags should have deployed.
The Side Air Bags will not deploy in all side collisions,
including some collisions at certain angles, or some side
collisions that do not impact the area of the passenger
compartment. The Side Air Bags may deploy during
angled or offset frontal collisions where the front air bags
deploy.Side Air Bags are a supplement to the seat belt restraint
system. Side Air Bags deploy in less time than it takes to
blink your eyes.
WARNING!
•
Occupants, including children, who are up against or
very close to Side Air Bags can be seriously injured
or killed. Occupants, including children, should
never lean on or sleep against the door, side win-
dows, or area where the side air bags inflate, even if
they are in an infant or child restraint.
• Seat belts (and child restraints where appropriate)
are necessary for your protection in all collisions.
They also help keep you in position, away from an
inflating Side Air Bag. To get the best protection
from the Side Air Bags, occupants must wear their
seat belts properly and sit upright with their backs
against the seats. Children must be properly re-
strained in a child restraint or booster seat that is
appropriate for the size of the child.
204 SAFETY
Page 207 of 490
WARNING!
•Side Air Bags need room to inflate. Do not lean
against the door or window. Sit upright in the center
of the seat.
• Being too close to the Side Air Bags during deploy-
ment could cause you to be severely injured or
killed.
• Relying on the Side Air Bags alone could lead to
more severe injuries in a collision. The Side Air Bags
work with your seat belt to restrain you properly. In
some collisions, Side Air Bags won’t deploy at all.
Always wear your seat belt even though you have
Side Air Bags.
NOTE: Air bag covers may not be obvious in the interior
trim, but they will open during air bag deployment.
Rollover Events
Side Air Bags are designed to activate in certain rollover
events. The ORC determines whether the deployment of
the Side Air Bags in a particular rollover event is appro-
priate, based on the severity and type of collision. Vehicle
damage by itself is not a good indicator of whether or not
Side Air Bags should have deployed. The Side Air Bags will not deploy in all rollover events. The
rollover sensing system determines if a rollover event may
be in progress and whether deployment is appropriate. In
the event the vehicle experiences a rollover or near rollover
event, and deployment of the Side Air Bags is appropriate,
the rollover sensing system will also deploy the seat belt
pretensioners on both sides of the vehicle.
The SABICs may help reduce the risk of partial or complete
ejection of vehicle occupants through side windows in
certain rollover or side impact events.
Air Bag System Components
NOTE:
The Occupant Restraint Controller (ORC) monitors
the internal circuits and interconnecting wiring associated
with electrical Air Bag System Components listed below:
• Occupant Restraint Controller (ORC)
• Air Bag Warning Light
•Steering Wheel and Column
• Instrument Panel
• Knee Impact Bolsters
• Driver and Front Passenger Air Bags
• Seat Belt Buckle Switch
5
SAFETY 205
Page 236 of 490
SAFETY TIPS
Transporting Passengers
NEVER TRANSPORT PASSENGERS IN THE CARGO
AREA.
WARNING!
•Do not leave children or animals inside parked
vehicles in hot weather. Interior heat build-up may
cause serious injury or death.
• It is extremely dangerous to ride in a cargo area,
inside or outside of a vehicle. In a collision, people
riding in these areas are more likely to be seriously
injured or killed.
• Do not allow people to ride in any area of your
vehicle that is not equipped with seats and seat belts.
• Be sure everyone in your vehicle is in a seat and
using a seat belt properly.
Exhaust Gas
WARNING!
Exhaust gases can injure or kill. They contain carbon
monoxide (CO), which is colorless and odorless.
Breathing it can make you unconscious and can even-
tually poison you. To avoid breathing (CO), follow
these safety tips:
• Do not run the engine in a closed garage or in
confined areas any longer than needed to move your
vehicle in or out of the area.
• If you are required to drive with the trunk/liftgate/
rear doors open, make sure that all windows are
closed and the climate control BLOWER switch is set
at high speed. DO NOT use the recirculation mode.
• If it is necessary to sit in a parked vehicle with the
engine running, adjust your heating or cooling con-
trols to force outside air into the vehicle. Set the
blower at high speed.
The best protection against carbon monoxide entry into the
vehicle body is a properly maintained engine exhaust
system.
234 SAFETY
Page 239 of 490
WARNING!(Continued)
•ALWAYS make sure objects cannot fall or slide into
the driver ’s side floor area when the vehicle is
moving. Objects can become trapped under accelera-
tor, brake, or clutch pedals and could cause a loss of
vehicle control.
• NEVER place any objects under the floor mat (e.g.,
towels, keys, etc.). These objects could change the
position of the floor mat and may cause interference
with the accelerator, brake, or clutch pedals.
• If the vehicle carpet has been removed and re-
installed, always properly attach carpet to the floor
and check the floor mat fasteners are secure to the
vehicle carpet. Fully depress each pedal to check for
interference with the accelerator, brake, or clutch
pedals then re-install the floor mats.
• It is recommended to only use mild soap and water
to clean your floor mats. After cleaning, always check
your floor mat has been properly installed and is
secured to your vehicle using the floor mat fasteners
by lightly pulling mat.
Periodic Safety Checks You Should Make Outside
The Vehicle
Tires
Examine tires for excessive tread wear and uneven wear
patterns. Check for stones, nails, glass, or other objects
lodged in the tread or sidewall. Inspect the tread for cuts
and cracks. Inspect sidewalls for cuts, cracks, and bulges.
Check the wheel nuts for tightness. Check the tires (includ-
ing spare) for proper cold inflation pressure.
Lights
Have someone observe the operation of brake lights and
exterior lights while you work the controls. Check turn
signal and high beam indicator lights on the instrument
panel.
Door Latches
Check for proper closing, latching, and locking.
Fluid Leaks
Check area under the vehicle after overnight parking for
fuel, coolant, oil, or other fluid leaks. Also, if gasoline
fumes are detected or if fuel, or brake fluid leaks are
suspected. The cause should be located and corrected
immediately.
5
SAFETY 237
Page 269 of 490
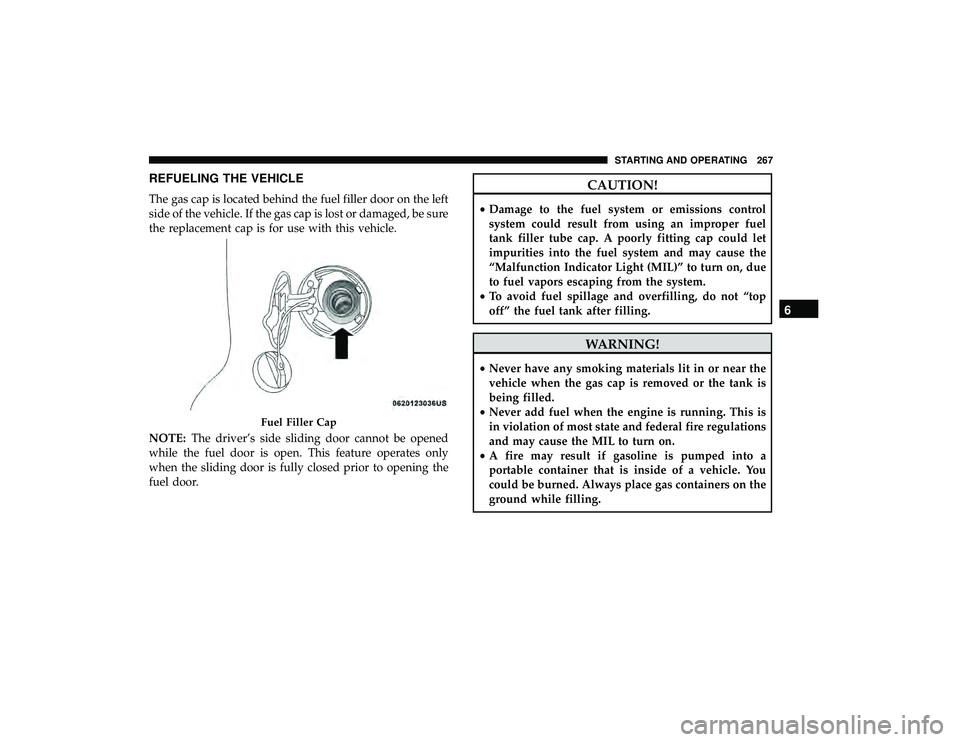
REFUELING THE VEHICLE
The gas cap is located behind the fuel filler door on the left
side of the vehicle. If the gas cap is lost or damaged, be sure
the replacement cap is for use with this vehicle.
NOTE:The driver’s side sliding door cannot be opened
while the fuel door is open. This feature operates only
when the sliding door is fully closed prior to opening the
fuel door.
CAUTION!
• Damage to the fuel system or emissions control
system could result from using an improper fuel
tank filler tube cap. A poorly fitting cap could let
impurities into the fuel system and may cause the
“Malfunction Indicator Light (MIL)” to turn on, due
to fuel vapors escaping from the system.
• To avoid fuel spillage and overfilling, do not “top
off” the fuel tank after filling.
WARNING!
• Never have any smoking materials lit in or near the
vehicle when the gas cap is removed or the tank is
being filled.
• Never add fuel when the engine is running. This is
in violation of most state and federal fire regulations
and may cause the MIL to turn on.
• A fire may result if gasoline is pumped into a
portable container that is inside of a vehicle. You
could be burned. Always place gas containers on the
ground while filling.
Fuel Filler Cap
6
STARTING AND OPERATING 267
Page 270 of 490

NOTE:
•When the fuel nozzle “clicks” or shuts off, the fuel tank
is full.
• Tighten the fuel filler cap until you hear a “clicking”
sound. This is an indication that the fuel filler cap is
properly tightened.
• If the gas cap is not tightened properly, the MIL may
come on. Be sure the gas cap is tightened every time the
vehicle is refueled.
Loose Fuel Filler Cap Message
If the vehicle diagnostic system determines that the fuel
filler cap is loose, improperly installed, or damaged, a
”gASCAP” message will display in the odometer or a
“Check Gascap” message will display in the instrument
cluster. If this occurs, tighten the fuel filler cap properly
and press the Trip Odometer button to turn off the mes-
sage. If the problem continues, the message will appear the
next time the vehicle is started.
A loose, improperly installed, or damaged fuel filler cap
may also turn on the MIL.
VEHICLE LOADING
Certification Label
As required by National Highway Traffic Safety Adminis-
tration regulations, your vehicle has a certification label
affixed to the driver’s side door or pillar.
This label contains the month and year of manufacture,
Gross Vehicle Weight Rating (GVWR), Gross Axle Weight
Rating (GAWR) front and rear, and Vehicle Identification
Number (VIN). A Month-Day-Hour (MDH) number is
included on this label and indicates the Month, Day and
Hour of manufacture. The bar code that appears on the
bottom of the label is your VIN.
Gross Vehicle Weight Rating (GVWR)
The GVWR is the total permissible weight of your vehicle
including driver, passengers, vehicle, options and cargo.
The label also specifies maximum capacities of front and
rear axle systems (GAWR). Total load must be limited so
GVWR and front and rear GAWR are not exceeded.
Payload
The payload of a vehicle is defined as the allowable load
weight a truck can carry, including the weight of the driver,
all passengers, options and cargo.
268 STARTING AND OPERATING
Page 291 of 490
Front Park/Turn Signal Lamps
1. Raise the hood to access the rear of the headlamphousing.
2. Twist the turn signal socket and remove from the headlamp housing, then pull the bulb out.
3.
Push the new bulb into the socket and reinstall the socket
by twisting until locked into the headlamp housing.
Fog Lamps
NOTE: Access to the fog lamp bulb is from the rear of the
fascia. On the left rear side of the fascia, remove the push
pin and lower the hinged access door on the air dam.
1. From behind the bumper fascia, or the access panel on the air dam, squeeze the two tabs on the side of the bulb
socket and pull straight out from the fog lamp.
CAUTION!
Do not touch the new bulb with your fingers. Oil
contamination will severely shorten bulb life. If the
bulb comes in contact with an oily surface, clean the
bulb with rubbing alcohol.
2. Disconnect the wire harness from the bulb. 3. Reconnect the wiring harness to the new bulb and
reinstall by inserting the new bulb straight into the fog
lamp until it locks into place.
Rear Tail, Stop, Turn Signal, Side Marker And
Backup Lamps
1. Raise the liftgate.
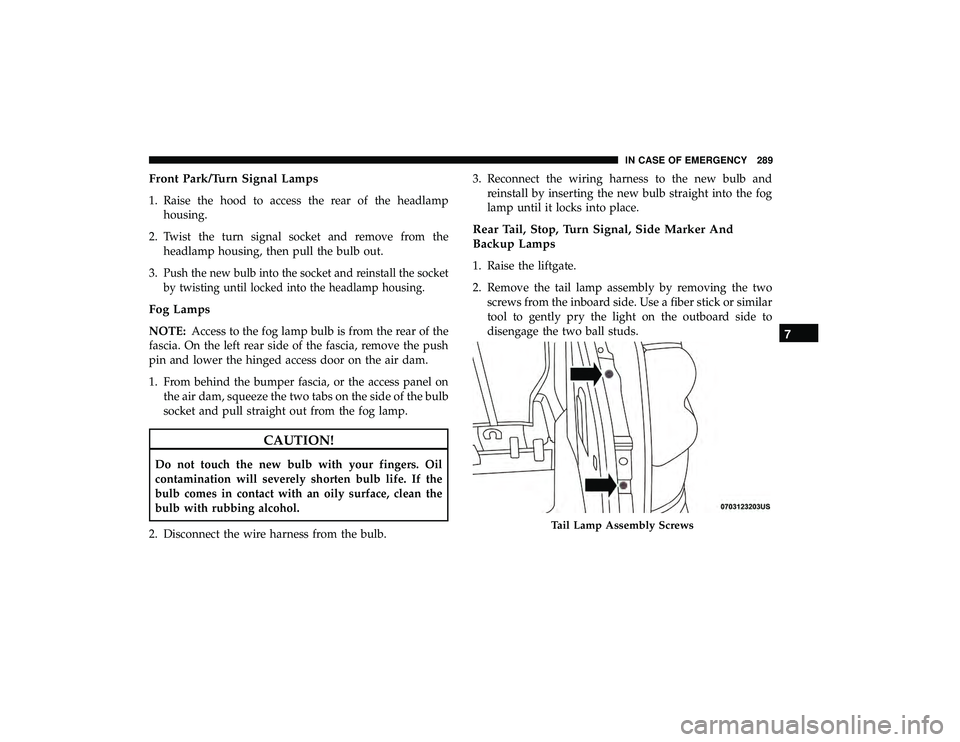
2. Remove the tail lamp assembly by removing the twoscrews from the inboard side. Use a fiber stick or similar
tool to gently pry the light on the outboard side to
disengage the two ball studs.
Tail Lamp Assembly Screws
7
IN CASE OF EMERGENCY 289