Page 293 of 660

2934-6. Using the driving support systems
4
Driving
AVENSIS_OM_OM20C79E_(EE)
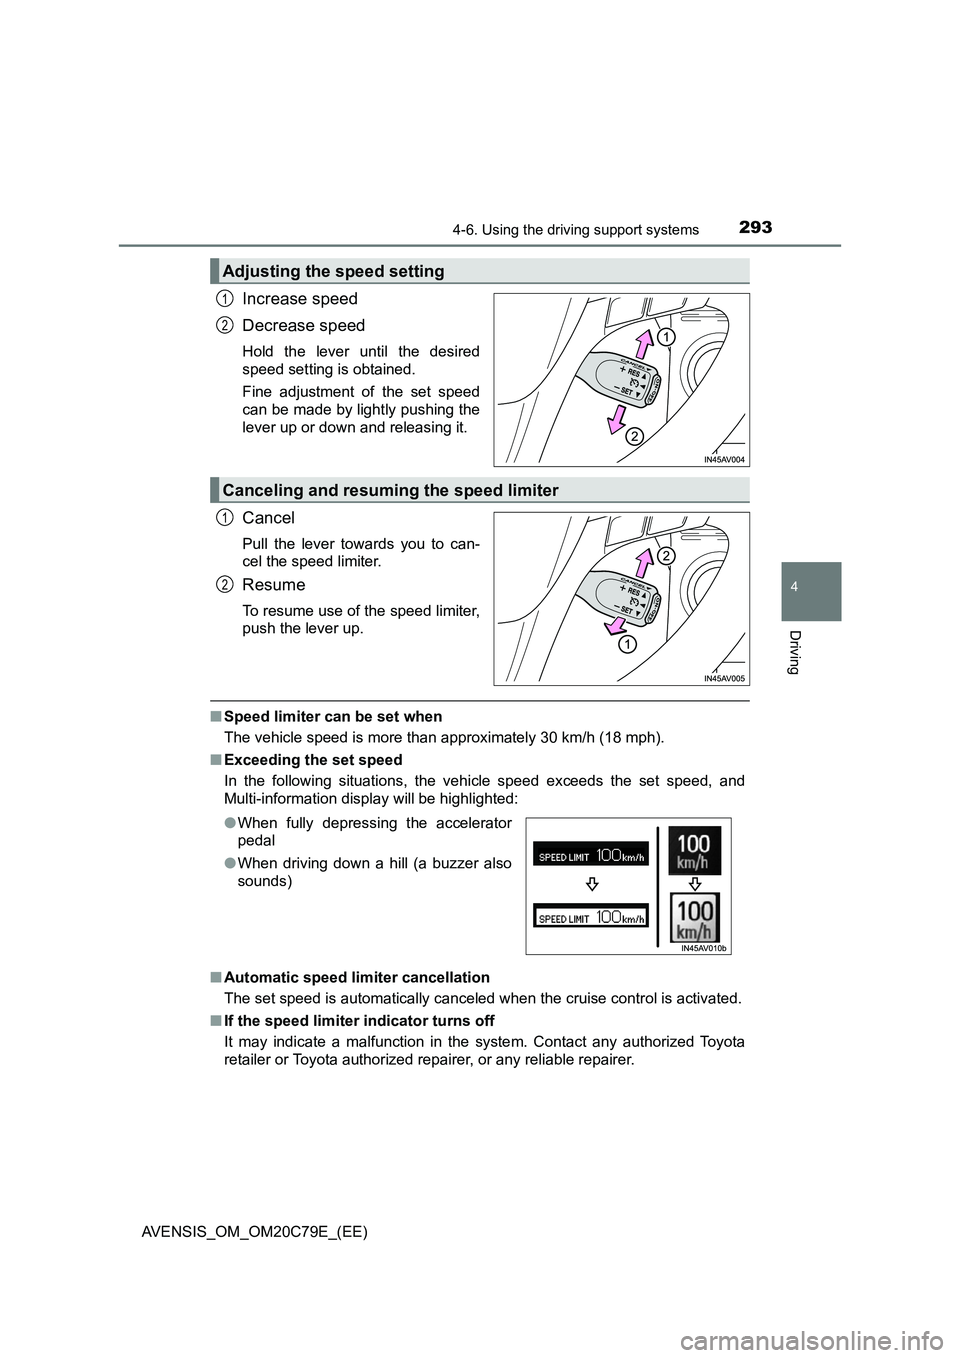
Increase speed
Decrease speed
Hold the lever until the desired
speed setting is obtained.
Fine adjustment of the set speed
can be made by lightly pushing the
lever up or down and releasing it.
Cancel
Pull the lever towards you to can-
cel the speed limiter.
Resume
To resume use of the speed limiter,
push the lever up.
■Speed limiter can be set when
The vehicle speed is more than approximately 30 km/h (18 mph).
■Exceeding the set speed
In the following situations, the vehicle speed exceeds the set speed, and
Multi-information display will be highlighted:
■Automatic speed limiter cancellation
The set speed is automatically canceled when the cruise control is activated.
■If the speed limiter indicator turns off
It may indicate a malfunction in the system. Contact any authorized Toyota
retailer or Toyota authorized repairer, or any reliable repairer.
Adjusting the speed setting
1
2
Canceling and resuming the speed limiter
1
2
●When fully depressing the accelerator
pedal
●When driving down a hill (a buzzer also
sounds)
Page 294 of 660
2944-6. Using the driving support systems
AVENSIS_OM_OM20C79E_(EE)
WARNING
■To avoid operating the speed limiter by mistake
Keep the speed limiter switch off when not in use.
■ Situations unsuitable for speed limiter
Do not use the speed limiter in either of the following situations.
Doing so may result in control of the vehicle being lost and could cause a
serious or fatal accident.
● On slippery roads, such as those covered with rain, ice or snow
● On steep hills
● When towing a trailer or emergency towing
Page 416 of 660

4166-3. Using the storage features
AVENSIS_OM_OM20C79E_(EE)
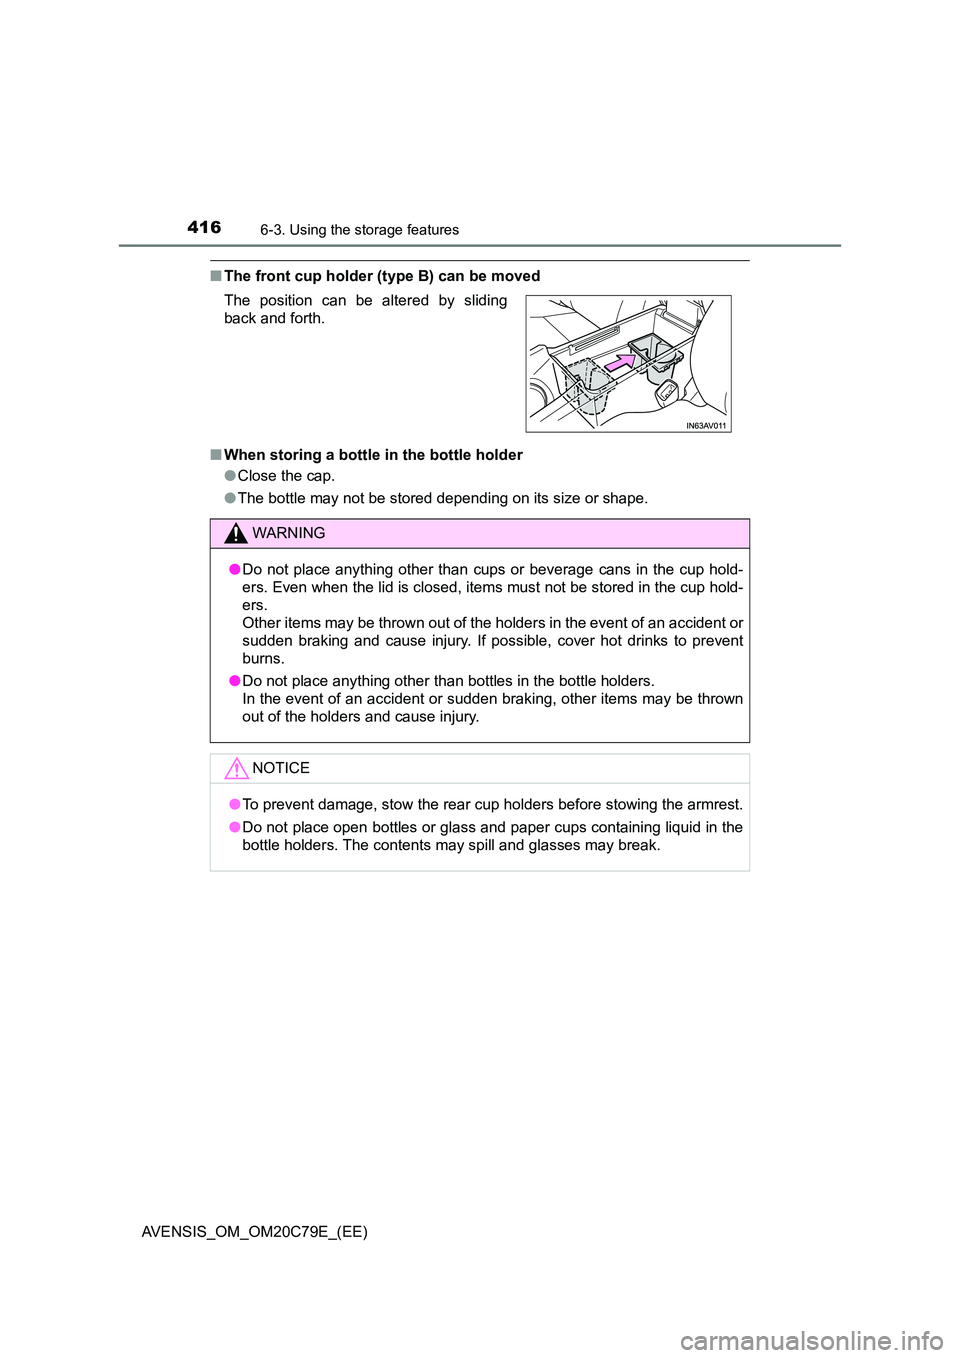
■The front cup holder (type B) can be moved
■ When storing a bottle in the bottle holder
● Close the cap.
● The bottle may not be stored depending on its size or shape.
The position can be altered by sliding
back and forth.
WARNING
● Do not place anything other than cups or beverage cans in the cup hold-
ers. Even when the lid is closed, items must not be stored in the cup hold-
ers.
Other items may be thrown out of the holders in the event of an accident or
sudden braking and cause injury. If possible, cover hot drinks to prevent
burns.
● Do not place anything other than bottles in the bottle holders.
In the event of an accident or sudden braking, other items may be thrown
out of the holders and cause injury.
NOTICE
● To prevent damage, stow the rear cup holders before stowing the armrest.
● Do not place open bottles or glass and paper cups containing liquid in the
bottle holders. The contents may spill and glasses may break.
Page 423 of 660
4236-3. Using the storage features
AVENSIS_OM_OM20C79E_(EE)
6
Interior features
■Removing the luggage cover
The luggage cover can be removed by following the procedure
below.
Pull the release lever
Lift up
■Stowing the luggage cover (vehicles without deck rail)
1
2
Remove the side deck boards and open
the rear deck board.
Move the release lever towards the left
side of the auxiliary box, and set into the
auxiliary box.
Pull the front edge of the luggage cover
out a small amount, and fold it forward
to store.1
2
3
Page 424 of 660
4246-3. Using the storage features
AVENSIS_OM_OM20C79E_(EE)
Open the cover.
Pull out the net and engage the
left and right hooks to the
anchors.
WARNING
■ When installing/stowing the luggage cover
Make sure that the luggage cover is securely installed/stowed. Failure to do
so may result in serious injury in the event of sudden braking or a collision.
■ Caution for the luggage cover
● Do not place anything on the luggage cover to avoid death or serious
injury.
● Do not allow children to climb on the luggage cover. Climbing on the lug-
gage cover could result in damage to the luggage cover, possibly causing
death or serious injury to the child.
Separation net (if equipped)
1
2
Page 425 of 660
4256-3. Using the storage features
AVENSIS_OM_OM20C79E_(EE)
6
Interior features
The separation net can be removed by following the procedure below.
Push the release button
Lift up
■Stowing the separation net (vehicles without deck rail)
Removing the separation net
1
2
Remove the side deck boards and open
the rear deck board.
Move the separation net hook towards
the forwards underside and set the sep-
aration net into the auxiliary box.1
2
Page 446 of 660

4467-3. Do-it-yourself maintenance
AVENSIS_OM_OM20C79E_(EE)
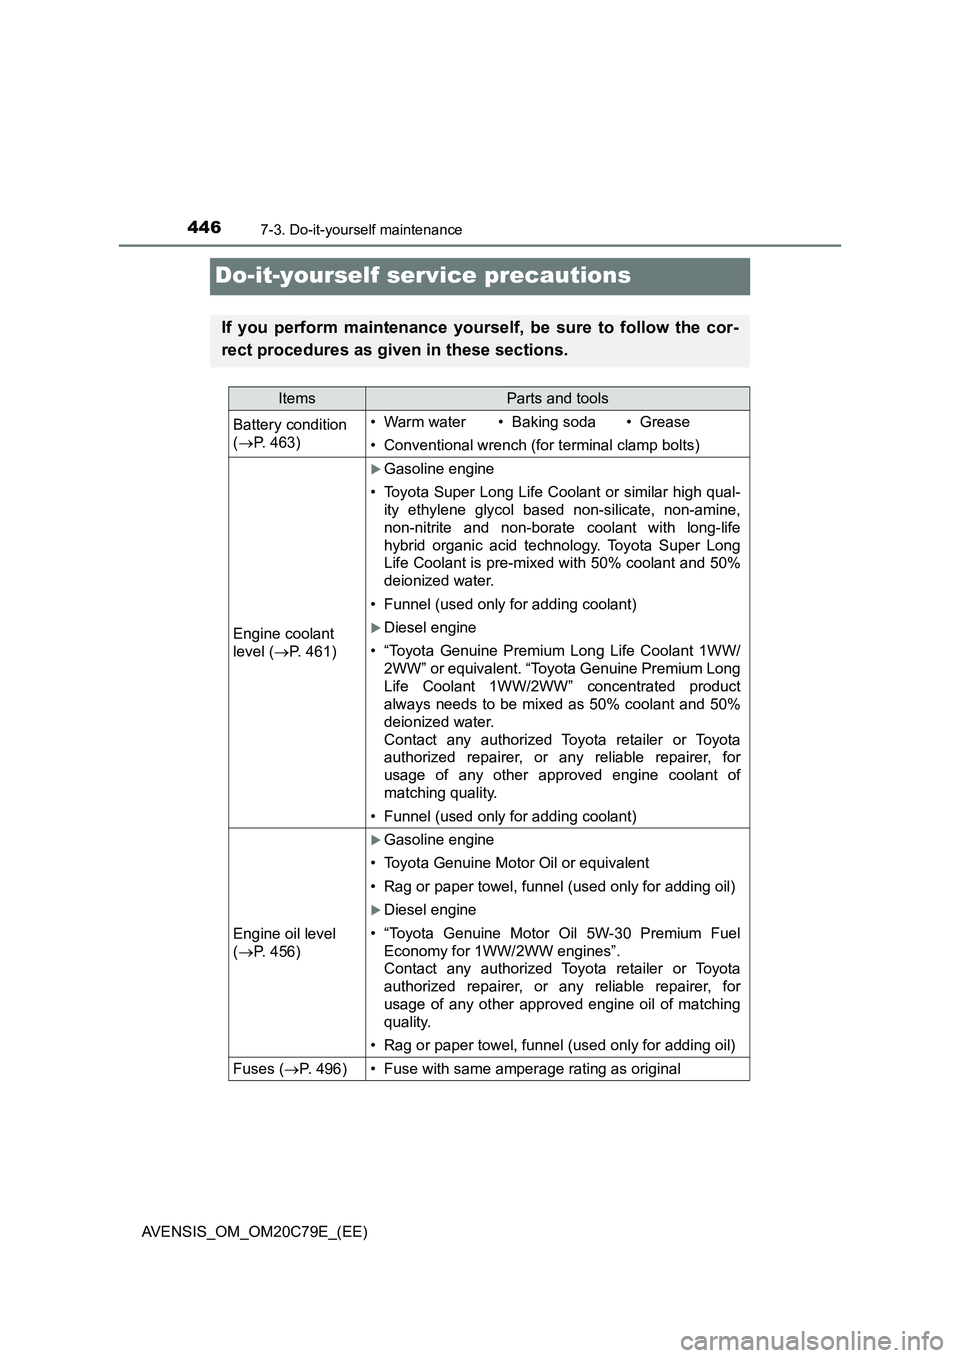
Do-it-yourself service precautions
If you perform maintenance yourself, be sure to follow the cor-
rect procedures as given in these sections.
ItemsParts and tools
Battery condition
(P. 463)•Warm water• Baking soda•Grease
• Conventional wrench (for terminal clamp bolts)
Engine coolant
level (P. 461)
Gasoline engine
• Toyota Super Long Life Coolant or similar high qual-
ity ethylene glycol based non-silicate, non-amine,
non-nitrite and non-borate coolant with long-life
hybrid organic acid technology. Toyota Super Long
Life Coolant is pre-mixed with 50% coolant and 50%
deionized water.
• Funnel (used only for adding coolant)
Diesel engine
• “Toyota Genuine Premium Long Life Coolant 1WW/
2WW” or equivalent. “Toyota Genuine Premium Long
Life Coolant 1WW/2WW” concentrated product
always needs to be mixed as 50% coolant and 50%
deionized water.
Contact any authorized Toyota retailer or Toyota
authorized repairer, or any reliable repairer, for
usage of any other approved engine coolant of
matching quality.
• Funnel (used only for adding coolant)
Engine oil level
(P. 456)
Gasoline engine
• Toyota Genuine Motor Oil or equivalent
• Rag or paper towel, funnel (used only for adding oil)
Diesel engine
• “Toyota Genuine Motor Oil 5W-30 Premium Fuel
Economy for 1WW/2WW engines”.
Contact any authorized Toyota retailer or Toyota
authorized repairer, or any reliable repairer, for
usage of any other approved engine oil of matching
quality.
• Rag or paper towel, funnel (used only for adding oil)
Fuses (P. 4 9 6 )• Fuse with same amperage rating as original
Page 456 of 660
4567-3. Do-it-yourself maintenance
AVENSIS_OM_OM20C79E_(EE)
With the engine at operating temperature and turned off, check the oil
level on the dipstick.
■Checking the engine oil
Park the vehicle on level ground. After warming up the engine
and turning it off, wait more than 5 minutes for the oil to drain
back into the bottom of the engine.
Hold a rag under the end and pull the dipstick out.
Wipe the dipstick clean.
Flat dipstick: Reinsert the dipstick fully.
Non-flat dipstick: Reinsert
the non-flat dipstick fully with
its protruding areas ( in the
illustration) pointing towards
the engine.
Engine oil
1
2
Gasoline engineDiesel engine
3
4
1