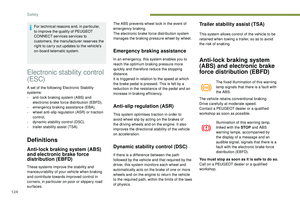
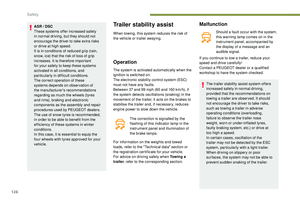
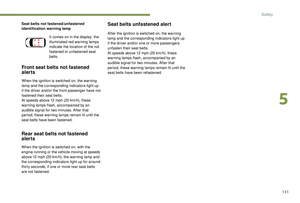
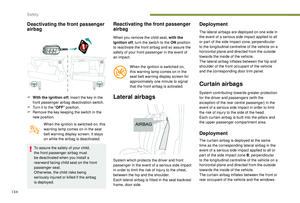
Page 97 of 360

95
Programming the departure
time
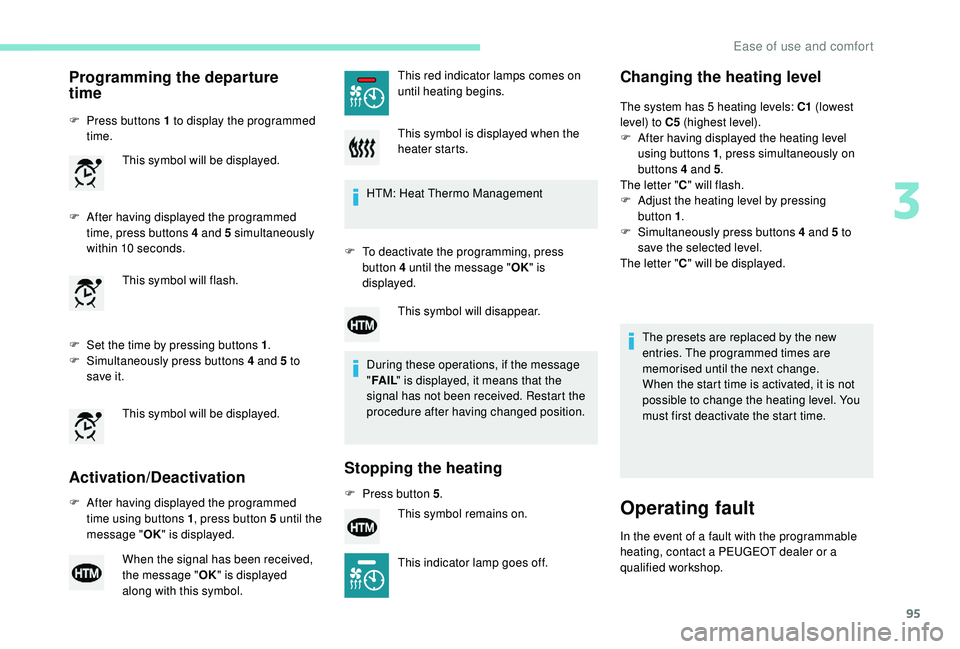
F Press buttons 1 to display the programmed time.
F
A
fter having displayed the programmed
time, press buttons 4 and 5 simultaneously
within 10
seconds.
F
S
et the time by pressing buttons 1 .
F
S
imultaneously press buttons 4 and 5 to
save it.
Activation/Deactivation
F After having displayed the programmed time using buttons 1 , press button 5 until the
message " OK" is displayed. HTM: Heat Thermo Management
F
T
o deactivate the programming, press
button 4 until the message " OK" is
displayed.
During these operations, if the message
" FA I L " is displayed, it means that the
signal has not been received. Restart the
procedure after having changed position.
Stopping the heating
F Press button 5 .
Changing the heating level
The system has 5 heating levels: C1 (lowest
level) to C5 (highest level).
F
A
fter having displayed the heating level
using buttons 1 , press simultaneously on
buttons 4 and 5 .
The letter " C" will flash.
F
A
djust the heating level by pressing
button
1.
F
S
imultaneously press buttons 4 and 5 to
save the selected level.
The letter " C" will be displayed.
This symbol will be displayed.
This symbol will flash.
This symbol will be displayed.
When the signal has been received,
the message "
OK" is displayed
along with this symbol. This red indicator lamps comes on
until heating begins.
This symbol is displayed when the
heater starts.
This symbol will disappear.
This symbol remains on.
This indicator lamp goes off.
The presets are replaced by the new
entries. The programmed times are
memorised until the next change.
When the start time is activated, it is not
possible to change the heating level. You
must first deactivate the start time.
Operating fault
In the event of a fault with the programmable
heating, contact a PEUGEOT dealer or a
qualified workshop.
3
Ease of use and comfort
Page 98 of 360
96
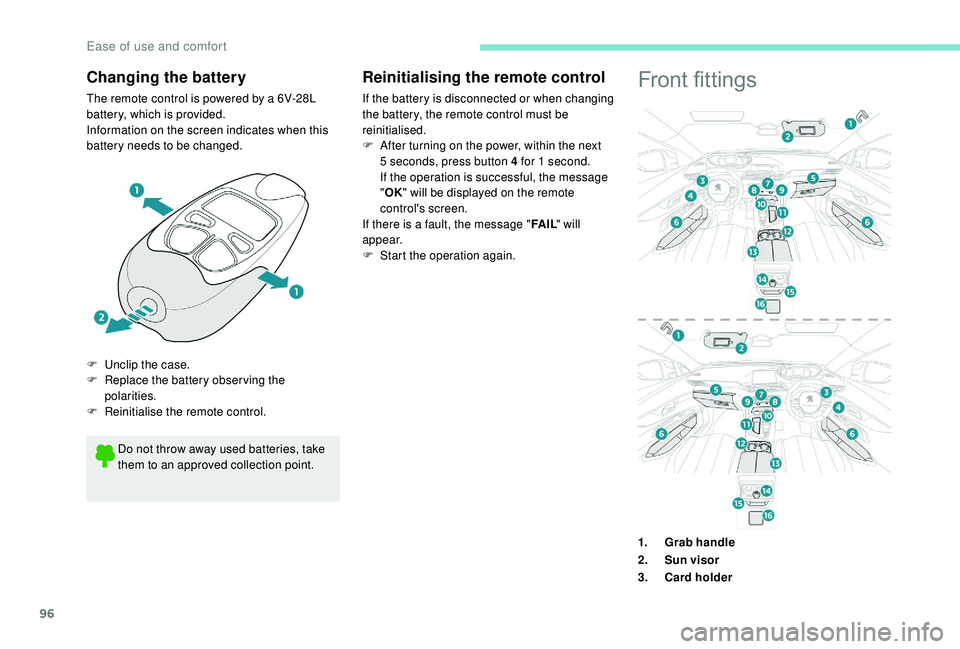
Changing the battery
The remote control is powered by a 6V-28L
battery, which is provided.
Information on the screen indicates when this
battery needs to be changed.Front fittings
Do not throw away used batteries, take
them to an approved collection point.
F
U
nclip the case.
F
R
eplace the battery observing the
polarities.
F
R
einitialise the remote control.
Reinitialising the remote control
If the battery is disconnected or when changing
the battery, the remote control must be
reinitialised.
F
A
fter turning on the power, within the next
5
seconds, press button 4 for 1 second.
If the operation is successful, the message
" OK " will be displayed on the remote
control's screen.
If there is a fault, the message " FA I L" will
appear.
F
St
art the operation again.
1.Grab handle
2. Sun visor
3. Card holder
Ease of use and comfort
Page 99 of 360

97
4.Storage compar tment below the
steering wheel
5. Illuminated glove box
6. Door pockets
7. Scented air freshener
8. USB por t
9. Front 12
V accessor y socket (120 W)
10. Storage compartment or CD player or
Wireless charger
11. Storage compartment
12 . Cup holder
13. Front armrest with storage
compartment
14 . Rear 12
V accessor y socket (120 W)
15. Storage compartment
16. 230
V socket
Sun visor
Component which protects against sunlight
from the front or the side, also equipped with an
illuminated vanity mirror.
Glove box
F To open the glove box, raise the handle.
The glove box is lit when the lid is opened.
It houses the front passenger airbag
deactivation switch A .
It also gives access to the housing for scented
air freshener B cartridges. F
W
ith the ignition on, raise the concealing
flap; the mirror is illuminated automatically.
This sun visor is also equipped with a ticket
h o l d e r. Never drive with the glove box open when
a passenger is at the front – it may cause
injury during sharp deceleration!
Cigarette lighter/12 V
a ccessory socket(s)
F To use the cigarette lighter, press it in
and wait a few seconds until it pops out
automatically.
F
T
o use a 12 V accessory (max power:
120
W), remove the cigarette lighter and
connect a suitable adaptor.
You can use this socket to connect a telephone
charger, a bottle warmer, etc.
After use, put the cigarette lighter
back into
place straight away.
3
Ease of use and comfort
Page 100 of 360

98
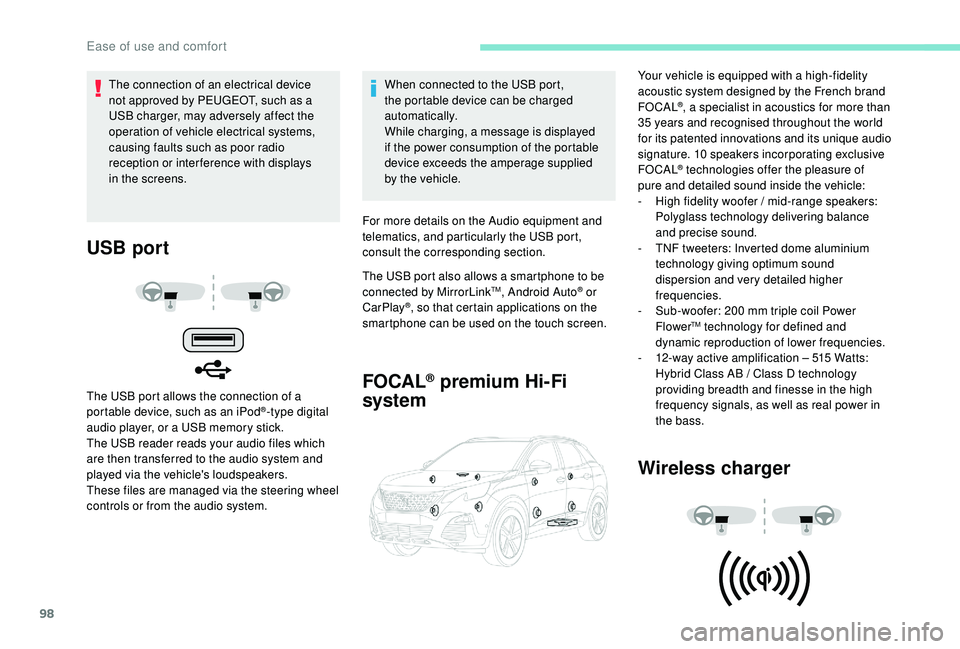
USB port
The USB port allows the connection of a
portable device, such as an iPod®-type digital
audio player, or a USB memory stick.
The USB reader reads your audio files which
are then transferred to the audio system and
played via the vehicle's loudspeakers.
These files are managed via the steering wheel
controls or from the audio system. When connected to the USB port,
the portable device can be charged
automatically.
While charging, a message is displayed
if the power consumption of the portable
device exceeds the amperage supplied
by the vehicle.
For more details on the Audio equipment and
telematics, and particularly the USB port,
consult the corresponding section.
The USB port also allows a smartphone to be
connected by MirrorLink
TM, Android Auto® or
CarPlay®, so that certain applications on the
smartphone can be used on the touch screen.
FOCAL® premium Hi-Fi
system
Wireless charger
The connection of an electrical device
not approved by PEUGEOT, such as a
USB charger, may adversely affect the
operation of vehicle electrical systems,
causing faults such as poor radio
reception or inter ference with displays
in the screens. Your vehicle is equipped with a high-fidelity
acoustic system designed by the French brand
FOCAL
®, a specialist in acoustics for more than
35
years and recognised throughout the world
for its patented innovations and its unique audio
signature. 10 speakers incorporating exclusive
FOCAL
® technologies offer the pleasure of
pure and detailed sound inside the vehicle:
-
H
igh fidelity woofer / mid-range speakers:
Polyglass technology delivering balance
and precise sound.
-
T
NF tweeters: Inverted dome aluminium
technology giving optimum sound
dispersion and very detailed higher
frequencies.
-
S
ub-woofer: 200 mm triple coil Power
Flower
TM technology for defined and
dynamic reproduction of lower frequencies.
-
1
2-way active amplification – 515 Watts:
Hybrid Class AB / Class D technology
providing breadth and finesse in the high
frequency signals, as well as real power in
the bass.
Ease of use and comfort
Page 101 of 360

99
This system allows the wireless charging of a
portable device, such as a smartphone, using
the principle of magnetic induction, based on
the Qi 1.1 standard.
The portable device to be charged must be
compatible with the Qi standard, either by
design or by using a compatible holder or shell.
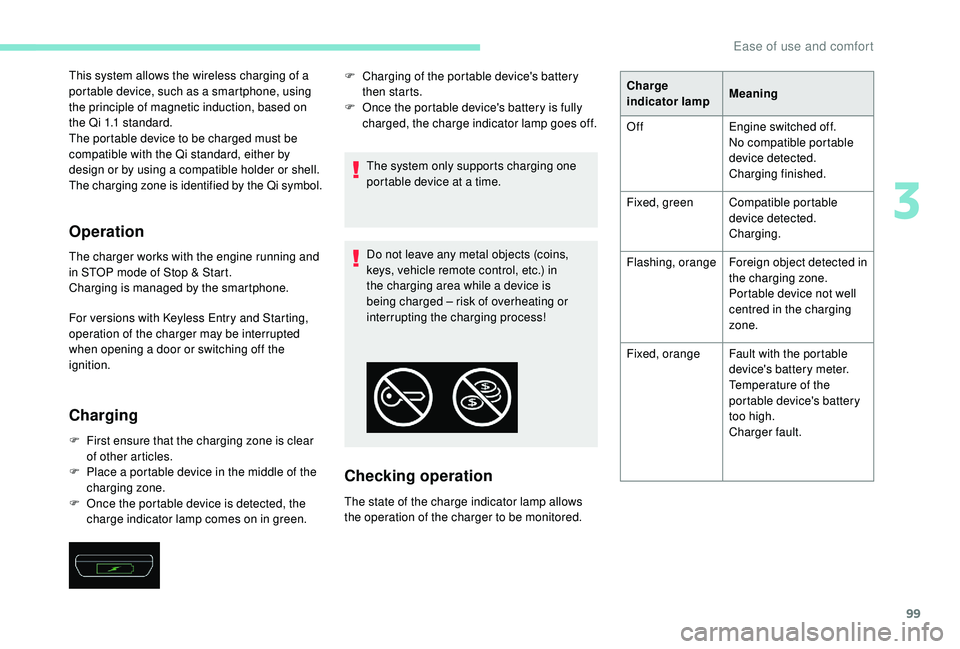
The charging zone is identified by the Qi symbol.
Operation
The charger works with the engine running and
in STOP mode of Stop & Start.
Charging is managed by the smartphone.
For versions with
K
eyless Entry and Starting,
operation of the charger may be interrupted
when opening a door or switching off the
ignition.
Charging
F First ensure that the charging zone is clear of other articles.
F
P
lace a portable device in the middle of the
charging zone.
F
O
nce the portable device is detected, the
charge indicator lamp comes on in green. The system only supports charging one
portable device at a time.
Do not leave any metal objects (coins,
keys, vehicle remote control, etc.) in
the charging area while a device is
being charged – risk of overheating or
interrupting the charging process!
Checking operation
The state of the charge indicator lamp allows
the operation of the charger to be monitored. F
C
harging of the portable device's battery
then starts.
F
O
nce the portable device's battery is fully
charged, the charge indicator lamp goes off. Charge
indicator lamp
Meaning
Off Engine switched off.
No compatible portable
device detected.
Charging finished.
Fixed, green Compatible portable
device detected.
Charging.
Flashing, orange Foreign object detected in
the charging zone.
Portable device not well
centred in the charging
zone.
Fixed, orange Fault with the portable
device's battery meter.
Temperature of the
portable device's battery
too high.
Charger fault.
3
Ease of use and comfort
Page 102 of 360

100
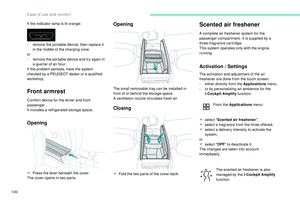
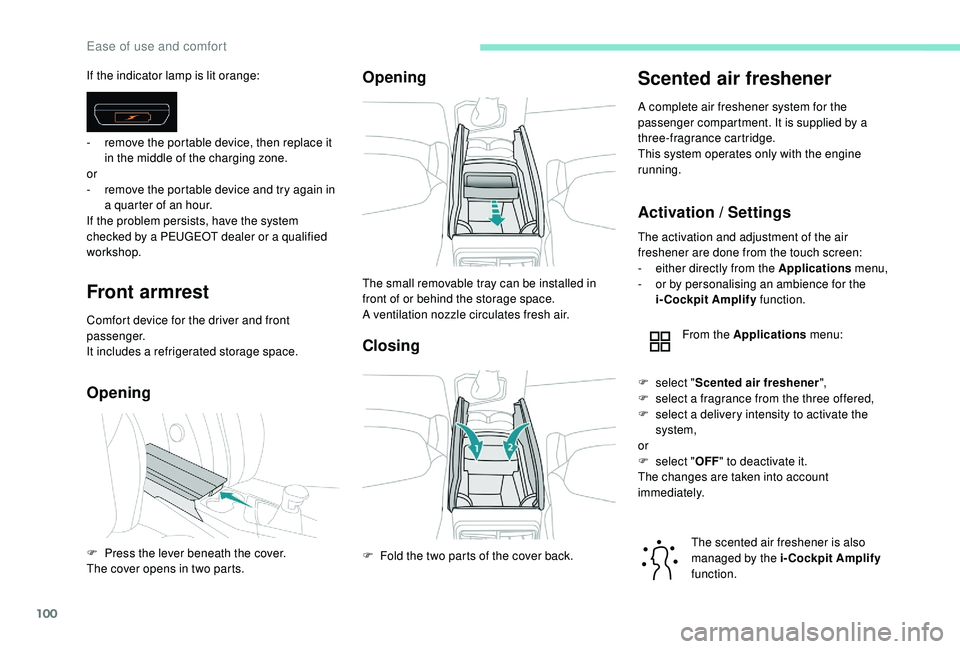
Front armrest
Comfort device for the driver and front
passenger.
It includes a refrigerated storage space.
OpeningOpening
Closing
Scented air freshener
A complete air freshener system for the
passenger compartment. It is supplied by a
three-fragrance cartridge.
This system operates only with the engine
running.
Activation / Settings
If the indicator lamp is lit orange:
-
r
emove the portable device, then replace it
in the middle of the charging zone.
or
-
r
emove the portable device and try again in
a quarter of an hour.
If the problem persists, have the system
checked by a PEUGEOT dealer or a qualified
workshop.
F
P
ress the lever beneath the cover.
The cover opens in two parts. The small removable tray can be installed in
front of or behind the storage space.
A ventilation nozzle circulates fresh air.
F
F
old the two parts of the cover back.The activation and adjustment of the air
freshener are done from the touch screen:
-
e
ither directly from the Applications menu,
-
o
r by personalising an ambience for the
i-Cockpit Amplify function.
From the Applications menu:
The scented air freshener is also
managed by the i-Cockpit Amplify
function.
F
s
elect "Scented air freshener ",
F
s
elect a fragrance from the three offered,
F
s
elect a delivery intensity to activate the
system,
or
F
s
elect "OFF" to deactivate it.
The changes are taken into account
immediately.
Ease of use and comfort
Page 103 of 360

101
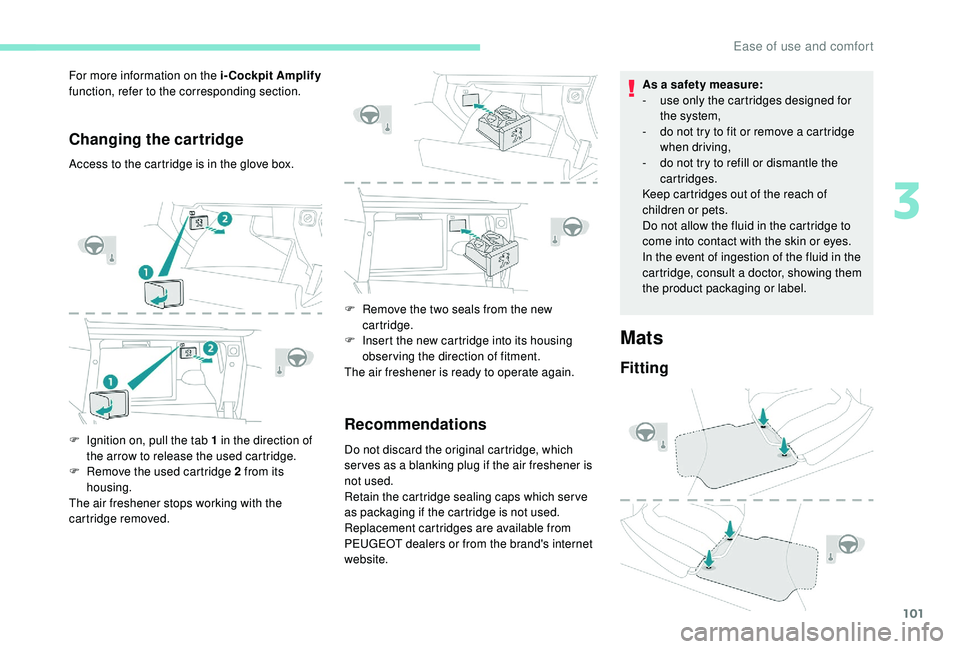
Changing the cartridge
Access to the cartridge is in the glove box.
F
I
gnition on, pull the tab 1 in the direction of
the arrow to release the used cartridge.
F
R
emove the used cartridge 2 from its
housing.
The air freshener stops working with the
cartridge removed. F
R
emove the two seals from the new
cartridge.
F
I
nsert the new cartridge into its housing
observing the direction of fitment.
The air freshener is ready to operate again.
Recommendations
For more information on the i-Cockpit Amplify
function, refer to the corresponding section.
Do not discard the original cartridge, which
ser ves as a blanking plug if the air freshener is
not used.
Retain the cartridge sealing caps which ser ve
as packaging if the cartridge is not used.
Replacement cartridges are available from
PEUGEOT dealers or from the brand's internet
website. As a safety measure:
-
u
se only the cartridges designed for
the system,
-
d
o not try to fit or remove a cartridge
when driving,
-
d
o not try to refill or dismantle the
cartridges.
Keep cartridges out of the reach of
children or pets.
Do not allow the fluid in the cartridge to
come into contact with the skin or eyes.
In the event of ingestion of the fluid in the
cartridge, consult a doctor, showing them
the product packaging or label.
Mats
Fitting
3
Ease of use and comfort
Page 104 of 360

102
Refitting
To refit the mat on the driver's side:
F p osition the mat correctly,
F
r
eattach the fixings by pressing,
F
c
heck that the mat is secured correctly.
To avoid any risk of jamming of the pedals:
-
o
nly use mats which are suited to the
fixings already present in the vehicle;
these fixings must be used,
-
n
ever place one mat on top of another.
The use of mats not approved by
PEUGEOT may inter fere with access to
the pedals and hinder the operation of the
cruise control / speed limiter.
The mats approved by PEUGEOT have
two fixings located below the seat.
Courtesy lampsFront and rear courtesy lamps
In this position, the courtesy
lamp comes on gradually:
When fitting the mat for the first time, on the
driver's side use only the fixings provided in the
wallet attached.
The other mats are simply placed on the carpet.
Removing
To remove the mat on the driver's side:
F
m ove the seat as far back as possible,
F
un
clip the fixings,
F
r
emove the mat.
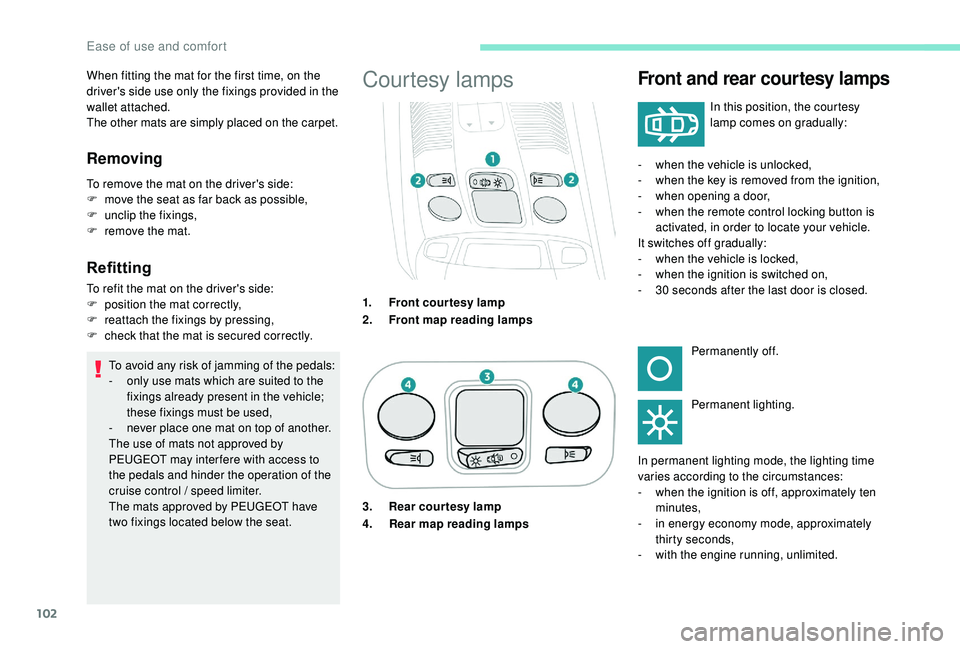
1.Front courtesy lamp
2. Front map reading lamps -
w
hen the vehicle is unlocked,
- w hen the key is removed from the ignition,
- w hen opening a door,
-
w
hen the remote control locking button is
activated, in order to locate your vehicle.
It switches off gradually:
-
w
hen the vehicle is locked,
-
w
hen the ignition is switched on,
-
3
0 seconds after the last door is closed.Permanently off.
Permanent lighting.
In permanent lighting mode, the lighting time
varies according to the circumstances:
-
w
hen the ignition is off, approximately ten
minutes,
-
i
n energy economy mode, approximately
thirty seconds,
-
w
ith the engine running, unlimited.
3. Rear courtesy lamp
4.
Rear map reading lamps
Ease of use and comfort