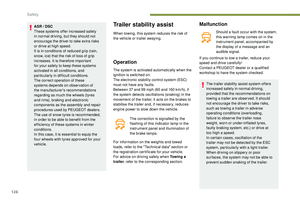
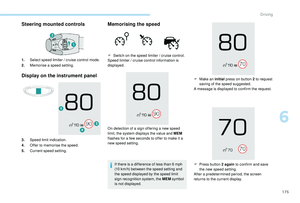
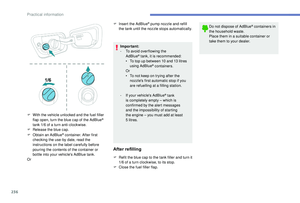
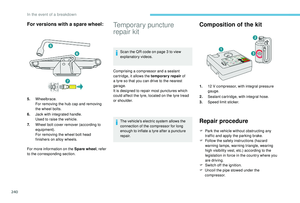
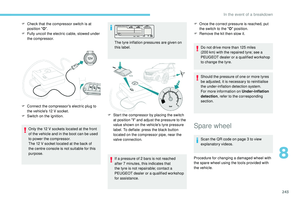
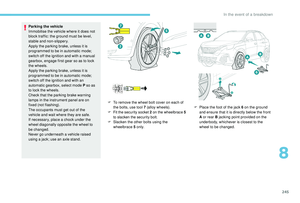
Page 105 of 360
103
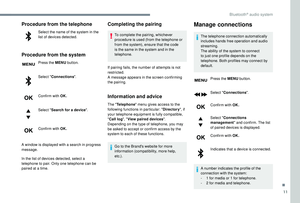
Front and rear map reading
lamps
Take care not to put anything in contact
with the courtesy lamps.F
W
ith the ignition on, operate the
corresponding switch.
When the courtesy lamp is in the
"permanent lighting" position, the rear
courtesy lamp also comes on, except if it
is in the "permanently off " position.
To switch off the rear courtesy lamp, put it
in the "permanently off " position.
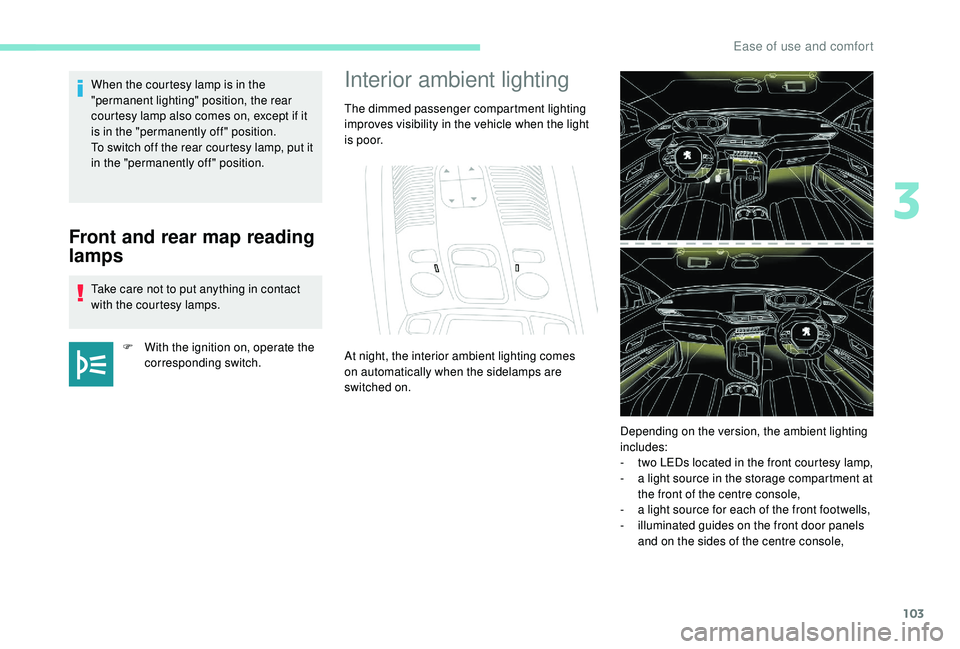
Interior ambient lighting
The dimmed passenger compartment lighting
improves visibility in the vehicle when the light
i s p o o r.
At night, the interior ambient lighting comes
on automatically when the sidelamps are
switched on.
Depending on the version, the ambient lighting
includes:
-
t
wo LEDs located in the front courtesy lamp,
-
a l
ight source in the storage compartment at
the front of the centre console,
-
a l
ight source for each of the front footwells,
-
i
lluminated guides on the front door panels
and on the sides of the centre console,
3
Ease of use and comfort
Page 106 of 360

104
- illuminated bezels for the front cup holders,
- a l ight source for each of the front door
pockets,
-
i
lluminated rails along the panoramic
sunroof blind.
The ambient lighting switches off automatically
when the sidelamps are switched off. The interior ambient lighting can
be activated or deactivated and its
brightness adjusted in the Vehicle /
Driving menu of the touch screen.
The interior ambient lighting is also
managed by the i- Cockpit Amplify
function.
For more information on the
i-Cockpit Amplify function , refer
to the corresponding section.Rear fittings
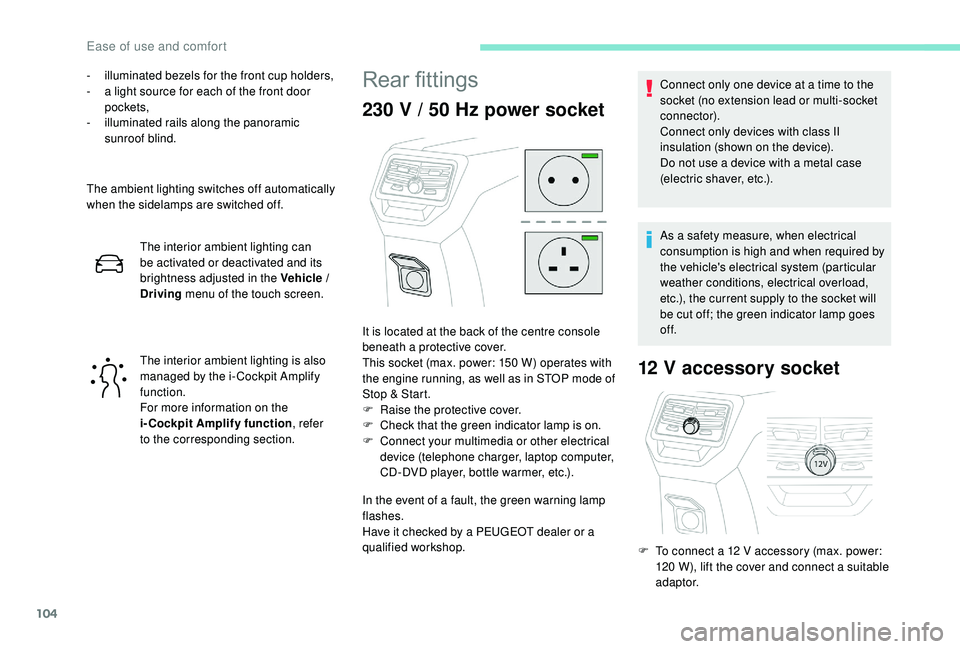
230 V / 50 Hz power socket
In the event of a fault, the green warning lamp
flashes.
Have it checked by a PEUGEOT dealer or a
qualified workshop.
12 V accessory socket
It is located at the back of the centre console
beneath a protective cover.
This socket (max. power: 150
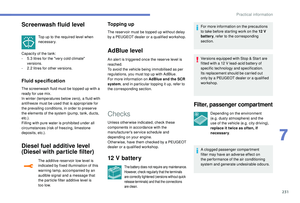
W) operates with
the engine running, as well as in STOP mode of
Stop & Start.
F
Ra
ise the protective cover.
F
C
heck that the green indicator lamp is on.
F
C
onnect your multimedia or other electrical
device (telephone charger, laptop computer,
CD-DVD player, bottle warmer, etc.). Connect only one device at a time to the
socket (no extension lead or multi-socket
connector).
Connect only devices with class II
insulation (shown on the device).
Do not use a device with a metal case
(electric shaver, etc.).
As a safety measure, when electrical
consumption is high and when required by
the vehicle's electrical system (particular
weather conditions, electrical overload,
etc.), the current supply to the socket will
be cut off; the green indicator lamp goes
of f.
F
T
o connect a 12 V accessory (max. power:
120
W), lift the cover and connect a suitable
adaptor.
Ease of use and comfort
Page 107 of 360
105
The connection of an electrical device
not approved by PEUGEOT, such as a
USB charger, may adversely affect the
operation of vehicle electrical systems,
causing faults such as poor radio
reception or inter ference with displays
in the screens.
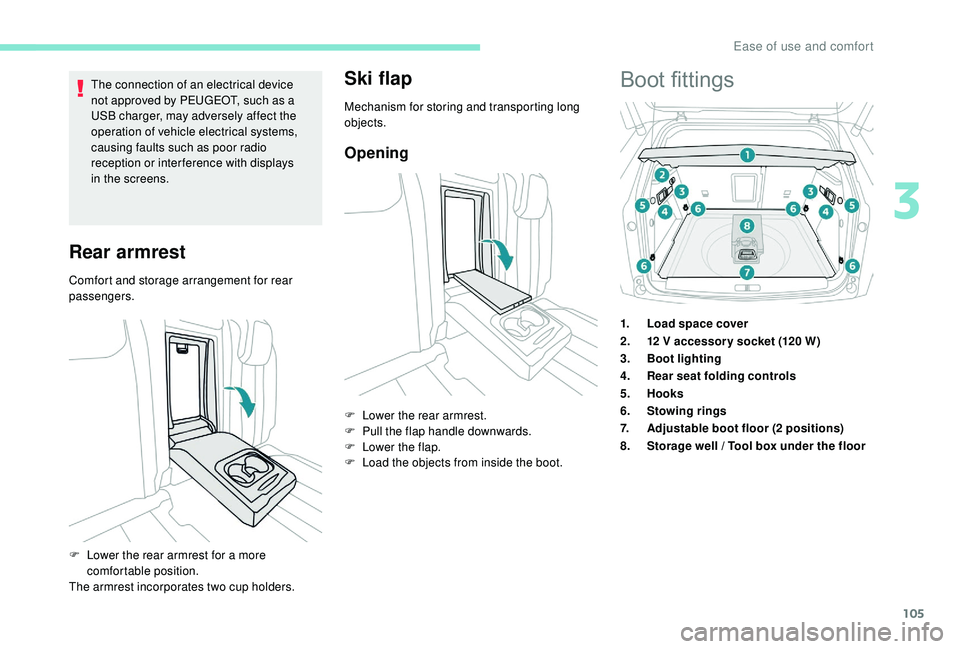
Rear armrest
Comfort and storage arrangement for rear
passengers.
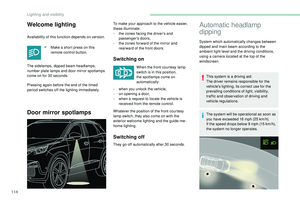
Ski flap
Mechanism for storing and transporting long
objects.
Opening
F Lower the rear armrest for a more comfortable position.
The armrest incorporates two cup holders. F
L
ower the rear armrest.
F
P
ull the flap handle downwards.
F
L
ower the flap.
F
L
oad the objects from inside the boot.
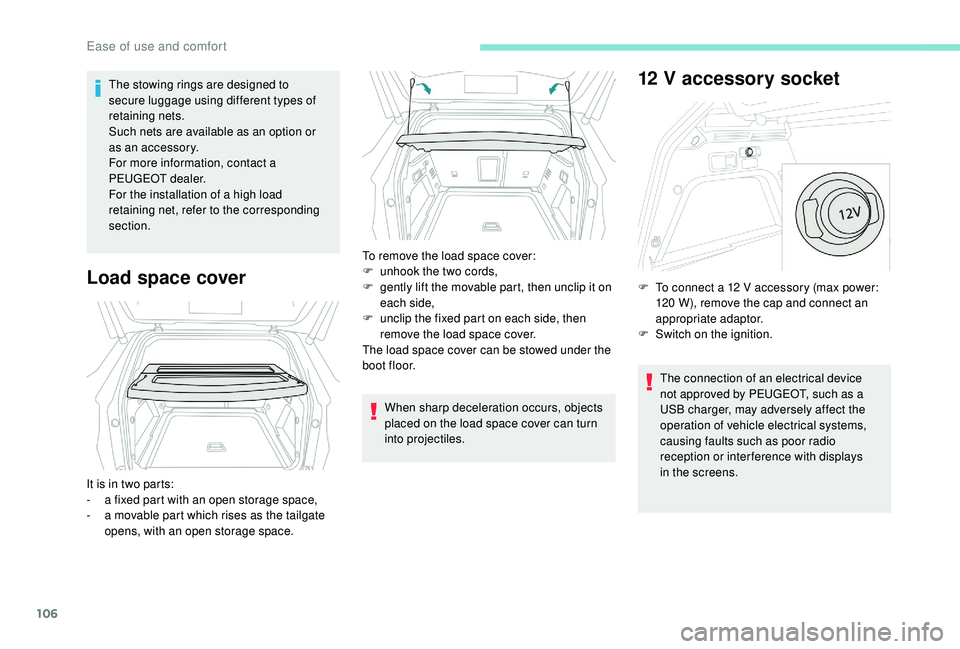
Boot fittings
1.
Load space cover
2. 12
V accessor y socket (120 W)
3. Boot lighting
4. Rear seat folding controls
5. Hooks
6. Stowing rings
7. Adjustable boot floor (2
positions)
8. Storage well / Tool box under the floor
3
Ease of use and comfort
Page 108 of 360

106
The stowing rings are designed to
secure luggage using different types of
retaining nets.
Such nets are available as an option or
as an accessory.
For more information, contact a
PEUGEOT dealer.
For the installation of a high load
retaining net, refer to the corresponding
section.
Load space cover
When sharp deceleration occurs, objects
placed on the load space cover can turn
into projectiles.
12 V accessory socket
The connection of an electrical device
not approved by PEUGEOT, such as a
USB charger, may adversely affect the
operation of vehicle electrical systems,
causing faults such as poor radio
reception or inter ference with displays
in the screens.
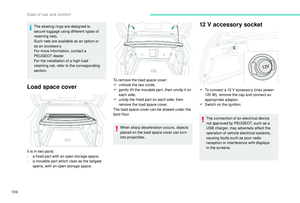
It is in two parts:
-
a f
ixed part with an open storage space,
-
a m
ovable part which rises as the tailgate
opens, with an open storage space. To remove the load space cover:
F
u
nhook the two cords,
F
g
ently lift the movable part, then unclip it on
each side,
F
u
nclip the fixed part on each side, then
remove the load space cover.
The load space cover can be stowed under the
boot floor. F
T
o connect a 12 V accessory (max power:
120 W), remove the cap and connect an
appropriate adaptor.
F
S
witch on the ignition.
Ease of use and comfort
Page 109 of 360

107
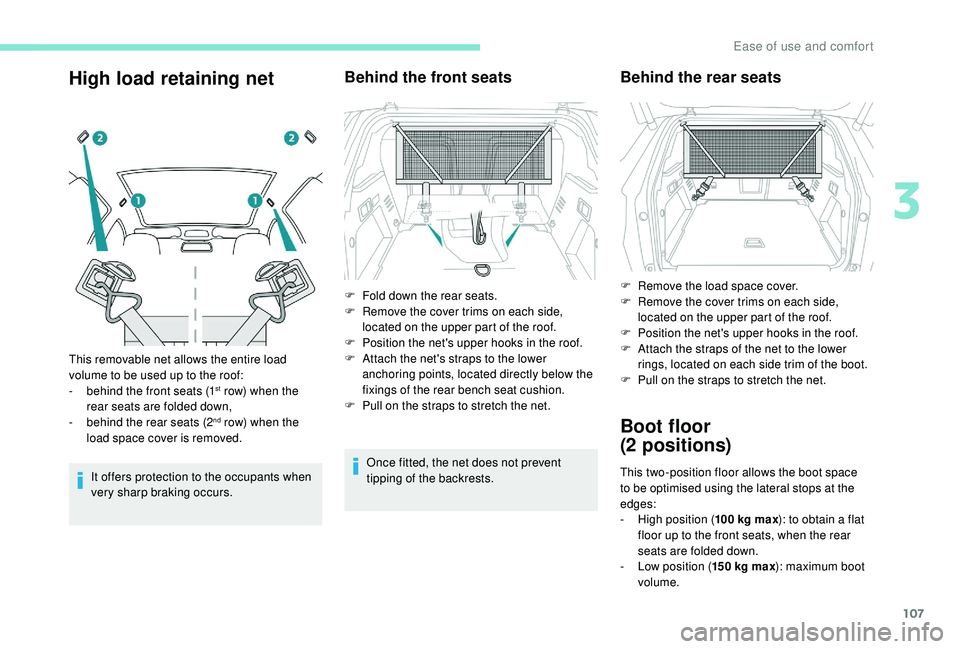
High load retaining net
It offers protection to the occupants when
very sharp braking occurs.
Behind the front seats
Once fitted, the net does not prevent
tipping of the backrests.
This removable net allows the entire load
volume to be used up to the roof:
-
b
ehind the front seats (1
st row) when the
rear seats are folded down,
-
b
ehind the rear seats (2
nd row) when the
load space cover is removed. F
F
old down the rear seats.
F
R
emove the cover trims on each side,
located on the upper part of the roof.
F
P
osition the net's upper hooks in the roof.
F
A
ttach the net's straps to the lower
anchoring points, located directly below the
fixings of the rear bench seat cushion.
F
P
ull on the straps to stretch the net.
Behind the rear seats
Boot floor
(2
positions)
This two-position floor allows the boot space
to be optimised using the lateral stops at the
edges:
-
Hig
h position ( 100
kg max): to obtain a flat
floor up to the front seats, when the rear
seats are folded down.
-
L
ow position ( 150
kg max): maximum boot
volume.
F
R
emove the load space cover.
F
R
emove the cover trims on each side,
located on the upper part of the roof.
F
P
osition the net's upper hooks in the roof.
F
A
ttach the straps of the net to the lower
rings, located on each side trim of the boot.
F
P
ull on the straps to stretch the net.
3
Ease of use and comfort
Page 110 of 360

108
On certain versions, the adjustable boot
floor cannot be fitted in the low position.
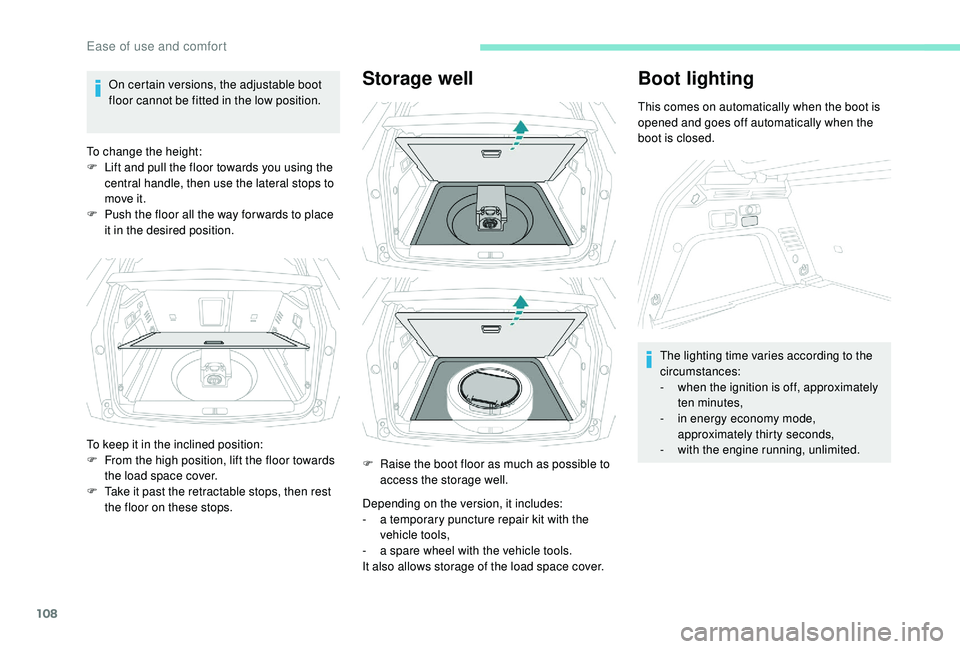
To change the height:
F
L
ift and pull the floor towards you using the
central handle, then use the lateral stops to
move it.
F
P
ush the floor all the way for wards to place
it in the desired position.Storage well
Depending on the version, it includes:
- a t emporary puncture repair kit with the
vehicle tools,
-
a s
pare wheel with the vehicle tools.
It also allows storage of the load space cover.
Boot lighting
This comes on automatically when the boot is
opened and goes off automatically when the
boot is closed.
The lighting time varies according to the
circumstances:
-
w
hen the ignition is off, approximately
ten minutes,
-
i
n energy economy mode,
approximately thirty seconds,
-
w
ith the engine running, unlimited.
To keep it in the inclined position:
F
F
rom the high position, lift the floor towards
the load space cover.
F
T
ake it past the retractable stops, then rest
the floor on these stops. F
R
aise the boot floor as much as possible to
access the storage well.
Ease of use and comfort
Page 111 of 360

109
Exterior lighting control
stalk
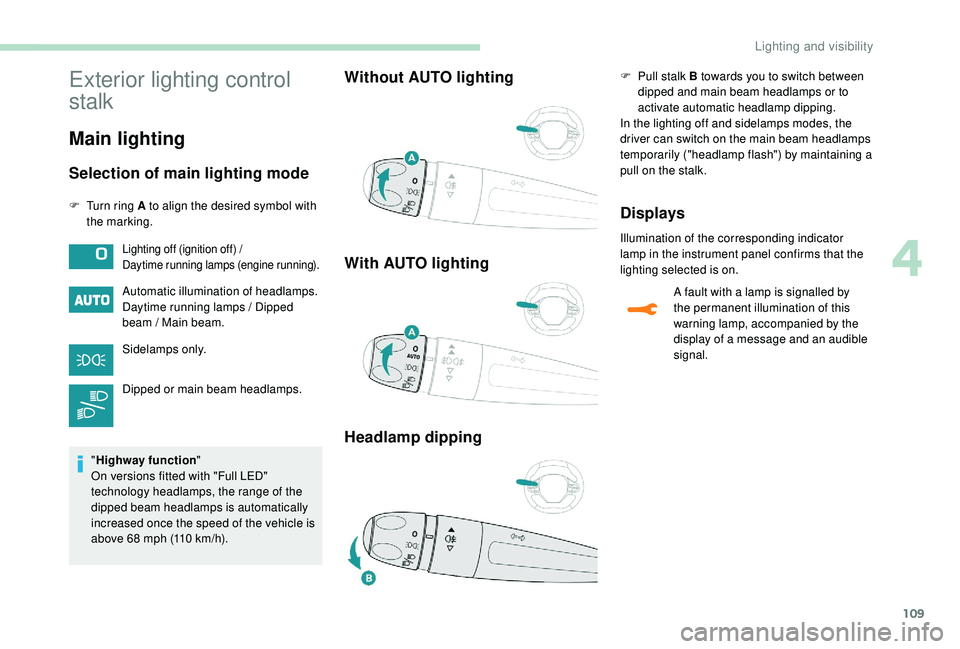
Main lighting
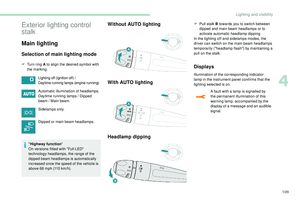
Selection of main lighting mode
F Turn ring A to align the desired symbol with the marking.
Automatic illumination of headlamps.
Daytime running lamps / Dipped
beam / Main beam.
Sidelamps only.
Dipped or main beam headlamps.
" Highway function "
On versions fitted with "Full LED"
technology headlamps, the range of the
dipped beam headlamps is automatically
increased once the speed of the vehicle is
above 68
mph (110 km/h).
Without AUTO lighting
With AUTO lighting
Headlamp dippingF Pull stalk B towards you to switch between dipped and main beam headlamps or to
activate automatic headlamp dipping.
In the lighting off and sidelamps modes, the
driver can switch on the main beam headlamps
temporarily ("headlamp flash") by maintaining a
pull on the stalk.
Displays
Illumination of the corresponding indicator
lamp in the instrument panel confirms that the
lighting selected is on.Lighting off (ignition off) /
Daytime running lamps (engine running).
A fault with a lamp is signalled by
the permanent illumination of this
warning lamp, accompanied by the
display of a message and an audible
signal.
4
Lighting and visibility
Page 112 of 360

110
Foglamps
In clear weather or rain, during the day
or at night, it is prohibited to switch on
the front or rear foglamps. In these
situations, the power of their beams may
dazzle other drivers. They should only
be used in fog or snow.
In these weather conditions, it is your
responsibility to switch on the foglamps
and dipped beam headlamps manually
as the sunshine sensor may detect
sufficient light.
Switch off the foglamps when they are
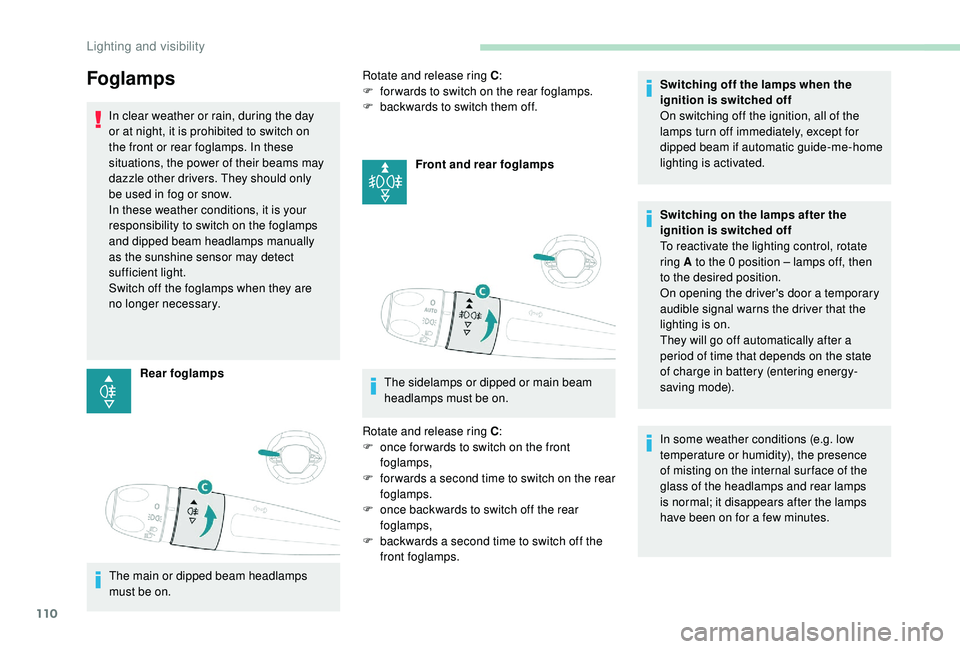
no longer necessary.Rear foglamps
The main or dipped beam headlamps
must be on. Rotate and release ring C
:
F
fo
rwards to switch on the rear foglamps.
F b ackwards to switch them off.
Front and rear foglamps
The sidelamps or dipped or main beam
headlamps must be on.
Rotate and release ring C :
F
o
nce for wards to switch on the front
foglamps,
F
f
or wards a second time to switch on the rear
foglamps.
F
o
nce backwards to switch off the rear
foglamps,
F
b
ackwards a second time to switch off the
front foglamps. Switching off the lamps when the
ignition is switched off
On switching off the ignition, all of the
lamps turn off immediately, except for
dipped beam if automatic guide-me-home
lighting is activated.
Switching on the lamps after the
ignition is switched off
To reactivate the lighting control, rotate
ring A to the 0
position – lamps off, then
to the desired position.
On opening the driver's door a temporary
audible signal warns the driver that the
lighting is on.
They will go off automatically after a
period of time that depends on the state
of charge in battery (entering energy-
saving mode).
In some weather conditions (e.g. low
temperature or humidity), the presence
of misting on the internal sur face of the
glass of the headlamps and rear lamps
is normal; it disappears after the lamps
have been on for a few minutes.
Lighting and visibility