Page 121 of 426

Headlight beam select
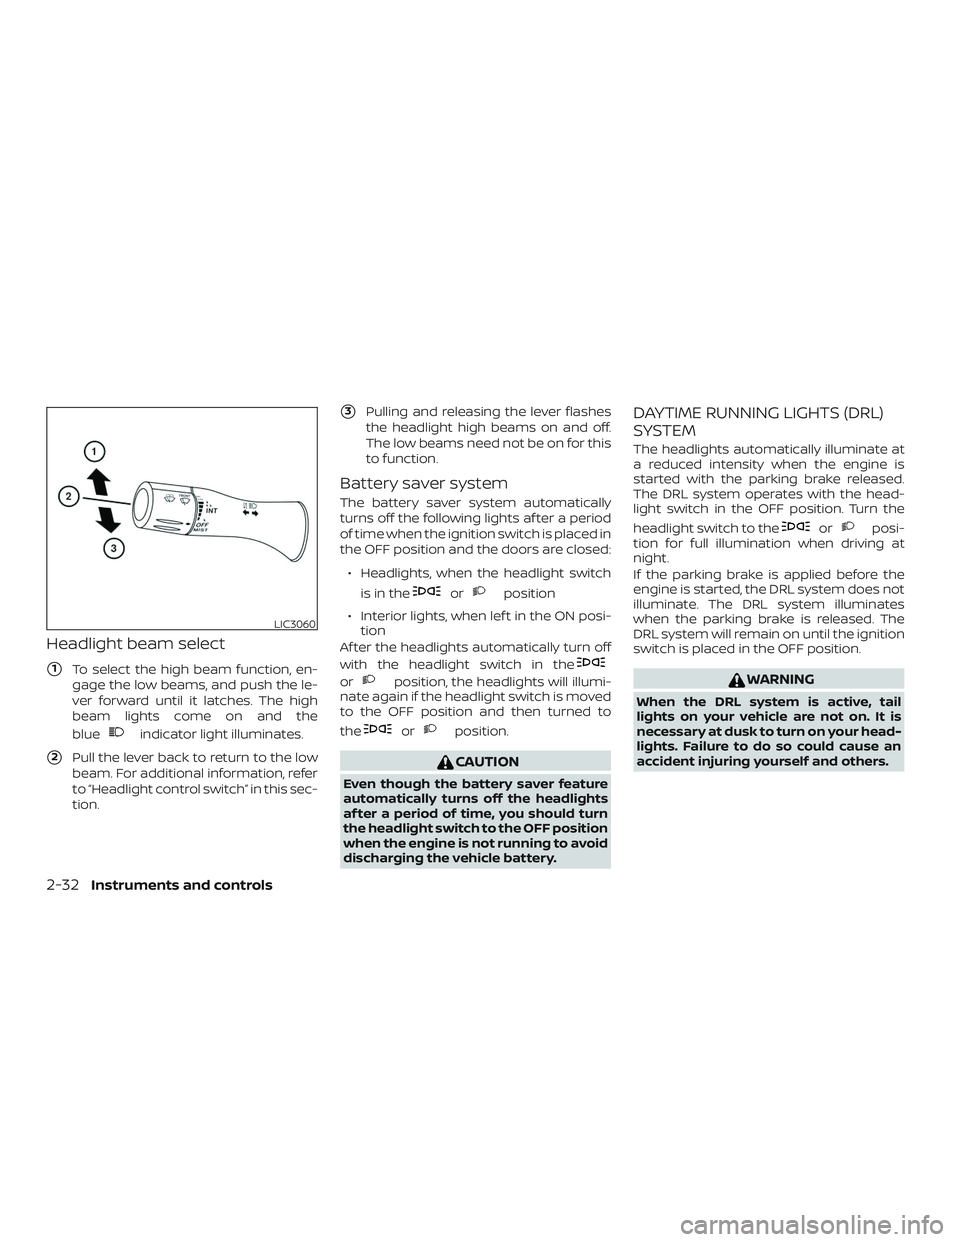
�1To select the high beam function, en-
gage the low beams, and push the le-
ver forward until it latches. The high
beam lights come on and the
blue
indicator light illuminates.
�2Pull the lever back to return to the low
beam. For additional information, refer
to “Headlight control switch” in this sec-
tion.
�3Pulling and releasing the lever flashes
the headlight high beams on and off.
The low beams need not be on for this
to function.
Battery saver system
The battery saver system automatically
turns off the following lights af ter a period
of time when the ignition switch is placed in
the OFF position and the doors are closed:
∙ Headlights, when the headlight switch is in the
orposition
∙ Interior lights, when lef t in the ON posi- tion
Af ter the headlights automatically turn off
with the headlight switch in the
orposition, the headlights will illumi-
nate again if the headlight switch is moved
to the OFF position and then turned to
the
orposition.
CAUTION
Even though the battery saver feature
automatically turns off the headlights
af ter a period of time, you should turn
the headlight switch to the OFF position
when the engine is not running to avoid
discharging the vehicle battery.
DAYTIME RUNNING LIGHTS (DRL)
SYSTEM
The headlights automatically illuminate at
a reduced intensity when the engine is
started with the parking brake released.
The DRL system operates with the head-
light switch in the OFF position. Turn the
headlight switch to the
orposi-
tion for full illumination when driving at
night.
If the parking brake is applied before the
engine is started, the DRL system does not
illuminate. The DRL system illuminates
when the parking brake is released. The
DRL system will remain on until the ignition
switch is placed in the OFF position.
WARNING
When the DRL system is active, tail
lights on your vehicle are not on. It is
necessary at dusk to turn on your head-
lights. Failure to do so could cause an
accident injuring yourself and others.
LIC3060
2-32Instruments and controls
Page 123 of 426
FOG LIGHT SWITCH
(if so equipped)
To turn the front fog lights on, turn the
headlight switch to the
position, then
push the fog light switch
�1.
To turn them off, push the fog light switch
�1again.
The fog lights will turn off if the headlights
are turned off. To sound the horn, push the center pad
area of the steering wheel.
WARNING
Do not disassemble the horn. Doing so
could affect proper operation of the
supplemental front air bag system.
Tampering with the supplemental front
air bag system may result in serious
personal injury.
WARNING
Do not use or allow occupants to use
the seat heater if you or the occupants
cannot monitor elevated seat tempera-
tures or have an inability to feel pain in
body parts that contact the seat. Use of
the seat heater by such people could
result in serious injury.
LIC2197LIC2051LIC3762
HORN
HEATED SEAT SWITCHES
(if so equipped)
2-34Instruments and controls
Page 126 of 426

WARNING
The RSS is a convenience but it is not a
substitute for proper backing. Always
turn and check that it is safe to do so
before backing up. Always back up
slowly.
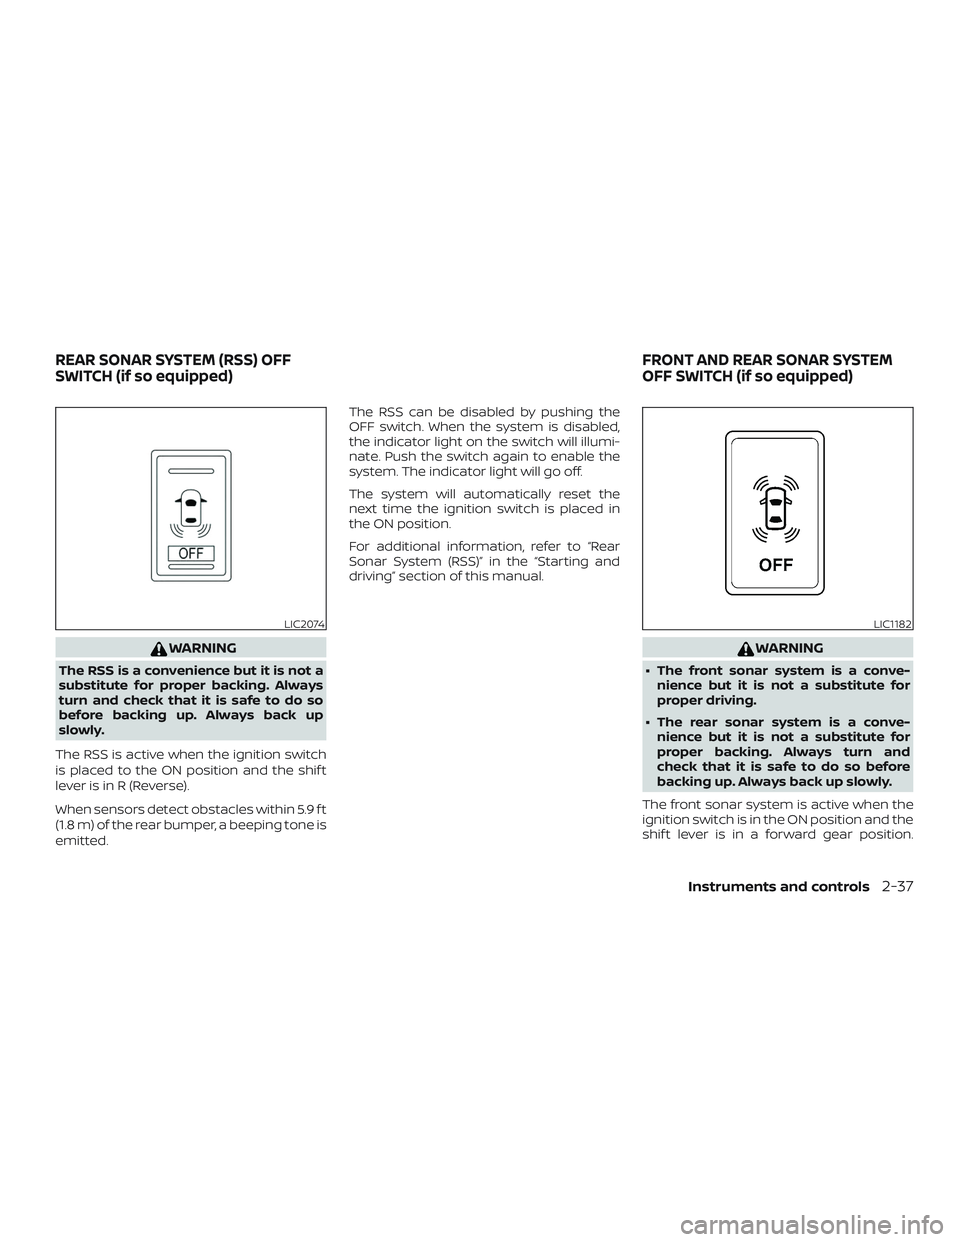
The RSS is active when the ignition switch
is placed to the ON position and the shif t
lever is in R (Reverse).
When sensors detect obstacles within 5.9 f t
(1.8 m) of the rear bumper, a beeping tone is
emitted. The RSS can be disabled by pushing the
OFF switch. When the system is disabled,
the indicator light on the switch will illumi-
nate. Push the switch again to enable the
system. The indicator light will go off.
The system will automatically reset the
next time the ignition switch is placed in
the ON position.
For additional information, refer to “Rear
Sonar System (RSS)” in the “Starting and
driving” section of this manual.
WARNING
∙ The front sonar system is a conve-
nience but it is not a substitute for
proper driving.
∙ The rear sonar system is a conve- nience but it is not a substitute for
proper backing. Always turn and
check that it is safe to do so before
backing up. Always back up slowly.
The front sonar system is active when the
ignition switch is in the ON position and the
shif t lever is in a forward gear position.
LIC2074LIC1182
REAR SONAR SYSTEM (RSS) OFF
SWITCH (if so equipped) FRONT AND REAR SONAR SYSTEM
OFF SWITCH (if so equipped)
Instruments and controls2-37
Page 131 of 426
FRONT-DOOR POCKETSSEAT POCKET (if so equipped)
The seat pocket is located on the front cor-
ner of the driver’s seat. The pocket can be
used to store small items.
WARNING
Do not store angular, sharp, heavy ob-
jects or objects that cannot fully fit in-
side the pouch because they might in-
crease the likelihood of an injury in a
crash.
UNDER-SEAT STORAGE
To open the drawer, lif t up slightly and pull
to open. To remove the drawer, pull to the
point of resistance and lif t up and pull.
CAUTION
To avoid damaging the tray under the
seat, cargo in the trays should not ex-
ceed 20 pounds (9.08kg).
LIC2082LIC2083
Driver side only
LIC2067
STORAGE
2-42Instruments and controls
Page 132 of 426
INSTRUMENT PANEL
STORAGE TRAYSThe long storage tray can be used to store
business cards.
WARNING
Do not place sharp objects in the trays
to help prevent injury in an accident or
sudden stop.
GLOVE BOX
Open the glove box by pulling the handle.
WARNING
Keep the glove box lid closed while driv-
ing to help prevent injury in an accident
or a sudden stop.
Instrument panel
LIC2069
Lower center console
LIC2070LIC2068
Instruments and controls2-43
Page 135 of 426

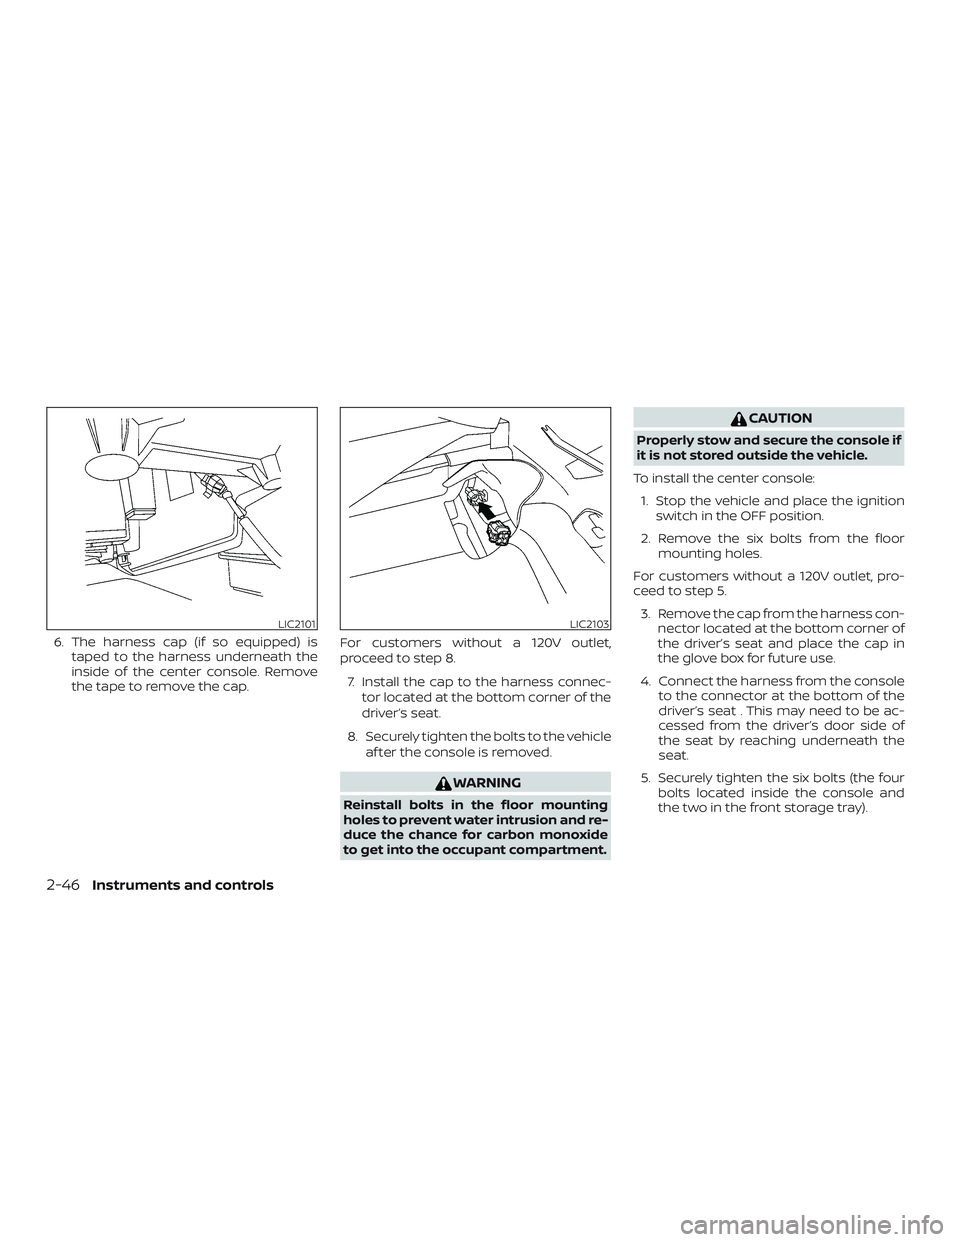
6. The harness cap (if so equipped) istaped to the harness underneath the
inside of the center console. Remove
the tape to remove the cap. For customers without a 120V outlet,
proceed to step 8.
7. Install the cap to the harness connec- tor located at the bottom corner of the
driver’s seat.
8. Securely tighten the bolts to the vehicle af ter the console is removed.
WARNING
Reinstall bolts in the floor mounting
holes to prevent water intrusion and re-
duce the chance for carbon monoxide
to get into the occupant compartment.
CAUTION
Properly stow and secure the console if
it is not stored outside the vehicle.
To install the center console: 1. Stop the vehicle and place the ignition switch in the OFF position.
2. Remove the six bolts from the floor mounting holes.
For customers without a 120V outlet, pro-
ceed to step 5. 3. Remove the cap from the harness con- nector located at the bottom corner of
the driver’s seat and place the cap in
the glove box for future use.
4. Connect the harness from the console to the connector at the bottom of the
driver’s seat . This may need to be ac-
cessed from the driver’s door side of
the seat by reaching underneath the
seat.
5. Securely tighten the six bolts (the four bolts located inside the console and
the two in the front storage tray).
LIC2101LIC2103
2-46Instruments and controls
Page 136 of 426
OVERHEAD SUNGLASSES
STORAGE
To open the sunglasses holder, push and
release.
Only store one pair of sunglasses in the
holder.
WARNING
Keep the sunglasses holder closed
while driving to avoid obstructing the
driver’s view and to help prevent an
accident.
CAUTION
∙ Do not use for anything other thansunglasses.
∙ Do not leave sunglasses in the sun- glasses holder while parking in direct
sunlight. The heat may damage the
sunglasses.
CUP HOLDERS
LIC3387
Instrument panel
LIC2071
Instruments and controls2-47
Page 137 of 426
WARNING
Avoid abrupt starting and braking
when the cup holder is being used to
prevent spilling the drink. If the liquid is
hot, it can scald you or your passenger.
CAUTION
∙ Use only sof t cups in the cup holder.Hard objects can injure you in an
accident.
Center console (if so equipped)
LIC2072
Front row — bottle holder
LIC2981
2-48Instruments and controls