Page 17 of 426
VQ40DE engine
1. Fuse/Fusible link box (P. 8-22)
2. Engine oil filler cap (P. 8-8)
3. Engine oil dipstick (P. 8-8)
4. Brake fluid reservoir (P. 8-13)
5. Air cleaner (P. 8-18)
6. Windshield-washer fluid reservoir(P. 8-14)
7. Engine coolant reservoir (P. 8-6)
8. Drive belt location (P. 8-17)
9. Power steering fluid reservoir
(P. 8-13)
10. Radiator cap (P. 8-6)
11. Battery (P. 8-15)
Refer to the page number indicated in
parentheses for operating details.
LDI2615
ENGINE COMPARTMENT CHECK
LOCATIONS
0-8Illustrated table of contents
Page 18 of 426
VK56VD engine
1. Radiator cap (P. 8-6)
2. Fuse/Fusible link box (P. 8-22)
3. Engine oil dipstick (P. 8-8)
4. Engine oil filler cap (P. 8-8)
5. Brake fluid reservoir (P. 8-13)
6. Air cleaner (P. 8-18)
7. Windshield-washer fluid reservoir(P. 8-14)
8. Engine coolant reservoir (P. 8-6)
9. Drive belt location (P. 8-17)
10. Power steering fluid reservoir
(P. 8-13)
11. Battery (P. 8-15)
12. Fuse/Relay box (P. 8-22)
NOTE:
Engine cover removed for clarity.
Refer to the page number indicated in
parentheses for operating details.
LDI3057
Illustrated table of contents0-9
Page 96 of 426

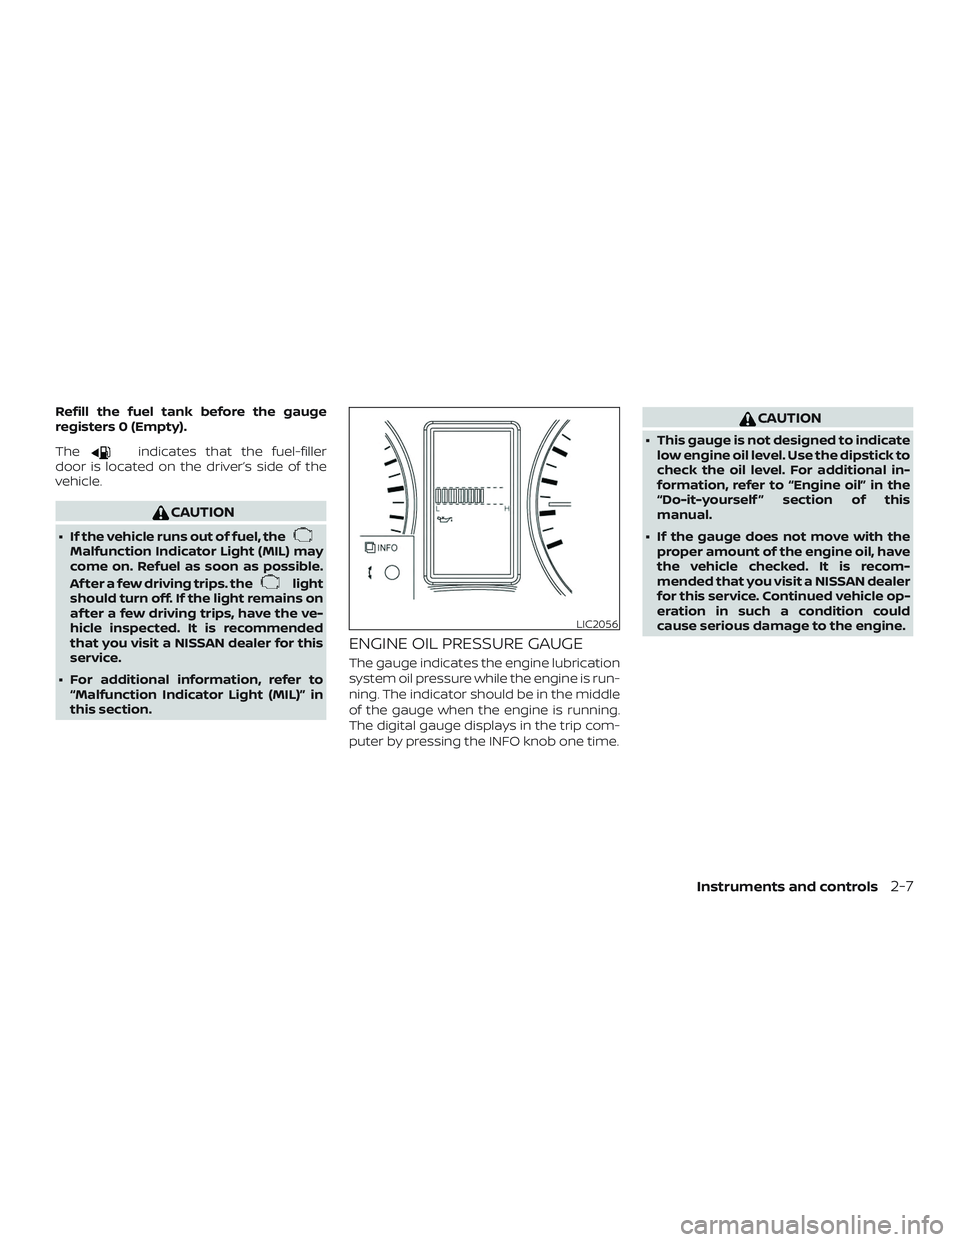
Refill the fuel tank before the gauge
registers 0 (Empty).
The
indicates that the fuel-filler
door is located on the driver’s side of the
vehicle.
CAUTION
∙ If the vehicle runs out of fuel, theMalfunction Indicator Light (MIL) may
come on. Refuel as soon as possible.
Af ter a few driving trips. the
light
should turn off. If the light remains on
af ter a few driving trips, have the ve-
hicle inspected. It is recommended
that you visit a NISSAN dealer for this
service.
∙ For additional information, refer to “Malfunction Indicator Light (MIL)” in
this section.
ENGINE OIL PRESSURE GAUGE
The gauge indicates the engine lubrication
system oil pressure while the engine is run-
ning. The indicator should be in the middle
of the gauge when the engine is running.
The digital gauge displays in the trip com-
puter by pressing the INFO knob one time.
CAUTION
∙ This gauge is not designed to indicatelow engine oil level. Use the dipstick to
check the oil level. For additional in-
formation, refer to “Engine oil” in the
“Do-it-yourself ” section of this
manual.
∙ If the gauge does not move with the proper amount of the engine oil, have
the vehicle checked. It is recom-
mended that you visit a NISSAN dealer
for this service. Continued vehicle op-
eration in such a condition could
cause serious damage to the engine.
LIC2056
Instruments and controls2-7
Page 103 of 426

It is recommended that you visit a NISSAN
dealer for this service.
LOW OIL P warning
This warning appears in the message area
of the trip computer if low oil pressure is
detected. This gauge is not designed to
indicate low oil level.The low oil pressure
warning is not designed to indicate a low
oil level. Use the dipstick to check the oil
level. For additional information, refer to
“Engine oil” in the “Do-it-yourself ” section of
this manual.
LO VOLTAGE warning
This warning appears in the message area
of the trip computer if the system detects
that the charging system is not functioning
properly. Have the system checked. It is
recommended that you visit a NISSAN
dealer for this service. For additional infor-
mation, refer to “Voltmeter” in this section.
LOOSE FUEL CAP warning
This warning appears in the message area
of the trip computer when the fuel-filler cap
is not tightened correctly af ter the vehicle
has been refueled. For additional informa-
tion, refer to “Fuel-filler cap” in the “Pre-
driving checks and adjustments” section of
this manual.
A/T TEMP warning
This light comes on when the automatic
transmission oil temperature is too high. If
the message displays in the message area
of the trip computer during normal driving,
pull off the road in a safe area, stop the
engine immediately and have the system
checked. It is recommended that you visit a
NISSAN dealer for this service. This unit measures terrestrial magnetism
and indicates heading direction of vehicle.
With the ignition switch in the ON position,
press the
button as described in the
chart below to activate various features of
the automatic anti-glare rearview mirror.
Press and
hold
the
button for
about: Feature:
(Press button again for about
1 second to change settings)
1 second Compass display toggles on/off
8 seconds Automatic anti-glare/indicator
light toggles on/off
11 seconds Compass zone can be changed
to correct false compass
readings
13 seconds Compass enters calibration
mode
For additional information, refer to “Auto-
matic anti-glare rearview mirror” in the
“Pre-driving checks and adjustments” sec-
tion of this manual.
COMPASS (if so equipped)
2-14Instruments and controls
Page 110 of 426

Engine oil pressurewarning light
This light warns of low engine oil pressure. If
the light flickers or comes on during nor-
mal driving, pull off the road in a safe area,
stop the engine immediatelyand call a
NISSAN dealer or other authorized repair
shop.
The engine oil pressure warning light is
not designed to indicate a low oil level.
Use the dipstick to check the oil level. For
additional information, refer to “Engine oil”
in the “Do-it-yourself ” section of this manual.
CAUTION
Running the engine with the engine oil
pressure warning light on could cause
serious damage to the engine almost
immediately. Such damage is not cov-
ered by the NISSAN New Vehicle Limited
Warranty. Turn off the engine as soon as
it is safe to do so.
Low fuel warning light
and chime
This light comes on when the fuel level in
the fuel tank is getting low. Refuel as soon
as it is convenient, preferably before the
fuel gauge reaches E (Empty). There will be a small reserve of fuel in the
tank when the fuel gauge needle
reaches E (Empty).
A chime sounds briefly when the low fuel
warning light initially comes on. If the low
fuel warning light turns off during the driv-
ing trip and then turns on again, the chime
will not sound.
Low tire pressure
warning light
Your vehicle is equipped with a Tire Pres-
sure Monitoring System (TPMS) that moni-
tors the tire pressure of all tires except the
spare.
The low tire pressure warning light warns
of low tire pressure or indicates that the
TPMS is not functioning properly.
Af ter the ignition switch is placed in the ON
position, this light illuminates for about
1 second and turns off.
Low tire pressure warning
If the vehicle is being driven with low tire
pressure, the warning light will illumi-
nate. A TIRE PRES warning also appears
in the trip computer. Press the INFO knob
on the instrument panel located behind the steering wheel for information about
location(s) and pressure(s) of the under-
inflated tire(s).
When the low tire pressure warning light
illuminates, you should stop and adjust
the tire pressure of all four tires to the
recommended COLD tire pressure shown
on the Tire and Loading Information la-
bel located in the driver’s door opening.
The low tire pressure warning light does
not automatically turn off when the tire
pressure is adjusted. Af ter the tire is in-
flated to the recommended pressure,
the vehicle must be driven at speeds
above 16 mph (25 km/h) to activate the
TPMS and turn off the low tire pressure
warning light. Use a tire pressure gauge
to check the tire pressure.
The TIRE PRES warning is active as long as
the low tire pressure warning light remains
illuminated.
For additional information, refer to “Trip
computer” in this section and “Tire Pressure
Monitoring System (TPMS)” in the “Starting
and driving” section and in the “In case of
emergency” section of this manual.
Instruments and controls2-21
Page 325 of 426
VQ40DE engine
1. Fuse/Fusible link box
2. Engine oil filler cap
3. Engine oil dipstick
4. Brake fluid reservoir
5. Air cleaner
6. Windshield-washer fluid reservoir
7. Engine coolant reservoir
8. Drive belt location
9. Power steering fluid reservoir
10. Radiator cap
11. Battery
LDI2615
ENGINE COMPARTMENT CHECK
LOCATIONS
8-4Do-it-yourself
Page 326 of 426
VK56VD engine
1. Radiator cap
2. Fuse/Fusible link box
3. Engine oil dipstick
4. Engine oil filler cap
5. Brake fluid reservoir
6. Air cleaner
7. Windshield-washer fluid reservoir
8. Engine coolant reservoir
9. Drive belt location
10. Power steering fluid reservoir
11. Battery
12. Fuse/Relay box
LDI3057
Do-it-yourself8-5
Page 329 of 426
CHECKING ENGINE OIL LEVEL
1. Park the vehicle on a level surface andapply the parking brake.
2. Start the engine and let it idle until it reaches operating temperature.
3. Turn off the engine. Wait more than
10 minutes for the oil to drain back
into the oil pan.
4. Remove the dipstick and wipe it clean. Reinsert it all the way. 5. Remove the dipstick again and check
the oil level. It should be between the H
(High) and L (Low) marks�B. This is the
normal operating oil level range. If the
oil level is below the L (Low) mark
�A,
remove the oil filler cap and pour rec-
ommended oil through the opening.
Do not overfill
�C.
6. Recheck oil level with the dipstick.
It is normal to add some oil between oil
maintenance intervals or during the
break-in period, depending on the sever-
ity of operating conditions.
VQ40DE engine
LDI2616
VK56VD engine
LDI2956LDI0371
ENGINE OIL
8-8Do-it-yourself