Page 43 of 412
GB.39
To attach the telephone holder 89 onto
your vehicle’s audio system, follow
these instructions:
– remove the phone support cover 23
by turning it anti-clockwise to expose
the USB2 socket;
– set the arrow 87 of the locking knob 86 in the up position before
putting the phone holder 89 on the
audio system for correct connection;
– connect the telephone holder 89 to
the audio system’s USB2 socket;
– turn the locking knob 86 of the phone
holder 89 clockwise to secure it;
– place your phone in the telephone holder 89 and press both clips 90
until the phone is firmly held in place.
Telephone holder
This telephone holder should be in-
stalled only when you use your phone
with the “R&Go” application.
88
90
90878689
R & GO: GENERAL DESCRIPTION (6/7)
Forgotten phone reminder
With the engine and audio system
switched off, the “ R&Go” application
displays on your smartphone screen a
warning message along with a beep to
tell you that you have left your phone in
your vehicle.
Page 44 of 412
GB.40
R & GO: GENERAL DESCRIPTION (7/7)
To remove the telephone holder 89
from your audio system:
– hold your phone while pressing the retaining clips 90, then take out your
phone;
– turn the locking knob 89 of the phone
holder 89 anticlockwise to release it
from your vehicle’s audio system;
– disconnect the telephone holder 89
from your vehicle’s audio system;
– replace the telephone holder 23
cover by turning it clockwise to close
the USB2 socket.
89
Note: You can use the telephone
holder 89 in two positions:
– vertically, by placing your phone hor- izontally and then turning the sup-
port 89 to an upright position;
– horizontally, by placing your phone vertically and then turning the sup-
port 89 horizontally.
NB: You can also tilt the telephone
holder to get a better view of the
phone’s screen. Charging using the
USB port
Once your telephone’s USB socket is
connected to the USB port of the tele-
phone holder 89, you can charge its
battery during use.
Page 47 of 412
GB.43
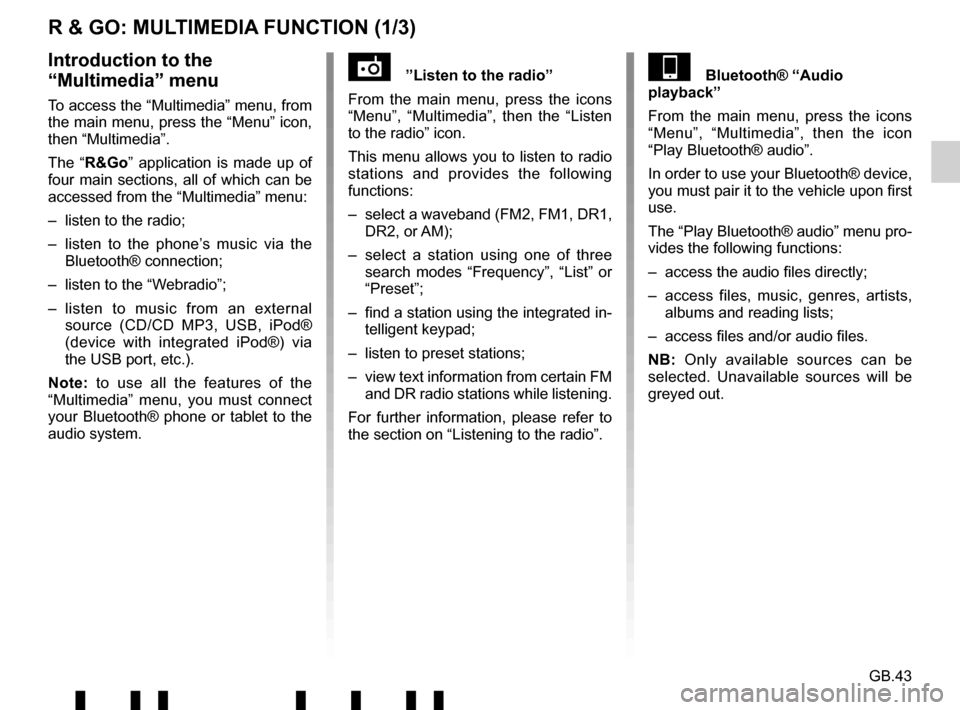
R & GO: MULTIMEDIA FUNCTION (1/3)
”Listen to the radio”
From the main menu, press the icons
“Menu”, “Multimedia”, then the “Listen
to the radio” icon.
This menu allows you to listen to radio
stations and provides the following
functions:
– select a waveband (FM2, FM1, DR1, DR2, or AM);
– select a station using one of three search modes “Frequency”, “List” or
“Preset”;
– find a station using the integrated in- telligent keypad;
– listen to preset stations;
– view text information from certain FM and DR radio stations while listening.
For further information, please refer to
the section on “Listening to the radio”.Introduction to the
“Multimedia” menu
To access the “Multimedia” menu, from
the main menu, press the “Menu” icon,
then “Multimedia”.
The “R&Go” application is made up of
four main sections, all of which can be
accessed from the “Multimedia” menu:
– listen to the radio;
– listen to the phone’s music via the Bluetooth® connection;
– listen to the “Webradio”;
– listen to music from an external source (CD/CD MP3, USB, iPod®
(device with integrated iPod®) via
the USB port, etc.).
Note: to use all the features of the
“Multimedia” menu, you must connect
your Bluetooth® phone or tablet to the
audio system.
Bluetooth® “Audio
playback”
From the main menu, press the icons
“Menu”, “Multimedia”, then the icon
“Play Bluetooth® audio”.
In order to use your Bluetooth® device,
you must pair it to the vehicle upon first
use.
The “Play Bluetooth® audio” menu pro-
vides the following functions:
– access the audio files directly;
– access files, music, genres, artists, albums and reading lists;
– access files and/or audio files.
NB: Only available sources can be
selected. Unavailable sources will be
greyed out.
Page 48 of 412
GB.44
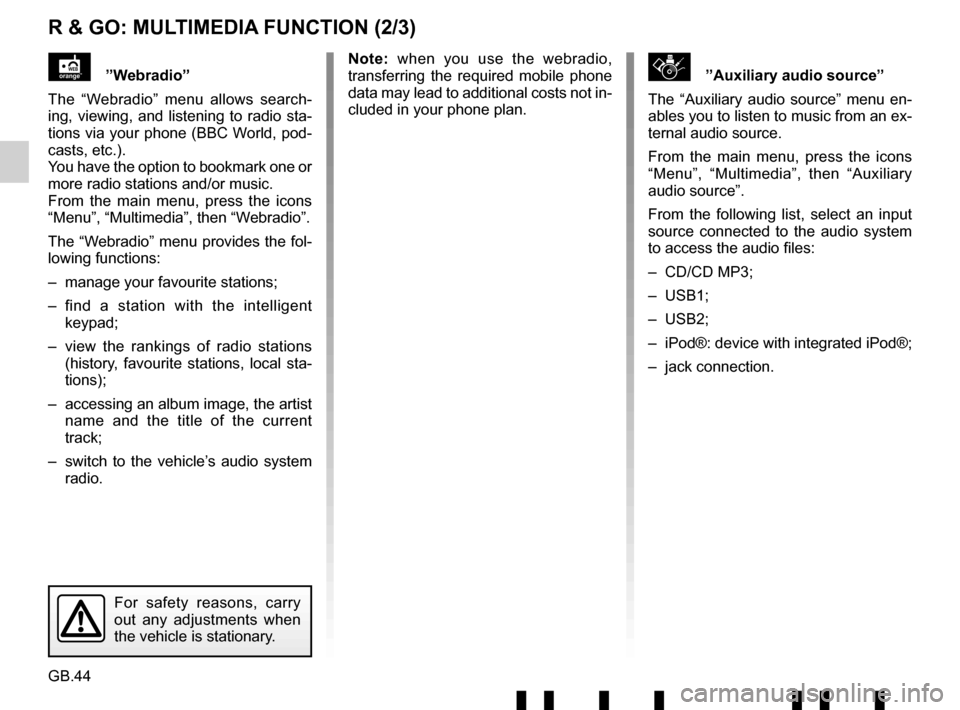
R & GO: MULTIMEDIA FUNCTION (2/3)
\b”Auxiliary audio source”
The “Auxiliary audio source” menu en-
ables you to listen to music from an ex-
ternal audio source.
From the main menu, press the icons
“Menu”, “Multimedia”, then “Auxiliary
audio source”.
From the following list, select an input
source connected to the audio system
to access the audio files:
– CD/CD MP3;
– USB1;
– USB2;
– iPod®: device with integrated iPod®;
– jack connection.”Webradio”
The “Webradio” menu allows search-
ing, viewing, and listening to radio sta-
tions via your phone (BBC World, pod-
casts, etc.).
You have the option to bookmark one or
more radio stations and/or music.
From the main menu, press the icons
“Menu”, “Multimedia”, then “Webradio”.
The “Webradio” menu provides the fol-
lowing functions:
– manage your favourite stations;
– find a station with the intelligent keypad;
– view the rankings of radio stations (history, favourite stations, local sta-
tions);
– accessing an album image, the artist name and the title of the current
track;
– switch to the vehicle’s audio system radio. Note: when you use the webradio,
transferring the required mobile phone
data may lead to additional costs not in-
cluded in your phone plan.
For safety reasons, carry
out any adjustments when
the vehicle is stationary.
Page 62 of 412
GB.58
ALPHABETICAL INDEX (2/2)
U
unpairing a telephone ..................................................... GB.24
USB socket ..................................................................... GB.20
V
volume .................................................................\
........... GB.13
W
WMA .......................................................................\
........ GB.18
Page 66 of 412
E.4
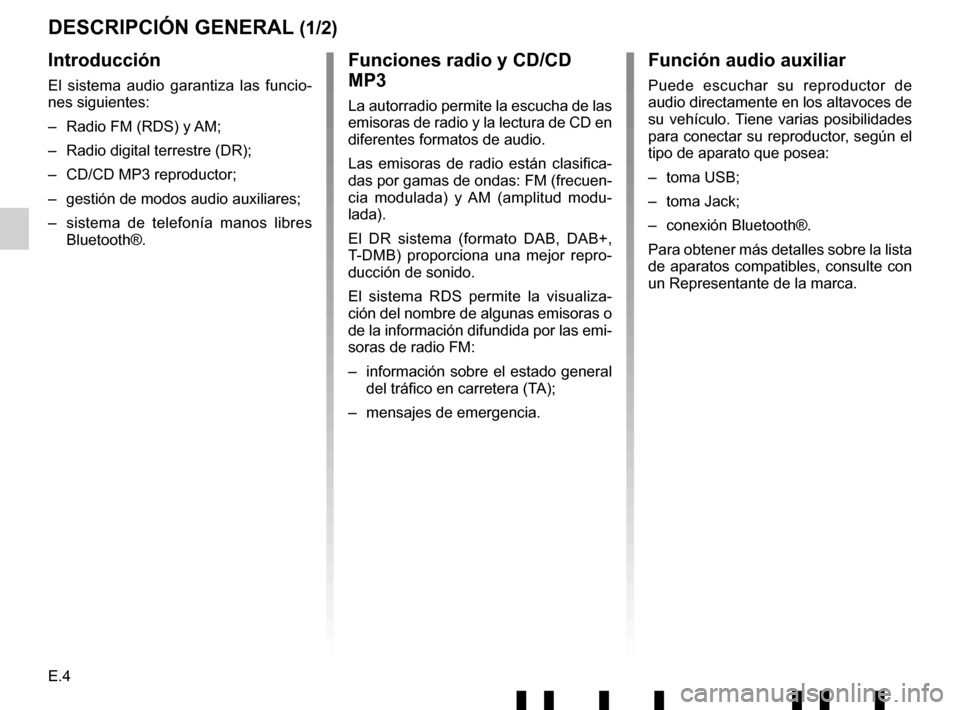
DESCRIPCIÓN GENERAL (1/2)
Introducción
El sistema audio garantiza las funcio-
nes siguientes:
– Radio FM (RDS) y AM;
– Radio digital terrestre (DR);
– CD/CD MP3 reproductor;
– gestión de modos audio auxiliares;
– sistema de telefonía manos libres Bluetooth®.
Funciones radio y CD/CD
MP3
La autorradio permite la escucha de las
emisoras de radio y la lectura de CD en
diferentes formatos de audio.
Las emisoras de radio están clasifica-
das por gamas de ondas: FM (frecuen-
cia modulada) y AM (amplitud modu-
lada).
El DR sistema (formato DAB, DAB+,
T-DMB) proporciona una mejor repro-
ducción de sonido.
El sistema RDS permite la visualiza-
ción del nombre de algunas emisoras o
de la información difundida por las emi-
soras de radio FM:
– información sobre el estado general del tráfico en carretera (TA);
– mensajes de emergencia.
Función audio auxiliar
Puede escuchar su reproductor de
audio directamente en los altavoces de
su vehículo. Tiene varias posibilidades
para conectar su reproductor, según el
tipo de aparato que posea:
– toma USB;
– toma Jack;
– conexión Bluetooth®.
Para obtener más detalles sobre la lista
de aparatos compatibles, consulte con
un Representante de la marca.
Page 71 of 412
E.9
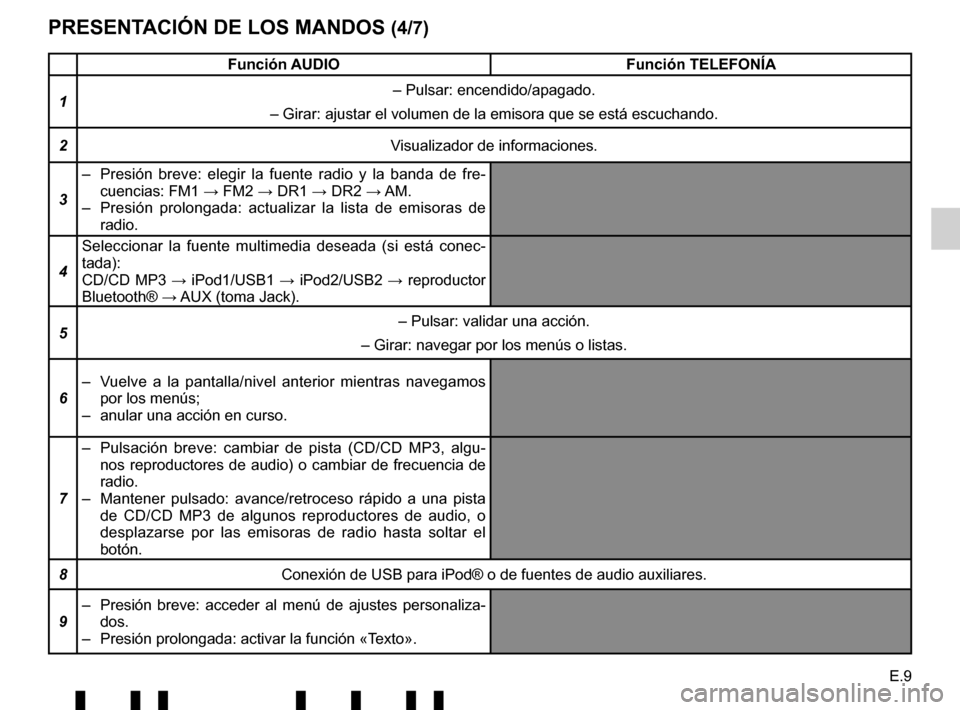
PRESENTACIÓN DE LOS MANDOS (4/7)
Función AUDIOFunción TELEFONÍA
1 – Pulsar: encendido/apagado.
– Girar: ajustar el volumen de la emisora que se está escuchando.
2 Visualizador de informaciones.
3 – Presión breve: elegir la fuente radio y la banda de fre-
cuencias: FM1 → FM2 → DR1 → DR2 → AM.
– Presión prolongada: actualizar la lista de emisoras de radio.
4 Seleccionar la fuente multimedia deseada (si está conec-
tada):
CD/CD MP3 → iPod1/USB1 → iPod2/USB2 → reproductor
Bluetooth® → AUX (toma Jack).
5 – Pulsar: validar una acción.
– Girar: navegar por los menús o listas.
6 – Vuelve a la pantalla/nivel anterior mientras navegamos
por los menús;
– anular una acción en curso.
7 – Pulsación breve: cambiar de pista (CD/CD MP3, algu-
nos reproductores de audio) o cambiar de frecuencia de
radio.
– Mantener pulsado: avance/retroceso rápido a una pista de CD/CD MP3 de algunos reproductores de audio, o
desplazarse por las emisoras de radio hasta soltar el
botón.
8 Conexión de USB para iPod® o de fuentes de audio auxiliares.
9 – Presión breve: acceder al menú de ajustes personaliza-
dos.
– Presión prolongada: activar la función «Texto».
Page 72 of 412
E.10
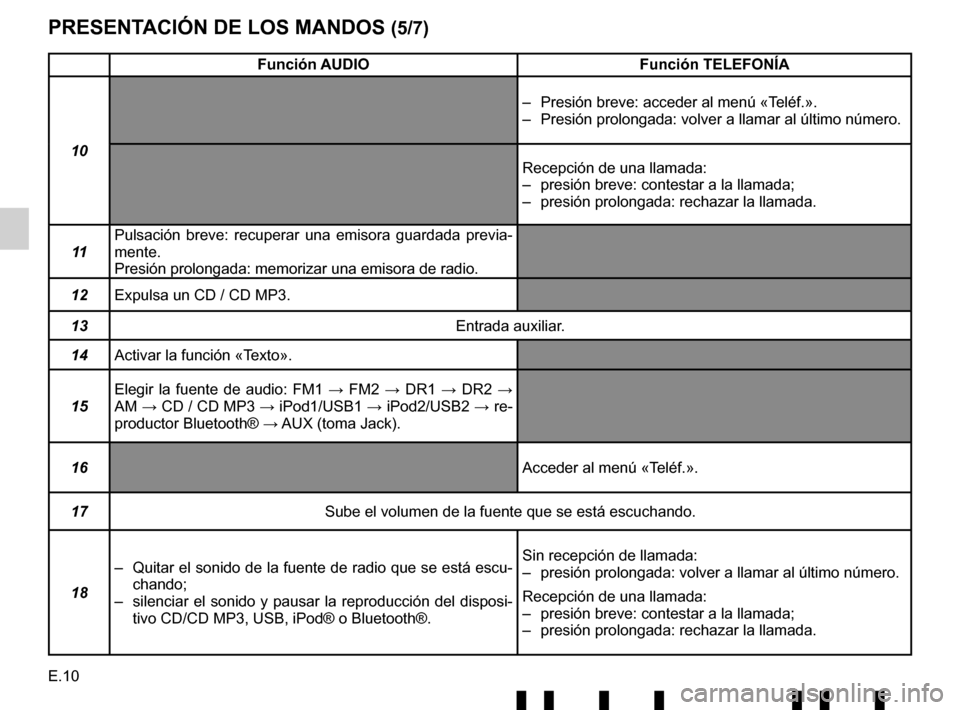
PRESENTACIÓN DE LOS MANDOS (5/7)
Función AUDIOFunción TELEFONÍA
10 – Presión breve: acceder al menú «Teléf.».
– Presión prolongada: volver a llamar al último número.
Recepción de una llamada:
– presión breve: contestar a la llamada;
– presión prolongada: rechazar la llamada.
11 Pulsación breve: recuperar una emisora guardada previa-
mente.
Presión prolongada: memorizar una emisora de radio.
12 Expulsa un CD / CD MP3.
13 Entrada auxiliar.
14 Activar la función «Texto».
15 Elegir la fuente de audio: FM1
→ FM2 → DR1 → DR2 →
AM → CD / CD MP3 → iPod1/USB1 → iPod2/USB2 → re-
productor Bluetooth® → AUX (toma Jack).
16 Acceder al menú «Teléf.».
17 Sube el volumen de la fuente que se está escuchando.
18 – Quitar el sonido de la fuente de radio que se está escu-
chando;
– silenciar el sonido y pausar la reproducción del disposi- tivo CD/CD MP3, USB, iPod® o Bluetooth®. Sin recepción de llamada:
– presión prolongada: volver a llamar al último número.
Recepción de una llamada:
– presión breve: contestar a la llamada;
– presión prolongada: rechazar la llamada.