2017 NISSAN MAXIMA light
[x] Cancel search: lightPage 38 of 243
3. Audio system
COMPACT DISC (CD) PLAYER
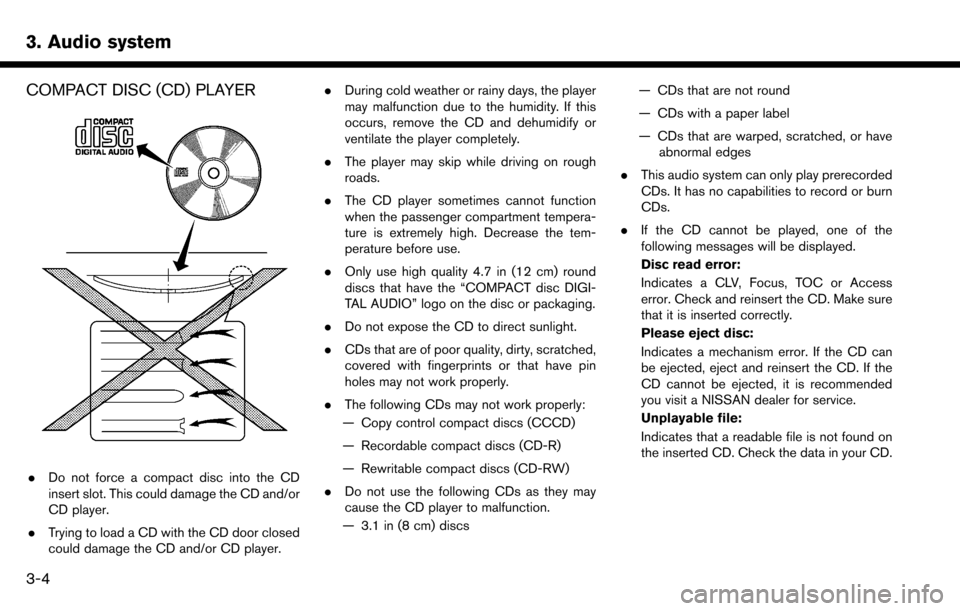
.Do not force a compact disc into the CD
insert slot. This could damage the CD and/or
CD player.
. Trying to load a CD with the CD door closed
could damage the CD and/or CD player. .
During cold weather or rainy days, the player
may malfunction due to the humidity. If this
occurs, remove the CD and dehumidify or
ventilate the player completely.
. The player may skip while driving on rough
roads.
. The CD player sometimes cannot function
when the passenger compartment tempera-
ture is extremely high. Decrease the tem-
perature before use.
. Only use high quality 4.7 in (12 cm) round
discs that have the “COMPACT disc DIGI-
TAL AUDIO” logo on the disc or packaging.
. Do not expose the CD to direct sunlight.
. CDs that are of poor quality, dirty, scratched,
covered with fingerprints or that have pin
holes may not work properly.
. The following CDs may not work properly:
— Copy control compact discs (CCCD)
— Recordable compact discs (CD-R)
— Rewritable compact discs (CD-RW)
. Do not use the following CDs as they may
cause the CD player to malfunction.
— 3.1 in (8 cm) discs — CDs that are not round
— CDs with a paper label
— CDs that are warped, scratched, or have
abnormal edges
. This audio system can only play prerecorded
CDs. It has no capabilities to record or burn
CDs.
. If the CD cannot be played, one of the
following messages will be displayed.
Disc read error:
Indicates a CLV, Focus, TOC or Access
error. Check and reinsert the CD. Make sure
that it is inserted correctly.
Please eject disc:
Indicates a mechanism error. If the CD can
be ejected, eject and reinsert the CD. If the
CD cannot be ejected, it is recommended
you visit a NISSAN dealer for service.
Unplayable file:
Indicates that a readable file is not found on
the inserted CD. Check the data in your CD.
3-4
Page 44 of 243
3. Audio system
NAMES AND FUNCTIONS OF
AUDIO CONTROL BUTTONS
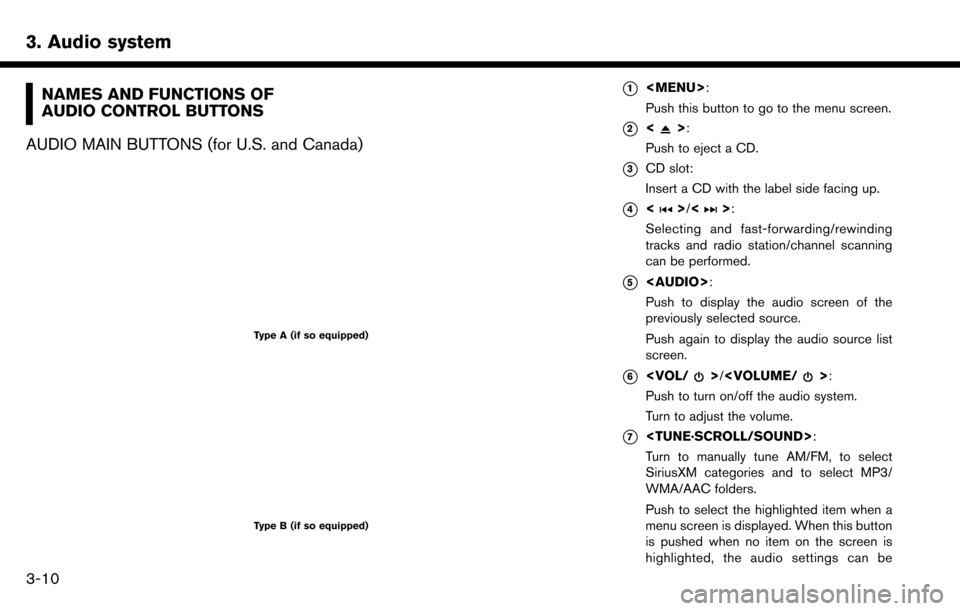
AUDIO MAIN BUTTONS (for U.S. and Canada)
Type A (if so equipped)
Type B (if so equipped)
*1
Page 45 of 243
changed.“Audio adjustments when map, audio
or HOME MENU is displayed”
(page 3-34)
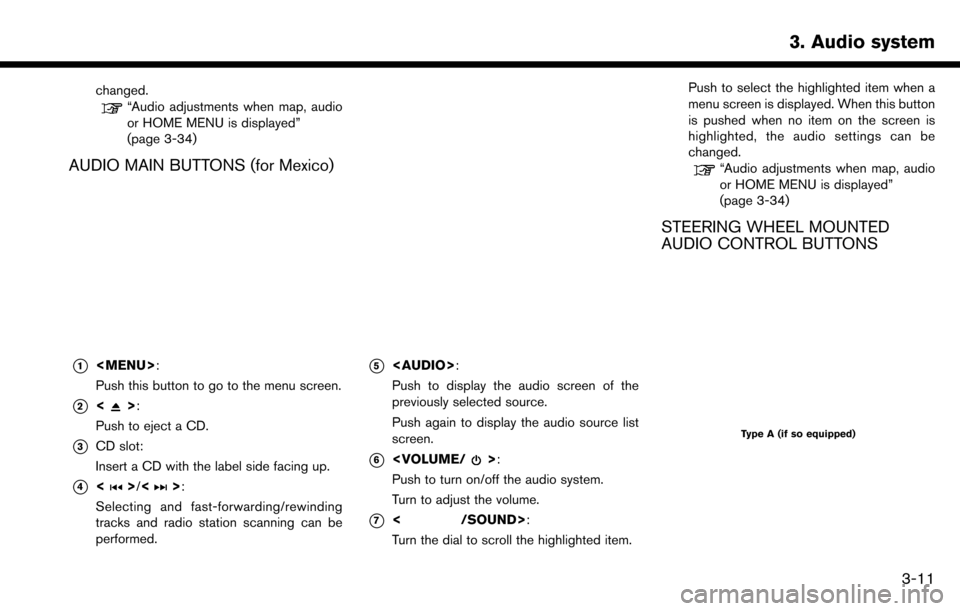
AUDIO MAIN BUTTONS (for Mexico)
*1
Page 59 of 243
.iPod classic (80G/160GB)
. iPod classic (120GB)
. iPod nano (7th generation)
. iPod nano (6th generation)
. iPod nano (5th generation)
. iPod nano (4th generation)
. iPod nano (3rd generation)
. iPod nano (2nd generation)
. iPod nano (1st generation)
. iPhone 6s Plus
. iPhone 6s
. iPhone 6 Plus
. iPhone 6
. iPhone 5s
. iPhone 5c
. iPhone 5
. iPhone 4s
. iPhone 4
. iPhone 3GS
. iPhone 3G .
iPhone
INFO:
. Make sure that the iPod firmware is updated.
. The Lightning
TMconnector works with
iPhone 5, iPod touch (5th generation) , and
iPod nano (7th generation) .
The 30-pin connector works with iPhone 4s,
iPhone 4, iPhone 3GS, iPhone 3G, iPhone,
iPod touch (1st through 4th generation) ,
iPod classic and iPod nano (1st through 6th
generation) .
USB works with iPhone 5, iPhone 4s, iPhone
4, iPhone 3GS, iPhone 3G, iPhone, iPod
touch (1st through 5th generation) iPod
classic and iPod nano (1st through 7th
generation) .
. Refer to your device manufacturer’s owner
information regarding the proper use and
care of the device.
3. Audio system
3-25
Page 69 of 243
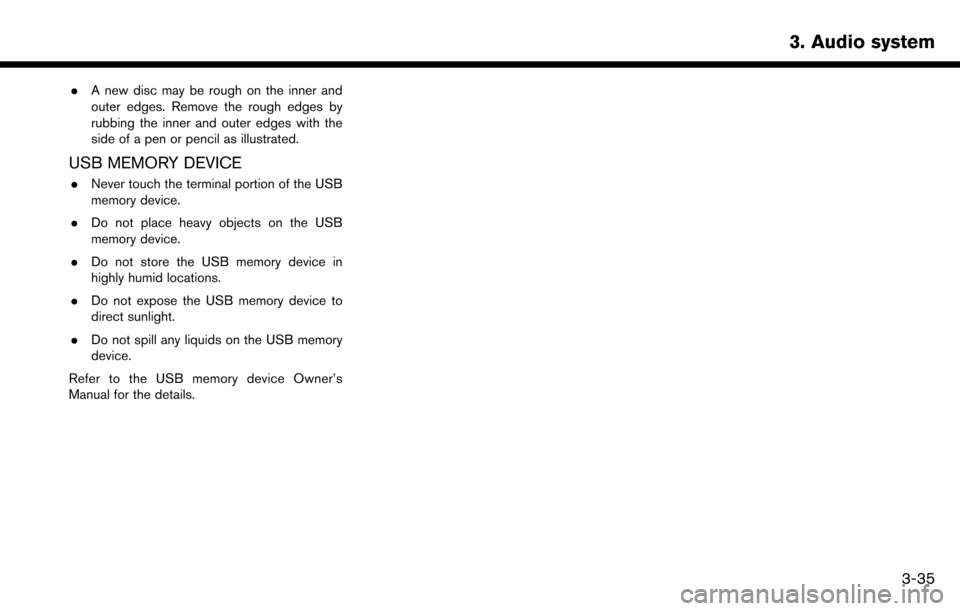
.A new disc may be rough on the inner and
outer edges. Remove the rough edges by
rubbing the inner and outer edges with the
side of a pen or pencil as illustrated.
USB MEMORY DEVICE
.Never touch the terminal portion of the USB
memory device.
. Do not place heavy objects on the USB
memory device.
. Do not store the USB memory device in
highly humid locations.
. Do not expose the USB memory device to
direct sunlight.
. Do not spill any liquids on the USB memory
device.
Refer to the USB memory device Owner’s
Manual for the details.
3. Audio system
3-35
Page 73 of 243
— Your cellular phone is locked in order toprevent dialing.
. When the radio wave condition is not ideal or
ambient sound is too loud, it may be difficult
to hear the other person’s voice during a call.
. Immediately after the ignition switch is
placed in the ON position, it may be
impossible to receive a call for a short period
of time.
. Do not place the cellular phone in an area
surrounded by metal or far away from the in-
vehicle phone module to prevent tone quality
degradation and wireless connection disrup-
tion.
. While a cellular phone is connected through
the Bluetooth
�Šwireless connection, the
battery power of the cellular phone may
discharge quicker than usual.
. For U.S. and Canada:
Visit the website below for troubleshooting
help if the Bluetooth
�ŠHands-Free Phone
System seems to be malfunctioning.
www.nissanusa.com/bluetooth/
. For Mexico:
If the Bluetooth
�ŠHands-Free Phone System
seems to be malfunctioning, it is recom-
mended you consult a NISSAN dealer for support.
. Some cellular phones or other devices may
cause interference or a buzzing noise to
come from the audio system speakers.
Storing the device in a different location
may reduce or eliminate the noise.
. Refer to the cellular phone Owner’s Manual
regarding the telephone pairing procedure
specific to your phone, battery charging,
cellular phone antenna, etc.
. The antenna display on the monitor may not
coincide with the antenna display of some
cellular phones.
. The battery display on the monitor may not
coincide with the battery display of some
cellular phones.
. Keep the interior of the vehicle as quiet as
possible to hear the caller’s voice clearly as
well as to minimize its echoes.
. If reception between callers is unclear,
adjusting the incoming or outgoing call
volume may improve the clarity.
. The microphone is located near the map
light.
. Reduce background noise as much as
possible by closing windows and pointing HVAC vents away from the ceiling.
INDICATORS
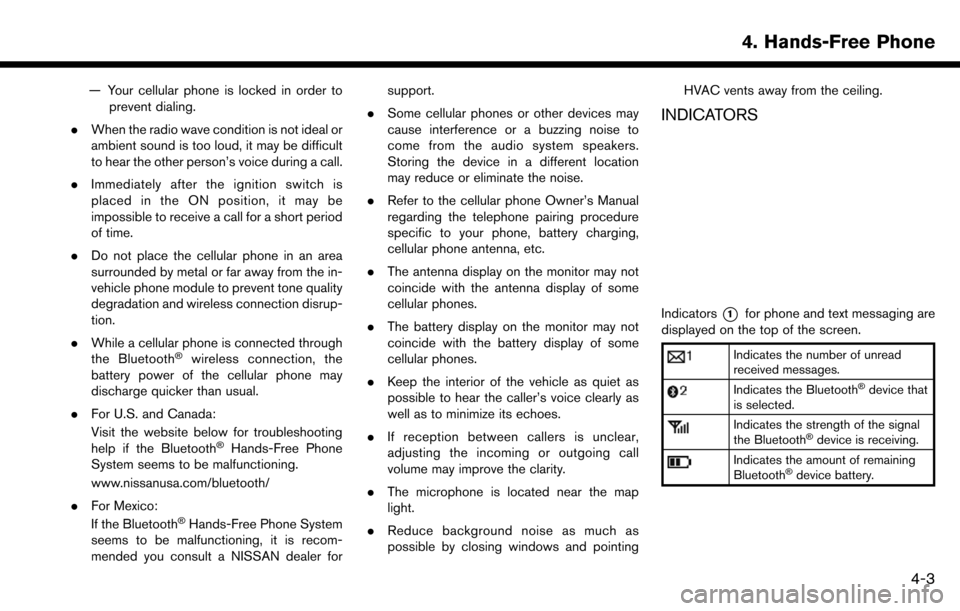
Indicators*1for phone and text messaging are
displayed on the top of the screen.
Indicates the number of unread
received messages.
Indicates the Bluetooth�Šdevice that
is selected.
Indicates the strength of the signal
the Bluetooth�Šdevice is receiving.
Indicates the amount of remaining
Bluetooth�Šdevice battery.
4. Hands-Free Phone
4-3
Page 94 of 243
5. Information
Response Specialist provides various assis-
tance depending on the situation.
“Emergency support” (page 5-16)
. Automatic Collision Notification (ACN):
The TCU (Telematics Control Unit) gener-
ates a signal automatically to the Nissan-
Connect
SMServices Response Center in the
case of an accident severe enough to trigger
one of the vehicle’s air bags. Upon the signal,
a Response Specialist receives the vehicle
location and customer information and no-
tifies the proper authorities in accordance
with established policies and procedures.
. Curfew Alert:
Customers can set time interval for accep-
table and unacceptable operation of the
vehicle via NissanConnect
SMPortal Website
and NissanConnectSMServices Companion
App. If the time restrictions are violated, the
customer will be automatically notified (e-
mail, text message, or phone call) .
. Remote Door Lock/Unlock:
The Remote Door Lock/Unlock feature
allows the customer to access the vehicle
remotely from the NissanConnect
SMSer-
vices website or Companion App to send
lock or unlock commands to the vehicle.
“Connecting to Interactive Voice
Menu” (page 5-13)
. Remote Sound Horn and Flash Lights:
Customers can activate the vehicle’s head-
lights and horn via the NissanConnect
SM
Services website or Companion App.
. Remote Engine Start:
If the vehicle is equipped with both TCU
(Telematics Control Unit) and Remote Start,
customers can remotely start the vehicle via
the NissanConnect
SMServices website or
Companion App.
. Alarm Notification:
Customers will be notified if the vehicle alarm
system is activated based on their notifica-
tion preferences (e-mail, text, phone call) .
. Boundary Alert:
Customers can set an area for the vehicle to
stay in or out of via the NissanConnect
SM
Services website or Companion App. Cus-
tomers will be notified when vehicle is out-of-
bounds based on their notification prefer-
ences (e-mail, text, phone call).
. Maintenance Alert/Reminder:
The center sends maintenance and other
relevant info. to registered e-mail address
(PC/Mobile) based on the vehicle informa- tion (e.g. driving mileage and etc.) sent at the
center access timing. Details of vehicle
information are separately examined.
. Send to Car:
Customers can access turn-by-turn naviga-
tion provided by Google maps and sent
directly to the NissanConnect
SMvehicle.
. Journey Planner:
Customers can create a multiple way-point
route via Journey Planner on the NissanCon-
nect
SMServices website and send the de-
tails directly to their vehicle.
. Destination Download:
Customers can search for different locations
via the NissanConnect
SMServices website
and send them directly to their vehicle.
. Connected Search:
Customers can access Internet search en-
gines directly from the vehicle to find exact
destinations to navigate to.
. Assisted Search:
Customers can use Assisted Search to get
further destination assistance via operator
service or live Response Specialist for more
detailed information.
“Searching by using Voice Menu but-
ton on map” (page 6-25)
5-10
Page 98 of 243
![NISSAN MAXIMA 2017 A36 / 8.G Nissan Connect Navigation Manual 5. Information
INFO:
. You can also connect to the NissanCon-
nect
SMServices Interactive Voice Menu by
touching the Voice Menu button
*1on the
map.
. After selecting [Connect to Voice Menu], it
may t NISSAN MAXIMA 2017 A36 / 8.G Nissan Connect Navigation Manual 5. Information
INFO:
. You can also connect to the NissanCon-
nect
SMServices Interactive Voice Menu by
touching the Voice Menu button
*1on the
map.
. After selecting [Connect to Voice Menu], it
may t](/manual-img/5/539/w960_539-97.png)
5. Information
INFO:
. You can also connect to the NissanCon-
nect
SMServices Interactive Voice Menu by
touching the Voice Menu button
*1on the
map.
. After selecting [Connect to Voice Menu], it
may take some time until the system initiates
connection, depending on the technical
environment and whether the TCU (Tele-
matics Control Unit) is being used by other
services.
. To avoid disconnecting the line, do not turn
off the engine or the hybrid system.
Setting route to a searched destination
Use Connected Search to find destinations via
the internet and set a route to them directly from
your navigation system.
1. Touch [Info] on the Launch Bar.
2. Touch [NissanConnect Services].
3. Touch [Connected Search]. A keyboard is
displayed.
4. Enter the keyword and touch [Search]. The system will connect to the Internet and the
search results will be displayed.
5. Touch a preferred destination from the list and touch [Start] to start the route guidance.
INFO:
The Connected Search can also be set by
touching [Navi] on the Launch Bar and then
touching [Connected Search].
Message Box
The text messages from the NissanConnectSM
Data Center that were previously received to are
displayed.
1. Touch [Info] on the Launch Bar.
2. Touch [NissanConnect Services]. 3. Touch [Message Box].
4. A history list is displayed. Highlight the
information.
Viewing information feeds
Contents of the various NissanConnectSMSer-
vices information can be downloaded.
1. Touch [Info] on the Launch Bar.
2. Touch [NissanConnect Services].
3. Touch [All Information Feeds]. A list screen is displayed.
4. Touch a preferred folder. A list of information feeds is displayed. The content is announced
by the system (Text-to-Speech) while the
vehicle is being driven, or if parked, you can
read the content on the display.
INFO:
. Touch [Stop] during communication with the
NissanConnect
SMServices Data Center to
cancel the connection.
. A message is displayed when the commu-
nication is disconnected while downloading
information due to a poor communication
status. Select [Yes] to restart the download.
5-14