2017 Alfa Romeo Giulia door lock
[x] Cancel search: door lockPage 25 of 268
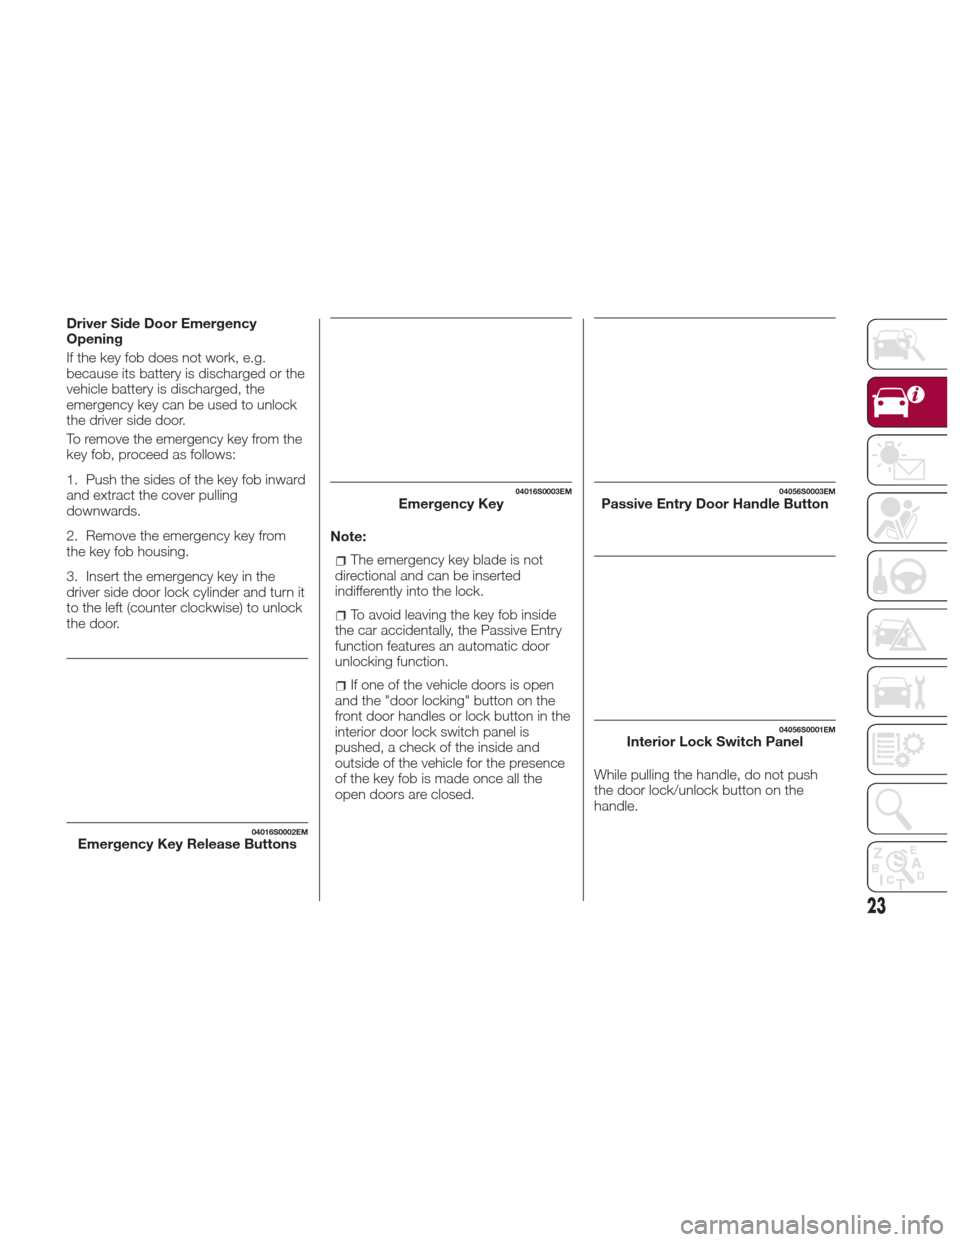
Driver Side Door Emergency
Opening
If the key fob does not work, e.g.
because its battery is discharged or the
vehicle battery is discharged, the
emergency key can be used to unlock
the driver side door.
To remove the emergency key from the
key fob, proceed as follows:
1. Push the sides of the key fob inward
and extract the cover pulling
downwards.
2. Remove the emergency key from
the key fob housing.
3. Insert the emergency key in the
driver side door lock cylinder and turn it
to the left (counter clockwise) to unlock
the door.Note:
The emergency key blade is not
directional and can be inserted
indifferently into the lock.
To avoid leaving the key fob inside
the car accidentally, the Passive Entry
function features an automatic door
unlocking function.
If one of the vehicle doors is open
and the "door locking" button on the
front door handles or lock button in the
interior door lock switch panel is
pushed, a check of the inside and
outside of the vehicle for the presence
of the key fob is made once all the
open doors are closed. While pulling the handle, do not push
the door lock/unlock button on the
handle.
04016S0002EMEmergency Key Release Buttons
04016S0003EMEmergency Key04056S0003EMPassive Entry Door Handle Button
04056S0001EMInterior Lock Switch Panel
23
Page 26 of 268

If the key fob is detected inside the
vehicle, the Passive Entry function
automatically unlocks all the vehicle
doors and flashes the turn signals.
If one or more key fobs are inside the
passenger compartment, the lock
button on the key fob inside the
passenger compartment is temporarily
disabled.
The vehicle willnot unlockthe doors if
an unauthorized key fob has been
detected close to the outside of the
vehicle.
If the Passive Entry function is disabled
using the Connect system, the
protections to avoid accidentally leaving
the key fob inside the car are
deactivated. Trunk Lid Access
Approaching the trunk lid with a valid
key fob, push the opening button to
access the trunk lid.
Note:
If the key fob is inadvertently forgotten
inside of the luggage compartment, and
an attempt is made to close it from
outside, the trunk lid will not lock. With
the doors locked, the trunk lid
unlocked, and the key fob detected
inside the vehicle, the trunk lid will
unlock again and the lights flash twice.
Note:
Before driving, make sure the trunk lid
is closed correctly.
Trunk Lid Lock
The trunk lid of the vehicle may still be
locked by pushing the lock button on
the key fob, pushing the door lock
button on the door handles, or pushing
the lock button on the interior door
panel of the vehicle.
On vehicles equipped with Passive
Entry, the trunk lid and the doors can
be locked by pushing the button
located near the opening button of the
trunk lid.
System Activation/Deactivation
The Passive entry system can be
activated or deactivated using the
Connect system.
04056S0004EMDo NOT Grab The Door Handle
When Locking
GUID-04056S0005EMExternal Trunk Lid Release Button
GUID-04056S0006EMPassive Entry Trunk Lid Button
24
GETTING TO KNOW YOUR VEHICLE
Page 27 of 268
General Information
The following regulatory statement
applies to all radio frequency (RF)
devices equipped in this vehicle:
This device complies with Part 15 of the
FCC Rules and with Industry Canada
licence-exempt RSS standard(s).
Operation is subject to the following
two conditions:
1. This device may not cause harmful
interference, and
2. This device must accept any
interference received, including
interference that may cause undesired
operation.
Note:
Changes or modifications not expressly
approved by the party responsible for
compliance could void the user’s
authority to operate the equipment.
Power Lock — If
Equipped
The Power Lock is a safety device that
prevents the operation of the interior
door handles and the door locking and
unlocking buttons. The Power Lock
also prevent opening of the doors from
inside the passenger compartment.
It is recommended to lock the vehicle
doors each time the vehicle is parked.Activating The Power Lock
The Power Lock is enabled on all the
doors by quickly pushing the lock
button on the key fob twice.
The turn signals will flash to let you
know that the Power Lock is active.
If one or more of the doors are not
closed correctly, the Power Lock will
not activate, preventing a person from
getting stuck inside the passenger
compartment by entering the vehicle,
and then closing, the open door.
Deactivating The Power Lock
The Power Lock disengages
automatically:
When the doors are unlocked,
pushing the unlock button on the key
fob.
When the keyless ignition is placed in
the ON position.
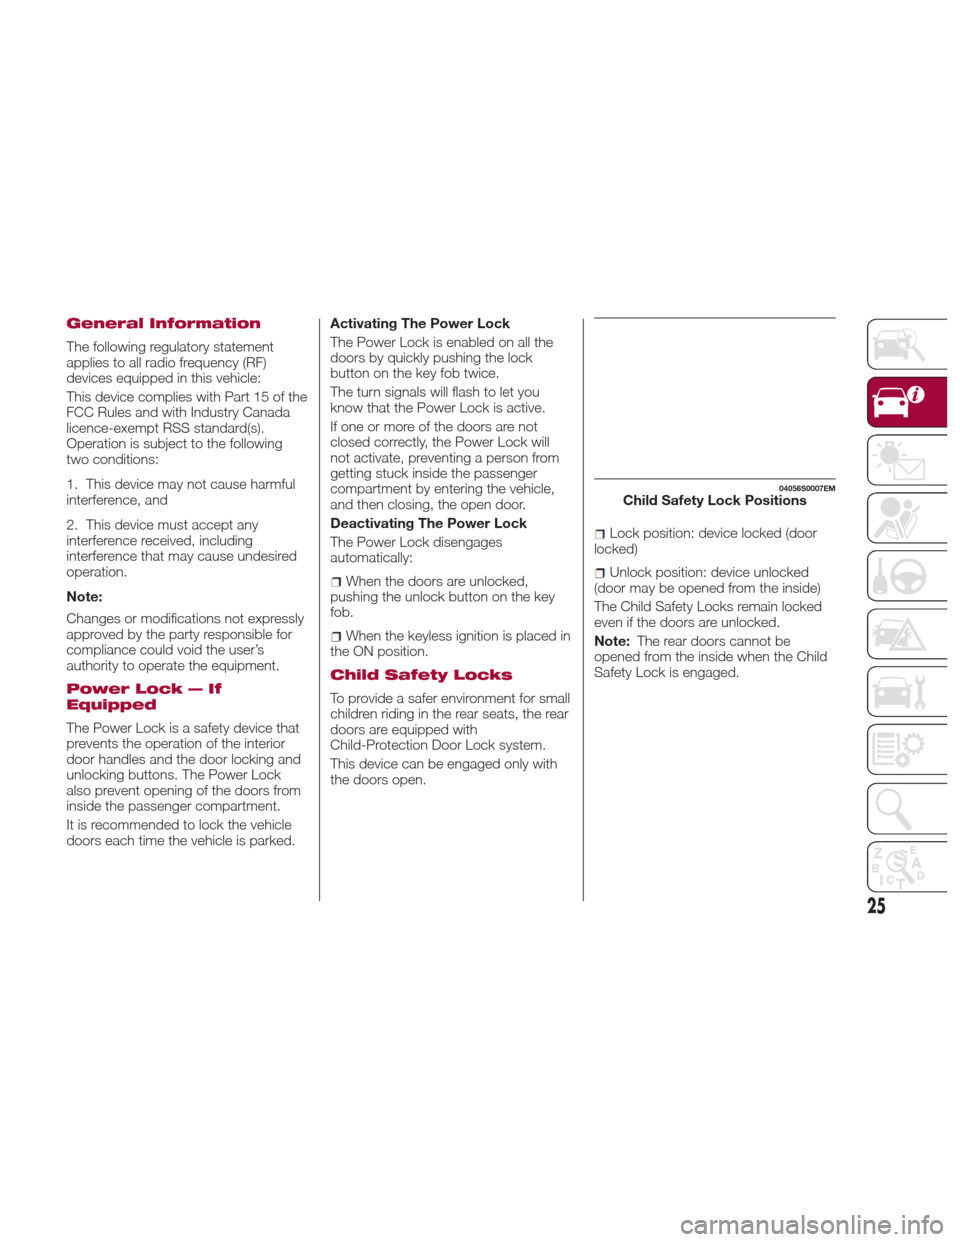
Child Safety Locks
To provide a safer environment for small
children riding in the rear seats, the rear
doors are equipped with
Child-Protection Door Lock system.
This device can be engaged only with
the doors open.
Lock position: device locked (door
locked)
Unlock position: device unlocked
(door may be opened from the inside)
The Child Safety Locks remain locked
even if the doors are unlocked.
Note: The rear doors cannot be
opened from the inside when the Child
Safety Lock is engaged.
04056S0007EMChild Safety Lock Positions
25
Page 28 of 268

Unlocking The Doors
With A Discharged
Battery
Proceed as follows to unlock the doors
if the vehicle battery is discharged.
Rear Doors And Passenger Door
1. With the doors unlocked insert the
emergency key from the key fob or a
flat bladed screwdriver into the door
lock manual release lock cylinder.
2. Turn the manual release lock
cylinder clockwise for the right door
locks or counterclockwise for the left
door locks.3. Remove the key/screwdriver from
the manual release lock.
Proceed as follows to realign the door
lock device (only when the battery
charge has been restored):
Push the lock button on the
electronic key
Push the unlock button on the door
panel
Unlock driver’s door lock with the
emergency key.
Operate the internal door handle
Note: For the rear doors, if the Child
Safety Locks are engaged, and the
previously described locking procedure
is carried out, operating the internal
handle will not open the door. Instead, it
will only realign the lock release device.
To open the door, the outside handle
must be used. The door central
locking/unlocking buttons are not
deactivated when the emergency lock
is engaged.
SEATS
Warning!
It is dangerous to ride in a cargo area,
inside or outside of a vehicle. In a collision,
people riding in these areas are more likely
to be seriously injured or killed.
Do not allow people to ride in any area
of your vehicle that is not equipped with
seats and seat belts. In a collision, people
riding in these areas are more likely to be
seriously injured or killed.
Be sure everyone in your vehicle is in a
seat and using a seat belt properly.
Front Seats
The front seats can be adjusted to
ensure maximum comfort for the
occupants.
When adjusting the driver’s seat, keep
the shoulders resting firmly against the
backrest, and the wrists within reach of
the top of the steering wheel.
Also, the driver must be able to fully
depress the brake pedal once the seat
has been adjusted.
04056S0008EMDoor Lock Manual Release Lock Cylinder
26
GETTING TO KNOW YOUR VEHICLE
Page 30 of 268
for approximately 30 minutes; vehicle
locking/unlocking or switching on of the
center front overhead light.
Seat Angle Adjustment (Tilting)
The seat angle can be adjusted in four
directions. Lift or push the front part of
seat switch to move the front part of the
seat in the corresponding direction.
Release seat switch when the seat has
reached the desired position.
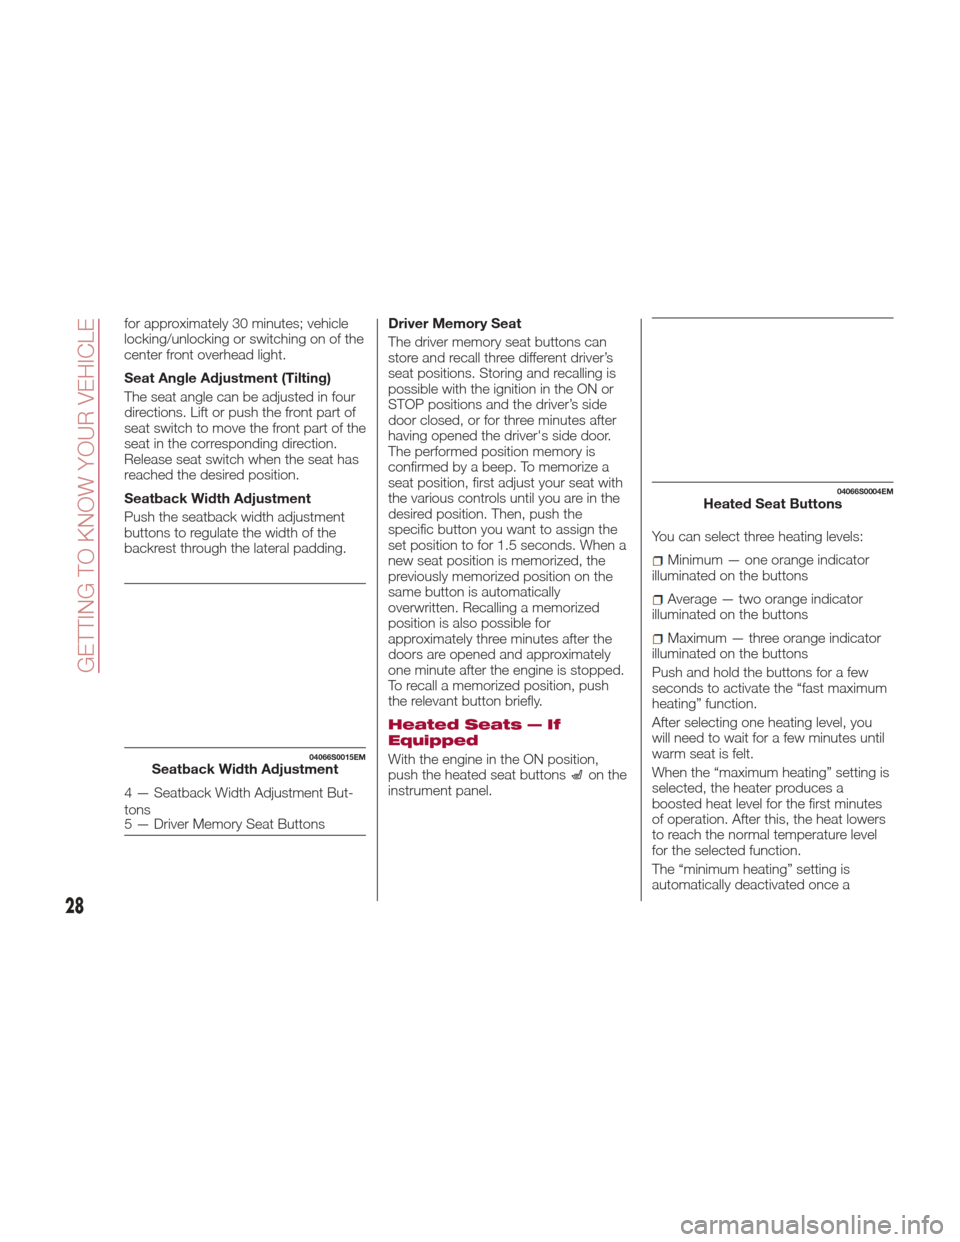
Seatback Width Adjustment
Push the seatback width adjustment
buttons to regulate the width of the
backrest through the lateral padding.Driver Memory Seat
The driver memory seat buttons can
store and recall three different driver’s
seat positions. Storing and recalling is
possible with the ignition in the ON or
STOP positions and the driver’s side
door closed, or for three minutes after
having opened the driver's side door.
The performed position memory is
confirmed by a beep. To memorize a
seat position, first adjust your seat with
the various controls until you are in the
desired position. Then, push the
specific button you want to assign the
set position to for 1.5 seconds. When a
new seat position is memorized, the
previously memorized position on the
same button is automatically
overwritten. Recalling a memorized
position is also possible for
approximately three minutes after the
doors are opened and approximately
one minute after the engine is stopped.
To recall a memorized position, push
the relevant button briefly.
Heated Seats — If
Equipped
With the engine in the ON position,
push the heated seat buttonson the
instrument panel. You can select three heating levels:
Minimum — one orange indicator
illuminated on the buttons
Average — two orange indicator
illuminated on the buttons
Maximum — three orange indicator
illuminated on the buttons
Push and hold the buttons for a few
seconds to activate the “fast maximum
heating” function.
After selecting one heating level, you
will need to wait for a few minutes until
warm seat is felt.
When the “maximum heating” setting is
selected, the heater produces a
boosted heat level for the first minutes
of operation. After this, the heat lowers
to reach the normal temperature level
for the selected function.
The “minimum heating” setting is
automatically deactivated once a
04066S0015EMSeatback Width Adjustment
4 — Seatback Width Adjustment But-
tons
5 — Driver Memory Seat Buttons
04066S0004EMHeated Seat Buttons
28
GETTING TO KNOW YOUR VEHICLE
Page 35 of 268
REAR VIEW
MIRRORS
Electrochromic Mirror
If equipped, an electrochromic mirror is
available. This mirror automatically
adjusts for headlight glare from vehicles
behind you.
The electrochromic mirror has a power
button to activate/deactivate the
automatic dimming/anti-glaring
function.
When reverse gear is engaged, the
mirror is automatically set for daytime
use.
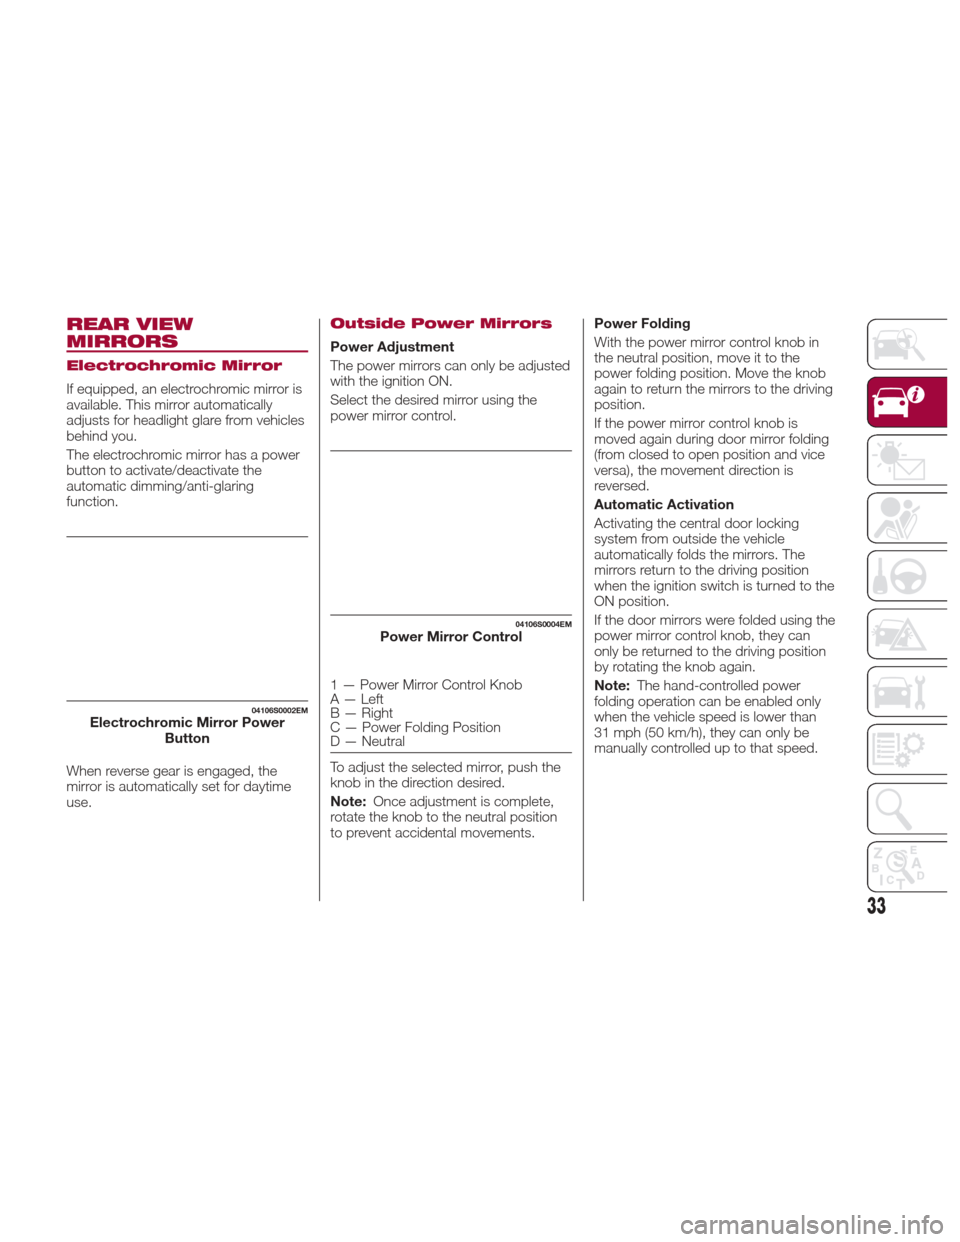
Outside Power Mirrors
Power Adjustment
The power mirrors can only be adjusted
with the ignition ON.
Select the desired mirror using the
power mirror control.
1 — Power Mirror Control Knob
A — Left
B — Right
C — Power Folding Position
D — Neutral
To adjust the selected mirror, push the
knob in the direction desired.
Note:Once adjustment is complete,
rotate the knob to the neutral position
to prevent accidental movements. Power Folding
With the power mirror control knob in
the neutral position, move it to the
power folding position. Move the knob
again to return the mirrors to the driving
position.
If the power mirror control knob is
moved again during door mirror folding
(from closed to open position and vice
versa), the movement direction is
reversed.
Automatic Activation
Activating the central door locking
system from outside the vehicle
automatically folds the mirrors. The
mirrors return to the driving position
when the ignition switch is turned to the
ON position.
If the door mirrors were folded using the
power mirror control knob, they can
only be returned to the driving position
by rotating the knob again.
Note:
The hand-controlled power
folding operation can be enabled only
when the vehicle speed is lower than
31 mph (50 km/h), they can only be
manually controlled up to that speed.
04106S0002EMElectrochromic Mirror Power Button
04106S0004EMPower Mirror Control
33
Page 39 of 268

INTERIOR LIGHTS
Front Map Reading
Lights
The front map/reading and overhead
lights are mounted in the overhead
console. Each light can be turned on by
pushing the corresponding switch on
the console. These switches are backlit
for night time visibility. To turn the lights
off, push the switch a second time.Note:
Before getting out of the vehicle,
ensure that the overhead lights are off.
This will prevent the battery level from
being drained once the doors are
closed. If a light is left on accidently, the
overhead lights turn off automatically
approximately 15 minutes after the
engine has been turned OFF.
Overhead Light Timing — If
Equipped
On certain models, to assist getting in
and out of the vehicle at night or in
poorly-lit areas, two timed modes have
been provided.
Timing While Getting Into The
Vehicle — The overhead lights turn on
according to the following modes:
Will illuminate for a few seconds
when the doors are unlocked.
Will illuminate for approximately three
minutes when one of the doors is
opened.
Will illuminate for a few seconds
when the doors are locked.
Timing is interrupted when the ignition
is turned to ON. Three Modes Are Provided For
Switching Off:
When all doors are closed after
entering the vehicle, the three-minute
timer will stop and a seconds timer will
start for the interior lights. This timing
will stop when the ignition is turned to
ON.
When doors are locked (either with
key fob or with key inserted on driver
side door), the overhead light turns off.
The interior lights will turn off after
15 minutes to preserve the battery.
Timing While Getting Out Of The
Vehicle — After turning the ignition
switch to STOP, the overhead lights will
turn on as follows:
For a few seconds after the engine
stops.
For approximately three minutes
when one of the doors is opened.
For a few seconds when the last
door is closed.
The timing stops automatically when
the doors are locked.
Courtesy Lights — If Equipped
On the driver and passenger sun visor,
there is a light which illuminates the sun
visor mirror when folded down.04136S0001EMOverhead Console
1 — Driver’s Reading/Map Light Switch
2 — Rear Overhead Lights Switch
3 — Overhead Lights Switch
4 — Front Map Reading Lights Switch
5 — Passenger’s Reading/Map Light
Switch
6 — Passenger’s Reading/Map Light
7 — Center Reading/Map Light
8 — Driver’s Reading/Map Light
37
Page 51 of 268
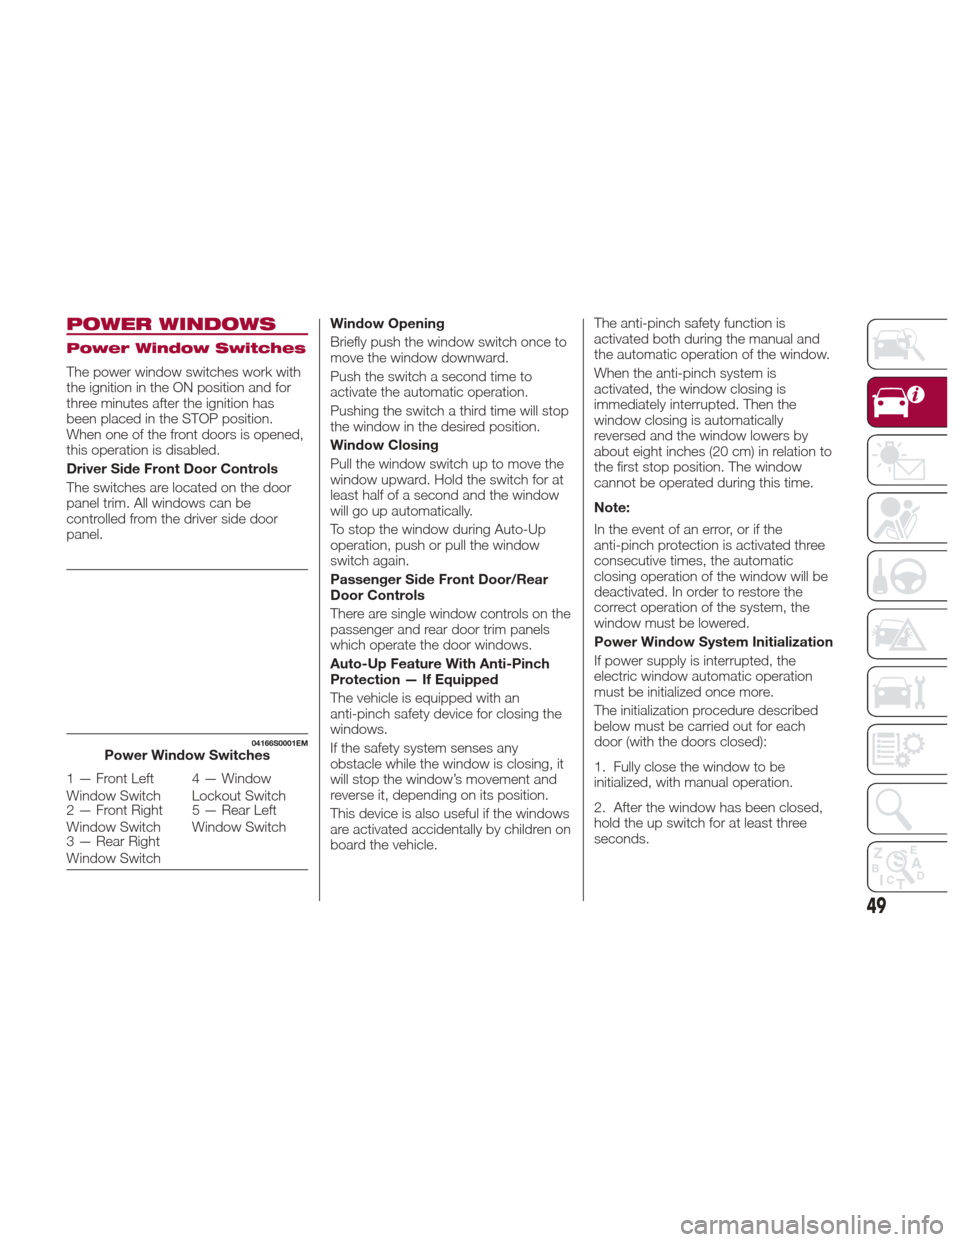
POWER WINDOWS
Power Window Switches
The power window switches work with
the ignition in the ON position and for
three minutes after the ignition has
been placed in the STOP position.
When one of the front doors is opened,
this operation is disabled.
Driver Side Front Door Controls
The switches are located on the door
panel trim. All windows can be
controlled from the driver side door
panel.Window Opening
Briefly push the window switch once to
move the window downward.
Push the switch a second time to
activate the automatic operation.
Pushing the switch a third time will stop
the window in the desired position.
Window Closing
Pull the window switch up to move the
window upward. Hold the switch for at
least half of a second and the window
will go up automatically.
To stop the window during Auto-Up
operation, push or pull the window
switch again.
Passenger Side Front Door/Rear
Door Controls
There are single window controls on the
passenger and rear door trim panels
which operate the door windows.
Auto-Up Feature With Anti-Pinch
Protection — If Equipped
The vehicle is equipped with an
anti-pinch safety device for closing the
windows.
If the safety system senses any
obstacle while the window is closing, it
will stop the window’s movement and
reverse it, depending on its position.
This device is also useful if the windows
are activated accidentally by children on
board the vehicle.The anti-pinch safety function is
activated both during the manual and
the automatic operation of the window.
When the anti-pinch system is
activated, the window closing is
immediately interrupted. Then the
window closing is automatically
reversed and the window lowers by
about eight inches (20 cm) in relation to
the first stop position. The window
cannot be operated during this time.
Note:
In the event of an error, or if the
anti-pinch protection is activated three
consecutive times, the automatic
closing operation of the window will be
deactivated. In order to restore the
correct operation of the system, the
window must be lowered.
Power Window System Initialization
If power supply is interrupted, the
electric window automatic operation
must be initialized once more.
The initialization procedure described
below must be carried out for each
door (with the doors closed):
1. Fully close the window to be
initialized, with manual operation.
2. After the window has been closed,
hold the up switch for at least three
seconds.
04166S0001EMPower Window Switches
1 — Front Left
Window Switch
4 — Window
Lockout Switch
2 — Front Right
Window Switch 5 — Rear Left
Window Switch
3 — Rear Right
Window Switch
49