2017 Alfa Romeo Giulia fog light
[x] Cancel search: fog lightPage 36 of 268

Automatic Dimming Mirrors — If
Equipped
Like the electrochromic mirror, an
automatic dimming feature is also
available on the outside rear view
mirrors to prevent glare. The automatic
dimming button is the same for all rear
view mirrors.
Warning!
Vehicles and other objects seen in an
outside convex mirror will look smaller and
farther away than they really are. Relying
too much on side convex mirrors could
cause you to collide with another vehicle or
other object. Use your inside mirror when
judging the size or distance of a vehicle
seen in a side convex mirror.
Heated Mirrors
Push the rear defrostbutton in the
climate controls to activate the heated
mirrors.
EXTERIOR LIGHTS
Headlight Switch
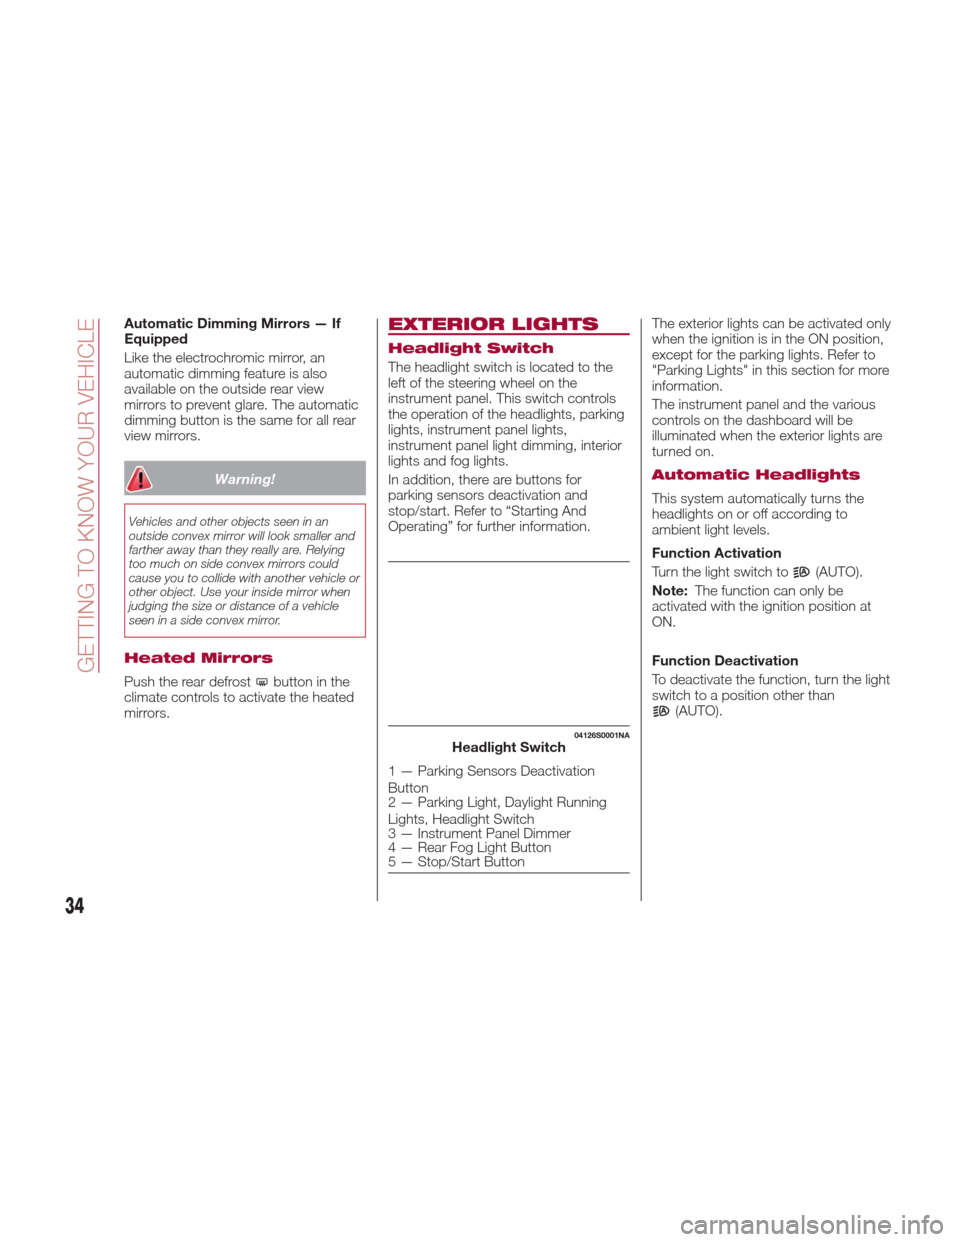
The headlight switch is located to the
left of the steering wheel on the
instrument panel. This switch controls
the operation of the headlights, parking
lights, instrument panel lights,
instrument panel light dimming, interior
lights and fog lights.
In addition, there are buttons for
parking sensors deactivation and
stop/start. Refer to “Starting And
Operating” for further information. The exterior lights can be activated only
when the ignition is in the ON position,
except for the parking lights. Refer to
"Parking Lights" in this section for more
information.
The instrument panel and the various
controls on the dashboard will be
illuminated when the exterior lights are
turned on.
Automatic Headlights
This system automatically turns the
headlights on or off according to
ambient light levels.
Function Activation
Turn the light switch to
(AUTO).
Note: The function can only be
activated with the ignition position at
ON.
Function Deactivation
To deactivate the function, turn the light
switch to a position other than
(AUTO).
04126S0001NAHeadlight Switch
1 — Parking Sensors Deactivation
Button
2 — Parking Light, Daylight Running
Lights, Headlight Switch
3 — Instrument Panel Dimmer
4 — Rear Fog Light Button
5 — Stop/Start Button
34
GETTING TO KNOW YOUR VEHICLE
Page 37 of 268

Daytime Running Lights
(DRL)
With the ignition in the ON position and
the light switch turned to the
position, if the dusk sensor detects
sufficient external light, the Daytime
Running Lights will turn on
automatically while the other lights
remain off.
If the turn signals are operated, the
brightness of the corresponding
Daytime Running Lights will be
decreased as long as the turn signals
are on.
Non-Canadian Markets
If equipped, the DRL can be
activated/deactivated from the Connect
system, by selecting the following
functions in sequence on the main
MENU: "Settings", "Lights" and
"Daytime Lights".
Rear Fog Light
The rear fog light switch is integrated
with the headlight switch.
Push the
button to turn the fog lights
on/off.
The rear fog lights turn on only when
the headlights or fog lights are turned
on. The light can be turned off by
pushing the
buttonagainorby
turning off the headlights.
When the engine is stopped with the
rear fog lights on, the rear fog lights will
be off the next time the engine is
started.
Parking Lights
Turn the headlight switch to theposition to turn parking lights on. All
of the parking lights will turn on for eight
minutes, and opening the door
activates an audible warning.
To leave only the lights on one side
(right/left) illuminated, you must move
the turn signal lever to the side that you
want to remain on. With the parking
lights on, the
warning light on the
instrument panel will come on.
Note: Turning the ignition switch to ON
turns off the parking lights, which were
on only illuminated on one side.
Headlight Off Delay
The “Headlight Off Delay” function
delays the switching off of the
headlights after the vehicle has been
stopped.
The function can be activated from the
Connect system by selecting the
following functions in sequence on the
main menu: “Settings”, “Lights” and
“Headlight Off Delay”.
The side lights and the headlights stay
on for a time that can be set between
30, 60, and 90 seconds.
Function Activation
With the headlights on, place the
ignition to the OFF position; the timer
will then start. Note:
To activate this function, the
headlights must be deactivated within
two minutes after the ignition has been
turned OFF.
Function Deactivation
This function is deactivated by
switching on the headlights, the side
lights, or by bringing the ignition device
to ON.
High Beam Headlights
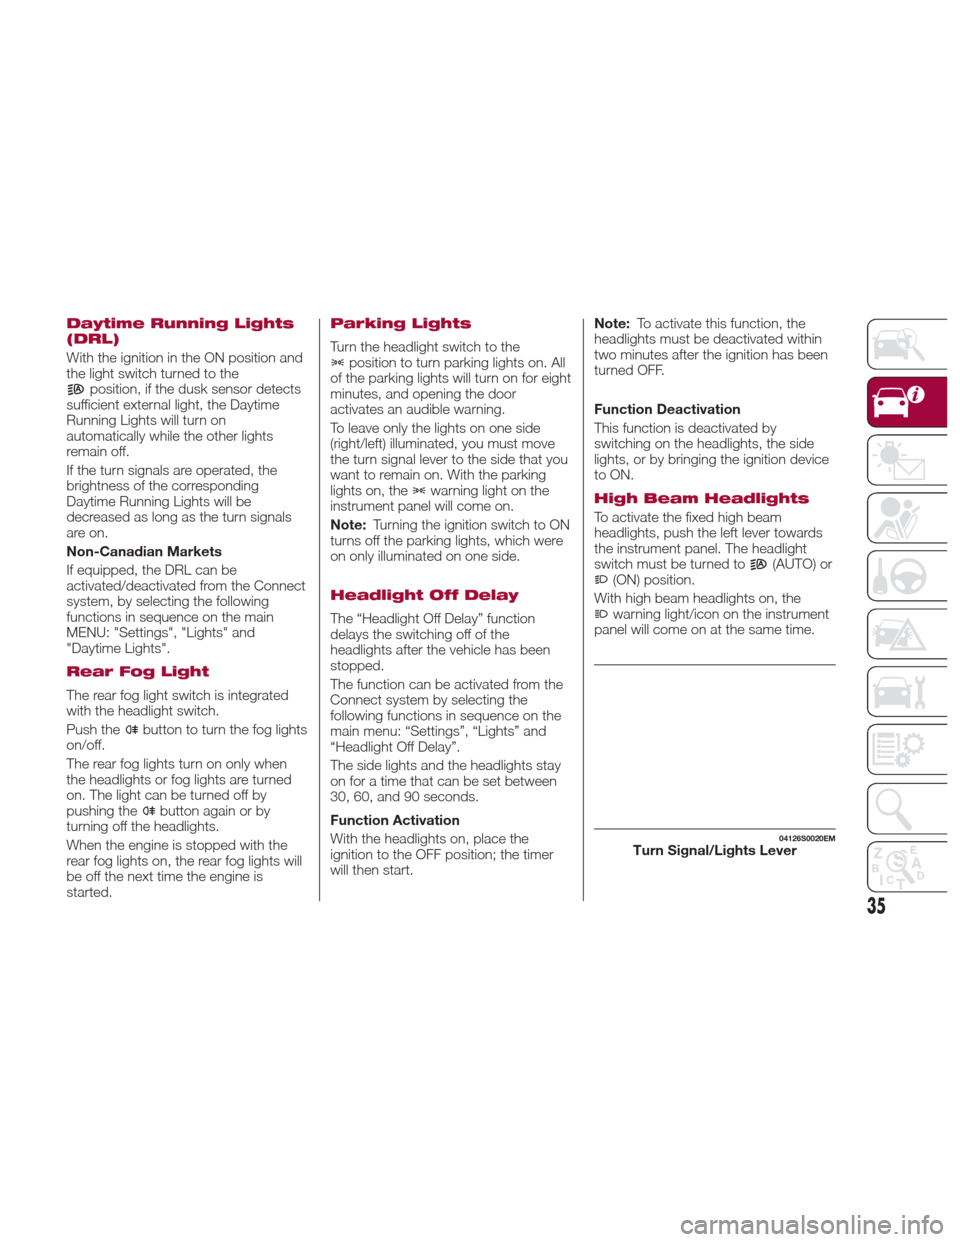
To activate the fixed high beam
headlights, push the left lever towards
the instrument panel. The headlight
switch must be turned to
(AUTO) or(ON) position.
With high beam headlights on, the
warning light/icon on the instrument
panel will come on at the same time.
04126S0020EMTurn Signal/Lights Lever
35
Page 47 of 268

Climate Control Display
Settings
The Climate Control settings are visible
on the Connect radio screen.
The display on the Connect system is a
pop up window (1), which is activated
by pushing the buttons or turning the
knobs on the Climate Control system.
The indicator lights located on the a
number of the buttons and knobs
indicate that the selected feature is
on/off. If no operation is performed for a
predetermined time, the pop-up will
close on the display.
Air Temperature
Adjustment
Rotate the driver or passenger
Temperature Adjustment Knob to the
right for warmer temperatures or to the
left for cooler temperatures. The set
temperatures are shown on the
Connect system.
Push the SYNC button to sync the
driver and passenger air temperatures.
Rotate the passenger Temperature
Adjustment Knob to cancel the SYNC
function. This will set a new passenger
side temperature.
Rotate the Temperature Adjustment
Knob fully right to engage the HI
(maximum heating) setting or fully left to
engage the LO (maximum cooling)
setting. To deactivate these functions,
rotate the Temperature Adjustment
Knob to the desired temperature.
Air Distribution
Selection
Push the Air Distribution Selection
button on the faceplate to change the
mode of air distribution.
Air flow to the windshield and front
side window vents to
demist/defrost them.
Air flow at the central and side
dashboard vents to ventilate the
chest and the face.
Air flow to the front and rear floor
vents. This setting heats the
passenger compartment the
quickest.
Air flow distributed between the
floor vents (hotter air) and the
central and side dashboard vents
(cooler air). This air distribution
setting is useful on sunny days
during spring and autumn.
Air flow distributed between the
floor vents, windshield, and front
side window defrosting/demisting
vents. This distribution setting
warms the passenger
compartment while preventing the
windows from fogging up.
Air flow distribution between the
windshield demisting/defrosting
vents, and side/central dashboard
vents. This distribution setting
sends air to the windshield in
sunny conditions.
Air flow distribution to all vents on
the vehicle.
In AUTO mode, the Climate Controls
automatically manage the air
distribution. When set manually, the
respective symbols on the Connect
system indicate the air distribution
setting.
04156S0006EM1 — Climate Control Pop-up Display
45
Page 48 of 268

Fan Speed Adjustment
Turn the Blower Speed Knob to
increase or decrease the blower speed.
The speed is displayed with lighted
indicators in the Connect system
display.
Maximum fan speed = all indicators
illuminated
Minimum fan speed = one indicator
illuminated
The fan can be turned off by rotating
the Blower Speed Knob to position O
(all segments on the Connect system
display are turned off).
Note:
To restore automatic control of the fan
speed, push the AUTO button.
AUTO Button
When the AUTO button is pushed
(indicator illuminated), the Climate
Control system automatically adjusts
the following settings:
Quantity and distribution of air flow in
the passenger compartment
The air conditioner
Air recirculation
Cancels any manual settings
Selecting the AUTO function illuminates
the indicator on the A/C button
.
If air distribution or the fan speed is
manual adjusted, the AUTO button
indicator will turn off to indicate that the
Climate Control system is no longer in
AUTO mode. After a manual adjustment, push the
AUTO button to resume the automatic
system.
SYNC Button
Push the SYNC button (indicator
illuminated) to sync the passenger side
air temperature with the driver side air
temperature.
This function makes temperature
regulation easier when the driver is
traveling alone.
Turn the passenger Temperature
Adjustment Knob or push the
passenger side Air Distribution
Selection Button to change the
passenger side air temperature and
return to separate air temperature
management.
Air Recirculation And Air
Quality System (AQS)
Air Recirculation is managed according
to the following operating mode:
Automatic engagement: indicator is
illuminated above the “A” on the Air
Recirculation Button
Forced activation (air circulation
always activated): indicator illuminated
above the
iconontheAir
Recirculation Button
Forced deactivation (air recirculation
always off with intake of outside air):
both indicators illuminated on the Air
Recirculation Button The three operating conditions are
obtained by pushing the Air
Recirculation Button
in sequence.
Enabling The Air Quality System
(AQS) Function — If Equipped
When the automatic recirculation
function is selected, the AQS function
automatically activates internal air
recirculation when the outside air is
polluted (e.g. in heavy traffic and
tunnels).
At low external temperatures or in high
humidity, the automatic function turns
off to avoid fogging up the windows.
The user can select the function again
by pushing the Air Recirculation Button.
In automatic operation, air recirculation
will be controlled by the system
according to outside environmental
conditions.
Note:
With the AQS function active and
after the internal air recirculation
system has been functioning for a set
amount of time, the Climate Control
System enables air intake to cycle the
air in the passenger compartment for a
set time. The AQS function is disabled
during the air changes.
46
GETTING TO KNOW YOUR VEHICLE
Page 49 of 268

The engagement of the recirculation
system makes it possible to reach the
required heating or cooling conditions
faster. It is, however, inadvisable to use
it on rainy/cold days as it can increase
the possibility of the windows fogging.
When the outside temperature is low,
recirculation is forced off to prevent the
windows from fogging up.
A/C Compressor
Push the A/C buttonto activate or
deactivate the A/C compressor
(indicator illuminated when activated).
The A/C compressor will remain off
even after the engine has stopped.
When the A/C compressor is turned off,
the system deactivates air recirculation
to prevent the windows from fogging
up. If the climate control system can
maintain the temperature, with the A/C
turned off, the AUTO feature will remain
on and the AUTO button indicator light
will not switch off.
To restore automatic control of the A/C
compressor, push the A/C button
or
the AUTO button. With the A/C
compressor off, the air speed can be
set manually using the Air Speed
Adjustment Knob.
When the A/C compressor is on, and
the engine is running, air speed cannot
be lower than the minimum speed (only
one indicator light is lit). Note:
When the A/C is off the Climate
Control system can not produce air that
is colder than the current outside
temperature. Under certain
environmental conditions, windows
could fog up rapidly, since the air is not
dehumidified.
Front Defroster And
MAX-DEF Function
Push the Front Defroster button(indicator illuminated) to defrost the
windshield and side windows.
While in MAX-DEF function, the air
conditioner will:
Activate the air conditioner
compressor when the weather allows
Turn air recirculation off
Set the maximum air temperature (HI)
on both the driver and passenger side
Activate a blower speed based on
the temperature of the engine coolant
Adjust the air flow towards the
windshield and front side windows
Activate the Rear Window Defroster
Display the fan speed (indicators
illuminated) and current air distribution
setting
Note: The MAX-DEF function remains
active for approximately three minutes
once the engine coolant reaches the
proper temperature. When the function is on, AUTO mode
will deactivate. The only manual
operations possible are adjusting
blower speed and turning off the Rear
Window Defroster.
Pushing the
button switches off the
MAX-DEF function.
Rear Defroster
Push the Rear Defrosterbutton to
activate (indicators illuminated) the Rear
Defroster.
The Rear Defroster will turn off after
20 minutes or once the engine is turned
off. To reactive the Rear Defroster, push
the Rear Defroster
button.
Note: To avoid damage, do not apply
stickers over the interior heating
filaments of the Rear Defroster.
Humidity Sensor
The Humidity Sensor helps to prevent
the windows from fogging up. The
AUTO function (indicator illuminated)
must be on for the Humidity Sensor to
function.
When outside temperature is low, the
system may turn the compressor on
and turn air recirculation off for safer
driving.
47
Page 81 of 268

Warning LightWhat It Means What To Do
REAR FOG LIGHT
The warning light switches on when the rear fog light is
activated.
OBD / INJECTION SYSTEM FAILURE
In normal conditions, when the ignition is cycled to ON,
the warning light switches on, but it should switch off as
soon as the engine is started.
The operation of the warning light may be checked by the
traffic police using specific devices. Comply with the laws
and regulations of the country where you are driving.
Injection System Failure
If the warning light remains on, or it switches on while
driving, the injection system is not working properly. The
warning light on constantly signals a malfunction in the
supply/ignition system which could cause high exhaust
emissions, a possible loss of performance, poor
driveability and high consumption.
The warning light switches off if the malfunction
disappears, but is still stored by the system.Under these conditions, the vehicle can continue
travelling at moderate speed but without demanding
excessive effort from the engine or high speed.
Prolonged use of the car with the warning light on
constantly may cause damage. Contact an authorized
dealer as soon as possible.
Catalytic Converter Damaged
If the warning light flashes, it means that the catalytic
converter may be damaged. Release the accelerator pedal to lower the speed of the
engine until the warning light stops flashing. Continue at
moderate speed, trying to avoid driving conditions that
may cause further flashing and contact an authorized
dealer as soon as possible.
79
Page 91 of 268

SymbolWhat It Means What To Do
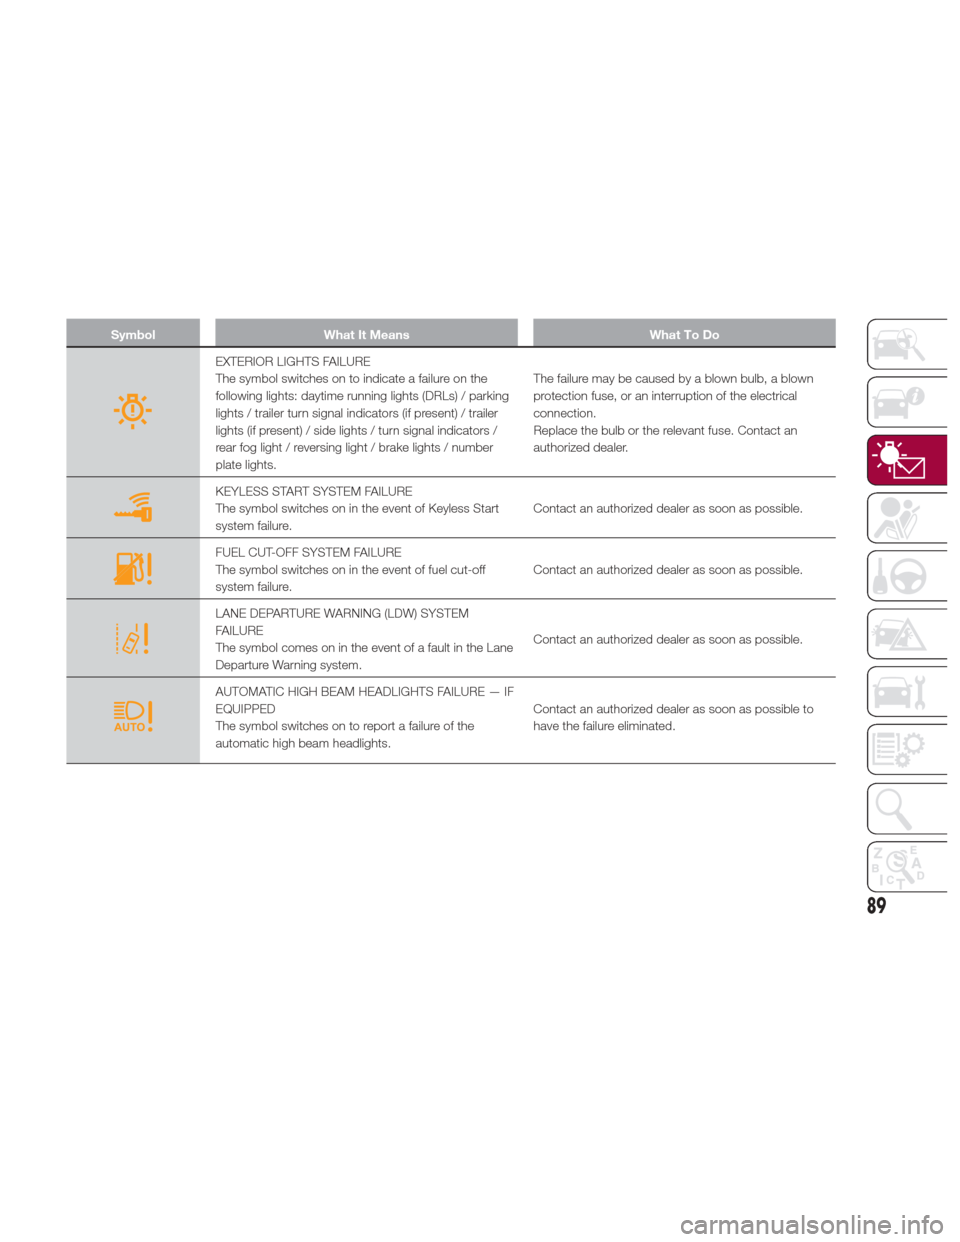
EXTERIOR LIGHTS FAILURE
The symbol switches on to indicate a failure on the
following lights: daytime running lights (DRLs) / parking
lights / trailer turn signal indicators (if present) / trailer
lights (if present) / side lights / turn signal indicators /
rear fog light / reversing light / brake lights / number
plate lights.The failure may be caused by a blown bulb, a blown
protection fuse, or an interruption of the electrical
connection.
Replace the bulb or the relevant fuse. Contact an
authorized dealer.
KEYLESS START SYSTEM FAILURE
The symbol switches on in the event of Keyless Start
system failure.
Contact an authorized dealer as soon as possible.
FUEL CUT-OFF SYSTEM FAILURE
The symbol switches on in the event of fuel cut-off
system failure.Contact an authorized dealer as soon as possible.
LANE DEPARTURE WARNING (LDW) SYSTEM
FAILURE
The symbol comes on in the event of a fault in the Lane
Departure Warning system.Contact an authorized dealer as soon as possible.
AUTOMATIC HIGH BEAM HEADLIGHTS FAILURE — IF
EQUIPPED
The symbol switches on to report a failure of the
automatic high beam headlights.Contact an authorized dealer as soon as possible to
have the failure eliminated.
89
Page 158 of 268

ADAPTIVE CRUISE
CONTROL (ACC) —
IF EQUIPPED
System Description
The Adaptive Cruise Control (ACC) is a
driver assist system that combines the
speed control functions for controlling
the distance from the vehicle ahead.
The system allows to set and hold the
vehicle at the desired speed without
needing to press the accelerator. It also
allows to set and hold a distance from
the vehicle ahead (these settings are set
by the driver).
The Adaptive Cruise Control (ACC) uses
a radar sensor located behind the front
bumper and a camera located in the
center/upper part of the windshield, to
detect the presence of a vehicle close
ahead.This system enhances driving comfort
while on the highway or out of town
with light traffic.
Warning!
Adaptive Cruise Control (ACC) is a
convenience system. It is not a substitute
for active driving involvement. It is always
the driver’s responsibility to be attentive of
road, traffic, and weather conditions,
vehicle speed, distance to the vehicle
ahead; and, most importantly, brake
operation to ensure safe operation of the
vehicle under all road conditions. Your
complete attention is always required while
driving to maintain safe control of your
vehicle. Failure to follow these warnings
can result in a collision and death or
serious personal injury.
The ACC system:
Does not react to pedestrians,
oncoming vehicles, and stationary objects
(e.g., a stopped vehicle in a traffic jam or a
disabled vehicle).
Cannot take street, traffic, and weather
conditions into account, and may be
limited upon adverse sight distance
conditions.
Does not always fully recognize complex
driving conditions, which can result in
wrong or missing distance warnings.
Will bring the vehicle to a complete stop
while following a target vehicle and hold the
vehicle for approximately 3 minutes in the
stop position. If the target vehicle does not
start moving within 3 minutes the parking
brake will be activated, and the ACC
system will be canceled.
You should switch off the ACC system:
When driving in fog, heavy rain, heavy
snow, sleet, heavy traffic, and complex
driving situations (i.e., in highway
construction zones).
When entering a turn lane or highway off
ramp; when driving on roads that are
winding, icy, snow-covered, slippery, or
have steep uphill or downhill slopes.
When circumstances do not allow safe
driving at a constant speed.
GUID-06016S0003EMFront Bumper Radar Location
06016S0004EMWindshield Camera Location
156
STARTING AND OPERATING