2017 Alfa Romeo Giulia door lock
[x] Cancel search: door lockPage 56 of 268
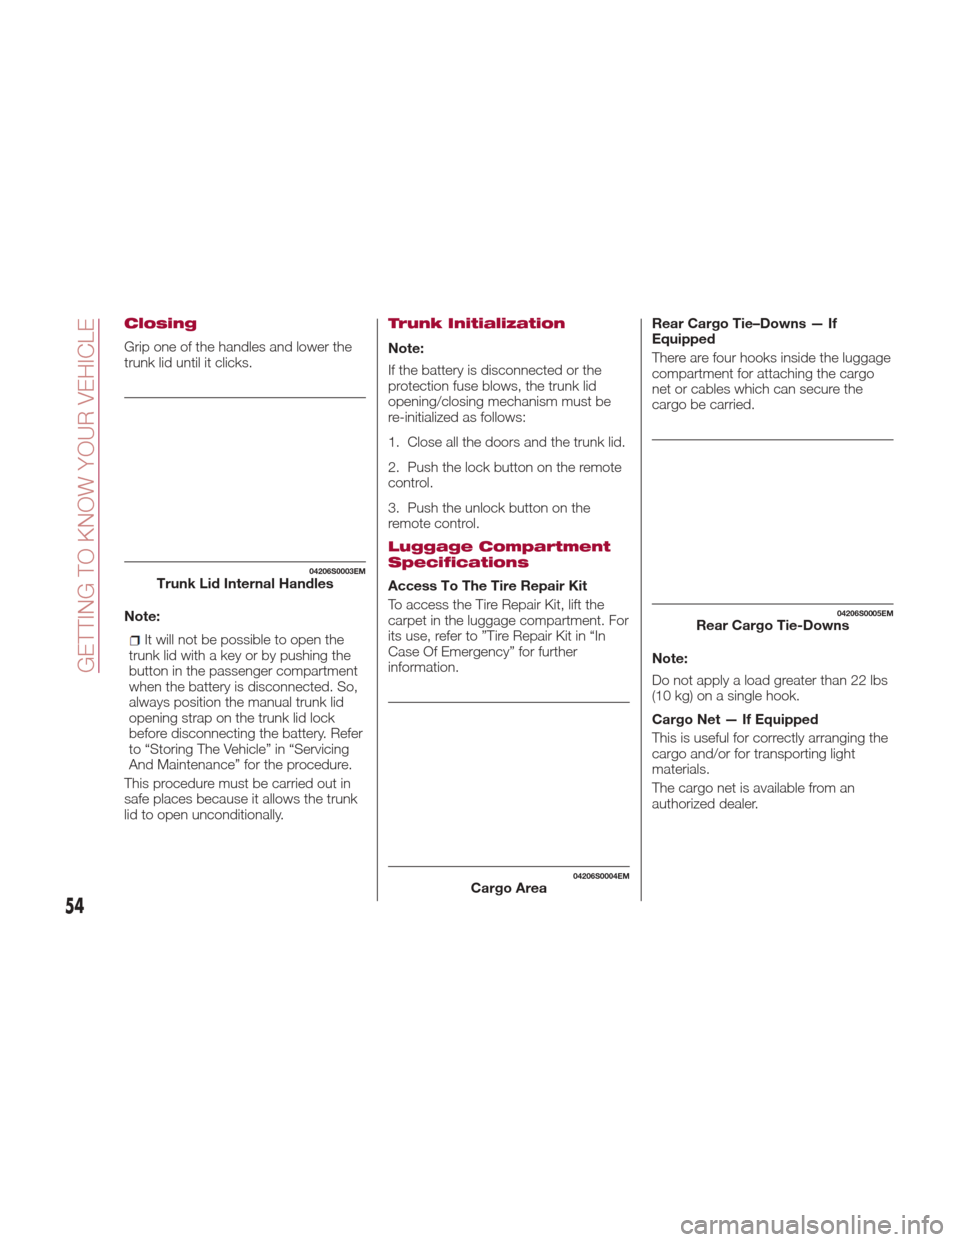
Closing
Grip one of the handles and lower the
trunk lid until it clicks.
Note:
It will not be possible to open the
trunk lid with a key or by pushing the
button in the passenger compartment
when the battery is disconnected. So,
always position the manual trunk lid
opening strap on the trunk lid lock
before disconnecting the battery. Refer
to “Storing The Vehicle” in “Servicing
And Maintenance” for the procedure.
This procedure must be carried out in
safe places because it allows the trunk
lid to open unconditionally.
Trunk Initialization
Note:
If the battery is disconnected or the
protection fuse blows, the trunk lid
opening/closing mechanism must be
re-initialized as follows:
1. Close all the doors and the trunk lid.
2. Push the lock button on the remote
control.
3. Push the unlock button on the
remote control.
Luggage Compartment
Specifications
Access To The Tire Repair Kit
To access the Tire Repair Kit, lift the
carpet in the luggage compartment. For
its use, refer to ”Tire Repair Kit in “In
Case Of Emergency” for further
information. Rear Cargo Tie–Downs — If
Equipped
There are four hooks inside the luggage
compartment for attaching the cargo
net or cables which can secure the
cargo be carried.
Note:
Do not apply a load greater than 22 lbs
(10 kg) on a single hook.
Cargo Net — If Equipped
This is useful for correctly arranging the
cargo and/or for transporting light
materials.
The cargo net is available from an
authorized dealer.
04206S0003EMTrunk Lid Internal Handles
04206S0004EMCargo Area
04206S0005EMRear Cargo Tie-Downs
54
GETTING TO KNOW YOUR VEHICLE
Page 57 of 268
INTERNAL
EQUIPMENT
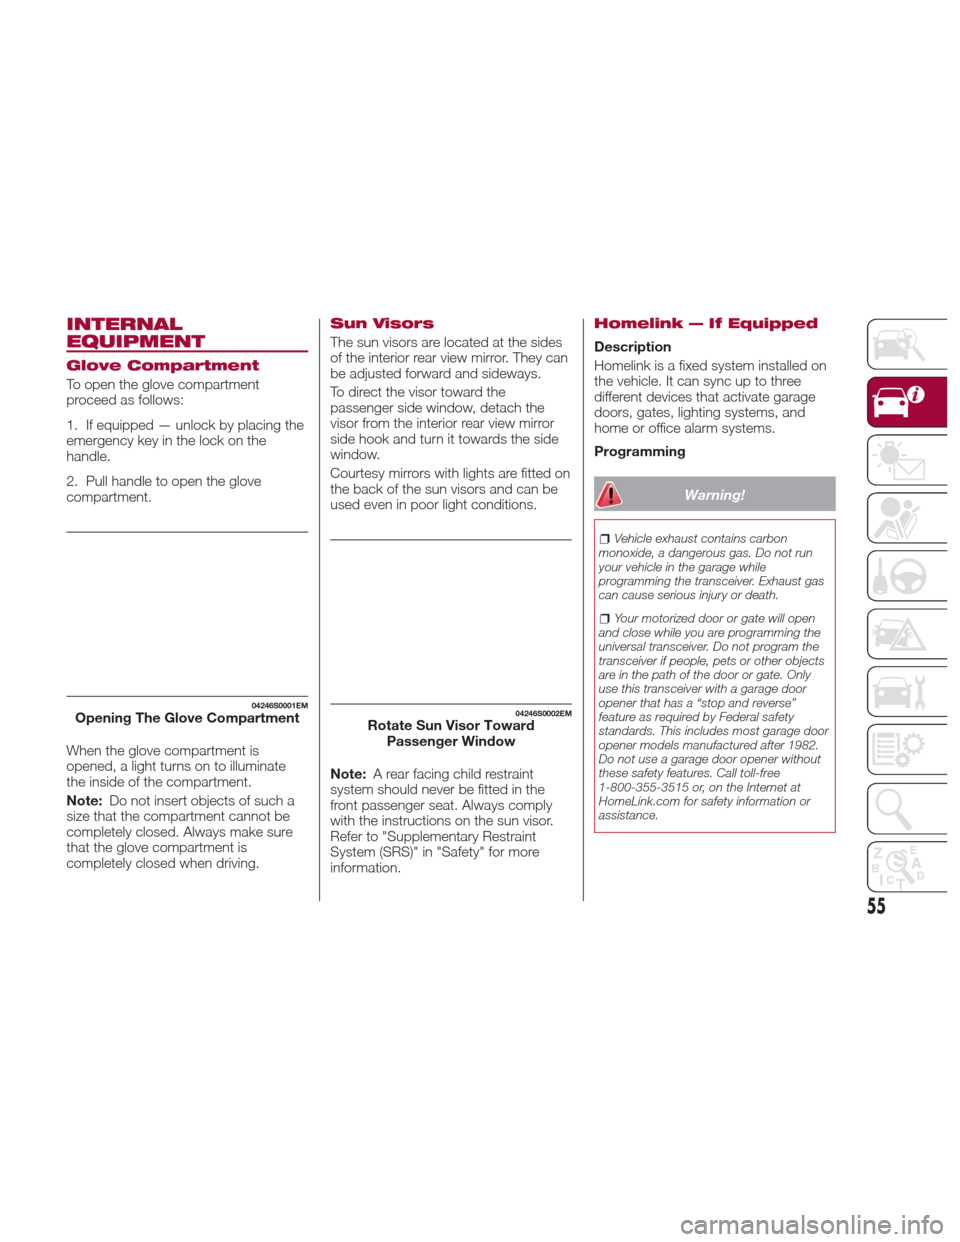
Glove Compartment
To open the glove compartment
proceed as follows:
1. If equipped — unlock by placing the
emergency key in the lock on the
handle.
2. Pull handle to open the glove
compartment.
When the glove compartment is
opened, a light turns on to illuminate
the inside of the compartment.
Note:Do not insert objects of such a
size that the compartment cannot be
completely closed. Always make sure
that the glove compartment is
completely closed when driving.
Sun Visors
The sun visors are located at the sides
of the interior rear view mirror. They can
be adjusted forward and sideways.
To direct the visor toward the
passenger side window, detach the
visor from the interior rear view mirror
sidehookandturnittowardstheside
window.
Courtesy mirrors with lights are fitted on
the back of the sun visors and can be
used even in poor light conditions.
Note: A rear facing child restraint
system should never be fitted in the
front passenger seat. Always comply
with the instructions on the sun visor.
Refer to "Supplementary Restraint
System (SRS)" in "Safety" for more
information.
Homelink — If Equipped
Description
Homelink is a fixed system installed on
the vehicle. It can sync up to three
different devices that activate garage
doors, gates, lighting systems, and
home or office alarm systems.
Programming
Warning!
Vehicle exhaust contains carbon
monoxide, a dangerous gas. Do not run
your vehicle in the garage while
programming the transceiver. Exhaust gas
can cause serious injury or death.
Your motorized door or gate will open
and close while you are programming the
universal transceiver. Do not program the
transceiver if people, pets or other objects
are in the path of the door or gate. Only
use this transceiver with a garage door
opener that has a “stop and reverse”
feature as required by Federal safety
standards. This includes most garage door
opener models manufactured after 1982.
Do not use a garage door opener without
these safety features. Call toll-free
1-800-355-3515 or, on the Internet at
HomeLink.com for safety information or
assistance.
04246S0001EMOpening The Glove Compartment04246S0002EMRotate Sun Visor Toward Passenger Window
55
Page 121 of 268
Warning!
Do not use accessory seat covers or place
objects between you and the Side Air
Bags; the performance could be adversely
affected and/or objects could be pushed
into you, causing serious injury.
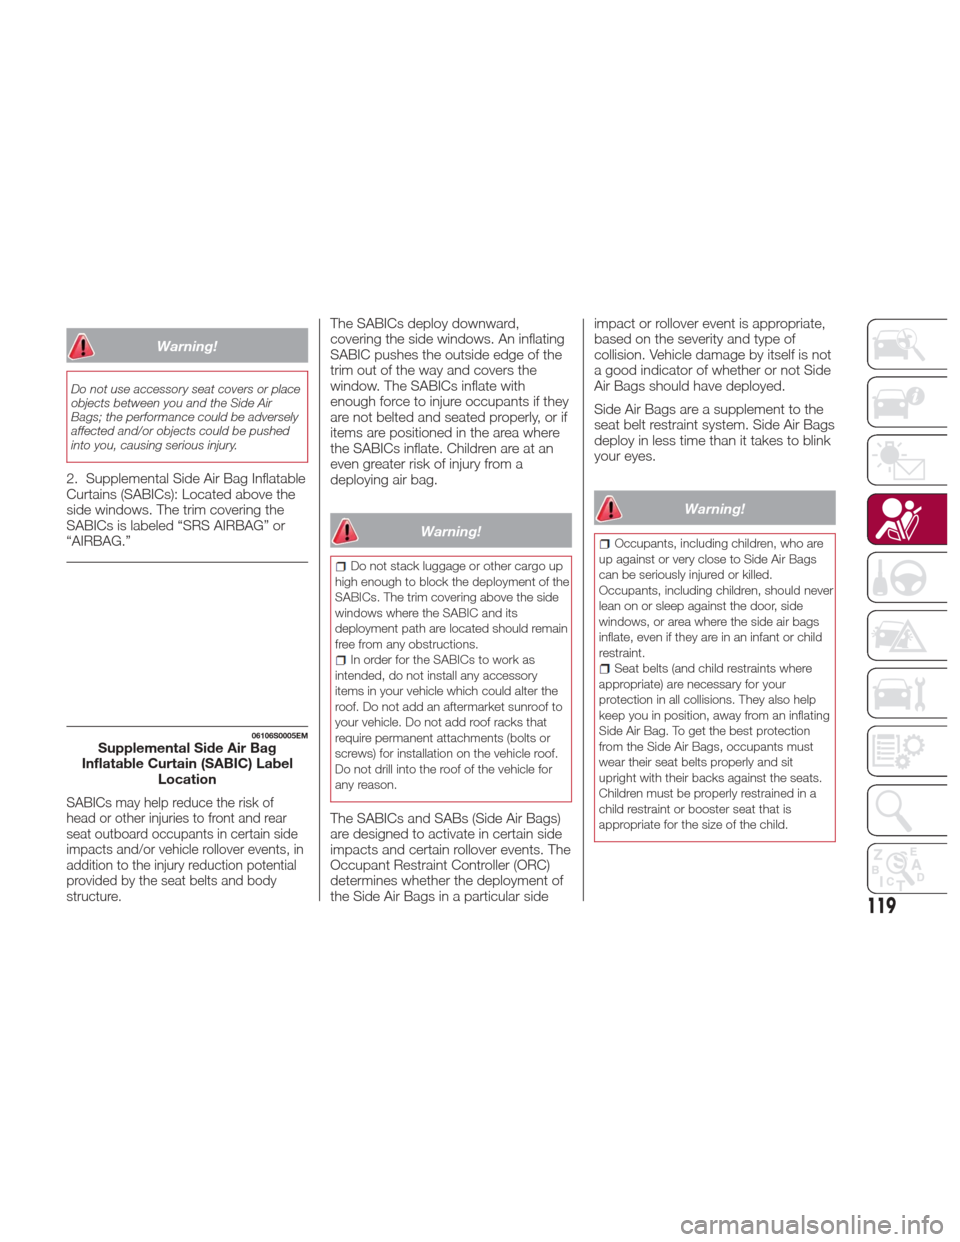
2. Supplemental Side Air Bag Inflatable
Curtains (SABICs): Located above the
side windows. The trim covering the
SABICs is labeled “SRS AIRBAG” or
“AIRBAG.”
SABICs may help reduce the risk of
head or other injuries to front and rear
seat outboard occupants in certain side
impacts and/or vehicle rollover events, in
addition to the injury reduction potential
provided by the seat belts and body
structure.
The SABICs deploy downward,
covering the side windows. An inflating
SABIC pushes the outside edge of the
trim out of the way and covers the
window. The SABICs inflate with
enough force to injure occupants if they
are not belted and seated properly, or if
items are positioned in the area where
the SABICs inflate. Children are at an
even greater risk of injury from a
deploying air bag.
Warning!
Do not stack luggage or other cargo up
high enough to block the deployment of the
SABICs. The trim covering above the side
windows where the SABIC and its
deployment path are located should remain
free from any obstructions.
In order for the SABICs to work as
intended, do not install any accessory
items in your vehicle which could alter the
roof. Do not add an aftermarket sunroof to
your vehicle. Do not add roof racks that
require permanent attachments (bolts or
screws) for installation on the vehicle roof.
Do not drill into the roof of the vehicle for
any reason.
The SABICs and SABs (Side Air Bags)
are designed to activate in certain side
impacts and certain rollover events. The
Occupant Restraint Controller (ORC)
determines whether the deployment of
the Side Air Bags in a particular side impact or rollover event is appropriate,
based on the severity and type of
collision. Vehicle damage by itself is not
a good indicator of whether or not Side
Air Bags should have deployed.
Side Air Bags are a supplement to the
seat belt restraint system. Side Air Bags
deploy in less time than it takes to blink
your eyes.
Warning!
Occupants, including children, who are
up against or very close to Side Air Bags
can be seriously injured or killed.
Occupants, including children, should never
lean on or sleep against the door, side
windows, or area where the side air bags
inflate, even if they are in an infant or child
restraint.
Seat belts (and child restraints where
appropriate) are necessary for your
protection in all collisions. They also help
keep you in position, away from an inflating
Side Air Bag. To get the best protection
from the Side Air Bags, occupants must
wear their seat belts properly and sit
upright with their backs against the seats.
Children must be properly restrained in a
child restraint or booster seat that is
appropriate for the size of the child.
06106S0005EMSupplemental Side Air Bag
Inflatable Curtain (SABIC) Label Location
119
Page 123 of 268

If you do have a collision which deploys
the air bags, any or all of the following
may occur:
The air bag material may sometimes
cause abrasions and/or skin reddening
to the occupants as the air bags deploy
and unfold. The abrasions are similar to
friction rope burns or those you might
get sliding along a carpet or gymnasium
floor. They are not caused by contact
with chemicals. They are not permanent
and normally heal quickly. However, if
you haven’t healed significantly within a
few days, or if you have any blistering,
see your doctor immediately.
As the air bags deflate, you may see
some smoke-like particles. The
particles are a normal by-product of the
process that generates the non-toxic
gas used for air bag inflation. These
airborne particles may irritate the skin,
eyes, nose, or throat. If you have skin or
eye irritation, rinse the area with cool
water. For nose or throat irritation, move
to fresh air. If the irritation continues,
see your doctor. If these particles settle
on your clothing, follow the garment
manufacturer’s instructions for cleaning.
Do not drive your vehicle after the air
bags have deployed. If you are involved
in another collision, the air bags will not
be in place to protect you.
Warning!
Deployed air bags and seat belt
pretensioners cannot protect you in
another collision. Have the air bags, seat
belt pretensioners, and the seat belt
retractor assemblies replaced by an
authorized dealer immediately. Also, have
the Occupant Restraint Controller System
serviced as well.
Note:
Air bag covers may not be obvious
in the interior trim, but they will open
during air bag deployment.
After any collision, the vehicle
should be taken to an authorized
dealer immediately.
Enhanced Accident Response
System
In the event of an impact, if the
communication network remains intact,
and the power remains intact,
depending on the nature of the event,
the ORC will determine whether to have
the Enhanced Accident Response
System perform the following functions:
Cut off fuel to the engine.
Flash hazard lights as long as the
battery has power or until the hazard
light button is pressed. The hazard lights can be deactivated by pressing
the hazard light button.
Turn on the interior lights, which
remain on as long as the battery has
power or for 15 minutes from the
intervention of the Enhanced Accident
Response System.
Unlock the power door locks.
Turn off the Fuel Pump Heater
(if equipped).
Turn off the HVAC Blower Motor.
Close the HVAC Circulation Door.
Enhanced Accident Response
System Reset Procedure
After the event occurs, when the
system is active, a message regarding
fuel cutoff is displayed. Turn the ignition
switch from ignition AVV/START or
ON/RUN to ignition STOP/OFF.
Carefully check the vehicle for fuel leaks
in the engine compartment and on the
ground near the engine compartment
and fuel tank before resetting the
system and starting the engine.
Depending on the nature of the event
the left and right turn signal lights,
located in the instrument panel, may
both be blinking and will continue to
blink. In order to move your vehicle to
the side of the road, you must follow
the system reset procedure.
121
Page 137 of 268
STARTING THE
ENGINE
Starting The Engine
Before starting the engine, be sure to
adjust the seat, the interior rear view
mirrors, and the door mirrors, and
fasten the seat belt correctly.
Never press the accelerator pedal
before starting the engine.
If necessary, messages indicating the
starting procedure can be shown in the
display.
Warning!
When leaving the vehicle, always remove
the key fob from the vehicle and lock your
vehicle.
Never leave children alone in a vehicle,
or with access to an unlocked vehicle.
Allowing children to be in a vehicle
unattended is dangerous for a number of
reasons. A child or others could be
seriously or fatally injured. Children should
be warned not to touch the parking brake,
brake pedal or the transmission gear
selector.
Do not leave the key fob in or near the
vehicle, or in a location accessible to
children. A child could operate power
windows, other controls, or move the
vehicle.
Do not leave children or animals inside
parked vehicles in hot weather. Interior heat
build-up may cause serious injury or death.
Starting Procedure
Proceed as follows:
1. Apply the electric park brake and set
the gear selector to PARK (P) or
NEUTRAL (N).
2. Fully depress the brake pedal
without touching the accelerator.
3. Briefly push the ignition button.
4. If the engine doesn't start within a
few seconds, you need to repeat the
procedure.
If the problem persists, contact an
authorized dealer.
Warning!
Never pour fuel or other flammable liquid
into the throttle body air inlet opening in an
attempt to start the vehicle. This could
result in flash fire causing serious personal
injury.
Do not attempt to push or tow your
vehicle to get it started. Vehicles equipped
with an automatic transmission cannot be
started this way. Unburned fuel could enter
the catalytic converter and once the engine
has started, ignite and damage the
converter and vehicle.
If the vehicle has a discharged battery,
booster cables may be used to obtain a
start from a booster battery or the battery
in another vehicle. This type of start can be
dangerous if done improperly. Refer to
“Emergency Starting” in “In Case Of
Emergency” for further information.
Caution!
To prevent damage to the starter, do not
continuously crank the engine for more
than 25 seconds at a time. Wait
60 seconds before trying again.
Remote Starting System
— If Equipped
This system uses the key fob to start
the engine conveniently from outside
the vehicle while still maintaining
security. The system has a range of at
least 300 feet (91 meters).
The remote starting system also
activates the climate control (if
equipped), the heated seats (if
equipped), and the heated steering
wheel (if equipped), depending on
temperatures outside and inside of the
car.
Note:
The vehicle must be equipped with
an automatic transmission in order to
include remote start.
Obstructions between the vehicle
and key fob may reduce this range.
135
Page 142 of 268
Safe Hold
Safe Hold is a safety function that
automatically engages the electric park
brake in the event of a dangerous
condition for the vehicle.
The electric park brake engages
automatically to prevent vehicle
movement if:
The vehicle speed is below 2 mph
(3 km/h).
A transmission operating mode
different from PARK (P) is activated.
The driver's seat belt is not fastened.
The driver side door is open.
No attempts to apply pressure on the
brake pedal have been detected.
The “Safe Hold” function can be
temporarily disabled by pressing the
switch located on the central console
and the brake pedal at the same time,
with the vehicle stationary and the
driver side door open.
Once disabled, the function will activate
again when the vehicle speed reaches
12 mph (20 km/h) or the ignition is
cycled to STOP and then to ON.
AUTOMATIC
TRANSMISSION
Automatic Transmission
Operation
The vehicle can be equipped with an
electronically controlled 8-speed
automatic transmission where gear
shifting automatically takes place,
depending on the vehicle usage
instantaneous parameters (vehicle
speed, grade, and accelerator pedal
position).
The new transmission is an absolute
innovation, as it can match the
Stop/Start Evo system with the
traditional automatic transmissions with
built-in torque converter. For further
information, refer to the “Stop/Start
Evo” section within this chapter.
Manual gear shifting can still occur
thanks to the "sequential mode"
position for the gear selector.
Warning!
It is dangerous to shift out of PARK or
NEUTRAL if the engine speed is higher
than idle speed. If your foot is not firmly
pressing the brake pedal, the vehicle could
accelerate quickly forward or in reverse.
You could lose control of the vehicle and hit
someone or something. Only shift into gear
when the engine is idling normally and your
foot is firmly pressing the brake pedal.
Unintended movement of a vehicle
could injure those in or near the vehicle. As
with all vehicles, you should never exit a
vehicle while the engine is running. Before
exiting a vehicle, always apply the park
brake, shift the transmission into PARK,
and turn the ignition STOP/OFF. When the
ignition is in the STOP/OFF mode, the
transmission is locked in PARK, securing
the vehicle against unwanted movement.
When leaving the vehicle, always make
sure the ignition is in the STOP/OFF mode,
remove the key fob from the vehicle, and
lock the vehicle.
Never leave children alone in a vehicle,
or with access to an unlocked vehicle.
Allowing children to be in a vehicle
unattended is dangerous for a number of
reasons. A child or others could be
seriously or fatally injured. Children should
be warned not to touch the parking brake,
brake pedal or the transmission gear
selector.
Do not leave the key fob in or near the
vehicle (or in a location accessible to
children), and do not leave the ignition in
the AVV or ON mode. A child could
operate power windows, other controls, or
move the vehicle.
140
STARTING AND OPERATING
Page 174 of 268
Messages On The Display
If the trunk lid is lifted, the camera will
not detect any obstacle behind the
vehicle. The display will show a
dedicated warning message.
Make sure the trunk lid is closed by
pushing next to the lock until it clicks.
Important Notes
Ice, snow or mud on the surface of
the camera may reduce its sensitivity. It
is important to keep the camera surface
clean, and free from debris.
When parking, take care over
obstacles that may be above or under
the camera range.
REFUELING THE
VEHICLE
Refueling The Vehicle
Before refueling, make sure that the fuel
type is correct.
Also, stop the engine before refueling.
Note: An inefficient catalytic converter
leads to harmful exhaust emissions,
thus contributing to air pollution.
Caution!
Never introduce leaded fuel to the tank,
even in small amounts in an emergency, as
this would damage the catalytic converter
beyond repair.
Refueling Capacity
To ensure that you fill the tank
completely, top off twice after the first
click of the fuel nozzle.
Further top-off could cause faults in the
fuel feeding system.
Refueling Procedure
The fuel filler door is unlocked when the
central door locking system is
unlocked. It is automatically locked
when the central locking system is
applied. Opening The Fuel Filler Door
To refuel proceed as follows:
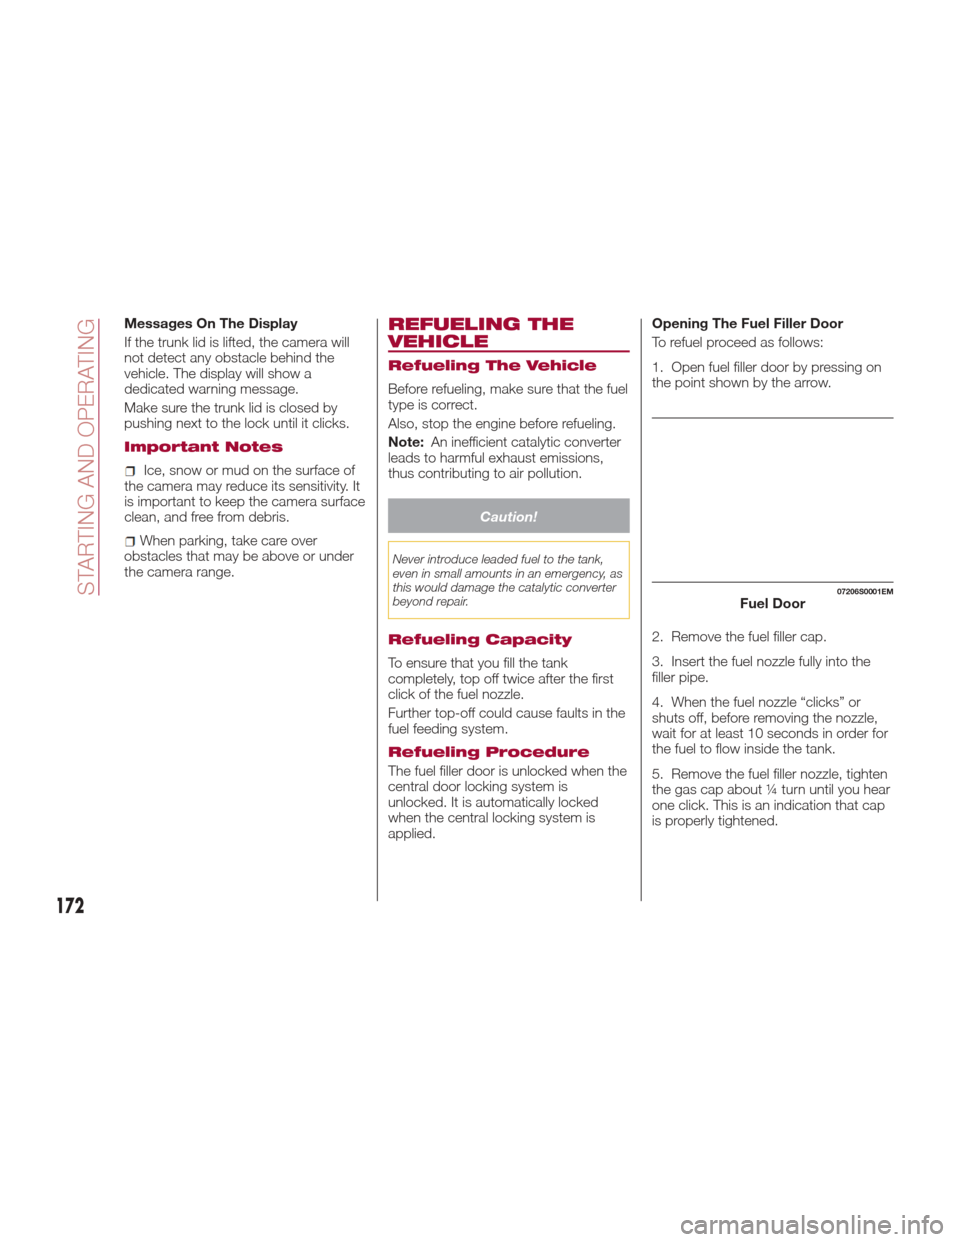
1. Open fuel filler door by pressing on
the point shown by the arrow.
2. Remove the fuel filler cap.
3. Insert the fuel nozzle fully into the
filler pipe.
4. When the fuel nozzle “clicks” or
shuts off, before removing the nozzle,
wait for at least 10 seconds in order for
the fuel to flow inside the tank.
5. Remove the fuel filler nozzle, tighten
the gas cap about ¼ turn until you hear
one click. This is an indication that cap
is properly tightened.
07206S0001EMFuel Door
172
STARTING AND OPERATING
Page 175 of 268
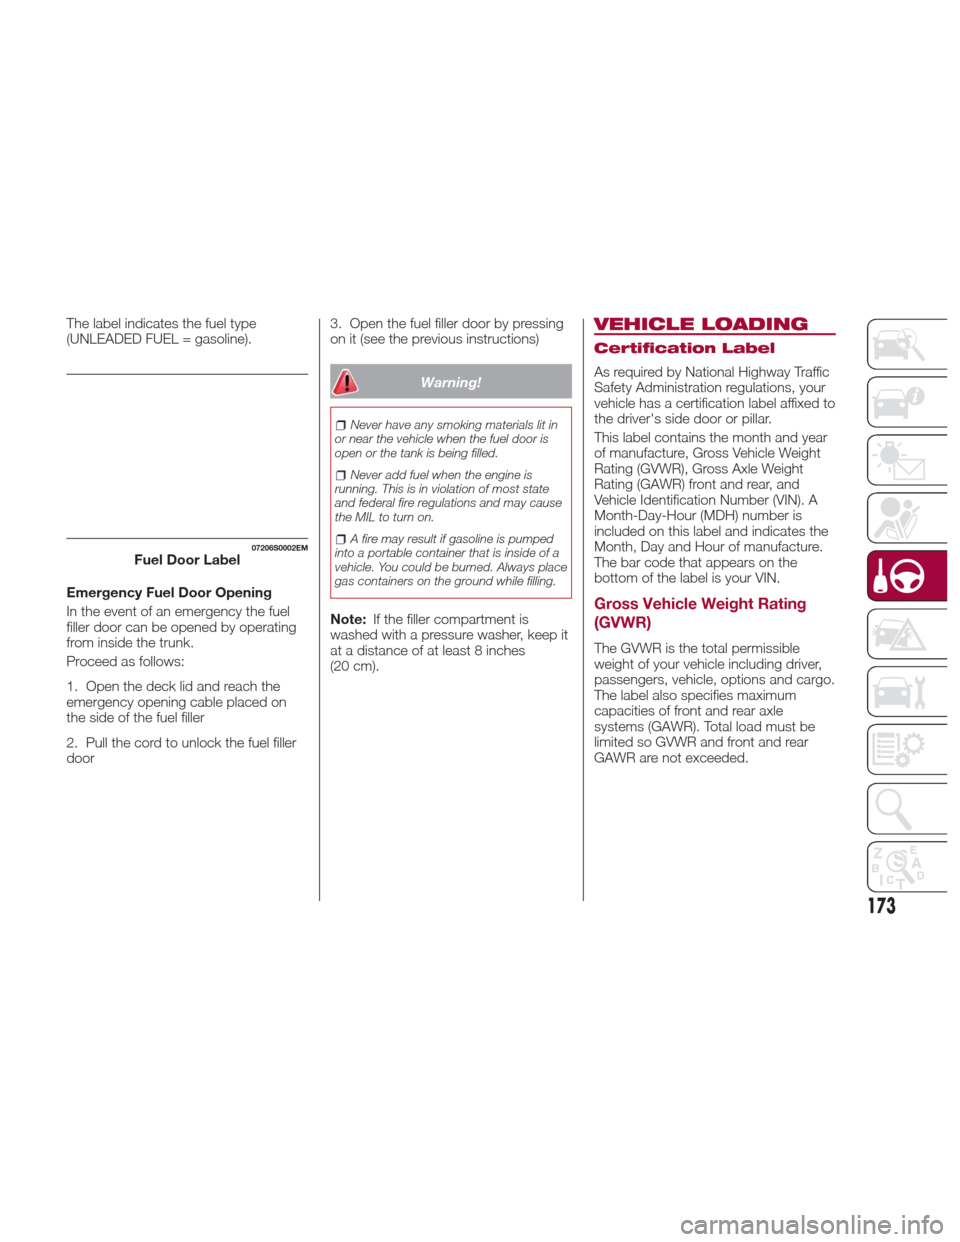
The label indicates the fuel type
(UNLEADED FUEL = gasoline).
Emergency Fuel Door Opening
In the event of an emergency the fuel
filler door can be opened by operating
from inside the trunk.
Proceed as follows:
1. Open the deck lid and reach the
emergency opening cable placed on
the side of the fuel filler
2. Pull the cord to unlock the fuel filler
door3. Open the fuel filler door by pressing
on it (see the previous instructions)
Warning!
Never have any smoking materials lit in
or near the vehicle when the fuel door is
open or the tank is being filled.
Never add fuel when the engine is
running. This is in violation of most state
and federal fire regulations and may cause
the MIL to turn on.
A fire may result if gasoline is pumped
into a portable container that is inside of a
vehicle. You could be burned. Always place
gas containers on the ground while filling.
Note: If the filler compartment is
washed with a pressure washer, keep it
at a distance of at least 8 inches
(20 cm).
VEHICLE LOADING
Certification Label
As required by National Highway Traffic
Safety Administration regulations, your
vehicle has a certification label affixed to
the driver's side door or pillar.
This label contains the month and year
of manufacture, Gross Vehicle Weight
Rating (GVWR), Gross Axle Weight
Rating (GAWR) front and rear, and
Vehicle Identification Number (VIN). A
Month-Day-Hour (MDH) number is
included on this label and indicates the
Month, Day and Hour of manufacture.
The bar code that appears on the
bottom of the label is your VIN.
Gross Vehicle Weight Rating
(GVWR)
The GVWR is the total permissible
weight of your vehicle including driver,
passengers, vehicle, options and cargo.
The label also specifies maximum
capacities of front and rear axle
systems (GAWR). Total load must be
limited so GVWR and front and rear
GAWR are not exceeded.
07206S0002EMFuel Door Label
173