2017 Alfa Romeo Giulia heating
[x] Cancel search: heatingPage 30 of 268

for approximately 30 minutes; vehicle
locking/unlocking or switching on of the
center front overhead light.
Seat Angle Adjustment (Tilting)
The seat angle can be adjusted in four
directions. Lift or push the front part of
seat switch to move the front part of the
seat in the corresponding direction.
Release seat switch when the seat has
reached the desired position.
Seatback Width Adjustment
Push the seatback width adjustment
buttons to regulate the width of the
backrest through the lateral padding.Driver Memory Seat
The driver memory seat buttons can
store and recall three different driver’s
seat positions. Storing and recalling is
possible with the ignition in the ON or
STOP positions and the driver’s side
door closed, or for three minutes after
having opened the driver's side door.
The performed position memory is
confirmed by a beep. To memorize a
seat position, first adjust your seat with
the various controls until you are in the
desired position. Then, push the
specific button you want to assign the
set position to for 1.5 seconds. When a
new seat position is memorized, the
previously memorized position on the
same button is automatically
overwritten. Recalling a memorized
position is also possible for
approximately three minutes after the
doors are opened and approximately
one minute after the engine is stopped.
To recall a memorized position, push
the relevant button briefly.
Heated Seats — If
Equipped
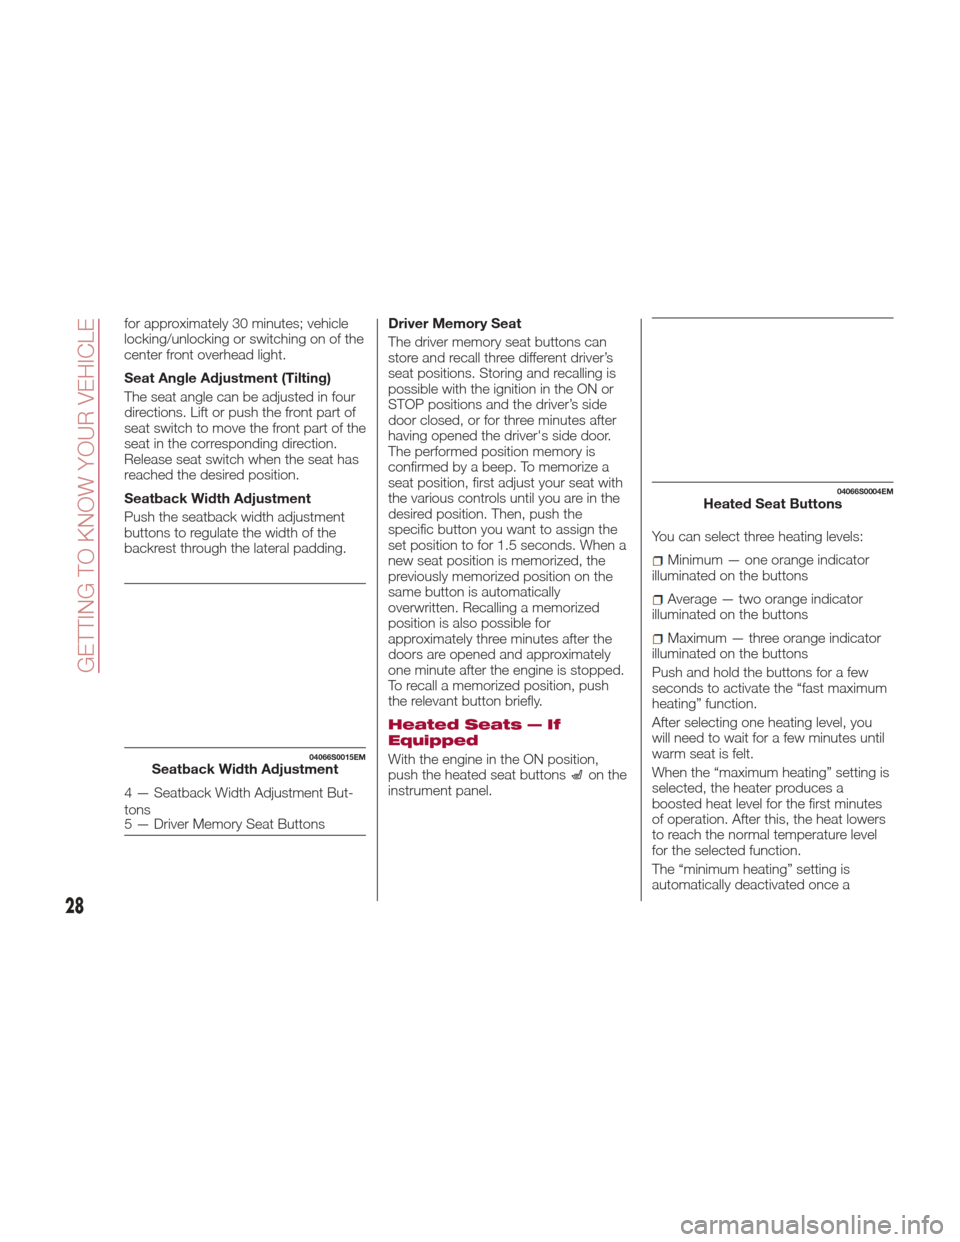
With the engine in the ON position,
push the heated seat buttonson the
instrument panel. You can select three heating levels:
Minimum — one orange indicator
illuminated on the buttons
Average — two orange indicator
illuminated on the buttons
Maximum — three orange indicator
illuminated on the buttons
Push and hold the buttons for a few
seconds to activate the “fast maximum
heating” function.
After selecting one heating level, you
will need to wait for a few minutes until
warm seat is felt.
When the “maximum heating” setting is
selected, the heater produces a
boosted heat level for the first minutes
of operation. After this, the heat lowers
to reach the normal temperature level
for the selected function.
The “minimum heating” setting is
automatically deactivated once a
04066S0015EMSeatback Width Adjustment
4 — Seatback Width Adjustment But-
tons
5 — Driver Memory Seat Buttons
04066S0004EMHeated Seat Buttons
28
GETTING TO KNOW YOUR VEHICLE
Page 47 of 268

Climate Control Display
Settings
The Climate Control settings are visible
on the Connect radio screen.
The display on the Connect system is a
pop up window (1), which is activated
by pushing the buttons or turning the
knobs on the Climate Control system.
The indicator lights located on the a
number of the buttons and knobs
indicate that the selected feature is
on/off. If no operation is performed for a
predetermined time, the pop-up will
close on the display.
Air Temperature
Adjustment
Rotate the driver or passenger
Temperature Adjustment Knob to the
right for warmer temperatures or to the
left for cooler temperatures. The set
temperatures are shown on the
Connect system.
Push the SYNC button to sync the
driver and passenger air temperatures.
Rotate the passenger Temperature
Adjustment Knob to cancel the SYNC
function. This will set a new passenger
side temperature.
Rotate the Temperature Adjustment
Knob fully right to engage the HI
(maximum heating) setting or fully left to
engage the LO (maximum cooling)
setting. To deactivate these functions,
rotate the Temperature Adjustment
Knob to the desired temperature.
Air Distribution
Selection
Push the Air Distribution Selection
button on the faceplate to change the
mode of air distribution.
Air flow to the windshield and front
side window vents to
demist/defrost them.
Air flow at the central and side
dashboard vents to ventilate the
chest and the face.
Air flow to the front and rear floor
vents. This setting heats the
passenger compartment the
quickest.
Air flow distributed between the
floor vents (hotter air) and the
central and side dashboard vents
(cooler air). This air distribution
setting is useful on sunny days
during spring and autumn.
Air flow distributed between the
floor vents, windshield, and front
side window defrosting/demisting
vents. This distribution setting
warms the passenger
compartment while preventing the
windows from fogging up.
Air flow distribution between the
windshield demisting/defrosting
vents, and side/central dashboard
vents. This distribution setting
sends air to the windshield in
sunny conditions.
Air flow distribution to all vents on
the vehicle.
In AUTO mode, the Climate Controls
automatically manage the air
distribution. When set manually, the
respective symbols on the Connect
system indicate the air distribution
setting.
04156S0006EM1 — Climate Control Pop-up Display
45
Page 49 of 268

The engagement of the recirculation
system makes it possible to reach the
required heating or cooling conditions
faster. It is, however, inadvisable to use
it on rainy/cold days as it can increase
the possibility of the windows fogging.
When the outside temperature is low,
recirculation is forced off to prevent the
windows from fogging up.
A/C Compressor
Push the A/C buttonto activate or
deactivate the A/C compressor
(indicator illuminated when activated).
The A/C compressor will remain off
even after the engine has stopped.
When the A/C compressor is turned off,
the system deactivates air recirculation
to prevent the windows from fogging
up. If the climate control system can
maintain the temperature, with the A/C
turned off, the AUTO feature will remain
on and the AUTO button indicator light
will not switch off.
To restore automatic control of the A/C
compressor, push the A/C button
or
the AUTO button. With the A/C
compressor off, the air speed can be
set manually using the Air Speed
Adjustment Knob.
When the A/C compressor is on, and
the engine is running, air speed cannot
be lower than the minimum speed (only
one indicator light is lit). Note:
When the A/C is off the Climate
Control system can not produce air that
is colder than the current outside
temperature. Under certain
environmental conditions, windows
could fog up rapidly, since the air is not
dehumidified.
Front Defroster And
MAX-DEF Function
Push the Front Defroster button(indicator illuminated) to defrost the
windshield and side windows.
While in MAX-DEF function, the air
conditioner will:
Activate the air conditioner
compressor when the weather allows
Turn air recirculation off
Set the maximum air temperature (HI)
on both the driver and passenger side
Activate a blower speed based on
the temperature of the engine coolant
Adjust the air flow towards the
windshield and front side windows
Activate the Rear Window Defroster
Display the fan speed (indicators
illuminated) and current air distribution
setting
Note: The MAX-DEF function remains
active for approximately three minutes
once the engine coolant reaches the
proper temperature. When the function is on, AUTO mode
will deactivate. The only manual
operations possible are adjusting
blower speed and turning off the Rear
Window Defroster.
Pushing the
button switches off the
MAX-DEF function.
Rear Defroster
Push the Rear Defrosterbutton to
activate (indicators illuminated) the Rear
Defroster.
The Rear Defroster will turn off after
20 minutes or once the engine is turned
off. To reactive the Rear Defroster, push
the Rear Defroster
button.
Note: To avoid damage, do not apply
stickers over the interior heating
filaments of the Rear Defroster.
Humidity Sensor
The Humidity Sensor helps to prevent
the windows from fogging up. The
AUTO function (indicator illuminated)
must be on for the Humidity Sensor to
function.
When outside temperature is low, the
system may turn the compressor on
and turn air recirculation off for safer
driving.
47
Page 64 of 268

INSTRUMENT PANEL FEATURES
Instrument Cluster
1. Tachometer
2. Digital Engine Oil Temperature Gauge With Overheating Warning Light
3. Instrument Cluster Display
4.
Digital Fuel Level Gauge (The Triangle On The Left Side Of The Symbol Indicates The Side Of The Vehicle With The Fuel Door)
5. Speedometer (Speed Indicator)
05026S0006EMInstrument Cluster
62
GETTING TO KNOW YOUR INSTRUMENT PANEL
Page 74 of 268

Warning LightWhat It Means What To Do
AIR BAG FAILURE
This light will turn on for four to eight seconds as a bulb
check when the ignition is placed in the ON/RUN
position. If the light is either not on during startup, stays
on, or turns on while driving, have the system inspected
at an authorized dealer as soon as possible. This light
will illuminate with a single chime when a fault with the
Air Bag Warning Light has been detected, it will stay on
until the fault is cleared. If the light comes on
intermittently or remains on while driving, have an
authorized dealer service the vehicle immediately.If the problem persists, contact an authorized dealer.
SEAT BELT REMINDER WARNING LIGHT
When the ignition is first placed in the ON/RUN position,
if the driver’s seat belt is unbuckled, a chime will sound
and the light will turn on. When driving, if the driver or
front passenger seat belt remains unbuckled, the Seat
Belt Reminder Light will flash or remain on continuously
and a chime will sound. Refer to “Occupant Restraints”
in “Safety” for further information.
OIL TEMPERATURE WARNING LIGHT
The warning light switches on in the case of engine oil
overheating.
Stop the vehicle and shut off the engine as soon as
possible. If the problem persists, contact an authorized
dealer.
72
GETTING TO KNOW YOUR INSTRUMENT PANEL
Page 92 of 268

SymbolWhat It Means What To Do
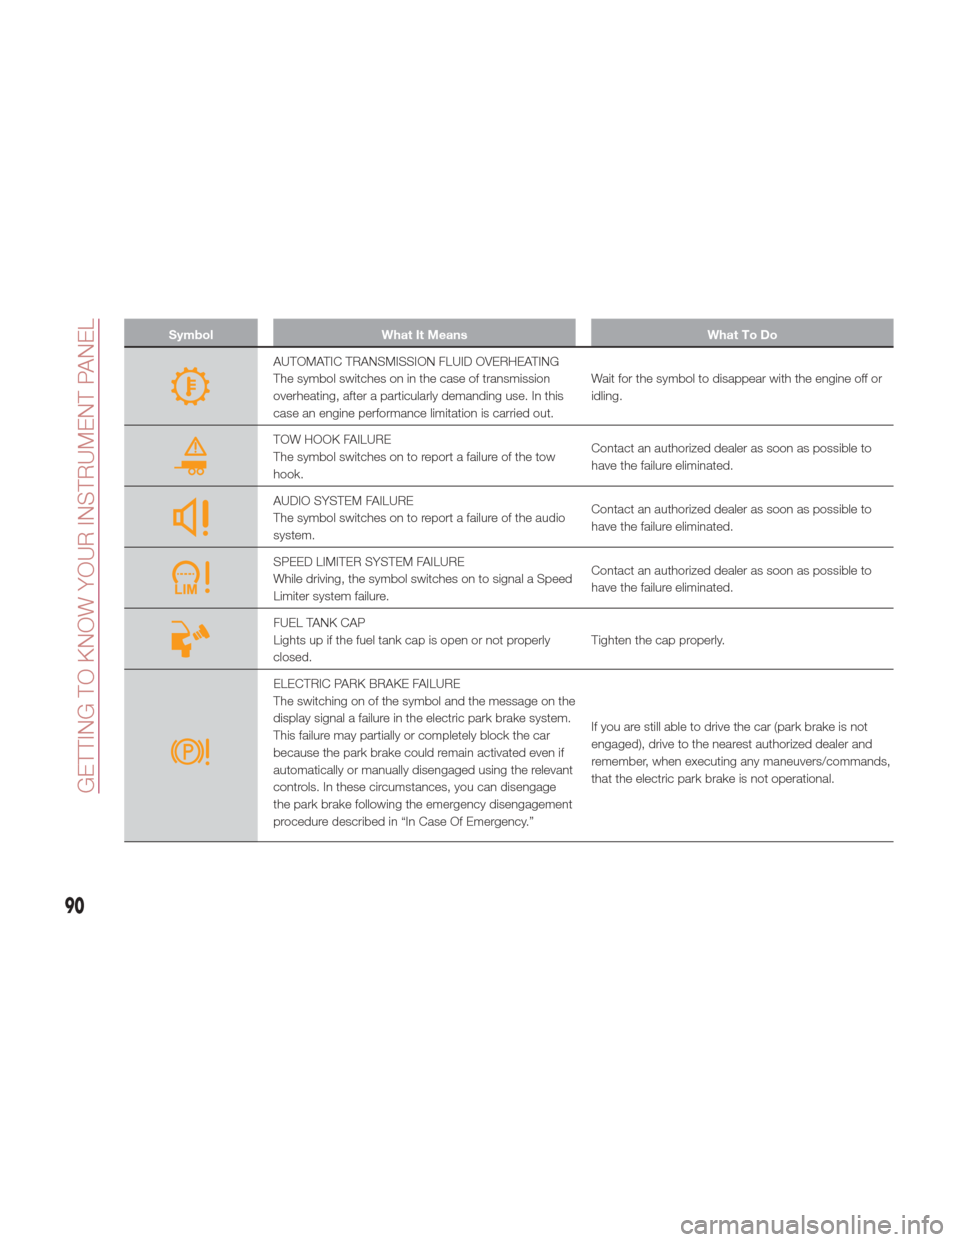
AUTOMATIC TRANSMISSION FLUID OVERHEATING
The symbol switches on in the case of transmission
overheating, after a particularly demanding use. In this
case an engine performance limitation is carried out.Wait for the symbol to disappear with the engine off or
idling.
TOW HOOK FAILURE
The symbol switches on to report a failure of the tow
hook.
Contact an authorized dealer as soon as possible to
have the failure eliminated.
AUDIO SYSTEM FAILURE
The symbol switches on to report a failure of the audio
system.Contact an authorized dealer as soon as possible to
have the failure eliminated.
SPEED LIMITER SYSTEM FAILURE
While driving, the symbol switches on to signal a Speed
Limiter system failure.Contact an authorized dealer as soon as possible to
have the failure eliminated.
FUEL TANK CAP
Lights up if the fuel tank cap is open or not properly
closed.
Tighten the cap properly.
ELECTRIC PARK BRAKE FAILURE
The switching on of the symbol and the message on the
display signal a failure in the electric park brake system.
This failure may partially or completely block the car
because the park brake could remain activated even if
automatically or manually disengaged using the relevant
controls. In these circumstances, you can disengage
the park brake following the emergency disengagement
procedure described in “In Case Of Emergency.”If you are still able to drive the car (park brake is not
engaged), drive to the nearest authorized dealer and
remember, when executing any maneuvers/commands,
that the electric park brake is not operational.
90
GETTING TO KNOW YOUR INSTRUMENT PANEL
Page 145 of 268

When leaving the vehicle, always make
sure the ignition is in the STOP/OFF mode,
remove the key fob from the vehicle, and
lock the vehicle.
Never leave children alone in a vehicle,
or with access to an unlocked vehicle.
Allowing children to be in a vehicle
unattended is dangerous for a number of
reasons. A child or others could be
seriously or fatally injured. Children should
be warned not to touch the park brake,
brake pedal or the transmission gear
selector.
Do not leave the key fob in or near the
vehicle (or in a location accessible to
children), and do not leave the ignition in
the ON mode. A child could operate power
windows, other controls, or move the
vehicle.
Caution!
Before moving the transmission gear
selector out of PARK, you must press the
ignition button to cycle from STOP/OFF
mode to the ON mode, and also press the
brake pedal. Otherwise, damage to the
gear selector could result.
DO NOT race the engine when shifting
from PARK or NEUTRAL into another gear
range, as this can damage the drivetrain.
REVERSE (R)
Select this mode only with the vehicle at
a standstill.
NEUTRAL (N)
Use this range when the vehicle is
standing for prolonged periods with the
engine running. The engine may be
started in this range. Apply the electric
park brake and shift the transmission
into PARK (P) if you must leave the
vehicle.
Warning!
Do not coast in NEUTRAL and never turn
off the ignition to coast down a hill. These
are unsafe practices that limit your
response to changing traffic or road
conditions. You might lose control of the
vehicle and have a collision.
DRIVE (D)
Use this mode in normal driving
conditions.
Shifting from DRIVE (D) to PARK (P) or
REVERSE (R) modes must take place
only after releasing the accelerator
pedal, with vehicle at a standstill and
brake pedal pressed.
This mode ensures automatic
engagement of the most suitable gears
for driving needs and maximum fuel
economy in terms of consumption. In this position, the transmission shifts
the gears automatically, selecting the
most suitable for forward driving among
those available as you go. In this way
the vehicle's optimal driving
characteristics are provided for all
conditions.
AutoStick
In the case of frequent shifting (e.g. for
sport driving, when the vehicle is driven
with a heavy load, on slopes, when
towing heavy trailers), it is
recommended to use the Autostick
(sequential shifting) mode to select and
keep a lower fixed ratio.
In these conditions, the use of a lower
gear improves vehicle performance,
preventing overheating.
It is possible to shift from DRIVE (D)
mode to sequential mode regardless of
vehicle speed.
Activation
Starting from DRIVE (D) mode, to
activate the sequential drive mode,
move the selector to the left (– and +
indication of the trim). The gear
engaged will be shown on the display.
Shifting is made by moving the gear
selector forwards, towards symbol – or
backwards, towards symbol +.
143
Page 153 of 268

System Manual
Activation/Deactivation
To manually activate/deactivate the
system, push the button located in the
control panel on the left of the steering
wheel.
System Activation
The activation of the system is indicated
by the
symbol lighting up on the
display. In this condition, the light on the
buttonisoff.
System Deactivation
A message will appear on the display
when the system is deactivated. In this
condition, the light on the button is on.
Note: Each time the engine is started,
the system is activated regardless of
where was when it was previously
switched off.
Possible Reasons The
Engine Does Not
Autostop
For higher comfort and increased
safety, and to reduce emissions, there
are certain conditions where the engine
will not stop despite the system being
active, such as:
Engine still cold.
Especially cold outside temperature.
Battery not sufficiently charged.
Driver's door not shut.
Driver's seat belt not fastened.
Reverse gear engaged (e.g. for
parking maneuvers).
With the automatic climate control
active, an adequate cabin heating or
cooling comfort has not been reached
or with MAX-DEF function active.
During the first period of use, to
initialize the system.
Steering angle beyond threshold.
Engine Restarting
Conditions
Due to comfort, emission control and
safety reasons, the engine can restart
automatically without any action by the
driver, under special conditions, such
as:
Battery not sufficiently charged.
Reduced braking system vacuum
(e.g. if the brake pedal is pressed
repeatedly).
Vehicle moving (e.g. when driving on
roads with a grade).
Engine stopping by the Stop/Start
Evo system for more than approx. three
minutes.
With the automatic climate control
active, an adjustment in cabin heating
or cooling is made or with MAX-DEF
function active.
Safety Functions
When the engine is stopped through
the Stop/Start Evo system, if the driver
releases their seat belt, opens the
driver's or passenger's door, or opens
the hood from inside the vehicle, the
engine can be restarted only by using
the ignition.
This condition is indicated to the driver
both through a buzzer and a message
on the instrument cluster display.
Irregular Operation
In the event of malfunction, the
Stop/Start Evo system is deactivated.
For failure indications, see the "Warning
Lights and Messages" paragraph,
"Getting To Know Your Instrument
Panel" chapter.
Vehicle Inactivity
In the event of vehicle inactivity (or if the
battery is replaced), special attention
must be paid to the disconnection of
the battery power supply.
07126S0051EMStop/Start Evo Button
151