Page 2333 of 3641

MA-18
< PERIODIC MAINTENANCE >
ENGINE MAINTENANCE
ENGINE COOLANT : Flushing Cooling System
INFOID:0000000012432255
1. Install radiator drain plug and reservoir tank, if removed.
CAUTION:
Be sure to clean drain plug and install with new O-ring.
2. If water drain plugs on cylinder block were removed, close and tighten them. Refer to EM-93, "
Exploded
View".
3. Remove air duct from between air cleaner case and electric throttle control actuator. Refer to EM-26,
"Removal and Installation".
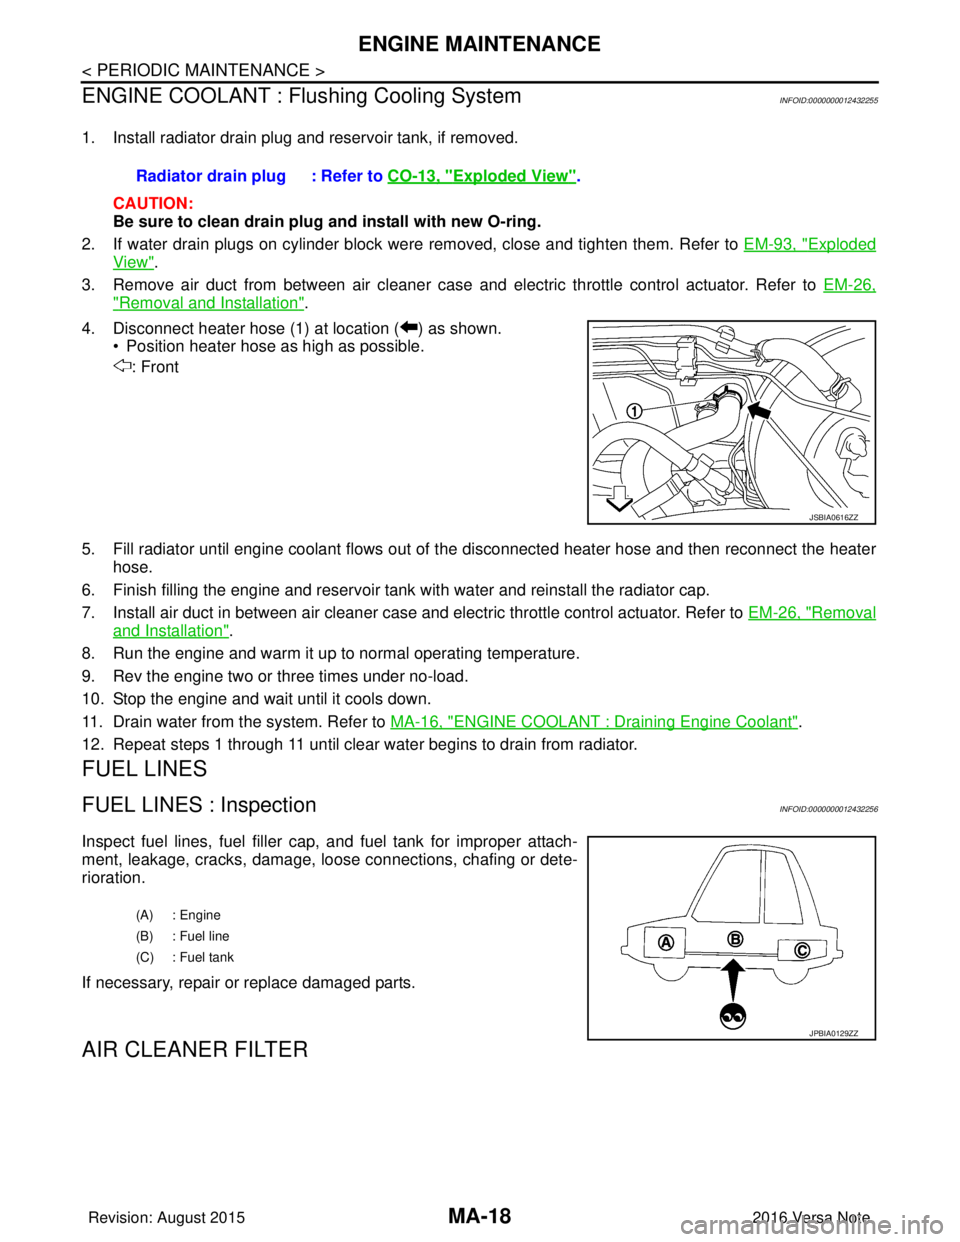
4. Disconnect heater hose (1) at location ( ) as shown. • Position heater hose as high as possible.
: Front
5. Fill radiator until engine coolant flows out of the disconnected heater hose and then reconnect the heater
hose.
6. Finish filling the engine and reservoir tank with water and reinstall the radiator cap.
7. Install air duct in between air cleaner case and electric throttle control actuator. Refer to EM-26, "
Removal
and Installation".
8. Run the engine and warm it up to normal operating temperature.
9. Rev the engine two or three times under no-load.
10. Stop the engine and wait until it cools down.
11. Drain water from the system. Refer to MA-16, "
ENGINE COOLANT : Draining Engine Coolant".
12. Repeat steps 1 through 11 until clear water begins to drain from radiator.
FUEL LINES
FUEL LINES : InspectionINFOID:0000000012432256
Inspect fuel lines, fuel filler cap, and fuel tank for improper attach-
ment, leakage, cracks, damage, l oose connections, chafing or dete-
rioration.
If necessary, repair or replace damaged parts.
AIR CLEANER FILTER
Radiator drain plug : Refer to CO-13, "Exploded View".
JSBIA0616ZZ
(A) : Engine
(B) : Fuel line
(C) : Fuel tank
JPBIA0129ZZ
Revision: August 2015 2016 Versa Note
cardiagn.com
Page 2334 of 3641
ENGINE MAINTENANCEMA-19
< PERIODIC MAINTENANCE >
C
DE
F
G H
I
J
K L
M B
MA
N
O A
AIR CLEANER FILTER : Exploded ViewINFOID:0000000012432257
AIR CLEANER FILTER : Removal and InstallationINFOID:0000000012432258
REMOVAL
1. Unhook clips (A) and pull the air cleaner cover (1) upward.
1. Air cleaner cover
2. Mass air flow sensor 3. Gasket
4. Clamp 5. Air duct 6. Clamp
7. Hose 8. Clamp 9. Grommet
10. Grommet insert 11. Grommet 12. Grommet insert
13. Air duct inlet 14. Air cleaner body 15. Air cleaner filter
A. To electric throttle contro l actuator B. To rocker cover
AWBIA2082ZZ
JSBIA1092ZZ
Revision: August 2015 2016 Versa Note
cardiagn.com
Page 2335 of 3641

MA-20
< PERIODIC MAINTENANCE >
ENGINE MAINTENANCE
2. Remove the air cleaner filter (1) from the air cleaner body.
INSTALLATION
Installation is in the reverse order of removal.
NOTE:
Check that the air cleaner filter is securely placed in the air cleaner body.
ENGINE OIL
ENGINE OIL : InspectionINFOID:0000000012432259
ENGINE OIL LEVEL
NOTE:
Before starting engine, position the vehicle so that it is level and check the engine oil level. If engine is already
started, stop it and allow 10 minutes before checking.
1. Pull out oil level gauge and wipe it clean.
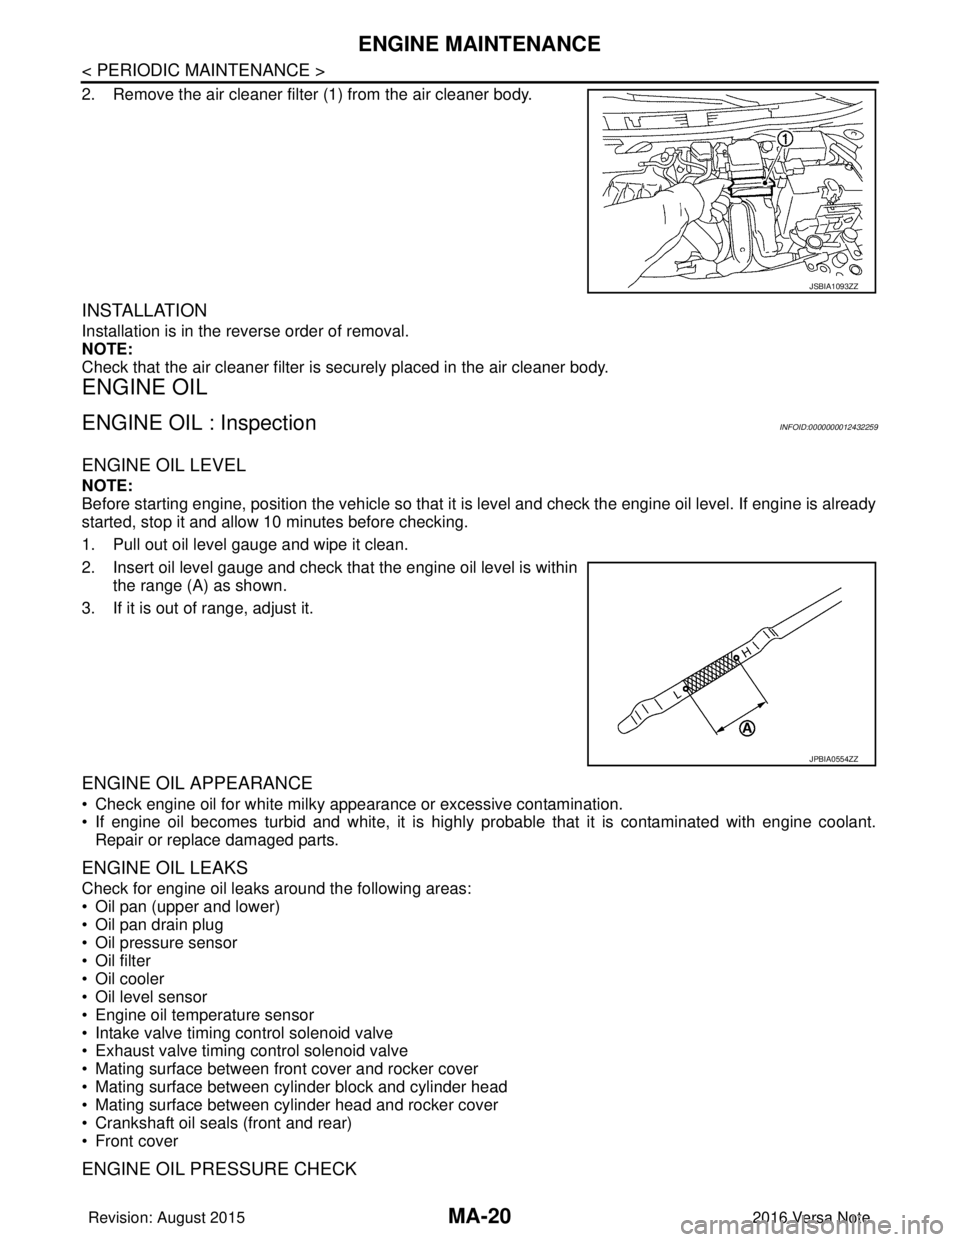
2. Insert oil level gauge and check that the engine oil level is withinthe range (A) as shown.
3. If it is out of range, adjust it.
ENGINE OIL APPEARANCE
• Check engine oil for white milky appearance or excessive contamination.
• If engine oil becomes turbid and white, it is highl y probable that it is contaminated with engine coolant.
Repair or replace damaged parts.
ENGINE OIL LEAKS
Check for engine oil leaks around the following areas:
• Oil pan (upper and lower)
• Oil pan drain plug
• Oil pressure sensor
• Oil filter
• Oil cooler
• Oil level sensor
• Engine oil temperature sensor
• Intake valve timing control solenoid valve
• Exhaust valve timing control solenoid valve
• Mating surface between front cover and rocker cover
• Mating surface between cylinder block and cylinder head
• Mating surface between cylinder head and rocker cover
• Crankshaft oil seals (front and rear)
• Front cover
ENGINE OIL PRESSURE CHECK
JSBIA1093ZZ
JPBIA0554ZZ
Revision: August 2015 2016 Versa Note
cardiagn.com
Page 2337 of 3641

MA-22
< PERIODIC MAINTENANCE >
ENGINE MAINTENANCE
CAUTION:
• The refill capacity depends on the engine oil temperature and drain time. Use these specifica-
tions for reference only.
• Always use oil level gauge to determine the pr oper amount of engine oil in the engine.
3. Warm up engine and check area around drain plug and oil filter for engine oil leaks. Repair as necessary.
4. Stop engine and wait for 10 minutes.
5. Check the engine oil level. Refer to MA-20, "
ENGINE OIL : Inspection".
OIL FILTER
OIL FILTER : Removal and InstallationINFOID:0000000012432262
REMOVAL
1. Drain engine oil. Refer to MA-21, "ENGINE OIL : Draining".
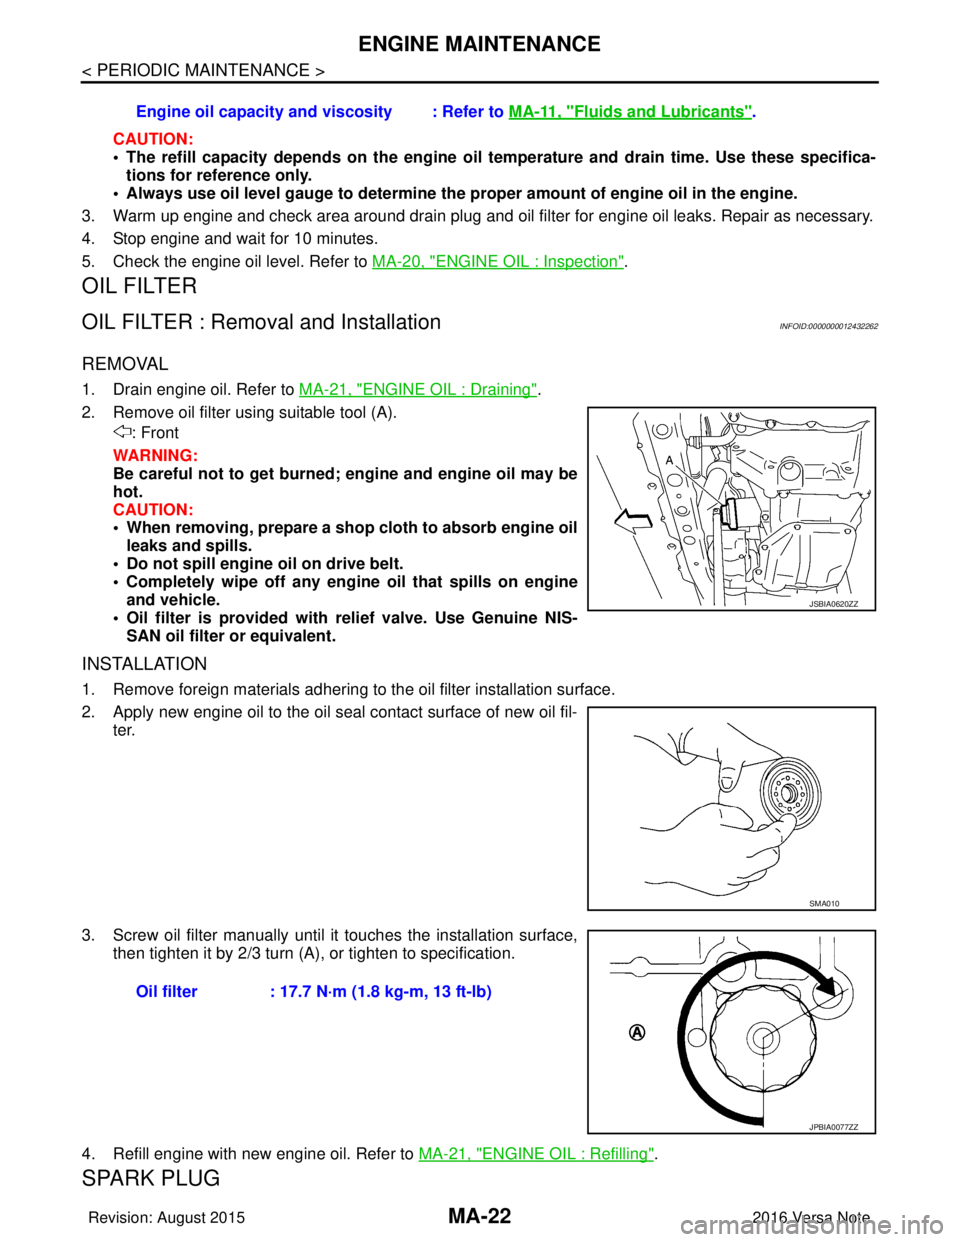
2. Remove oil filter using suitable tool (A). : Front
WARNING:
Be careful not to get burned; engine and engine oil may be
hot.
CAUTION:
• When removing, prepare a shop cloth to absorb engine oil leaks and spills.
• Do not spill engine oil on drive belt.
• Completely wipe off any engine oil that spills on engine
and vehicle.
• Oil filter is provided with relief valve. Use Genuine NIS- SAN oil filter or equivalent.
INSTALLATION
1. Remove foreign materials adhering to the oil filter installation surface.
2. Apply new engine oil to the oil seal contact surface of new oil fil- ter.
3. Screw oil filter manually until it touches the installation surface,
then tighten it by 2/3 turn (A), or tighten to specification.
4. Refill engine with new engine oil. Refer to MA-21, "
ENGINE OIL : Refilling".
SPARK PLUG
Engine oil capacity and viscosity : Refer to MA-11, "Fluids and Lubricants".
JSBIA0620ZZ
SMA010
Oil filter : 17.7 N·m (1.8 kg-m, 13 ft-lb)
JPBIA0077ZZ
Revision: August 2015 2016 Versa Note
cardiagn.com