Page 265 of 333

Stowage areas
Stowage compartments
Important safety notes G
WARNING
If objects in the passenger compartment are
stowed incorrectly, they can slide or be
thrown around and hit vehicle occupants. In
addition, cupholders, open stowage spaces
and mobile phone brackets cannot always
retain all objects they contain. There is a risk of injury, particularly in the event of sudden
braking or a sudden change in direction.
R Always stow objects so that they cannot be
thrown around in such situations.
R Always make sure that objects do not pro-
trude from stowage spaces, parcel nets or
stowage nets.
R Close the lockable stowage spaces before
starting a journey.
R Always stow and secure heavy, hard, poin-
ted, sharp-edged, fragile or bulky objects in
the boot.
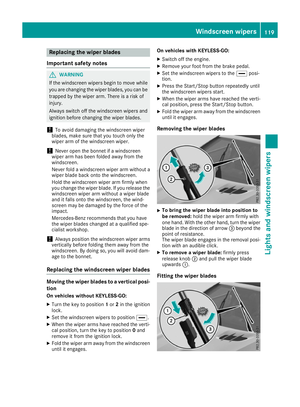
Glove compartment X
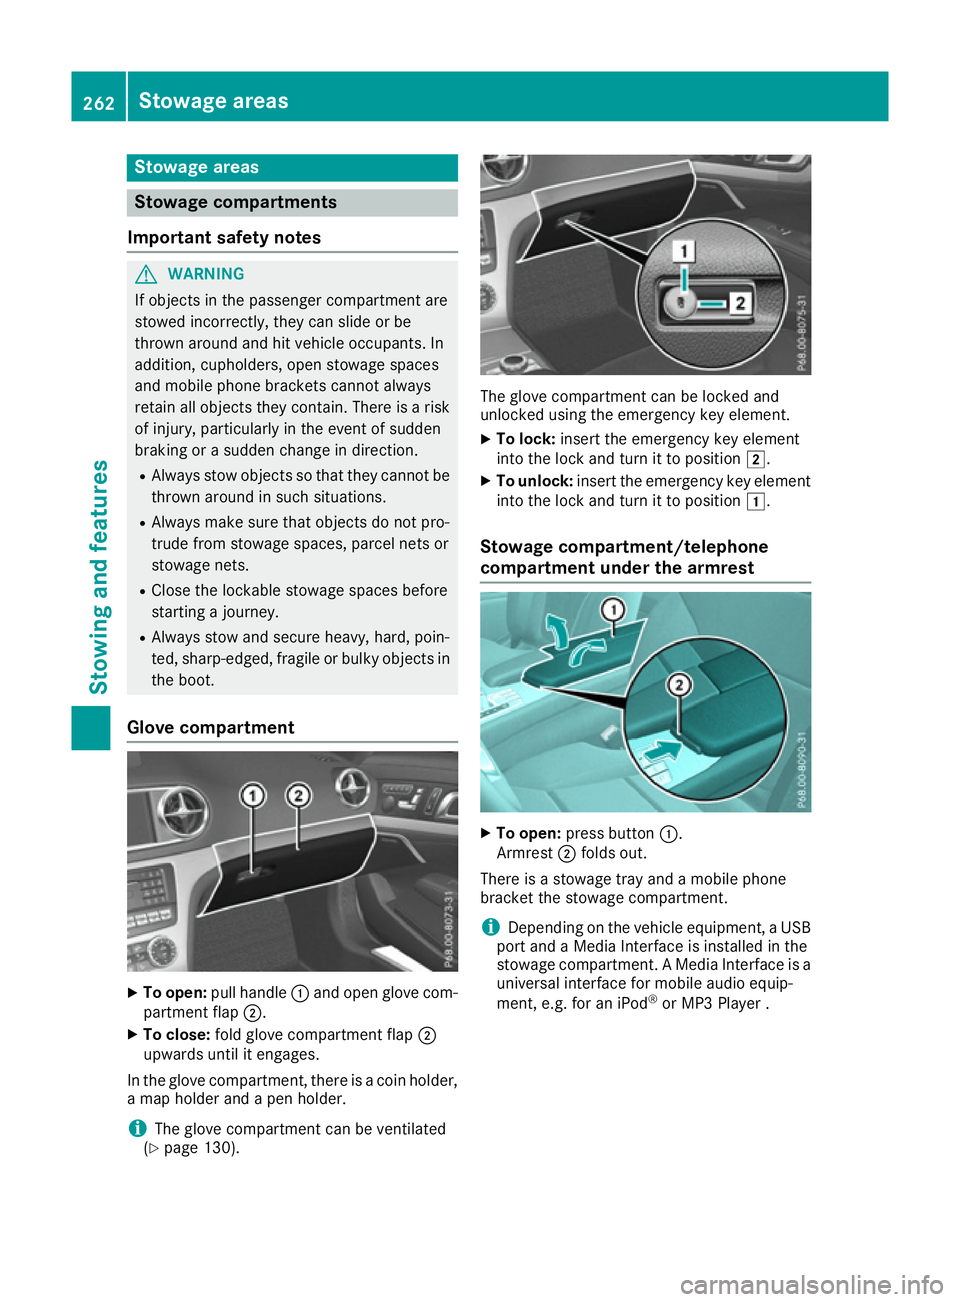
To open: pull handle :and open glove com-
partment flap ;.
X To close: fold glove compartment flap ;
upwards until it engages.
In the glove compartment, there is a coin holder, a map holder and a pen holder.
i The glove compartment can be ventilated
(Y page 130). The glove compartment can be locked and
unlocked using the emergency key element.
X To lock: insert the emergency key element
into the lock and turn it to position 2.
X To unlock: insert the emergency key element
into the lock and turn it to position 1.
Stowage compartment/telephone
compartment under the armrest X
To open: press button :.
Armrest ;folds out.
There is a stowage tray and a mobile phone
bracket the stowage compartment.
i Depending on the vehicle equipment, a USB
port and a Media Interface is installed in the
stowage compartment. A Media Interface is a universal interface for mobile audio equip-
ment, e.g. for an iPod ®
or MP3 Player . 262
Stowage areasStowing and features
Page 266 of 333

Spectacles compartment
X
To open: press marking :.
Spectacles compartment ;opens.
Make sure that the spectacles compartment is
always closed while the vehicle is in motion.
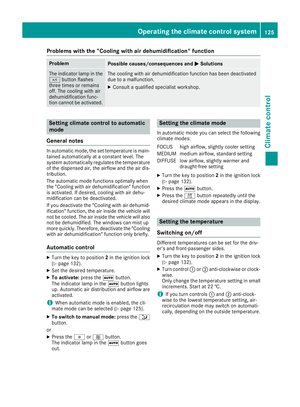
Stowage compartment in the centre
console X
To open: briefly press the trim of cover :.
X To remove the rubber mat: grip the rubber
mat by its tabs and pull it upwards.
X To insert the rubber mat: push the rubber
mat into the casing.
X To close: fold cover :downwards until it
engages.
You can remove the rubber mat for the stowage
compartment to clean it. Wash it with clean,
lukewarm water only.
Depending on the vehicle's equipment, the
stowage compartment for the centre console
contains a cup holder and an ashtray. Umbrella holder
Example: left side of the vehicle
There are umbrella holders in the door stowage
compartments on both sides of the vehicle. One compact umbrella can be stowed per side.
X To remove: take hold of strap ;and pull
umbrella holder :out of the stowage com-
partment in the direction of the arrow.
X To insert: push umbrella holder :in the
opposite direction to the arrow and into the
stowage compartment until it engages.
You can remove the umbrella holder to clean it. Wash it with clean, lukewarm water only.
Stowage compartment in the rear
centre console X
To open: slide cover :in the direction of the
arrow.
On vehicles equipped with a fire extinguisher,
the fire extinguisher is fitted in the stowage
compartment (Y page 287).
On vehicles equipped with a bottle holder, the
bottle holder is located in the stowage compart- ment (Y page 267). Stowage areas
263Stowing and features Z
Page 267 of 333

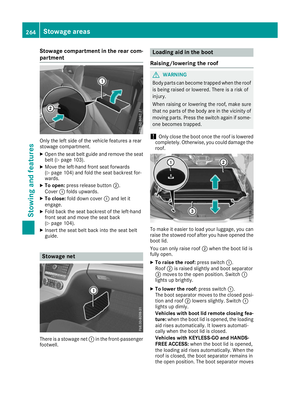
Stowage compartment in the rear com-
partment Only the left side of the vehicle features a rear
stowage compartment.
X Open the seat belt guide and remove the seat
belt (Y page 103).
X Move the left-hand front seat forwards
(Y page 104) and fold the seat backrest for-
wards.
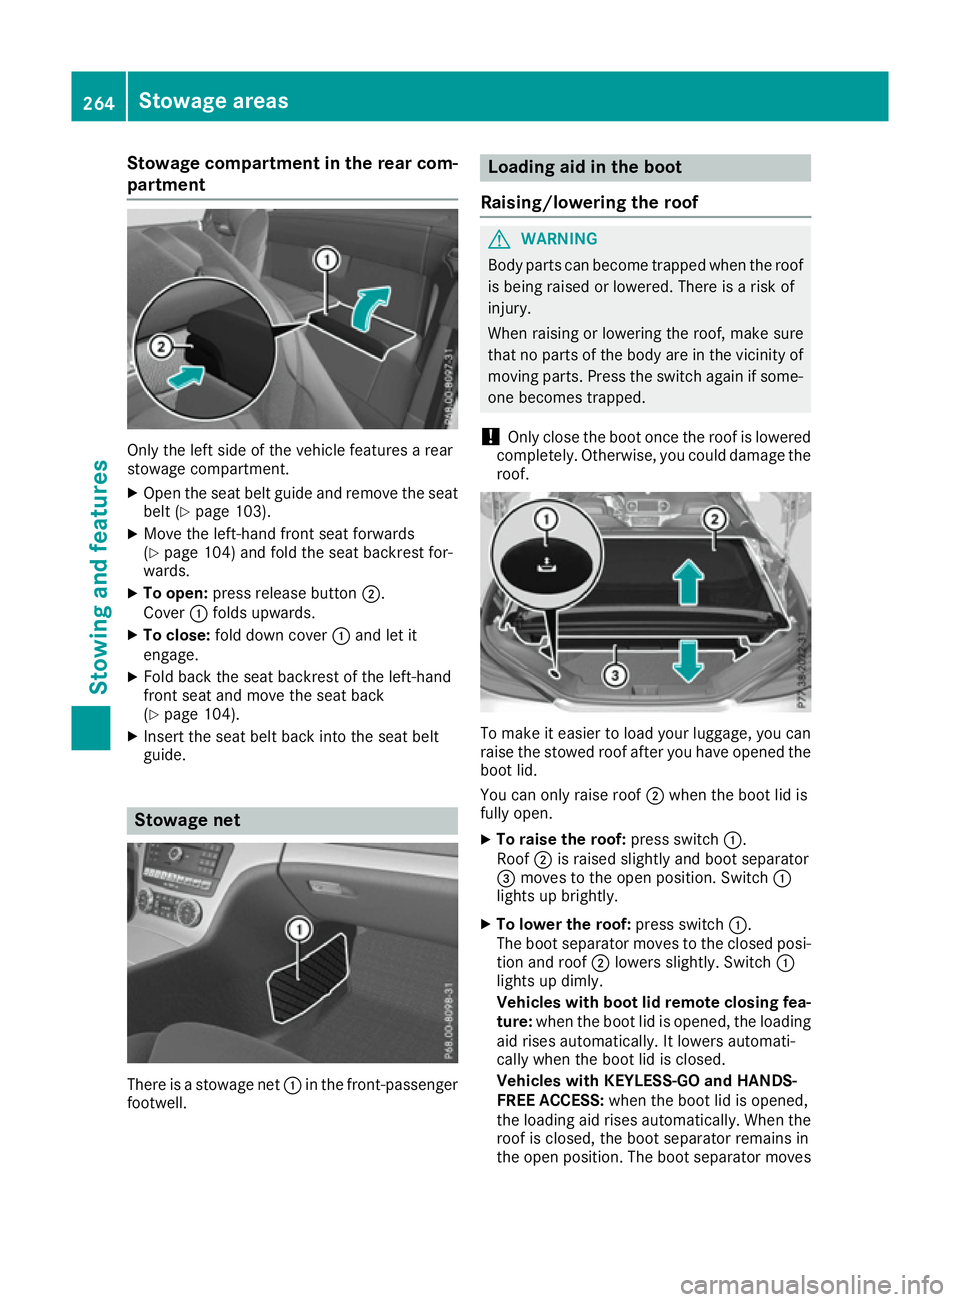
X To open: press release button ;.
Cover :folds upwards.
X To close: fold down cover :and let it
engage.
X Fold back the seat backrest of the left-hand
front seat and move the seat back
(Y page 104).
X Insert the seat belt back into the seat belt
guide. Stowage net
There is a stowage net
:in the front-passenger
footwell. Loading aid in the boot
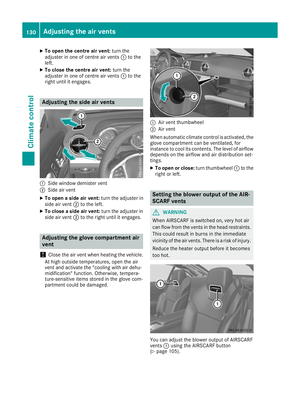
Raising/lowering the roof G
WARNING
Body parts can become trapped when the roof is being raised or lowered. There is a risk of
injury.
When raising or lowering the roof, make sure
that no parts of the body are in the vicinity of moving parts. Press the switch again if some-
one becomes trapped.
! Only close the boot once the roof is lowered
completely. Otherwise, you could damage the roof. To make it easier to load your luggage, you can
raise the stowed roof after you have opened the boot lid.
You can only raise roof ;when the boot lid is
fully open.
X To raise the roof: press switch:.
Roof ;is raised slightly and boot separator
= moves to the open position. Switch :
lights up brightly.
X To lower the roof: press switch:.
The boot separator moves to the closed posi- tion and roof ;lowers slightly. Switch :
lights up dimly.
Vehicles with boot lid remote closing fea-
ture: when the boot lid is opened, the loading
aid rises automatically. It lowers automati-
cally when the boot lid is closed.
Vehicles with KEYLESS-GO and HANDS-
FREE ACCESS: when the boot lid is opened,
the loading aid rises automatically. When the
roof is closed, the boot separator remains in
the open position. The boot separator moves 264
Stowage areasStowing and features
Page 268 of 333
to the closed position automatically when the
roof is lowered. Sto
wage areas
265Stowing and features Z
Page 269 of 333

Problems with the loading aid
Problem
Possible causes/consequences and
M
MSolutions It is no longer possible to
lower the stowed roof in
the boot using the load-
ing aid. You cannot close the boot any more.
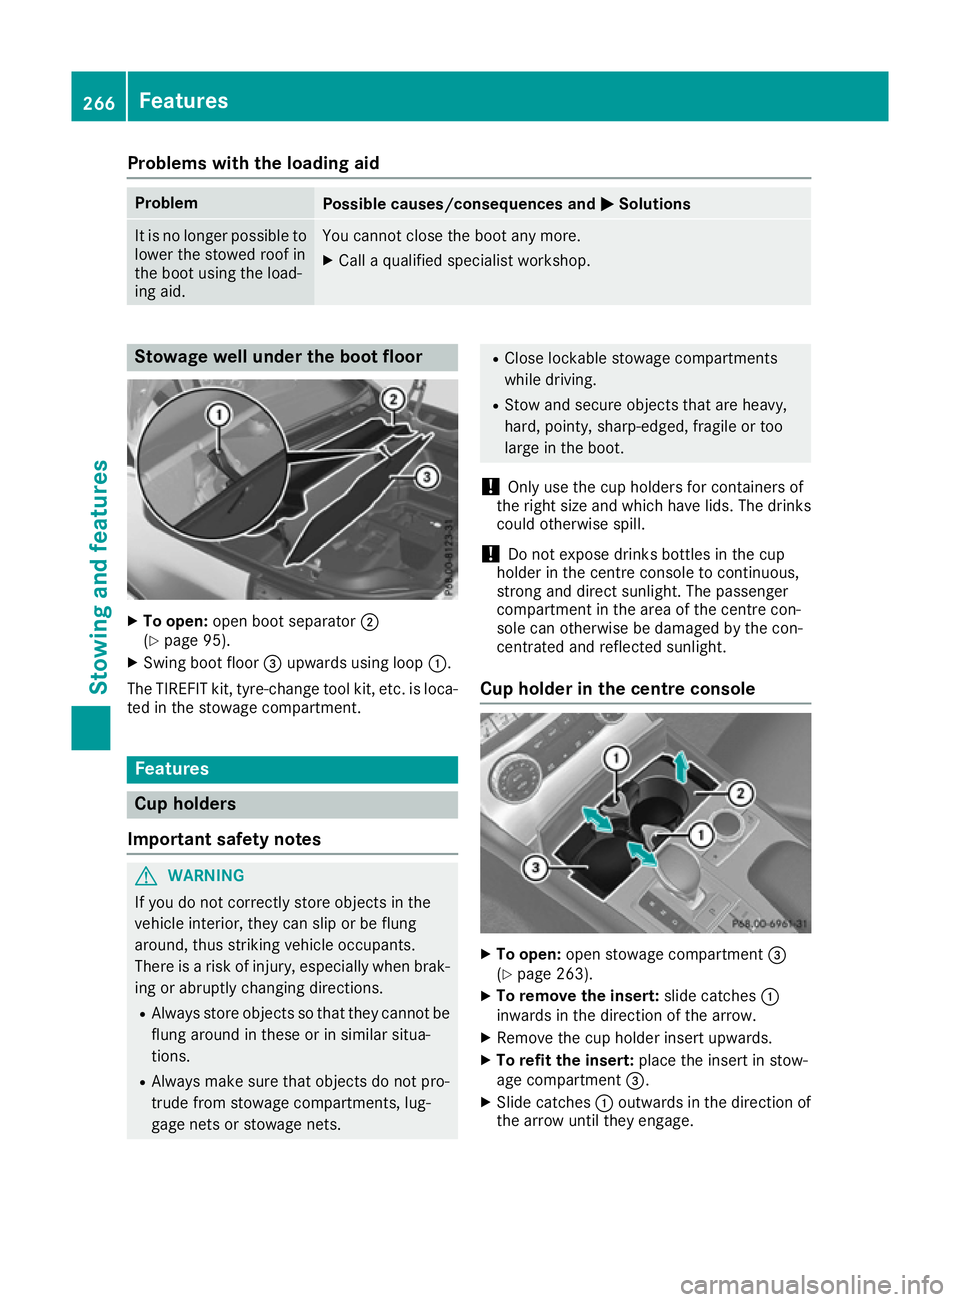
X Call a qualified specialist workshop. Stowage well under the boot floor
X
To open: open boot separator ;
(Y page 95).
X Swing boot floor =upwards using loop :.
The TIREFIT kit, tyre-change tool kit, etc. is loca-
ted in the stowage compartment. Features
Cup holders
Important safety notes G
WARNING
If you do not correctly store objects in the
vehicle interior, they can slip or be flung
around, thus striking vehicle occupants.
There is a risk of injury, especially when brak- ing or abruptly changing directions.
R Always store objects so that they cannot be
flung around in these or in similar situa-
tions.
R Always make sure that objects do not pro-
trude from stowage compartments, lug-
gage nets or stowage nets. R
Close lockable stowage compartments
while driving.
R Stow and secure objects that are heavy,
hard, pointy, sharp-edged, fragile or too
large in the boot.
! Only use the cup holders for containers of
the right size and which have lids. The drinks could otherwise spill.
! Do not expose drinks bottles in the cup
holder in the centre console to continuous,
strong and direct sunlight. The passenger
compartment in the area of the centre con-
sole can otherwise be damaged by the con-
centrated and reflected sunlight.
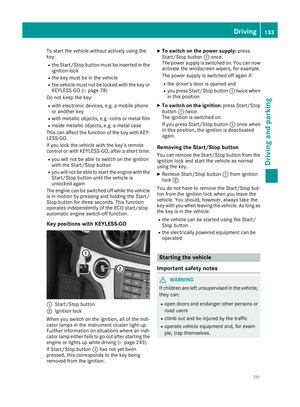
Cup holder in the centre console X
To open: open stowage compartment =
(Y page 263).
X To remove the insert: slide catches:
inwards in the direction of the arrow.
X Remove the cup holder insert upwards.
X To refit the insert: place the insert in stow-
age compartment =.
X Slide catches :outwards in the direction of
the arrow until they engage. 266
FeaturesStowing and features
Page 270 of 333

You can remove the rubber mat of the cup
holder to clean it. Wash it with clean, lukewarm water only.
Reducer ;can be removed. In this way, you
can place large and small containers in the cup
holder.
X To remove: grip reducer ;and pull out
upwards in the direction of the arrow.
X To insert: place reducer ;into the cup
holder and push it downwards against the
direction of the arrow to the stop. Bottle holders
Observe the "Important safety notes" in the
"Stowage compartments" section (Y page 262).X
To open: open the stowage compartment
(Y page 263).
X To remove the insert: slide catches:
inwards in the direction of the arrow.
X Lift bottle holder insert ;up and remove.
X To refit the insert: place insert;in the
stowage compartment.
X Slide catches :outwards in the direction of
the arrow until they engage.
The bottle holder does not secure bottles; it
merely prevents them from tipping over. Sun visors
Overview :
Mirror light
; Retainer
= Retaining strip, e.g. for a car park ticket
? Vanity mirror
A Mirror cover Ashtray
X
To open: open stowage compartment :
(Y page 263).
X To remove the insert: pull insert;up in the
direction of the arrow, out of the cup holder.
X To refit the insert: push insert;on the left-
hand side into the cup holder.
i Only refit insert
;on the left-hand side of
the cup holder. Features
267Stowing and features Z
Page 271 of 333

Cigarette lighter
G
WARNING
You can burn yourself if you touch the hot
heating element or the socket of the cigarette lighter.
In addition, flammable materials can ignite if:
R the hot cigarette lighter falls
R a child holds the hot cigarette lighter to
objects, for example
There is a risk of fire and injury.
Always hold the cigarette lighter by the knob.
Always make sure that the cigarette lighter is
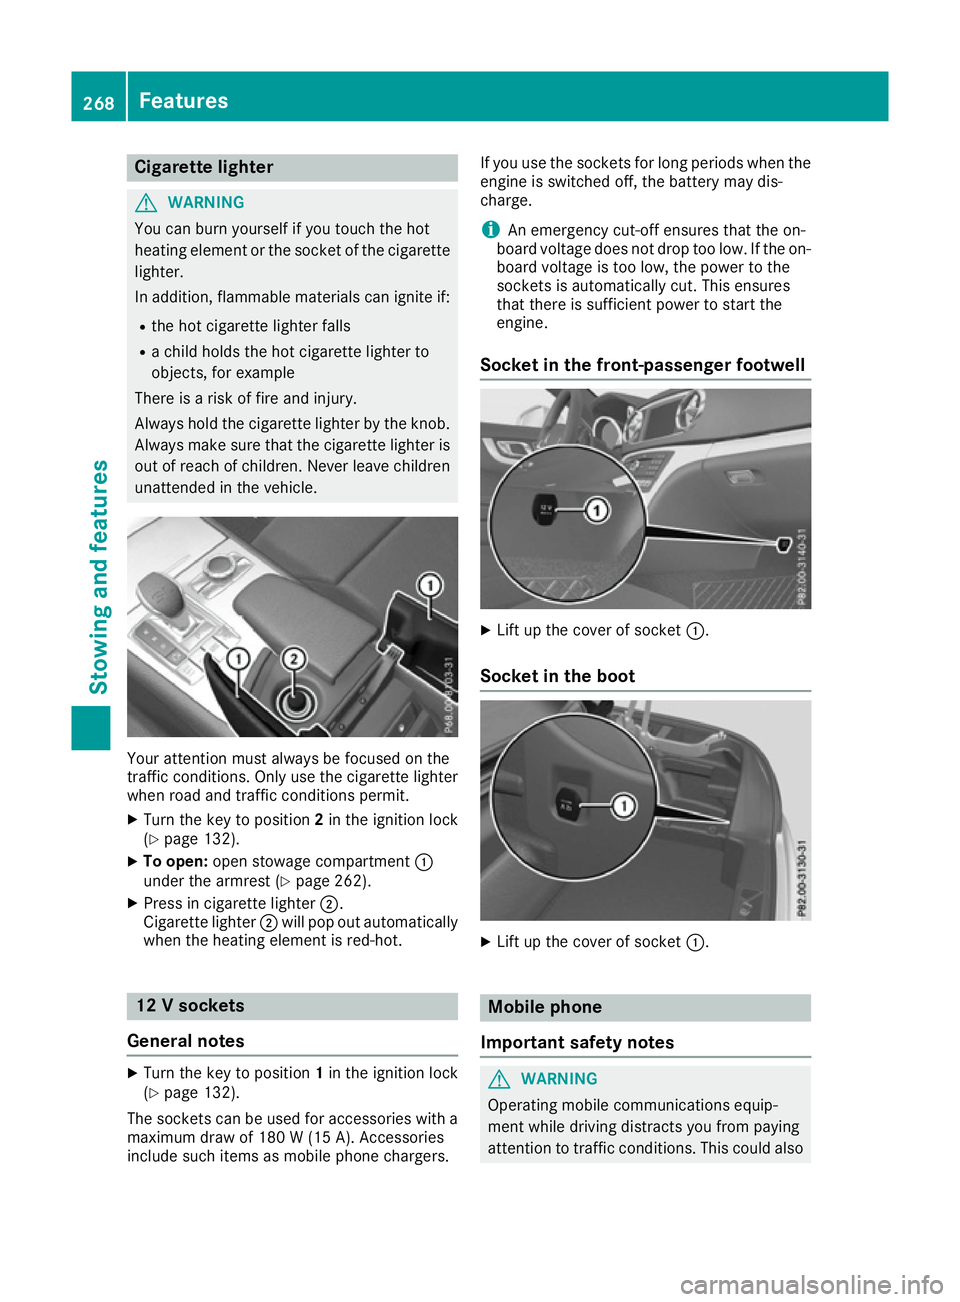
out of reach of children. Never leave children unattended in the vehicle. Your attention must always be focused on the
traffic conditions. Only use the cigarette lighter
when road and traffic conditions permit.
X Turn the key to position 2in the ignition lock
(Y page 132).
X To open: open stowage compartment :
under the armrest (Y page 262).
X Press in cigarette lighter ;.
Cigarette lighter ;will pop out automatically
when the heating element is red-hot. 12 V sockets
General notes X
Turn the key to position 1in the ignition lock
(Y page 132).
The sockets can be used for accessories with a
maximum draw of 180 W (15A). Accessories
include such items as mobile phone chargers. If you use the sockets for long periods when the
engine is switched off, the battery may dis-
charge.
i An emergency cut-off ensures that the on-
board voltage does not drop too low. If the on-
board voltage is too low, the power to the
sockets is automatically cut. This ensures
that there is sufficient power to start the
engine.
Socket in the front-passenger footwell X
Lift up the cover of socket :.
Socket in the boot X
Lift up the cover of socket :. Mobile phone
Important safety notes G
WARNING
Operating mobile communications equip-
ment while driving distracts you from paying
attention to traffic conditions. This could also 268
FeaturesStowing and fea
tures
Page 272 of 333

cause you to lose control of the vehicle. There
is a risk of an accident.
Use this device only when the vehicle is sta-
tionary.
i You must observe the legal requirements for
the country in which you are currently driving
when operating mobile communications
equipment in the vehicle.
If it is permitted by law to operate communi-
cations equipment while the vehicle is in
motion, you may only do so if the traffic sit-
uation permits. You may otherwise be dis-
tracted from the traffic conditions, cause an
accident and injure yourself and others.
Excessive levels of electromagnetic radiation
may cause damage to your health and to the
health of others. The use of an exterior aerial
takes into consideration the scientific discus-
sion surrounding the possible health risk posed
by electromagnetic fields.
Mercedes-Benz recommends the use of an
approved exterior aerial. This ensures:
R optimal mobile phone reception quality in the
vehicle
R that mutual interference between the vehicle
electronics and mobile phones is minimised
An exterior aerial has the following advantages:
R it conducts the electromagnetic fields gener-
ated by a wireless device to the exterior
R the field strength in the vehicle interior is
lower than in a vehicle that does not have an
exterior aerial
Information on retrofitting two-way radios and
mobile phones (RF transmitters) (Y page 320).
General notes There are various mobile phone brackets that
may be fitted in your vehicle; in some cases,
these are country-specific.
You can connect a Bluetooth ®
-capable mobile
phone with COMAND Online through the Blue-
tooth ®
interface. This also applies if your vehicle
is equipped with convenience telephony. More information on suitable mobile phones,
mobile phone brackets and on connecting Blue-
tooth ®
-capable mobile phones with COMAND
Online can be obtained:
R at your Mercedes-Benz Service Centre
R on the Internet at https://www.mercedes-
benz.com/de/mercedes-me/
konnektivitaet/
i The functions and services available when
you use the phone depend on your mobile
phone model and service provider.
Using a mobile phone If the mobile phone is inserted in the mobile
phone bracket, the mobile phone will be
charged and connected with the exterior aerial.
X Open the telephone compartment
(Y page 262).
X Place the mobile phone bracket into the pre-
installed fitting; see the separate installation
instructions for the mobile phone fitting.
X Insert the mobile phone into the mobile phone
bracket; see the separate installation instruc-
tions for the mobile phone fitting.
Operating the mobile phone You can operate the telephone using the
6
and ~ buttons on the multifunction steering
wheel. You can operate other mobile phone
functions via the on-board computer
(Y page 205).
When you remove the key from the ignition lock,
the mobile phone is disconnected from the
hands-free system. Active calls will first be
transferred to the mobile phone directly. Garage door opener
General notes The HomeLink
®
garage door opener integrated
in the rear-view mirror allows you to operate up
to three different door and gate systems.
Once programmed, the integrated garage door
opener in the rear-view mirror will assume the
function of the garage door system's remote
control. Please also read the operating instruc-
tions for the garage door system. Features
269Stowing and features Z