2016 MERCEDES-BENZ G-CLASS SUV buttons
[x] Cancel search: buttonsPage 143 of 261

When the auxiliary heating is switched on,
make sure that:
R no flammable materials come into contact
with hot vehicle components
R the exhaust gas can escape from the
exhaust pipe unhindered
R the exhaust gas does not come into contact
with flammable materials.
! Operatin
gthe auxiliary heating/ventilation
draws on the vehicle battery. After you have
heated or ventilated the vehicle amaximum of
two times, drive for alonger distance.
Only vehicles with auxiliary heating have this
function (Y page 89).
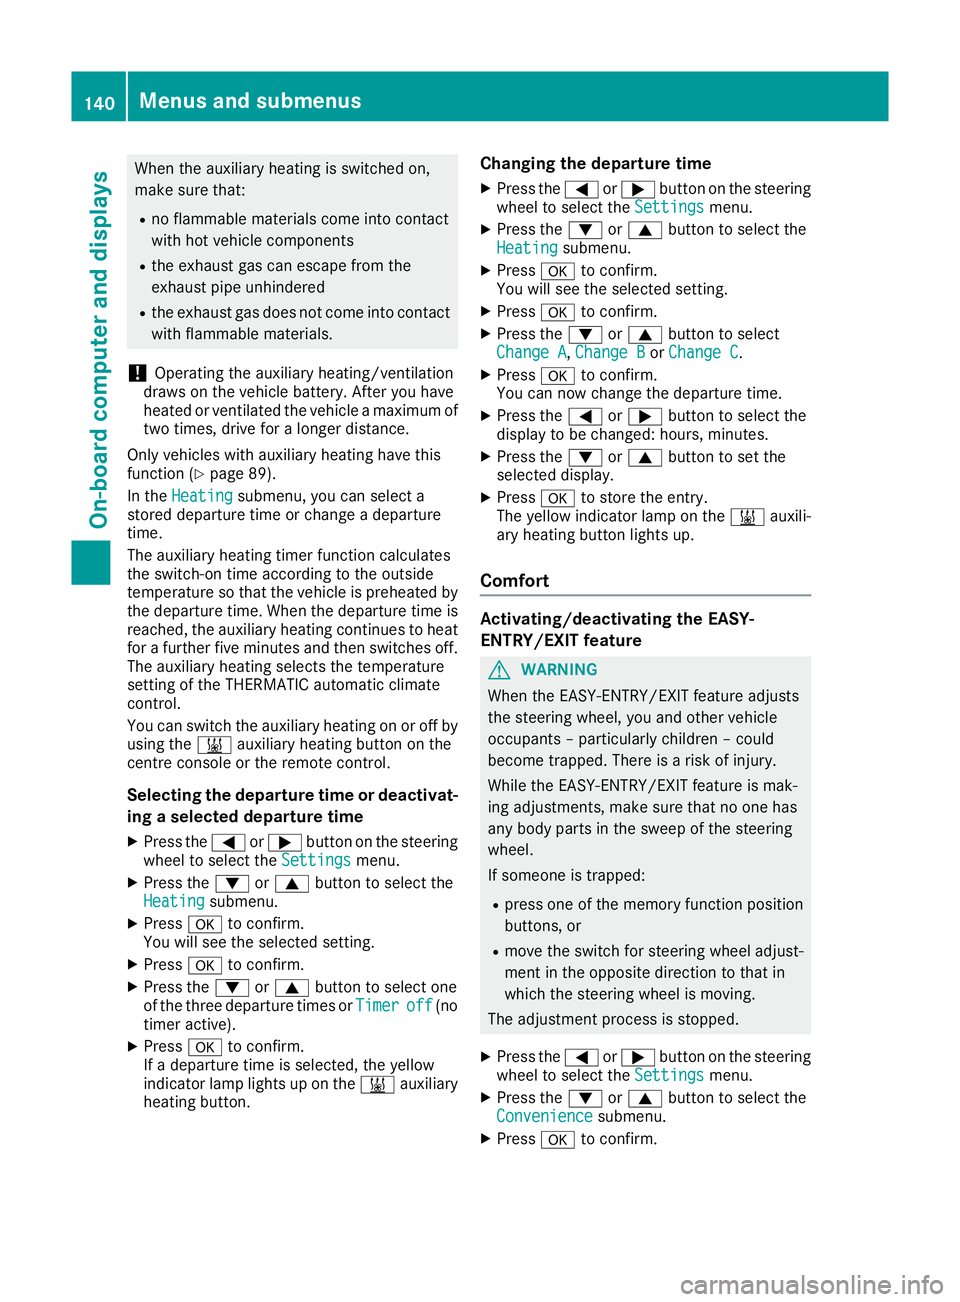
In the Heating Heating submenu, you can select a
stored departure time or change adeparture
time.
The auxiliary heating timer function calculates
the switch-on time accordin gtothe outside
temperature so that the vehicle is preheated by the departure time. When the departure time isreached, the auxiliary heating continues to heat for afurther five minutes and then switches off.
The auxiliary heating selects the temperature
setting of the THERMATIC automatic climate
control.
You can switch the auxiliary heating on or off by
using the &auxiliary heating button on the
centre console or the remot econtrol.
Selecting the departure time or deactivat- ing aselected departure time
X Press the =or; button on the steering
wheel to select the Settings Settingsmenu.
X Press the :or9 button to select the
Heating
Heating submenu.
X Press ato confirm.
You will see the selected setting.
X Press ato confirm.
X Press the :or9 button to select one
of the three departur etimes or Timer
Timeroff
off(no
timer active).
X Press ato confirm.
If ad eparture time is selected, the yellow
indicator lamp lights up on the &auxiliary
heating button. Changing the departure time
X
Press the =or; buttonont hesteering
wheel to selec tthe Settings Settings menu.
X Pres sthe : or9 button to selec tthe
Heating
Heating submenu.
X Press ato confirm.
Yo uw ill see the selected setting.
X Press ato confirm.
X Press the :or9 button to select
Change A Change A, Change B
Change BorChange C
Change C.
X Press ato confirm.
You can now change the departure time.
X Press the =or; button to select the
displaytobec hanged: hours, minutes.
X Press the :or9 button to set the
selected display.
X Press ato store the entry.
The yellow indicator lamp on the &auxili-
ary heating button lights up.
Comfort Activating/deactivating the EASY-
ENTRY/EXIT feature
G
WARNING
When the EASY-ENTRY/EXI Tfeature adjusts
the steering wheel, you and other vehicle
occupants –particularl ychildren –could
become trapped. There is arisk of injury.
Whil ethe EASY-ENTRY/EXIT feature is mak-
ing adjustments, make sure that no one has
any body parts in the swee pofthe steering
wheel.
If someone is trapped:
R press one of the memory function position
buttons, or
R move the switch for steering whee ladjust-
ment in the opposite direction to that in
which the steering whee lismoving.
The adjustment process is stopped.
X Press the =or; button on the steering
whee ltoselect the Settings Settings menu.
X Press the :or9 button to select the
Convenience
Convenience submenu.
X Press ato confirm. 140
Menu
sand submenusOn-boar dcomputer and displays
Page 198 of 261

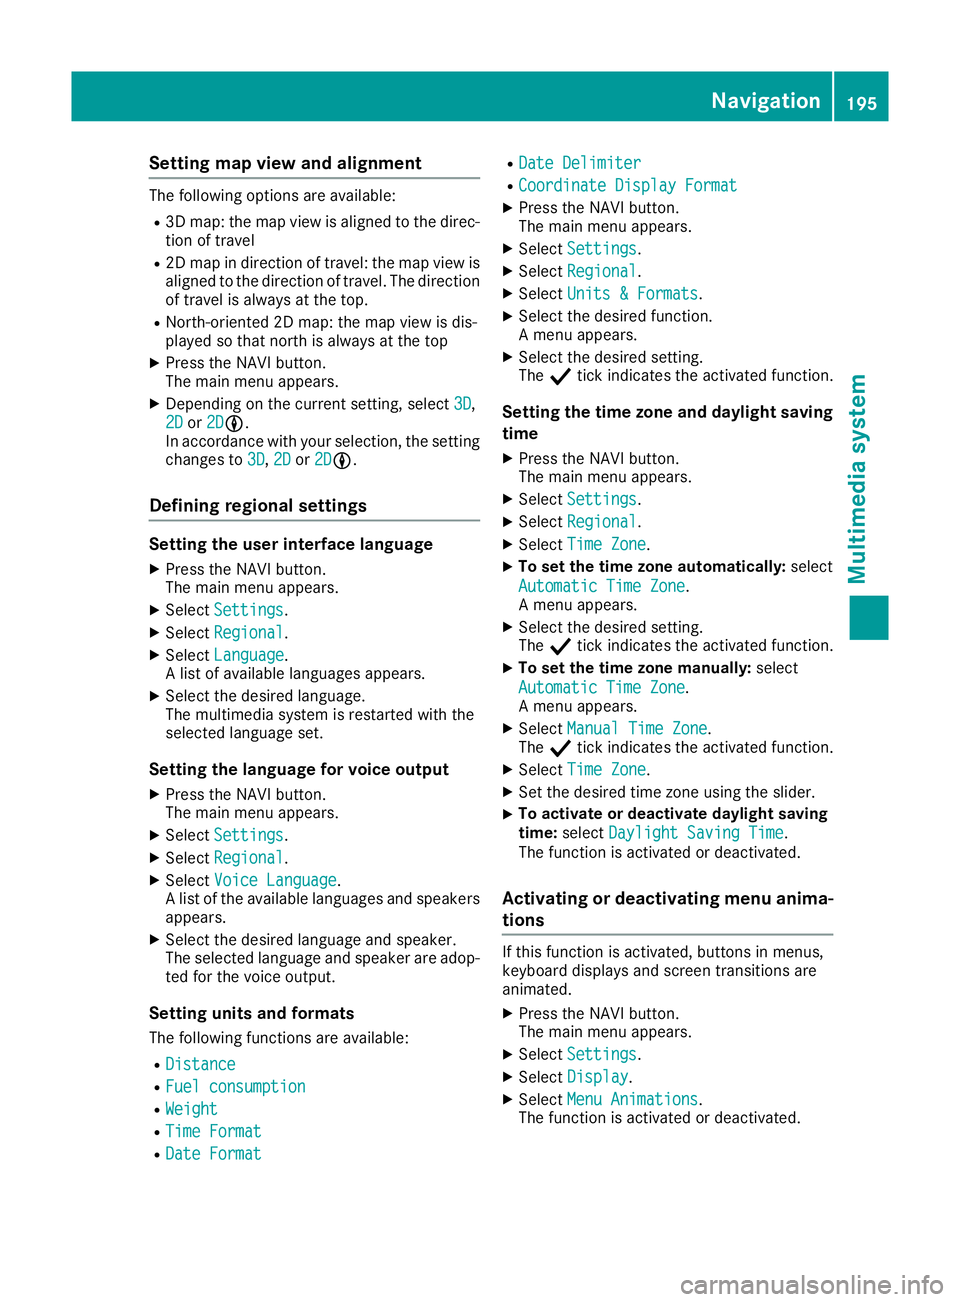
Setting map view and alignment
The following options are available:
R 3D map: the map view is aligned to the direc-
tion of travel
R 2D map in direction of travel: the map view is
aligned to the direction of travel. The direction
of travel is alwaysatt he top.
R North-oriented 2D map: the map view is dis-
played so that northisa lwaysatthe top
X Press the NAVI button.
The main menu appears.
X Dependin gonthe current setting, select 3D 3D,
2D
2D or2D
2DLL.
In accordance with your selection, the setting
changes to 3D
3D, 2D
2Dor2D
2DLL.
Defining regional settings Setting the user interface language
X Press the NAVI button.
The main menu appears.
X Select Settings Settings.
X Select Regional
Regional.
X Select Language
Language.
Al ist of available languages appears.
X Select the desired language.
The multimedia system is restarted with the
selected language set.
Setting the language for voice output
X Press the NAVI button.
The main menu appears.
X Select Settings Settings.
X Select Regional
Regional.
X Select Voice Language
Voice Language.
Al ist of the available languages and speakers
appears.
X Select the desired language and speaker.
The selected language and speaker are adop-
ted for the voice output.
Setting units and formats The following functions are available:
R Distance
Distance
R Fuel consumption Fuel consumption
R Weight
Weight
R Time Format
Time Format
R Date Format
Date Format R
Date Delimiter
Date Delimiter
R Coordinate Display Format
Coordinate Display Format
X Press the NAVI button.
The main menu appears.
X Select Settings
Settings.
X Select Regional Regional.
X Select Units &Formats
Units &Formats.
X Select the desired function.
Am enu appears.
X Select the desired setting.
The Ytick indicates the activated function.
Setting the time zone and daylight saving
time
X Press the NAVI button.
The main menu appears.
X Select Settings
Settings.
X Select Regional Regional.
X Select Time Zone
Time Zone.
X To set the time zone automatically: select
Automatic Time Zone
Automatic Time Zone.
Am enu appears.
X Select the desired setting.
The Ytick indicates the activated function.
X To set the time zone manually: select
Automatic Time Zone Automatic Time Zone.
Am enu appears.
X Select Manual Time Zone Manual Time Zone.
The Ytick indicates the activated function.
X Select Time Zone
Time Zone.
X Set the desired time zone using the slider.
X To activate or deactivate daylight saving
time:
select Daylight Saving Time Daylight Saving Time.
The function is activated or deactivated.
Activating or deactivating menu anima-
tions If this function is activated, buttons in menus,
keyboard displays and screen transitions are
animated.
X Press the NAVI button.
The main menu appears.
X Select Settings Settings.
X Select Display
Display.
X Select Menu Animations
Menu Animations.
The function is activated or deactivated. Navigation
195Multimedia system Z
Page 219 of 261

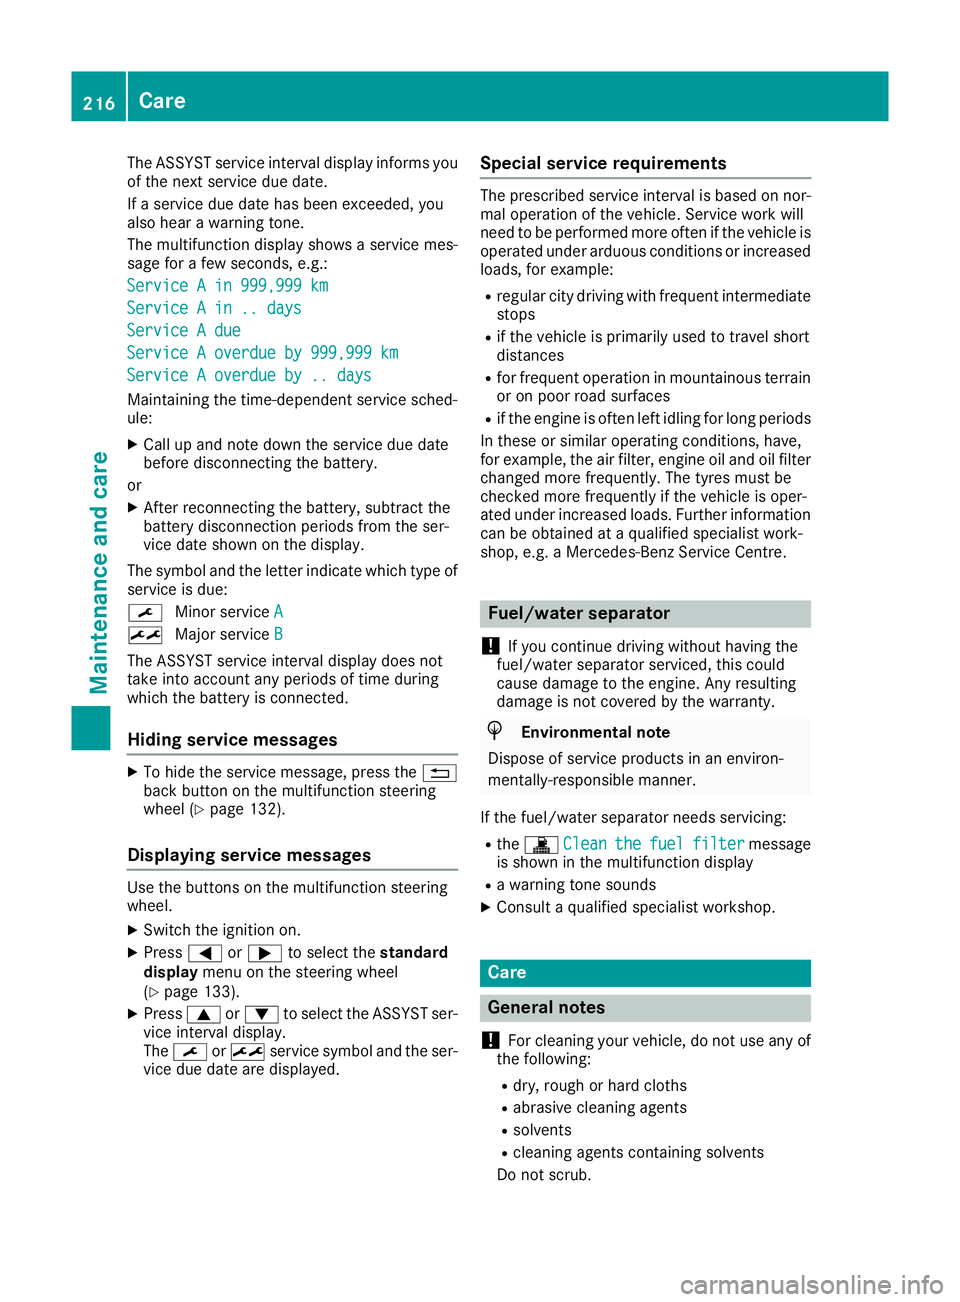
The ASSYST service interval display inform
syou
of the next service due date.
If as ervice due date has been exceeded, you
also hear awarning tone.
The multifunction display shows aservice mes-
sage for afew seconds, e.g.:
Service Ain999,999 km
Service Ain999,999 km
Service Ain..d ays
Service Ain..d ays
Service Adue
Service Adue
Service Aoverdue by 999,999 km
Service Aoverdue by 999,999 km
Service Aoverdue by .. days
Service Aoverdue by .. days
Maintaining the time-dependent service sched-
ule:
X Call up and noted own the service due date
before disconnectin gthe battery.
or X After reconnecting the battery, subtract the
battery disconnection periods from the ser-
vice date shown on the display.
The symbol and the letter indicate which type of service is due:
¯ Minor service A
A
± Major service B B
The ASSYST service interval display does not
take into account any periods of time during
which the battery is connected.
Hiding service messages X
To hide the service message, press the %
back button on the multifunction steering
wheel (Y page 132).
Displaying service messages Use the buttons on the multifunction steering
wheel.
X Switch the ignition on.
X Press =or; to select the standard
display menu on the steering wheel
(Y page 133).
X Press 9or: to select the ASSYST ser-
vice interval display.
The ¯ or± service symbol and the ser-
vice due date are displayed. Special service requirements The prescribed service interval is based on nor-
mal operation of the vehicle. Servic ework will
need to be performed more often if the vehicle is operated under arduous conditions or increased
loads, for example:
R regular city driving with frequent intermediate
stops
R if the vehicle is primarily used to travel short
distances
R for frequent operation in mountainous terrain
or on poor road surfaces
R if the engine is often left idling for long periods
In these or similar operating conditions, have,
for example, the air filter, engine oil and oil filter changed more frequently. The tyres must be
checked more frequently if the vehicle is oper-
ated under increased loads. Further information can be obtained at aqualified specialist work-
shop, e.g. aMercedes-Benz Servic eCentre. Fuel/water separator
! If you continue driving without having the
fuel/wate rseparato rserviced, this could
caus edamag etotheengine. An yresulting
damag eisnotcovered by th ewarranty. H
Environmenta
lnote
Dispose of servic eproduct sinane nviron-
mentally-responsible manner.
If th efuel/water separator needs servicing:
R the ! Clean
Clean the thefuel
fuel filter
filter message
is shown in th emultifunction display
R aw arning tone sounds
X Consult aqualifie dspecialist workshop. Care
General notes
! For cleaning your vehicle, do not use any of
the following:
R dry ,rough or hard cloths
R abrasive cleaning agents
R solvents
R cleaning agents containing solvents
Do not scrub. 216
CareMaintenanc
eand care