Page 97 of 250
96
uu Entering a Destination u Map Input
Navigation
Map Input
H HOME u Navi u MENU u More Search Methods u Map Input
Scroll and select an icon on the map screen as the
destination.
You are prompted to define the map area to display.
1.Select an item.
The following item
s are available:
• Current Position : You
r current position is centered on the map.
• State : You are prompted to select
the state or province.
2Selecting the State or Province P. 83
• City : You are prompted to enter the city name.
2Selecting a City P. 84
Page 98 of 250
97
uu Entering a Destination u Map Input
Navigation
2. Scroll the map to position the
cursor over your desired
destination, adjusting the map
scale as necessary.
u If the address is not the desired
location, scroll the map to
another location and try again.
3. Select an icon fr om
the right side
of the screen to display the route
calculation menu.
2 Calculating the Route P. 98
4. Select Set as Destination .
1Map Input
Place/landmark icons are displayed at 1/8 mile (200 m)
or less. Roads are displayed at 1/4 mile (400 m) or less.
If you select multiple icon s within the cursor radius,
you are prompted to select one of the items from a
list.
2 Selecting a Destination on the Map P. 121
Page 99 of 250

98
Navigation
Calculating the Route
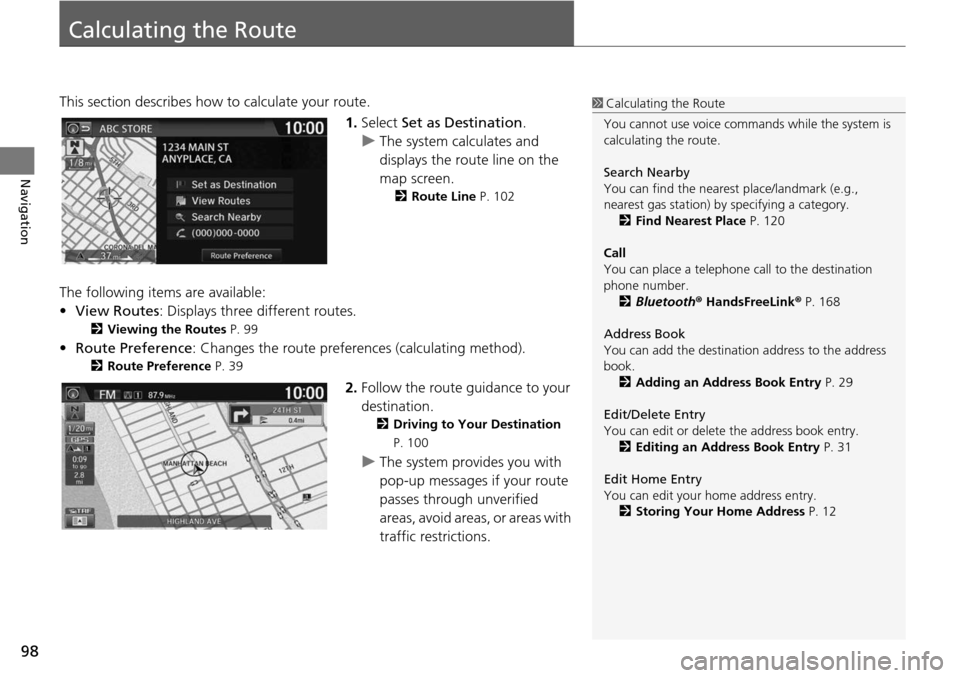
This section describes how to calculate your route.1.Select Set a
s Destination.
u The system calculates and
di
splays the route line on the
map screen.
2 Route Line P. 102
The following items are available:
• View Routes: Displays three different routes.
2 Viewing the Routes P. 99
• Route Preference : Changes the route preferences (calculating method).
2Route Preference P. 39
2. Follow the route guidance to your
destination.
2 Driving to Your Destination
P. 100
u The system provides you with
pop-up messages if your route
passes through unverified
areas, avoid areas, or areas with
traffic restrictions.
1Calculating the Route
You cannot use voice commands while the system is
calculating the route.
Search Nearby
You can find the nearest place/landmark (e.g.,
nearest gas station) by specifying a category. 2 Find Nearest Place P. 120
Call
You can place a telephone call to the destination
phone number.
2 Bluetooth ® HandsFreeLink ® P. 168
Address Book
You can add the destinati on address to the address
book. 2 Adding an Address Book Entry P. 29
Edit/Delete Entry
You can edit or delete the address book entry.
2 Editing an Address Book Entry P. 31
Edit Home Entry
You can edit your home address entry. 2 Storing Your Home Address P. 12
Page 100 of 250
99
uu Calculating the Route u Viewing the Routes
Navigation
Viewing the Routes
View three different routes to your destination.
1.Select a route on the list.
u The travel distance and
estimated t
ravel time is
displayed for each route.
u The syste m calculat
es and
displays the route line on the
map screen.
2 Route Line P. 102
2. Select OK.
1Viewing the Routes
It is not unusual for some ca lculated route options to
be identical.
Page 101 of 250

100
Navigation
Driving to Your Destination
This section describes how to follow the route guidance to your destination, receive
traffic information, and choose the icons displayed on the map screen.
Viewing the Route
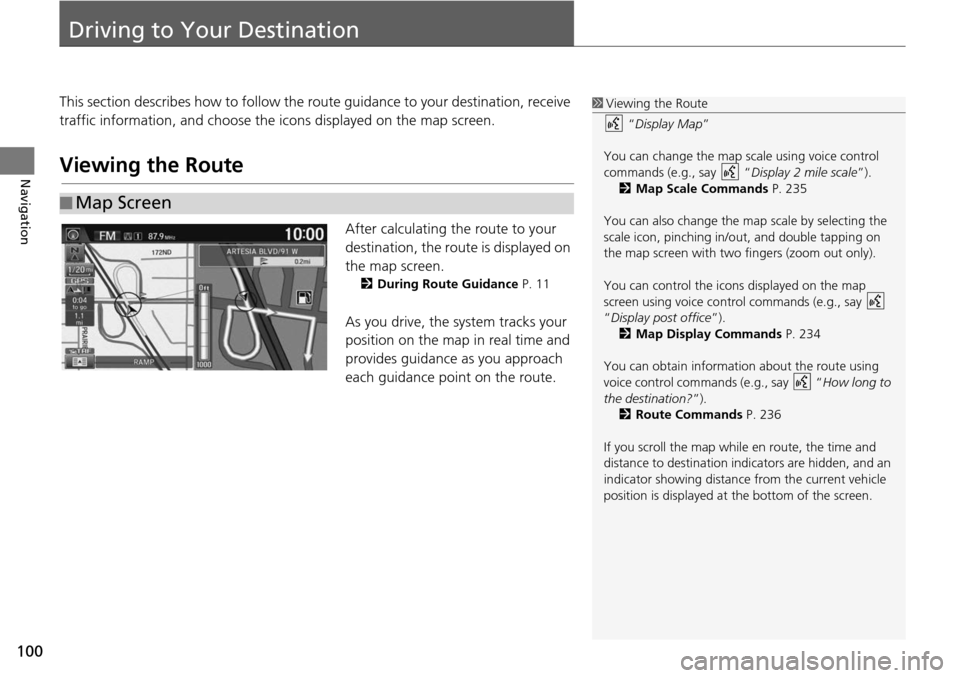
After calculating the route to your
destination, the route is displayed on
the map screen.
2During Route Guidance P. 11
As you drive, the system tracks your
position on the map in real time and
provides guidance as you approach
each guidance point on the route.
■Map Screen
1
Viewing the Route
“Display Map ”
You can change the map scale using voice control
commands (e.g., say “ Display 2 mile scale”).
2 Map Scale Commands P. 235
You can also change the ma p scale by selecting the
scale icon, pinching in/out, and double tapping on
the map screen with two fingers (zoom out only).
You can control the icons displayed on the map
screen using voice control commands (e.g., say
“Display post office ”).
2 Map Display Commands P. 234
You can obtain information about the route using
voice control commands (e.g., say “ How long to
the destination?”). 2 Route Commands P. 236
If you scroll the map whil e en route, the time and
distance to destination indi cators are hidden, and an
indicator showing distance from the current vehicle
position is displayed at the bottom of the screen.
Page 102 of 250
Continued101
uu Driving to Your Destination u Viewing the Route
Navigation
The guidance screen offers an al ternative way to view your route.
uThe next guidance point is
displayed as you approach each
guidance point on the route.
u You can also view a list of
guid
ance directions.
2Directions P. 107
■Guidance Screen1
Guidance Screen
A visual guide helps you check the guidance screen.
2 Guidance Screen P. 11
Page 103 of 250

uu Driving to Your Destination u Viewing the Route
102
Navigation
When driving on verified streets, the route line is light blue. The route line display
changes when driving on unverified streets:
u If Unverified Routing is Off , the
route line uses verified streets only
(when possible). If Straight Line
Guide is set to On, a pink “vector
line” pointing directly towards
your destination is displayed.
2 Straight Line Guide P. 55
u If Unverified Routing is On , the
route line changes to a pink line to
indicate that the route line uses
unverified streets.
■ Route Line1
Route Line
You can set Unverified Routing to Off to follow
your own route to the destination. If Unverified
Routing is On, be aware that unv erified streets may
not be displayed accurately. 2 Unverified Routing P. 40
You can always view the enti re route by simply saying
“ Display entire route ”.
2 Route Commands P. 236
The route line may also c onsist of red, orange, or
green segments when your route line displays traffic
information. 2 Map Screen Legend P. 10
2 Traffic Rerouting
TM P. 109
Straight line guide
Pink route line
Page 104 of 250

103
uu Driving to Your Destination u Viewing the Route
Navigation
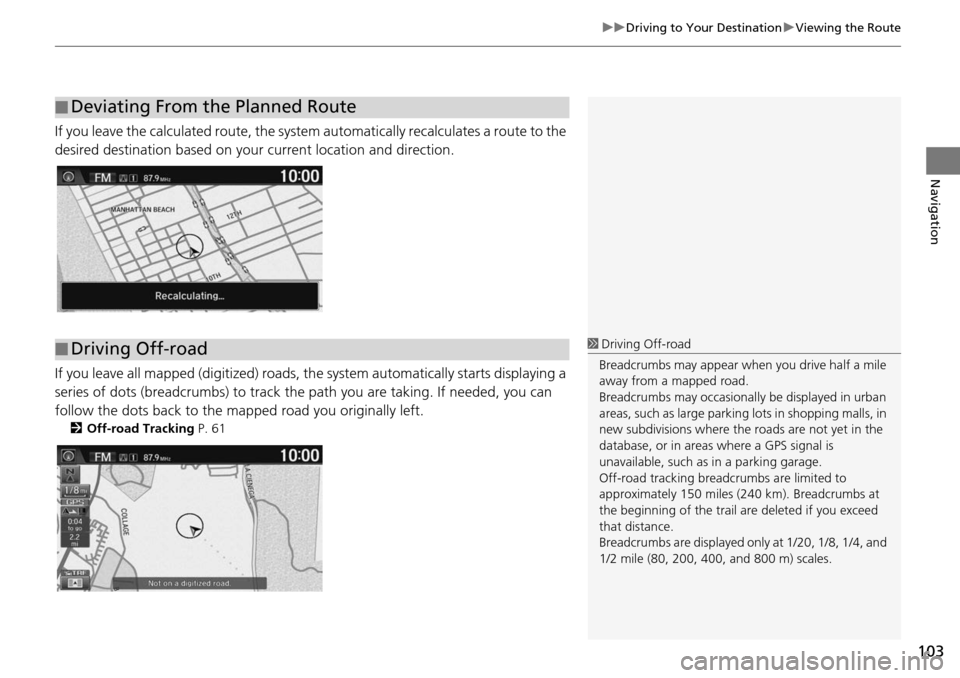
If you leave the calculated r oute, the system automatically recalculates a route to the
desired destination based on your current location and direction.
If you leave all mapped (digitized) roads, the system automatically starts displaying a
series of dots (breadcrumbs) to track the path you are taking. If needed, you can
follow the dots back to the mapp ed road you originally left.
2Off-road Tracking P. 61
■Deviating From the Planned Route
■Driving Off-road1
Driving Off-road
Breadcrumbs may appear when you drive half a mile
away from a mapped road.
Breadcrumbs may occasionall y be displayed in urban
areas, such as large parking lots in shopping malls, in
new subdivisions where the roads are not yet in the
database, or in areas where a GPS signal is
unavailable, such as in a parking garage.
Off-road tracking breadcrumbs are limited to
approximately 150 miles (240 km). Breadcrumbs at
the beginning of the trail are deleted if you exceed
that distance.
Breadcrumbs are displayed onl y at 1/20, 1/8, 1/4, and
1/2 mile (80, 200, 400, and 800 m) scales.