Page 265 of 296

05
263
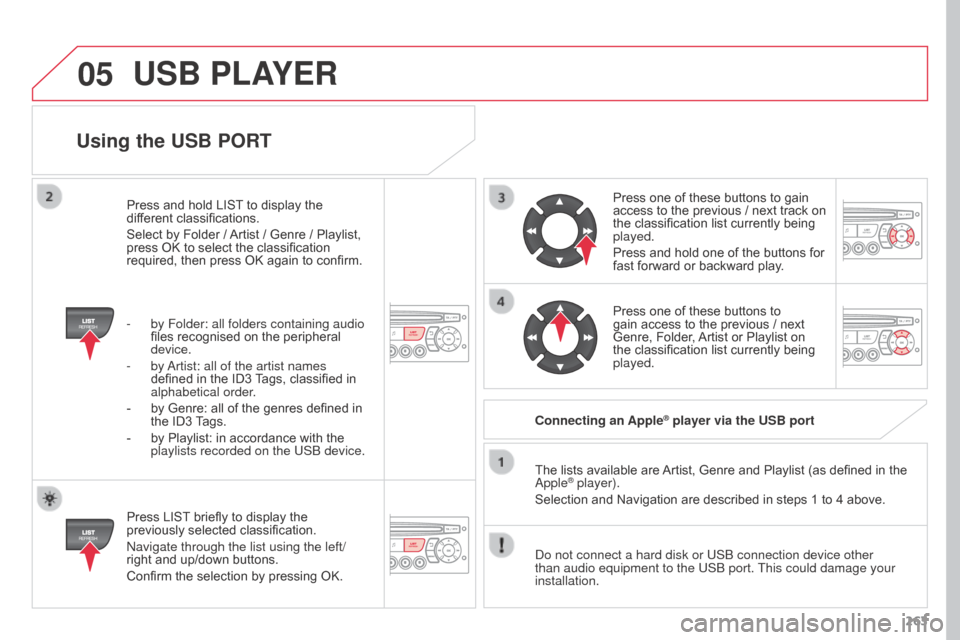
Using the USB PORT
Press LIST briefly to display the
previously selected classification.
Navigate through the list using the left/
right and up/down buttons.
Confirm the selection by pressing OK.The lists available are Artist, Genre and Playlist (as defined in the
Apple
® player).
Selection and Navigation are described in steps 1 to 4 above.
Do not connect a hard disk or USB connection device other
than audio equipment to the USB port. This could damage your
installation. Connecting an Apple
® player via the USB port
Press one of these buttons to gain
access to the previous / next track on
the classification list currently being
played.
Press and hold one of the buttons for
fast forward or backward play.
Press one of these buttons to
gain access to the previous / next
Genre, Folder, Artist or Playlist on
the classification list currently being
played.
Press and hold LIST to display the
different classifications.
Select by Folder / Artist / Genre / Playlist,
press OK to select the classification
required, then press OK again to confirm.
-
by Folder: all folders containing audio
files recognised on the peripheral
device.
-
by
Artist: all of the artist names
defined in the ID3 Tags, classified in
alphabetical order.
-
by Genre: all of the genres defined in
the ID3
Tags.
-
by Playlist: in accordance with the
playlists recorded on the USB device.
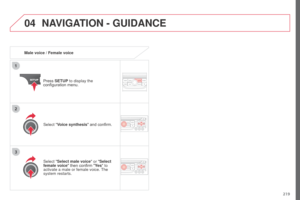
USB PLAYER
Page 266 of 296
05
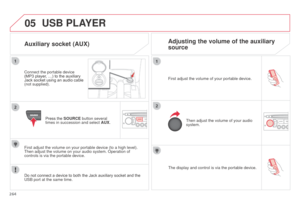
264The display and control is via the portable device.
First adjust the volume of your portable device.
Then adjust the volume of your audio
system.
Auxiliary socket (AUX) Adjusting the volume of the auxiliary
source
USB PLAYER
Do not connect a device to both the Jack auxiliary socket and the
USB port at the same time. First adjust the volume on your portable device (to a high level).
Then adjust the volume on your audio system. Operation of
controls is via the portable device.Press the SOURCE button several
times in succession and select AUX.
Connect the portable device
(MP3 player, …) to the auxiliary
Jack socket using an audio cable
(not supplied).
Page 267 of 296

06
265
BLUETOOTH FUNCTIONS
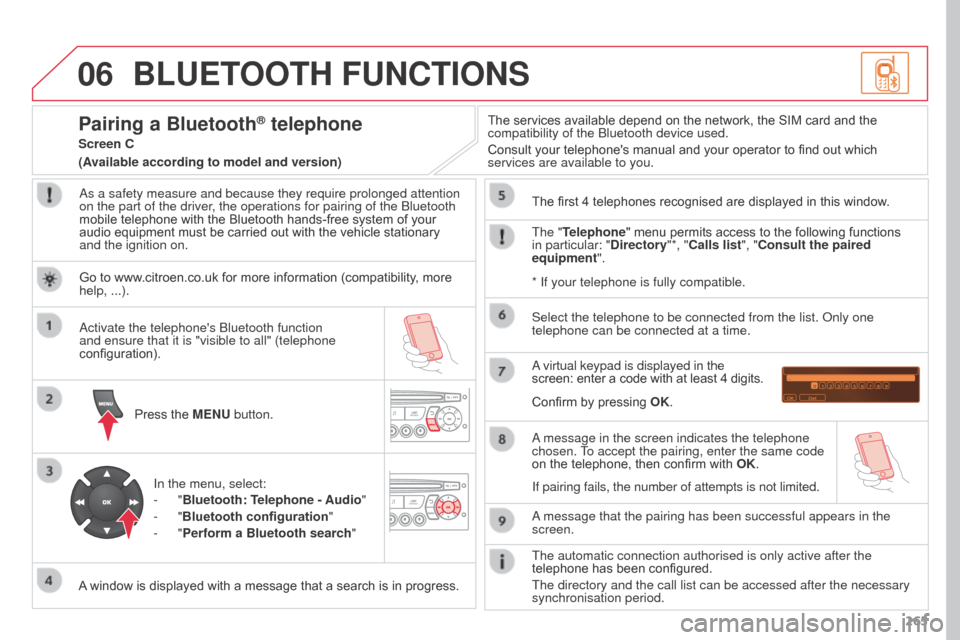
As a safety measure and because they require prolonged attention
on the part of the driver, the operations for pairing of the Bluetooth
mobile telephone with the Bluetooth hands-free system of your
audio equipment must be carried out with the vehicle stationary
and the ignition on.Press the MENU button.
A window is displayed with a message that a search is in progress. Activate the telephone's Bluetooth function
and ensure that it is "visible to all" (telephone
configuration).
In the menu, select:
-
"Bluetooth: Telephone - Audio"
-
"Bluetooth configuration "
-
"Perform a Bluetooth search" The services available depend on the network, the SIM card and the
compatibility of the Bluetooth device used.
Consult your telephone's manual and your operator to find out which
services are available to you.
Pairing a Bluetooth® telephone
Screen C
The "Telephone" menu permits access to the following functions
in particular: "Directory"*, "Calls list", "Consult the paired
equipment". The first 4 telephones recognised are displayed in this window.
A virtual keypad is displayed in the
screen: enter a code with at least 4 digits.
Confirm by pressing OK.
A message that the pairing has been successful appears in the
screen. Select the telephone to be connected from the list. Only one
telephone can be connected at a time.
A message in the screen indicates the telephone
chosen. To accept the pairing, enter the same code
on the telephone, then confirm with OK.
The automatic connection authorised is only active after the
telephone has been configured.
The directory and the call list can be accessed after the necessary
synchronisation period.
(Available according to model and version)
*
If your telephone is fully compatible.
If pairing fails, the number of attempts is not limited.
Go to www.citroen.co.uk for more information (compatibility, more
help, ...).
Page 268 of 296
06
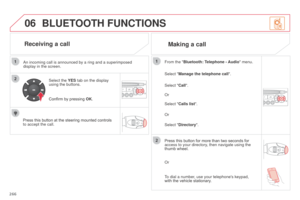
266An incoming call is announced by a ring and a superimposed
display in the screen.
Select the YES tab on the display
using the buttons.
Confirm by pressing OK.
Press this button at the steering mounted controls
to accept the call. Select "Manage the telephone call
".
Select "Call". From the "Bluetooth: Telephone - Audio " menu.
Or
Select "Calls list".
Or
Select "Directory ".
BLUETOOTH FUNCTIONS
Receiving a call
Making a call
Press this button for more than two seconds for
access to your directory, then navigate using the
thumb wheel.
Or
To dial a number, use your telephone's keypad,
with the vehicle stationary.
Page 269 of 296

06
267
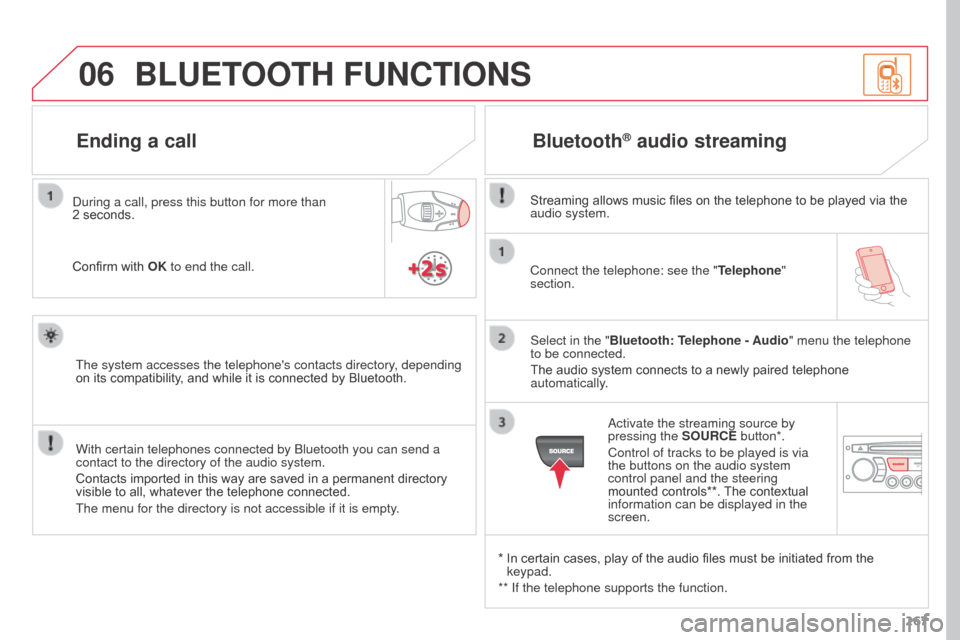
Connect the telephone: see the "
Telephone"
section.
Select in the "Bluetooth: Telephone - Audio" menu the telephone
to be connected.
The audio system connects to a newly paired telephone
automatically.
Bluetooth® audio streaming
Streaming allows music files on the telephone to be played via the
audio system.
*
In certain cases, play of the audio files must be initiated from the
keypad.
**
If the telephone supports the function. Activate the streaming source by
pressing the
SOURCE button*.
Control of tracks to be played is via
the buttons on the audio system
control panel and the steering
mounted controls**. The contextual
information can be displayed in the
screen.
During a call, press this button for more than
2
seconds.
Confirm with OK to end the call.
BLUETOOTH FUNCTIONS
The system accesses the telephone's contacts directory, depending
on its compatibility, and while it is connected by Bluetooth.
With certain telephones connected by Bluetooth you can send a
contact to the directory of the audio system.
Contacts imported in this way are saved in a permanent directory
visible to all, whatever the telephone connected.
The menu for the directory is not accessible if it is empty.
Ending a call
Page 270 of 296
07
268
SCREEN MENU MAP(S)
Radio-CD
*
The settings vary according to the trim level of
the vehicle. REG mode
CD repeat
Shuffle play
V
ehicle config*
R wiper in rev Options
Guide lighting Diagnostic
RDS options
View
Abandon1
2
3
3
1
2
2
2
2
1
2
2
Screen A
Main function
Option A1
Option A11
Option A
Option B...1
2
3
1
Page 271 of 296
07
269
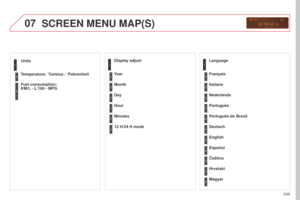
Units
Temperature: °Celsius / °Fahrenheit
Fuel consumption:
KM/L - L/100 - MPG
1
2
2
SCREEN MENU MAP(S)
Display adjust
Month
Day
Hour
Minutes Year
12 H/24 H mode
Language
Italiano
Nederlands
Portuguès
Português do Brasil Français
Deutsch
Čeština English
Hrvatski Español
Magyar1
2
2
2
2
2
2
2
1
2
2
2
2
2
2
2
2
2
2
Page 272 of 296
07
270
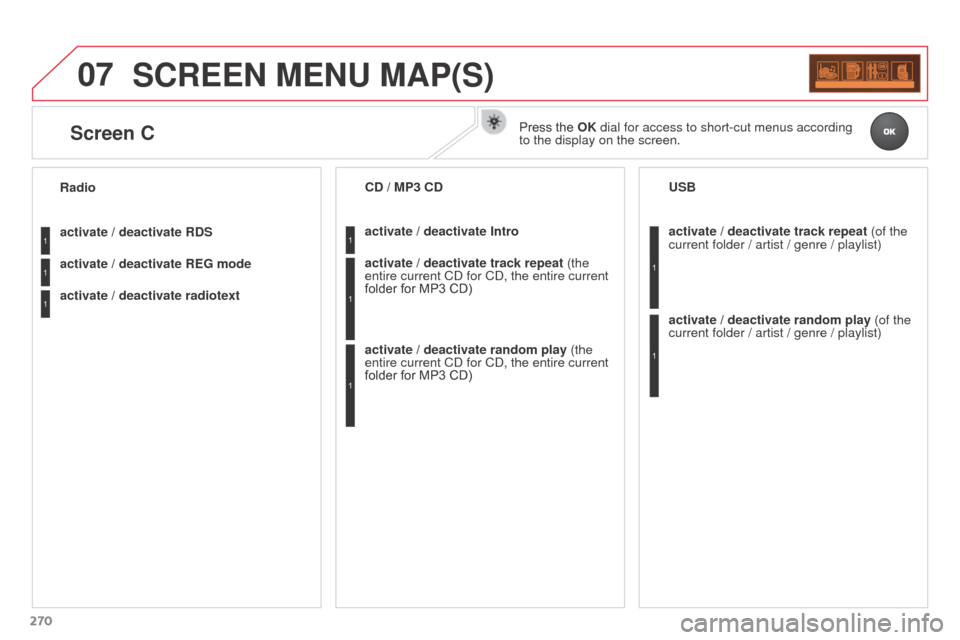
SCREEN MENU MAP(S)
activate / deactivate RDS
activate / deactivate REG mode
activate / deactivate radiotext Radioactivate / deactivate Intro CD / MP3 CD
activate / deactivate track repeat (the
entire current CD for CD, the entire current
folder for MP3 CD)
activate / deactivate random play (the
entire current CD for CD, the entire current
folder for MP3 CD) activate / deactivate track repeat
(of the
current folder / artist / genre / playlist) USB
activate / deactivate random play (of the
current folder / artist / genre / playlist)1
1
1
1
1
1
1
1
Screen CPress the OK dial for access to short-cut menus according
to the display on the screen.