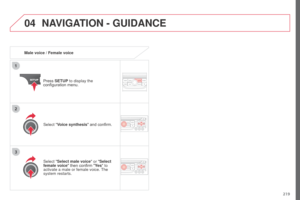
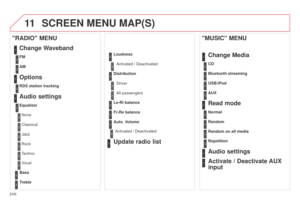
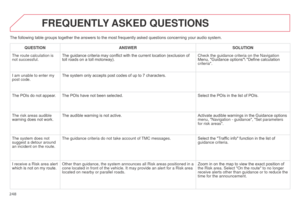
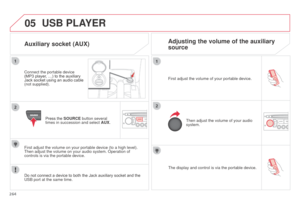
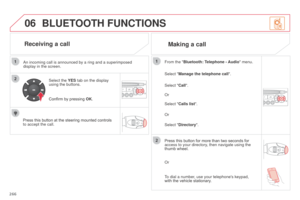
Page 25 of 296

23
The distance remaining may be
weighted by the time factor, depending
on the driving conditions.
Therefore, the spanner may also come
on if you have exceeded the period
since the last service, indicated in the
manufacturer's service schedule.
For BlueHDi Diesel versions, the
spanner may also be brought on earlier
than expected, depending on the
degree of deterioration of the engine oil
(depending on the country of sale).
The rate of deterioration of the engine
oil depends on the driving conditions in
which the vehicle is used.
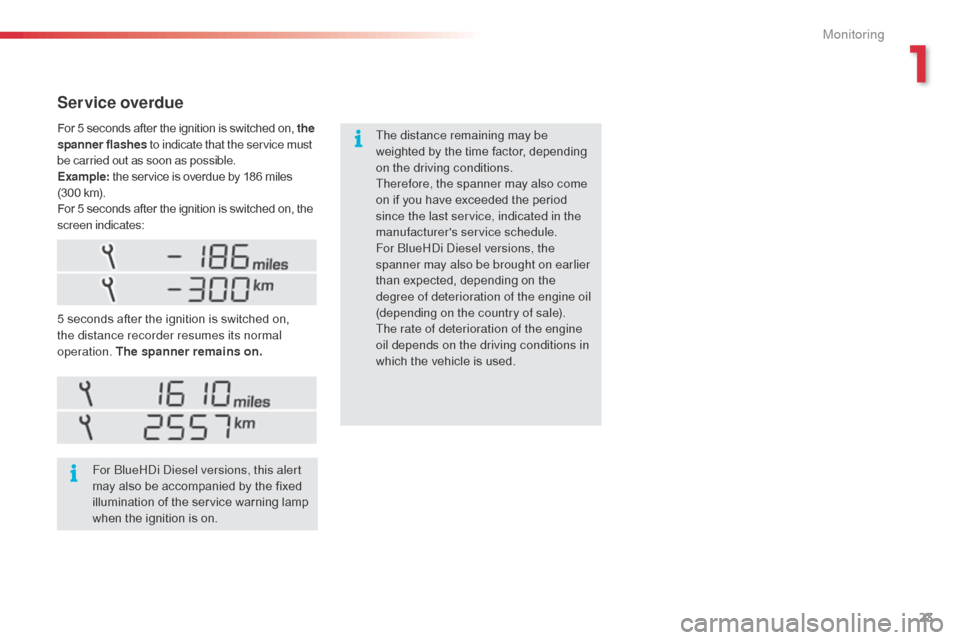
Service overdue
5 seconds after the ignition is switched on,
the distance recorder resumes its normal
operation. The spanner remains on.For BlueHDi Diesel versions, this alert
may also be accompanied by the fixed
illumination of the service warning lamp
when the ignition is on.
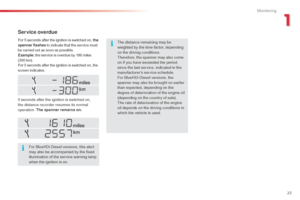
For 5 seconds after the ignition is switched on, the
spanner flashes
to indicate that the service must
be carried out as soon as possible.
Example: the service is overdue by 186 miles
(300 km).
For 5 seconds after the ignition is switched on, the
screen indicates:
1
Monitoring
Page 26 of 296
24
Resetting the service indicator
After each service, the service indicator must
be reset to zero.
If you have carried out the service on your
vehicle yourself:
F
s
witch off the ignition,
F
p
ress and hold the trip distance recorder
zero reset button,
F
s
witch on the ignition; the distance recorder
display begins a countdown,
F
w
hen the display indicates "=0" , release
the button; the spanner disappears.
Retrieving the service
information
You can access the service information at any
time.
F
P
ress the trip distance recorder zero reset
button.
T
he service information is displayed for a
few seconds, then disappears. If you have to disconnect the battery
following this operation, lock the vehicle
and wait at least five minutes for the
reset to be registered.
Monitoring
Page 27 of 296

25
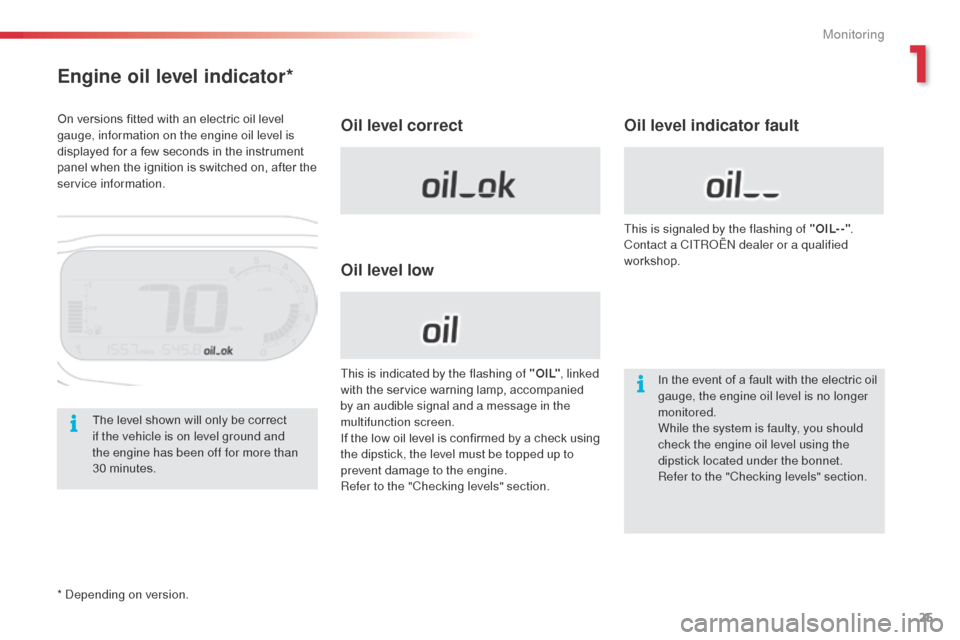
Engine oil level indicator*
Oil level correct
Oil level lowOil level indicator fault
In the event of a fault with the electric oil
gauge, the engine oil level is no longer
monitored.
While the system is faulty, you should
check the engine oil level using the
dipstick located under the bonnet.
Refer to the "Checking levels" section.
This is indicated by the flashing of " O I L"
, linked
with the service warning lamp, accompanied
by an audible signal and a message in the
multifunction screen.
If the low oil level is confirmed by a check using
the dipstick, the level must be topped up to
prevent damage to the engine.
Refer to the "Checking levels" section. This is signaled by the flashing of "OIL- -"
.
Contact a CITROËN dealer or a qualified
workshop.
The level shown will only be correct
if the vehicle is on level ground and
the engine has been off for more than
30
m
inutes.
On versions fitted with an electric oil level
gauge, information on the engine oil level is
displayed for a few seconds in the instrument
panel when the ignition is switched on, after the
service information.
* Depending on version.
1
Monitoring
Page 28 of 296

26
Distance recordersLighting dimmer
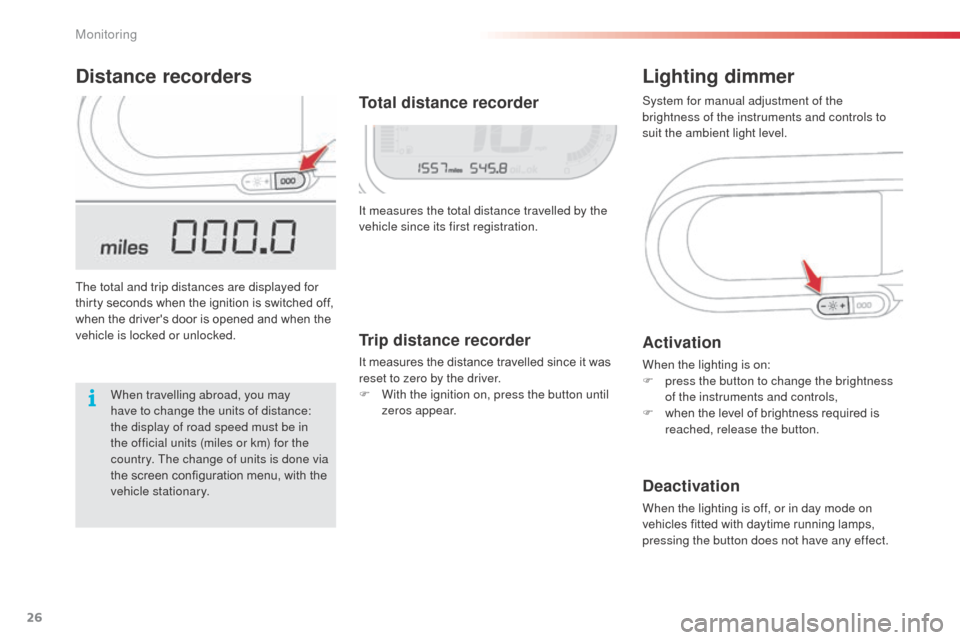
The total and trip distances are displayed for
thirty seconds when the ignition is switched off,
when the driver's door is opened and when the
vehicle is locked or unlocked.It measures the total distance travelled by the
vehicle since its first registration.
Activation
When the lighting is on:
F
p ress the button to change the brightness
of the instruments and controls,
F
w
hen the level of brightness required is
reached, release the button.
Deactivation
When the lighting is off, or in day mode on
vehicles fitted with daytime running lamps,
pressing the button does not have any effect.
Total distance recorder
When travelling abroad, you may
have to change the units of distance:
the display of road speed must be in
the official units (miles or km) for the
country. The change of units is done via
the screen configuration menu, with the
vehicle stationary. System for manual adjustment of the
brightness of the instruments and controls to
suit the ambient light level.
Trip distance recorder
It measures the distance travelled since it was
reset to zero by the driver.
F
W
ith the ignition on, press the button until
zeros appear.
Monitoring
Page 29 of 296

27
Monochrome screen A
Controls
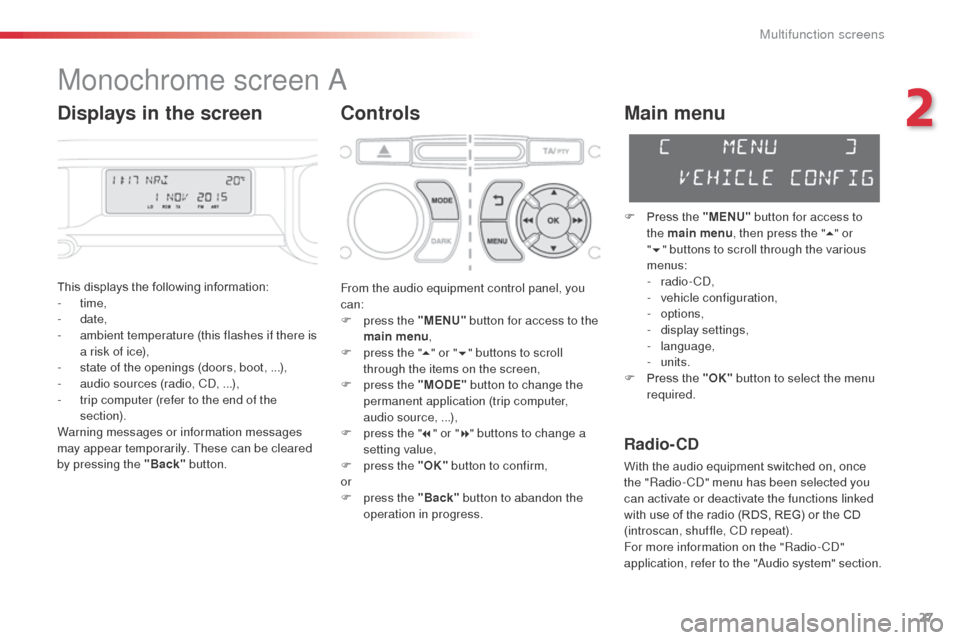
This displays the following information:
- time,
-
date,
-
a
mbient temperature (this flashes if there is
a risk of ice),
-
s
tate of the openings (doors, boot, ...),
-
a
udio sources (radio, CD, ...),
-
t
rip computer (refer to the end of the
section).
Warning messages or information messages
may appear temporarily. These can be cleared
by pressing the "Back" button.
Main menu
F Press the "MENU" button for access to
the main menu , then press the " 5" or
" 6 " buttons to scroll through the various
menus:
-
radio - CD,
-
v
ehicle configuration,
-
options,
-
d
isplay settings,
-
language,
-
units.
F
P
ress the "OK" button to select the menu
required.
From the audio equipment control panel, you
can:
F
p
ress the "MENU" button for access to the
main menu ,
F
p
ress the " 5" or " 6" buttons to scroll
through the items on the screen,
F
p
ress the "MODE" button to change the
permanent application (trip computer,
audio source, ...),
F
p
ress the " 7" or " 8" buttons to change a
setting value,
F
p
ress the "OK" button to confirm,
or
F
p
ress the "Back" button to abandon the
operation in progress.
Radio- CD
With the audio equipment switched on, once
the "Radio- CD" menu has been selected you
can activate or deactivate the functions linked
with use of the radio (RDS, REG) or the CD
(introscan, shuffle, CD repeat).
For more information on the "Radio-CD"
application, refer to the "Audio system" section.
Displays in the screen
2
Multifunction screens
Page 30 of 296

28
Display settings
F Once you have selected a setting, press the " 7" or " 8" buttons to change its value.
F
P
ress the " 5" or " 6" buttons to switch
respectively to the previous or next setting.
F
P
ress the "OK" button to record the
change and return to the normal display or
press the "Back" button to cancel.
Options
Once the "Options" menu has been selected,
you can start diagnostics of the status of the
equipment (active, not active, faulty).
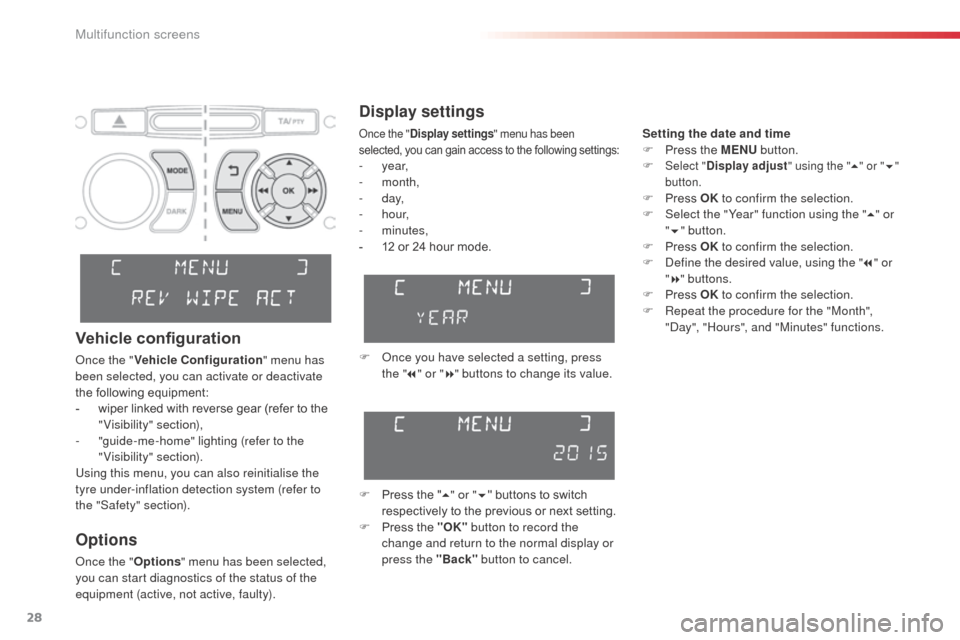
Vehicle configuration
Once the " Vehicle Configuration " menu has
been selected, you can activate or deactivate
the following equipment:
-
w
iper linked with reverse gear (refer to the
"Visibility" section),
-
"
guide-me-home" lighting (refer to the
"Visibility" section).
Using this menu, you can also reinitialise the
tyre under-inflation detection system (refer to
the "Safety" section).
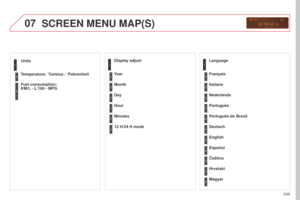
Once the " Display settings " menu has been
selected, you can gain access to the following settings:
- year,
- month,
-
d ay,
-
h o u r,
-
minutes,
-
1
2 or 24 hour mode. Setting the date and time
F
P
ress the MENU
button.
F Select "
Display adjust " using the "5" or " 6"
button.
F Press OK to confirm the selection.
F S elect the "Year" function using the " 5" or
" 6 " button.
F
P
ress OK to confirm the selection.
F
D
efine the desired value, using the " 7" or
" 8 " buttons.
F
P
ress OK to confirm the selection.
F
R
epeat the procedure for the "Month",
"Day", "Hours", and "Minutes" functions.
Multifunction screens
Page 31 of 296
29
Language
Once the "Language " menu has been selected,
you can change the language used by the
display by selecting a new language from the
list offered.
For safety reasons, configuration of the
multifunction screen by the driver must
only be done when stationary.
Once the fuel consumption unit has
been changed to l/100 km or km/l,
the information relating to speed and
distance also changes to kilometres.
Units
Once the " Units" menu has been selected,
you can change the units of the following
parameters:
-
t
emperature (°C or °F),
-
f
uel consumption (l/100 km, mpg or km/l).
2
Multifunction screens
Page 32 of 296
30
Monochrome screen A associated with the eMyWay satellite
navigation colour screen
This displays the following information:
- a mbient temperature (this flashes if there is
a risk of ice),
-
t
rip computer (refer to the end of the
section).
Warning messages or information messages
may appear temporarily. These can be cleared
by pressing the "Back" button.Controls
There are three display control buttons:
-
" Back" to abandon the operation in
progress,
-
"
MENU" to scroll through the menus or
sub-menus,
-
"O
K" to select the menu or sub-menu
required.
Main menu
F Press the "MENU" button to scroll through
the various menus of the main menu :
-
v
ehicle configuration,
-
options,
-
language,
-
units.
F
P
ress the "OK" button to select the menu
required.
Displays in screen A
Multifunction screens