Page 165 of 412

in a safe location and contact a NISSAN certified
LEAF dealer.
19. Apply parking brake warning
This warning appears if the DC/DC converter
system is not functioning properly after the “Stop
the vehicle” message above. If this warning ap-
pears on the display, stop the vehicle in a safe
location and push the P (Park) position switch on
the shift lever. If the parking brake is applied, the
display turns off. Contact a NISSAN certified
LEAF dealer.
20. Check tire pressure warning
This warning appears when the low tire pressure
warning light in the meter illuminates and low tire
pressure is detected. The warning appears each
time the ignition switch is placed in the ON
position as long as the low tire pressure warning
light remains illuminated.
If this warning appears, stop the vehicle and
adjust the tire pressure to the recommended
COLD tire pressure shown on the Tire and Load-
ing Information label. (See “Low tire pressure
warning light” in this section and “TIRE PRES-
SURE MONITORING SYSTEM (TPMS)” in the
“Starting and driving” section.)
21. Cruise control indicator
Cruise main switch indicator:
This indicator is displayed when the cruise con-
trol main switch is pushed. When the main switch
is pushed again, the indicator disappears. When
the cruise control main switch indicator is dis-
played, the cruise control system is operational.
Cruise set switch indicator:
This indicator is displayed while the vehicle
speed is controlled by the cruise control system.
If the indicator blinks while the power switch is in
the READY to drive position, it may indicate that
the cruise control system is not functioning prop-
erly. Have the system checked by a NISSAN
certified LEAF dealer.
See “Cruise control” in the “Starting and driving”
section for details.
22. Shift position indicator
The shift position indicator shows the vehicle
position when the power switch is in the ON or
READY to drive position. For more details, see
“Driving vehicle” in the “Starting and driving”
section of this manual.
23. SHIFT�P�warning (if so
equipped)
This warning appears alternating with door/rear
hatch open warning when the driver’s door is
opened with the shift position in any position
other than the P (Park) position. See “Door/rear
hatch open warning (power switch is in the ON
position)” in this section. If this warning appears,
push the P (Park) position switch and place in the
P (Park) position.
24. Intelligent Key error
After the ignition switch is pushed to the ON
position, this light comes on for about 2 seconds
and then turns off.
The I-Key System Error message warns of a
malfunction with the Intelligent Key system. If the
light comes on while the engine is stopped, it may
be impossible to start the engine.
If the light comes on while the engine is running,
you can drive the vehicle. However in these
cases, contact a NISSAN dealer for repair as
soon as possible.
2-26Instruments and controls
Page 166 of 412
25. Parking brake release warning
This warning appears when the vehicle speed is
above 4 MPH (7km/h) and the parking brake is
applied.
TRIP COMPUTER
Switches for the trip computer are located on the
left side of the combination meter panel. To op-
erate the trip computer, push the following
switches:
�Aswitch
�BswitchWhen the power switch is pushed to the ON
position, modes of the trip computer can be
selected by pushing the
switch�A.
Each time the
switch�Ais pushed, the
display will change as follows:
Charging time →Energy economy →State of
charge →Average speed →Driving distance and
elapsed time→ Setting→Warning check
Instruments and controls2-27
Page 167 of 412

Charging time
Displays the estimated time to a full Li-ion charge
based on the Charging Mode selected.
The time needed to charge the Li-ion battery
charges based on:
• Outside temperature
• Li-ion battery temperature
• Available electrical power supplied to thecharger
NOTE:
•Immediately after charging has finished,
the charge time will be displayed as “--:--”.
• The estimated charging time stops updat-
ing if the air conditioner is turned on while
the Li-ion battery is charging. The esti-
mated charging time updates approxi-
mately 15 minutes after the air condi-
tioner is turned off.
• The 6 kW and the 3 kW charging time
typically shows different times to reach a
full charge.
• However, the same charging time may be
shown for both the 6 kW and the 3 kW based
on the Li-ion battery state of charge and battery
temperature.
• The system may automatically slow the battery
charge to prevent the battery from becoming
overcharged.
Energy economy
Average energy economy:
The average energy economy mode shows the
average energy economy since the last reset.
Resetting the average energy economy is done
by pushing and holding the
switch�Bfor
longer than 1 second. (The average speed is also
reset at the same time.)
The display is updated every 30 seconds. At
about the first 0.3 mile (500 m) after a reset, the
display shows “----”.
2-28Instruments and controls
Page 168 of 412
Instant energy economy:
The instant energy economy mode shows the
instant energy economy via a moving bar graph.
When regenerated energy is being stored in the
Li-ion battery while driving, the instant energy
economy display will show the maximum value.
State of charge (%)
Displays the vehicles current state of charge.
Average speed
The average speed mode shows the average
vehicle speed (MPH or km/h) since the last reset.
The average speed (MPH or km/h) can be reset
by pushing the
switch�Bfor longer than 1
second.
The display is updated every 30 seconds. For the
first 30 seconds after a reset, the display shows
“----”.
Instruments and controls2-29
Page 169 of 412
 the vehicle has been driven since the
last reset. The distance can be reset by push")
Driving distance and elapsed time
Driving distance:
The driving distance mode shows the total distance
(miles or km) the vehicle has been driven since the
last reset. The distance can be reset by pushing the
switch�Bfor longer than 1 second. (The
elapsed time is also reset at the same time.)
Elapsed time:
The elapsed time mode shows the time since the
last reset. The displayed time can be reset by push-
ing the
switch�Bfor longer than 1 second.
(The driving distance is also reset at the same
time.)
Settings
Settings cannot be accessed while driving.
The message, “settings can only be ac-
cessed when stationary” is also displayed
on the vehicle information display. The
switch�Aandswitch�Bare
used in the settings mode.
Push the
switch�Bto scroll through the
menus.
Push the
switch�Ato select a menu.
Skip:
Push the
switch�Ato move to the warning
check mode.
Push the
switch�Bto select other menus.
Clock:
The clock can be adjusted in this menu.
• Back Select this submenu to return to the top page
of the settings mode.
• Set Clock Adjust the time (hour and minute) of the clock.
For models without navigation system, the day of
the week can also be set to use it for the climate
control timer setting. (See “Climate Ctrl. timer” in
the “Display screen, heater, air conditioner, audio
and phone systems” section.)
• 24/12Hr (24 hours or 12 hours) Select either the 24-hour clock display or the
12-hour display.
2-30Instruments and controls
Page 170 of 412

Maintenance:
There are 5 submenus under the maintenance
menu.
• BackSelect this submenu to return to the top page
of the settings mode.
• Tire Select this submenu to set or reset the dis-
tance for replacement of the tires.
• Other -1, -2 and -3 Select this submenu to set or reset the dis-
tance for replaceable/maintenance items. Up
to three other items can be monitored. Set
other items if required.
Alarms:
The alarms menu can be set to notify the follow-
ing items. There are 3 submenus under the
alarms menu.
• Back Select this submenu to return to the top page
of the settings mode.
• Driver Alert Select this submenu to set the driver alert
period. • Outside temp
Select this submenu to display the low outside
temperature (On or Off) .
Units:
Units displayed can be set for the following items
on this menu.
• Back Select this submenu to return to the top page
of the settings mode.
• Temperature
• Speed
Language:
Select this submenu to choose the language
displayed.
To return to the top page of the settings mode,
select “BACK”.
Effects:
The start up sound can be selected or turned off
from this menu.
5 submenus under the effects menu.
When a menu item is selected, the selected
sound plays. • Back
Select this submenu to return to the top page
of the settings mode.
• Sound 1
• Sound 2
• Sound 3
• Off
Factory settings:
Select this menu to reset all values to the factory
default settings except for the odometer settings.
NOTE:
When resetting to the factory settings, all
previous settings made are restored to the
default settings.
To return to the top page of the settings mode,
select “BACK”.
Instruments and controls2-31
Page 171 of 412
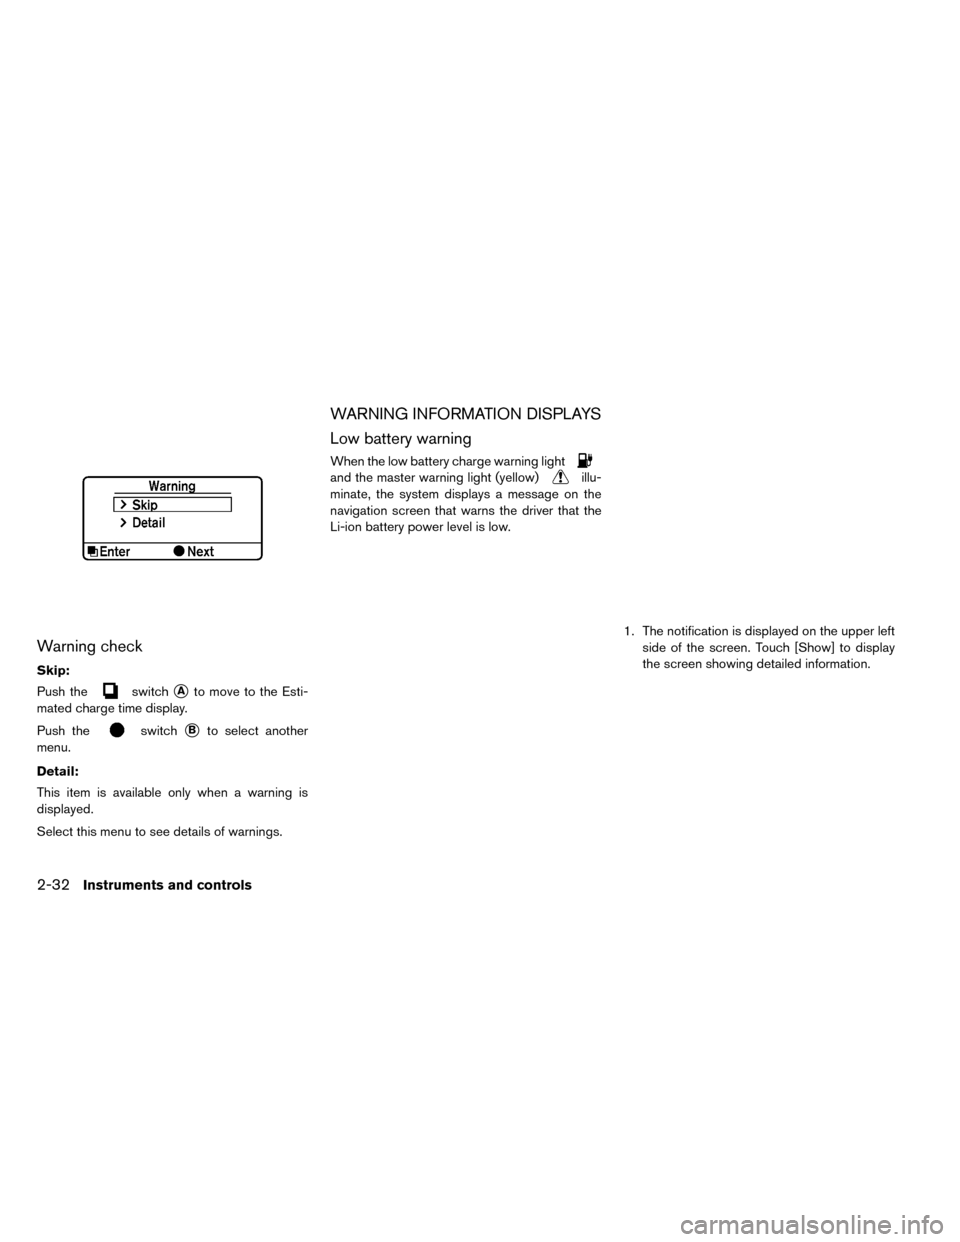
Warning check
Skip:
Push the
switch�Ato move to the Esti-
mated charge time display.
Push the
switch�Bto select another
menu.
Detail:
This item is available only when a warning is
displayed.
Select this menu to see details of warnings.
WARNING INFORMATION DISPLAYS
Low battery warning
When the low battery charge warning light
and the master warning light (yellow)illu-
minate, the system displays a message on the
navigation screen that warns the driver that the
Li-ion battery power level is low.
1. The notification is displayed on the upper leftside of the screen. Touch [Show] to display
the screen showing detailed information.
2-32Instruments and controls
Page 172 of 412

2. The system displays a message screen andannounces the contents of the message to
warn that the Li-ion battery power level is low.
Check the message displayed on the screen.
Touch [Nearby Charging Station] to search all
charging stations that are located around the
current vehicle position.
3. Touch [BACK] or push the MAPbutton to
return to the vehicle location screen.
NOTE:
• The low battery warning can be set to off.
See LEAF Navigation System Owner’s
Manual.
• When the battery power level is low, the
system automatically obtains charging
station information.
Limited power warning
When the Li-ion battery power level is extremely
low or the Li-ion battery malfunctions, the power
limitation indicator
and the master warning
light (yellow)
illuminate in the meter and the
system displays a message on the navigation
screen in order to inform the driver that power
output is restricted. 1. The notification is displayed on the upper left
side of the screen. Touch [Show] to display
the screen showing detailed information.
Instruments and controls2-33
 and the parking brake is
applied.
TRIP COMPUTER
Switches for the trip computer are located on the
l")