Page 65 of 412
8. Connect the charge connector to the chargeport. If it is connected normally, a beep will
sound once.
9. If charging has started, or if the Li-ion battery is waiting for charging timer, a beep will sound
twice and the charging status indicator light
display will change. See “Charging status in-
dicator lights” in this section. 10. When recharging outside such as in your
drive way, use a commercially available pad-
lock attached in position
�Ato prevent theft. To stop trickle charge:
1. Ensure that the charge connector lock is not
engaged. For more information, see “Charge
connector lock switch” in this section.
2. Press the button on the charge connector, release the lock and remove the charge con-
nector from the charge port.
3. Attach the safety cap to the EVSE (Electric Vehicle Supply Equipment) .
4. Remove the electrical plug from the AC 110 - 120 volt, 15A dedicated electrical outlet.
CH-14Charging
Page 73 of 412
3. Enter the Li-ion battery charge start time.Touch [END Time] to change the time to stop
charging.
NOTE:
Charging timer is performed according
to the current time setting on the bottom
right of the display. When setting the
charging timer function, be sure to check
that the current time displayed is correct. 4. Touch [Assign Days] to set the charging timer
for different days of the week. Either Timer 1
or Timer 2 or OFF can be set for each day of
the week. Touch [OK] when the settings are
complete.
5. Touch [OK] when the settings are complete and a settings confirmation screen is
displayed.
NOTE:
If OFF is selected for a day of the week,
the charging timer will not operate on
that day. The system will wait until the
next charging timer set to perform
charging. 6. Touch [Yes] if the settings shown on the
screen are correct.
CH-22Charging
Page 76 of 412
2. Push theswitch�Bto highlight “Charg-
ing Timer” on the vehicle information display
and then push the switch. 3. The “Charging Timer” screen is displayed. To
change the time or turn the timer on or off,
push the
switch. To turn the timer on or off, use the
switch
to highlight “On” or “Off” and then push the
switch. If “On” is selected, an additional
screen is displayed that allows you to change
the time of the charging timer.
ChargingCH-25
Page 77 of 412
4. The hour portion of the time is highlighted onthe screen. Push the
switch to change
the hour field in increments of one hour. Push
the
switch to move to the minutes field.
5. Push the
switch to change the minute
field in increments of ten minutes. Push the
switch to finish setting the charging
timer.
IMMEDIATE CHARGE
When a charging timer is not turned on, charging
automatically starts when a normal or trickle
charge connector is connected to the vehicle.
Use the immediate charge mode anytime you
want to start charging when a charging timer is
turned on by performing the following:
1. Place the power switch in the OFF position.
2. Press the immediate charge switch.
3. Connect the normal or trickle charge cablewhen the charging status indicator light
changes to display immediate charge mode.
See “Charging status indicator lights” in this
section.
CH-26Charging
Page 79 of 412
CHARGING STATUS INDICATOR
LIGHTS
The charging status indicator lights�1to�3
display the charging status, and are visible from
both inside and outside the vehicle.When the normal charge connector lock is
unlocked
All of the indicator lights,
�1to�3, will flash and
beep will sound three times when the normal
charge connector lock switch on the Intelligent
Key or the charge port lid opener switch is
pushed.
When the normal charge connector is con-
nected incorrectly
All of the indicator lights,
�1to�3, will flash and
beep will sound three times within 30 seconds
when the charge connector is connected incor-
rectly to the normal charge port. Ready for charging timer
If charging timer is set, the indicator lights illumi-
nate, in order from
�1to�3. The indicator lights
turn off after approximately 5 minutes.
CHARGING RELATED INDICATOR
LIGHTS
CH-28Charging
Page 80 of 412

Ready for immediate charge
When the power switch is off and if the immedi-
ate charge switch is pressed while the charge
cable is not connected, the indicator light
�2
illuminates.
This indicator light
�2illuminates when the ve-
hicle is ready for immediate charge. You have 15
minutes to connect the charge connector to the
vehicle. If the charge connector is not connected
within 15 minutes, the indicator light
�2turns off
and you must start the immediate charge mode
again to charge the Li-ion battery. When charging
When the Li-ion battery is being charged, the
charging status indicator lights will change de-
pending on the amount the Li-ion battery is
charged.
*: This value is also displayed by the illumination
of segments of the Li-ion battery available charge
gauge on the instrument panel.
When fully charged
All of the indicator lights
�1to�3illuminate when
the Li-ion battery is fully charged.
The indicator lights turn off after approximately 5
minutes or when the charge connector is re-
moved.
ChargingCH-29
Page 84 of 412

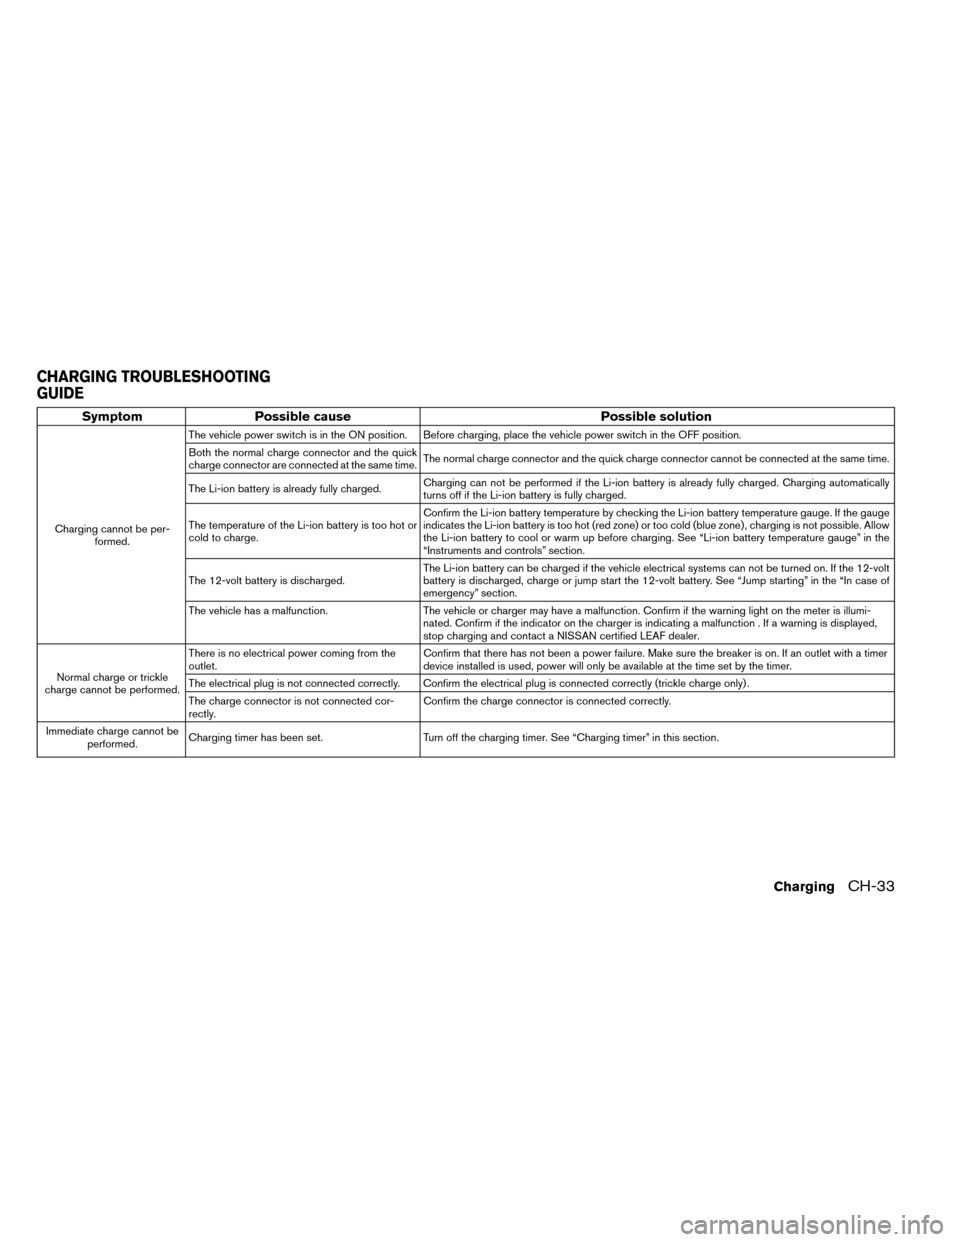
SymptomPossible cause Possible solution
Charging cannot be per-
formed. The vehicle power switch is in the ON position. Before charging, place the vehicle power switch in the OFF position.
Both the normal charge connector and the quick
charge connector are connected at the same time.
The normal charge connector and the quick charge connector cannot be connected at the same time.
The Li-ion battery is already fully charged. Charging can not be performed if the Li-ion battery is already fully charged. Charging automatically
turns off if the Li-ion battery is fully charged.
The temperature of the Li-ion battery is too hot or
cold to charge. Confirm the Li-ion battery temperature by checking the Li-ion battery temperature gauge. If the gauge
indicates the Li-ion battery is too hot (red zone) or too cold (blue zone) , charging is not possible. Allow
the Li-ion battery to cool or warm up before charging. See “Li-ion battery temperature gauge” in the
“Instruments and controls” section.
The 12-volt battery is discharged. The Li-ion battery can be charged if the vehicle electrical systems can not be turned on. If the 12-volt
battery is discharged, charge or jump start the 12-volt battery. See “Jump starting” in the “In case of
emergency” section.
The vehicle has a malfunction. The vehicle or charger may have a malfunction. Confirm if the warning light on the meter is illumi-
nated. Confirm if the indicator on the charger is indicating a malfunction . If a warning is displayed,
stop charging and contact a NISSAN certified LEAF dealer.
Normal charge or trickle
charge cannot be performed. There is no electrical power coming from the
outlet.
Confirm that there has not been a power failure. Make sure the breaker is on. If an outlet with a timer
device installed is used, power will only be available at the time set by the timer.
The electrical plug is not connected correctly. Confirm the electrical plug is connected correctly (trickle charge only) .
The charge connector is not connected cor-
rectly. Confirm the charge connector is connected correctly.
Immediate charge cannot be performed. Charging timer has been set.
Turn off the charging timer. See “Charging timer” in this section.
CHARGING TROUBLESHOOTING
GUIDE
ChargingCH-33
Page 137 of 412

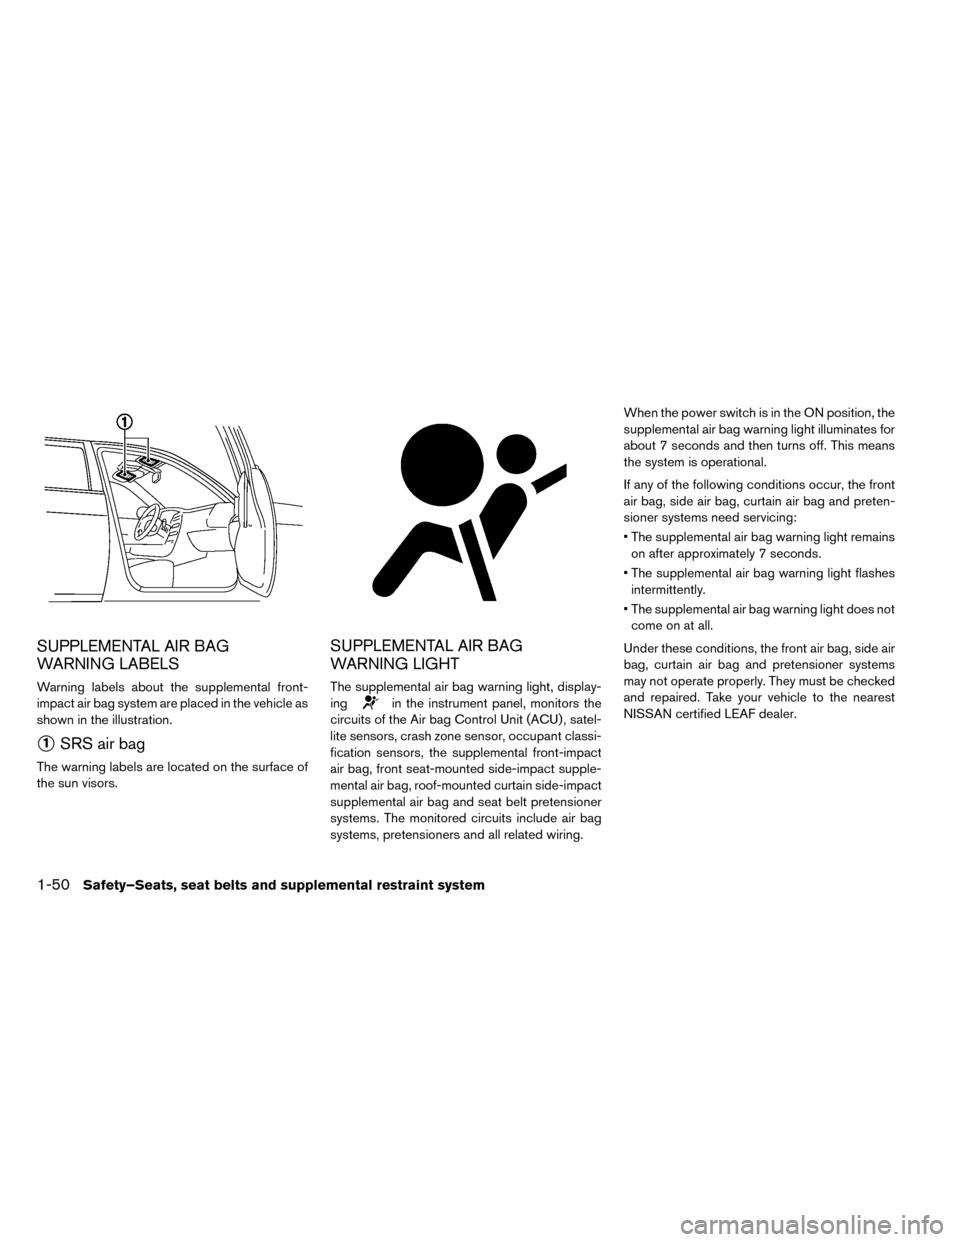
SUPPLEMENTAL AIR BAG
WARNING LABELS
Warning labels about the supplemental front-
impact air bag system are placed in the vehicle as
shown in the illustration.
�1SRS air bag
The warning labels are located on the surface of
the sun visors.
SUPPLEMENTAL AIR BAG
WARNING LIGHT
The supplemental air bag warning light, display-
ing
in the instrument panel, monitors the
circuits of the Air bag Control Unit (ACU) , satel-
lite sensors, crash zone sensor, occupant classi-
fication sensors, the supplemental front-impact
air bag, front seat-mounted side-impact supple-
mental air bag, roof-mounted curtain side-impact
supplemental air bag and seat belt pretensioner
systems. The monitored circuits include air bag
systems, pretensioners and all related wiring. When the power switch is in the ON position, the
supplemental air bag warning light illuminates for
about 7 seconds and then turns off. This means
the system is operational.
If any of the following conditions occur, the front
air bag, side air bag, curtain air bag and preten-
sioner systems need servicing:
• The supplemental air bag warning light remains
on after approximately 7 seconds.
• The supplemental air bag warning light flashes intermittently.
• The supplemental air bag warning light does not come on at all.
Under these conditions, the front air bag, side air
bag, curtain air bag and pretensioner systems
may not operate properly. They must be checked
and repaired. Take your vehicle to the nearest
NISSAN certified LEAF dealer.
1-50Safety–Seats, seat belts and supplemental restraint system