Page 89 of 236
Radio
Use your voice to quickly get to the AM, FM or SiriusXM™ Satellite Radio®stations you
would like to hear. (Subscription or included SiriusXM™ Satellite Radio trial required.)
Push the VR button.Afterthebeep,say:
•Tune toninety-five-point-five FM
•Tune toSatellite Channel Hits 1
TIP:At any time, if you are not sure of what to say or want to learn a Voice Command, push
the VR buttonand say“Help.”The system will provide you with a list of commands.
Uconnect® 5.0 Radio
ELECTRONICS
87
Page 90 of 236
Media
Uconnect®offers connections via USB, SD, Bluetooth®and auxiliary ports (If Equipped).
Voice operation is only available for connected USB and iPod®devices. (Remote CD
player optional and not available on all vehicles.)
Push the VR button.Afterthebeep,sayoneofthefollowingcommandsand
follow the prompts to switch your media source or choose an artist.
•Change sourceto Bluetooth®
•Change sourceto iPod®
•Change sourceto USB
•Play artistBeethoven;Play albumGreatest Hits;Play songMoonlight Sonata;Play
genreClassical
TIP:Press the Browse button on the touchscreen to see all of the music on your iPod®or
USB device. Your Voice Command must matchexactlyhow the artist, album, song and
genre information is displayed.
Uconnect® 5.0 Media
ELECTRONICS
88
Page 91 of 236
Phone
Making and answering hands-free phone calls is easy with Uconnect®.WhenthePhonebook
button is illuminated on your touchscreen, your system is ready.
U.S. residents can visit UconnectPhone.com to check mobile device and feature com-
patibility and to find phone pairing instructions.
Push the Phone button.Afterthebeep,sayoneofthefollowingcommands…
•CallJohn Smith
•Dial123-456-7890 and follow the system prompts
•Redial(call previous outgoing phone number)
•Call back(call previous incoming phone number)
TIP:When providing a Voice Command, push the Phone buttonand say“Call,”then
pronounce the nameexactlyas it appears in your phone book. When a contact has
multiple phone numbers, you can say“CallJohn Smithwork.”
Uconnect® 5.0 Phone
ELECTRONICS
89
Page 92 of 236
Additional Information
©2014FCAUSLLC.Allrightsreserved.Mopar,MoparOwnerConnectandUconnectare
registered trademarks of FCA US LLC. Android is a trademark of Google Inc. SiriusXM and
all related marks and logos are trademarks of SiriusXM Radio Inc. Yelp, Yelp logo, Yelp
burst and related marks are registered trademarks of Yelp.
Uconnect®System Support:
•U.S.residentsvisitDriveUconnect.comorcall:1-877-855-8400
•CanadianresidentsvisitDriveUconnect.caorcall:1-800-465-2001(English)or
1-800-387-9983 (French)
Mon. – Fri., 7:00 am – 12:00 am, ET
Sat., 8:00 am – 10:00 pm, ET
Sun., 9:00 am – 5:00 pm, ET
Uconnect®Access Services Support 1-855-792-4241. Please have your Uconnect®
Security PIN ready when you call.
ELECTRONICS
90
Page 93 of 236
Uconnect® 8.4A
Uconnect® 8.4A — If Equipped
At A Glance
Displaying The Time
If the time is not currently displayed on the radio or player main page:
1. Press the “Controls” button on the touchscreen or the “Apps” button on the touch-
screen, then the “Settings” button on the touchscreen.
2. In the Settings list, press the “Clock” button on the touchscreen.
Uconnect® 8.4A
1—StatusBar2—MenuBar3—Uconnect®Apps Button4—Uconnect®Phone Button
5—ClimateButton6—ControlsButton7—MediaButton8—RadioButton
ELECTRONICS
91
Page 94 of 236

Setting The Time
Model 8.4AN synchronizes time automatically via GPS, so it should not require any time
adjustment. If you do need to set the time manually, follow the instructions below for
Model 8.4A.
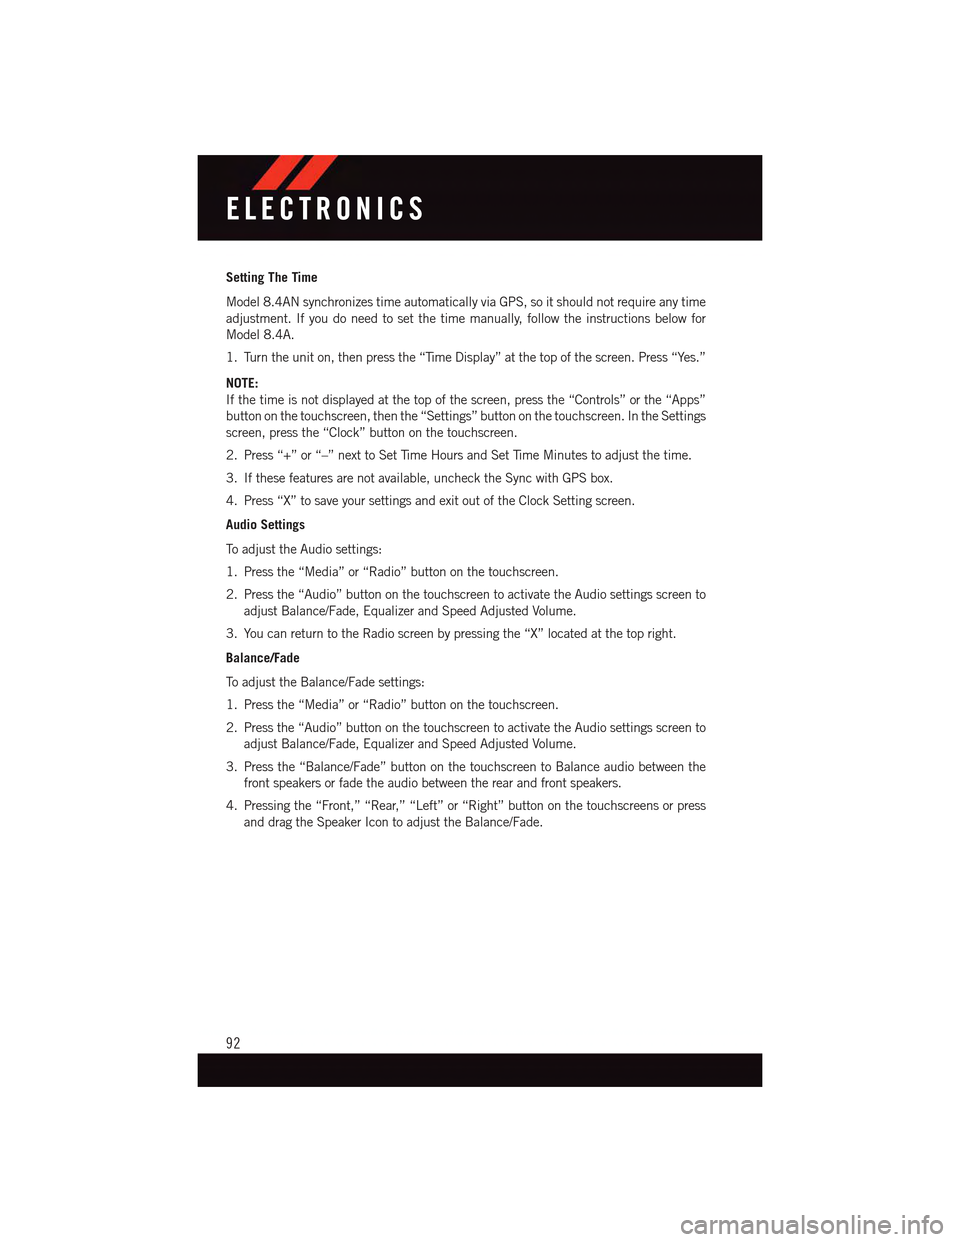
1. Turn the unit on, then press the “Time Display” at the top of the screen. Press “Yes.”
NOTE:
If the time is not displayed at the top of the screen, press the “Controls” or the “Apps”
button on the touchscreen, then the “Settings” button on the touchscreen. In the Settings
screen, press the “Clock” button on the touchscreen.
2. Press “+” or “–” next to Set Time Hours and Set Time Minutes to adjust the time.
3. If these features are not available, uncheck the Sync with GPS box.
4. Press “X” to save your settings and exit out of the Clock Setting screen.
Audio Settings
To a d j u s t t h e A u d i o s e t t i n g s :
1. Press the “Media” or “Radio” button on the touchscreen.
2. Press the “Audio” button on the touchscreen to activate the Audio settings screen to
adjust Balance/Fade, Equalizer and Speed Adjusted Volume.
3. You can return to the Radio screen by pressing the “X” located at the top right.
Balance/Fade
To a d j u s t t h e B a l a n c e / F a d e s e t t i n g s :
1. Press the “Media” or “Radio” button on the touchscreen.
2. Press the “Audio” button on the touchscreen to activate the Audio settings screen to
adjust Balance/Fade, Equalizer and Speed Adjusted Volume.
3. Press the “Balance/Fade” button on the touchscreen to Balance audio between the
front speakers or fade the audio between the rear and front speakers.
4. Pressing the “Front,” “Rear,” “Left” or “Right” button on the touchscreens or press
and drag the Speaker Icon to adjust the Balance/Fade.
ELECTRONICS
92
Page 95 of 236

Equalizer
To a d j u s t t h e e q u a l i z e r s e t t i n g s :
1. Press the “Media” or “Radio” button on the touchscreen.
2. Press the “Audio” button on the touchscreen to activate the Audio settings screen to
adjust Balance/Fade, Equalizer and Speed Adjusted Volume.
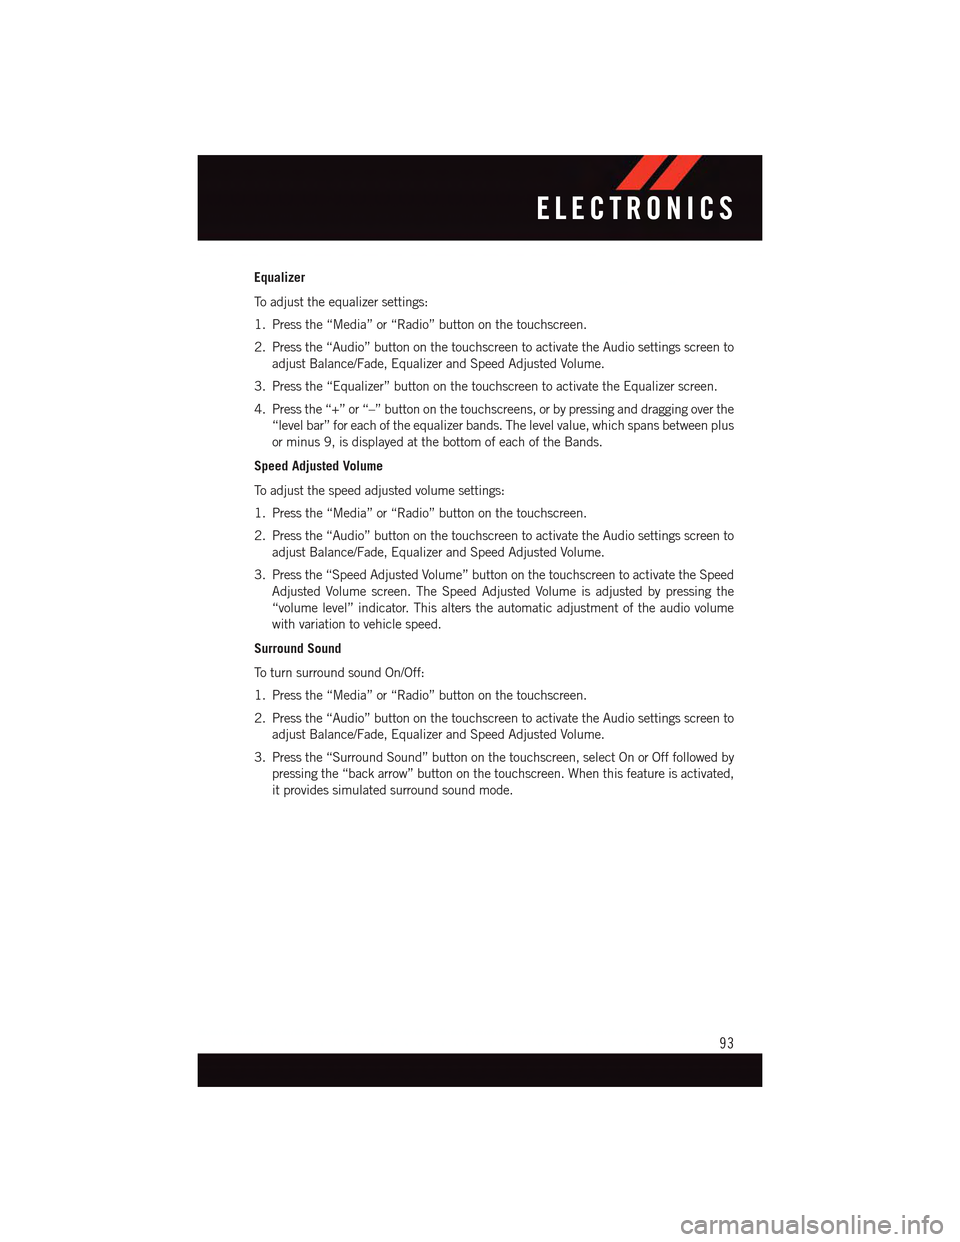
3. Press the “Equalizer” button on the touchscreen to activate the Equalizer screen.
4. Press the “+” or “–” button on the touchscreens, or by pressing and dragging over the
“level bar” for each of the equalizer bands. The level value, which spans between plus
or minus 9, is displayed at the bottom of each of the Bands.
Speed Adjusted Volume
To a d j u s t t h e s p e e d a d j u s t e d v o l u m e s e t t i n g s :
1. Press the “Media” or “Radio” button on the touchscreen.
2. Press the “Audio” button on the touchscreen to activate the Audio settings screen to
adjust Balance/Fade, Equalizer and Speed Adjusted Volume.
3. Press the “Speed Adjusted Volume” button on the touchscreen to activate the Speed
Adjusted Volume screen. The Speed Adjusted Volume is adjusted by pressing the
“volume level” indicator. This alters the automatic adjustment of the audio volume
with variation to vehicle speed.
Surround Sound
To t u r n s u r r o u n d s o u n d O n / O f f :
1. Press the “Media” or “Radio” button on the touchscreen.
2. Press the “Audio” button on the touchscreen to activate the Audio settings screen to
adjust Balance/Fade, Equalizer and Speed Adjusted Volume.
3. Press the “Surround Sound” button on the touchscreen, select On or Off followed by
pressing the “back arrow” button on the touchscreen. When this feature is activated,
it provides simulated surround sound mode.
ELECTRONICS
93
Page 96 of 236
RADIO
To a c c e s s t h e R a d i o m o d e :
•Pressthe“Radio”buttonatthelowerleftofthetouchscreen.
Selecting Radio Stations
•Pressthedesiredradioband(AM,FMorSXM)buttononthetouchscreen.
Seek Up/Seek Down
•Pressthe“Seekarrow”buttononthetouchscreenforlessthantwosecondstoseek
through radio stations.
•Pressandholdeither“Seekarrow”buttononthetouchscreenformorethantwo
seconds to bypass stations without stopping. The radio will stop at the next listenable
station once the “arrow” button on the touchscreen is released.
Uconnect® 8.4A Radio
1—RadioStationPresets2—ToggleBetweenPresets3—AudioSetting4—SeekUp
5—DirectTuneToARadioStation6—SeekDown7—BrowseAndManagePresets8—ChooseRadioBand
ELECTRONICS
94