2015 AUDI TT ROADSTER headlights
[x] Cancel search: headlightsPage 58 of 244
56 Clear vis ion
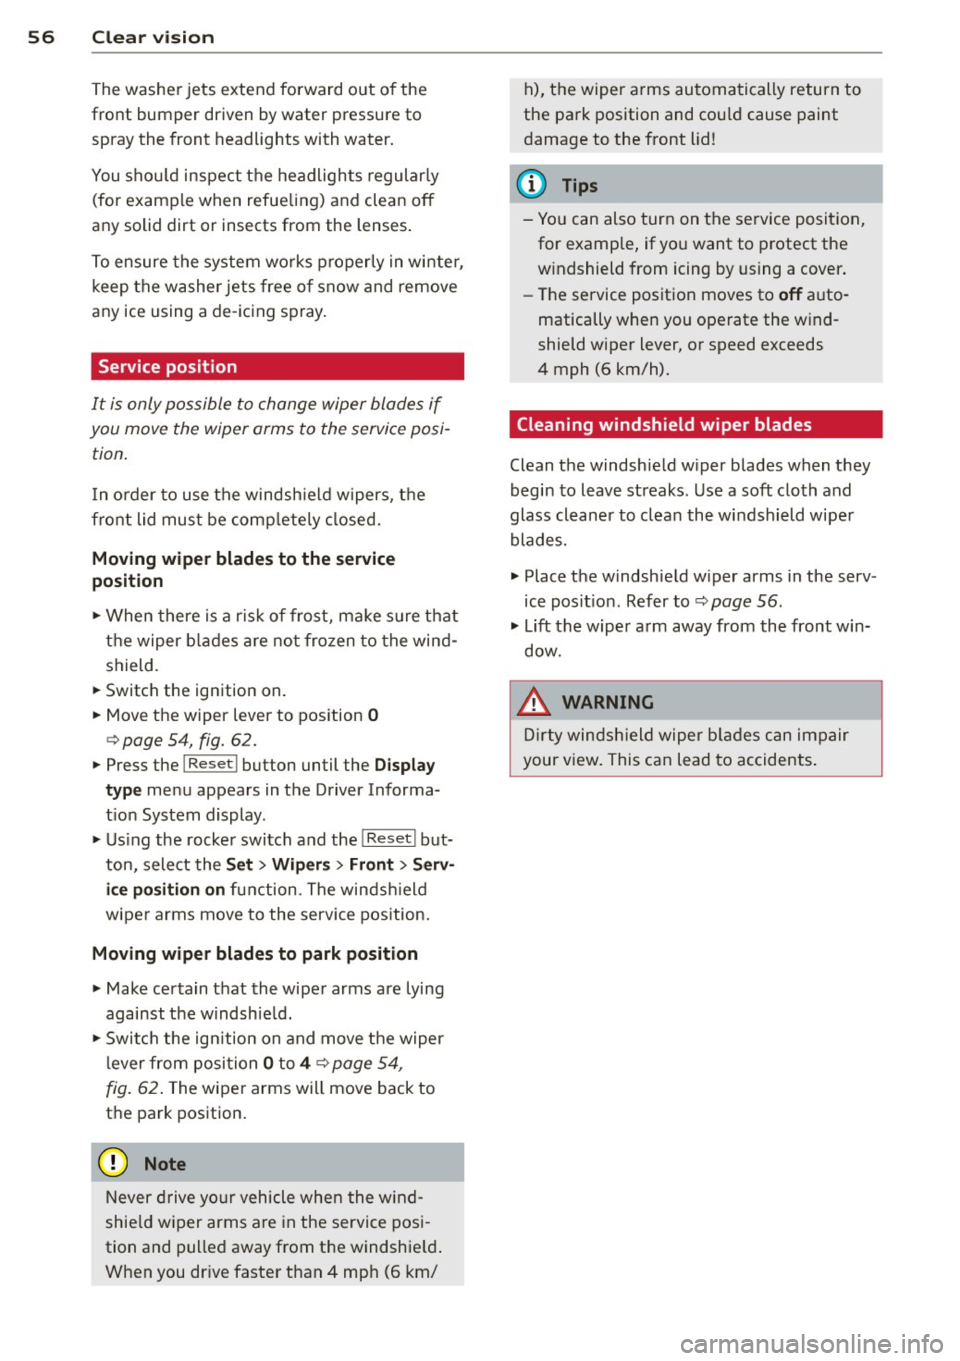
The washer jets extend forward out o f the
front bumper driven by water pressure to
spray the front headlights with water.
You shou ld inspect the headlights regularly
(for example when refueling) and clean
off
any solid dirt or insects from the lenses .
To ensure the system wo rks properly in wi nter,
keep the washer jets free of snow and remove
any ice using a de-icing spray.
Service position
It is only possible to change wiper blades if
you move the wiper arms to the service posi
tion .
In o rder to use the windsh ield wipers, t he
front lid mus t be comp lete ly closed.
Moving w iper blades to the service
position
• When there is a risk of frost, make s ure that
the wiper b lades a re not frozen to the wind
shield .
.. Switch the ignition on.
.. Move the wiper lever to position
0
c> page 54, fig. 62.
.. Press the I Reset I button until the Displa y
typ e
menu appears in the Driver Informa
t ion System display .
.. Us ing the rocker switch and the
! Reset ! but
ton, select the
S et > W iper s > Front > Serv
ice positi on on
function. The winds hield
wiper arms move to the service position.
Moving wiper blades to park position
.. Make certain that the wiper arms are lying
against the windshie ld .
.. Switch the ign ition on and move t he wiper
l ever from posi tion
O to 4 c> page 54,
fig . 62 .
The wiper arms will move back to
the park position.
«I) Note
Never drive yo ur vehicle when the w ind
shie ld w iper arms are in the service pos i
tion and pulled away from the windshie ld .
When you dr ive faste r than 4 mp h (6 km/ h), the wiper a
rms automatically return to
the park position and cou ld cause paint
damage to the front lid!
(D Tips
- Yo u can also turn on the se rvice posit ion,
for example, if yo u want to protect the
w indshield from icing by using a cover .
- The service posit ion moves to
off a uto
matically when you operate the w ind
shield wiper lever, or speed exceeds
4 mph (6 km/h).
Cleaning windshield wiper blades
Clean the windshie ld w iper blades when they
begin to leave streaks. Use a soft cloth and
glass cleaner to clean the windshield wiper
blades.
.. Place the windshie ld w iper arms in the serv
ice pos it ion . Refer to
c::> page 56 .
"' Lift the wiper arm away from the front win
dow.
_&. WARNING
Di rty windsh ield wiper b lades can impair
your view. This can lead to accidents .
-
Page 75 of 244
you leave your vehicle. This makes a vehicle
theft even more difficult ¢ .&. .
Ign ition key safety lock
Afte r switch ing off the ignition, the ig nit ion
key ca n only be removed from the ig nition
l ock when the se lector lever is in the "P"
(Park) position . After you have removed the
key, the selector lever is locked and cannot be
moved.
Ign ition on (D
If it is diffic ult to turn the key afte r you have
inse rted it into the ignition lock, turn the
steering whee l back and forth. This will take
the load
off the steering lock mechanism and
you will be able to turn the key freely and start the engine.
Starting th e engine @
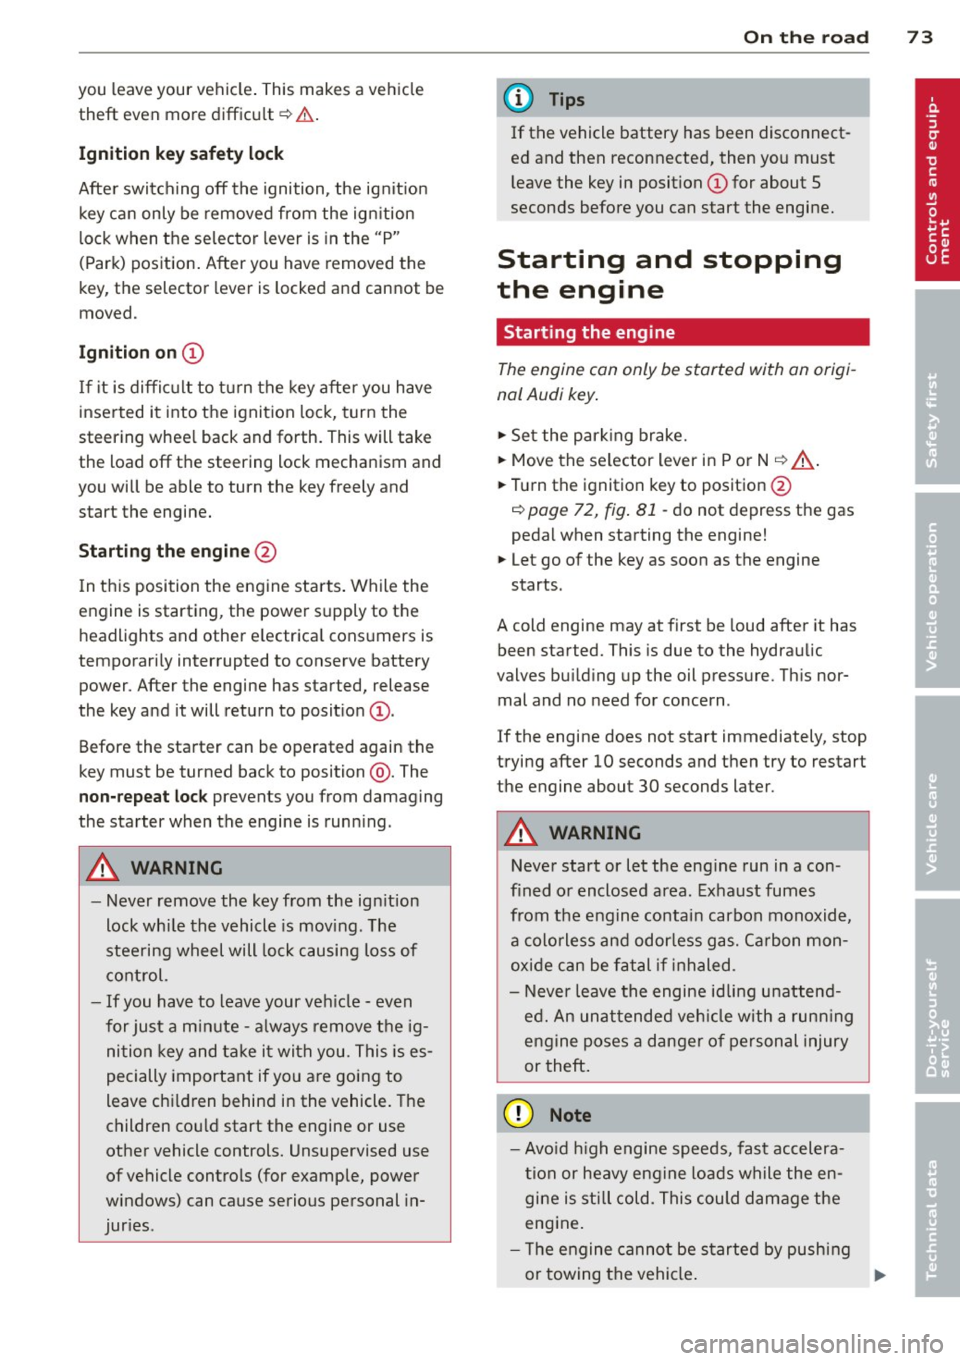
In this position the engine starts . While the
engine is starting, the power supply to the headlights and other e lectrica l consumers is
temporari ly interrupted to conserve battery
power. After the engine has started, release
the key and it will return to posit io n
(D .
Before the starter can be operated again the
key must be turned back to position @. The
non-repeat lock prevents you from damaging
the starter when the engine is runn ing .
A WARNING
-Never remove the key from the ign ition
lock whi le the vehicle is mov ing . The
steering wheel will lock causing loss of
co ntrol.
- If you have to leave your veh icle - even
for just a m inute - a lways remove t he ig
ni tion key and take it with you. This is es
pecially important if you are going to
leave ch ildren behind in the vehicle. The
children co uld start the engine or use
other vehicle controls. Unsupervised use
of vehicle controls (for example, power
windows) can cause serious personal in
jur ies .
-
On th e ro ad 73
(D Tips
If the vehicle battery has been disconnect
ed and then reconnected, then yo u must
l eave the key in posit ion
(D for about 5
seconds before you can start the engine.
Starting and stopping
the engine
' Starting the engine
The engine can only be started with an origi
nal Audi key .
.,. Se t the par king brake.
.,. Move the selector lever in P or
N q .&_ .
.,. Turn the ignition key to position @
~ page 72, fig. Bl -do not depress the gas
peda l when starting the engine!
.,. Let go of the key as soon as the engine
starts .
A cold engine may at first be loud after it has
been started. This is due to the hydraulic
valves bu ild ing up the oil pressure. Th is nor
mal and no need for concern .
If the engine does not start immediately, stop
trying after 10 seconds and then try to restart
the engine about 30 seconds later.
A WARNING
-Never start or let the eng ine run in a con-
fined o r enclosed area . Exhaust fumes
from the engine co ntain carbon monoxide,
a colorless and odo rless gas. Ca rbon mon
oxide can be f atal if inhaled.
- Never leave the engine id ling unattend
ed. An una ttended veh icle w ith a runn ing
engine poses a danger o f personal injury
or theft .
(D Note
-Avo id high engine speeds, fast accelera
tion or heavy engine loads while the en
gine is still cold. This could damage the
engine.
- The e ngine cannot be started by pushing
or towing the vehicle . .,..
Page 159 of 244
Vehicl e ca re a nd cl eanin g 157
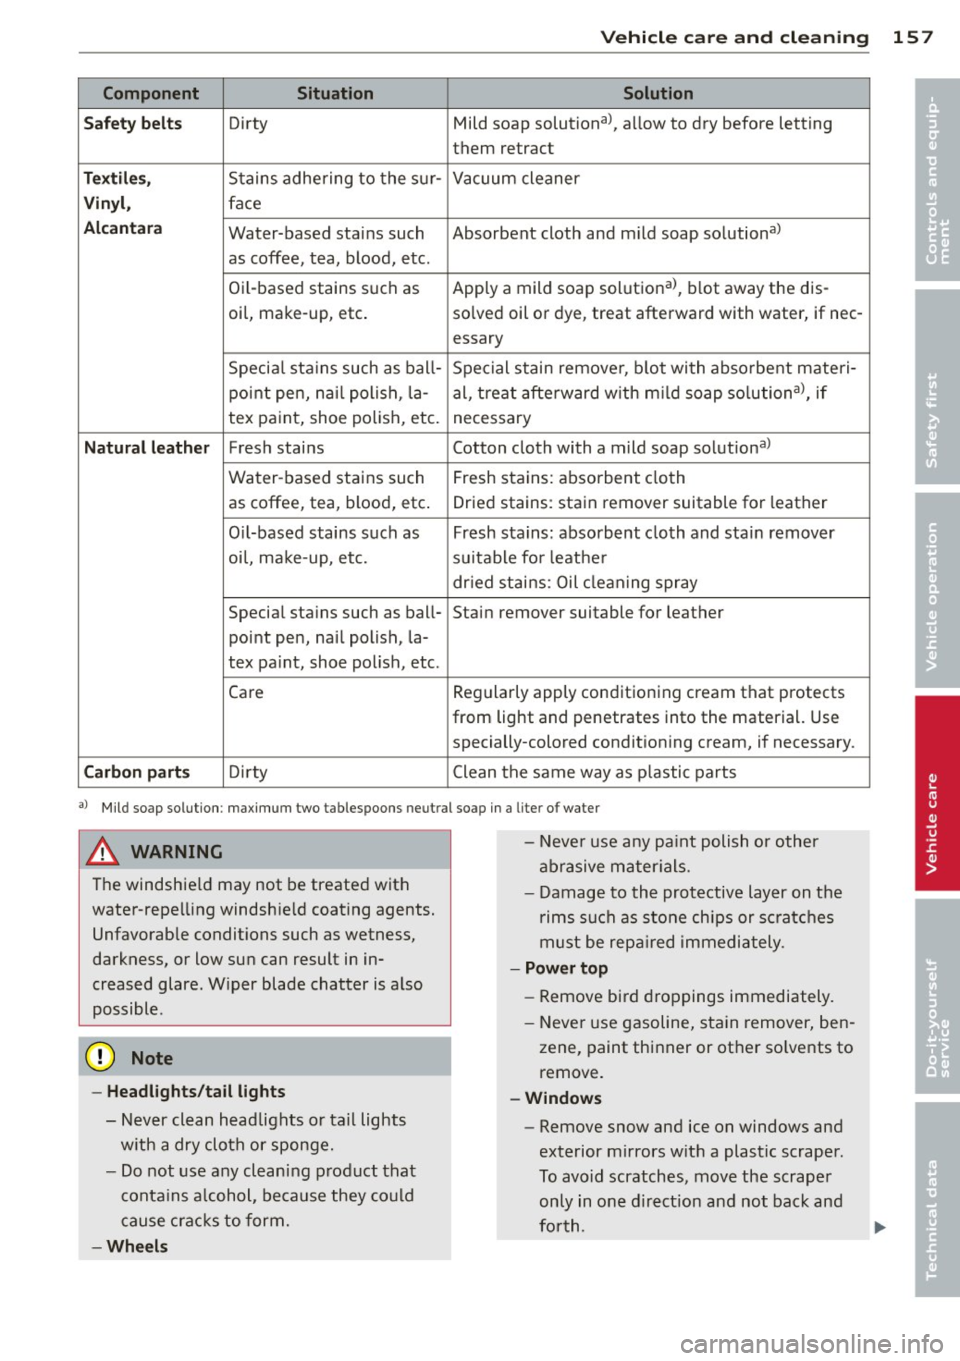
Component Situation Solution
•
Sa fe ty be lt s Dirty Mild soap solutional, allow to dry before letting
• them retract
Tex til es, Stains adhering to the sur- Vacuum cleaner
Vinyl , face
Alcanta ra Water-based stains such Absorbent cloth and mild soap solutional
as coffee, tea, blood, etc.
Oil-based stains such as Apply a mild soap solutional, blot away the dis-
oil, make-up, etc. solved oil or dye, treat afterward with water, if nee-
essary
Specia l sta ins such as ball- Special stain remover, blot with absorbent materi-
point pen, nai l polish, la- al, treat afterward w ith m ild soap solutional, if
tex paint, shoe polish, etc.
necessary
Natura l lea ther Fresh stains Cotton cloth with a m ild soap solutional
Water-based stains such Fresh stains: absorbent cloth
as coffee, tea, blood, etc. Dried stains: sta in remover suitable for leather
O il-based stains such as Fresh stains: absorbent cloth and stain remover
oi l, make-up, etc. suitable for leather
dr ied stains: Oil clean ing spray
Special stains such as ball- Stain remover suitable for leather
point pen, nail polish, la-
tex pa int, shoe pol ish, etc .
Care Regularly
apply conditioning cream that protects
from light and penetrates into the material. Use specially-colored conditioning cream, if necessary.
Carbon part s Dirty Clean the same way as plastic parts
al Mild soap solution: maximum two tablespoons neut ral soap in a lit er of water
A WARNING
The windshie ld may not be treated with
water-repelling windshie ld coating agents.
Unfavorable conditions such as wetness,
darkness, or low sun can result in in
creased glare. W iper blade chatter is also
possible.
(D Note
- Headl ights /ta il li ghts
- Never clean headlights or tail lights
w ith a dry cloth or sponge.
- Do not use any cleaning p roduct that
contains a lcohol, because they could
cause cracks to form.
-W heels
- Neve r use any pa int polish or other
abrasive mater ials.
- Damage to the protective layer on the rims such as stone chips or sc ratches
must be repa ired immediately.
- Po wer top
- Remove bird droppings immediately.
- Never use gasoline, stain remover, ben-
zene, paint thinner or other so lvents to
remove.
- W ind ow s
-Remove snow and ice on windows and
exterior mirrors with a plastic scraper.
To avoid scratches, move the scrape r
only in one d irect ion and not back and
forth.
Page 177 of 244
@ For the sake of the environment
Because of the problem of proper disposa l
of brake flu id as we ll as the special tools
requ ired and the necessary expert ise, we
recommend that you have the brake fluid
changed by your author ized Audi dealer .
Battery
General information
Your vehicle is equipped with a special bat
tery, an
ACM battery. This battery is located
in the luggage compartment and must be re
p laced w ith an original equipment battery .
Under normal operati ng conditions, the bat
tery is
maint enan ce -fre e.
Have the battery checked when you take your
ve hicle in for service. You are well adv ised to
replace a battery that is older than
5 years.
Di sconn ect ing the battery terminal s
Some vehicle functions (power window regu
lators, for example) are lost if the battery ter
minals are d isconnected. These functions have
to be re learned after the battery terminals are
connected again . To prevent this, the battery
should only be d isconnected from the vehicle
e lectr ica l system when absolutely necessary
for repairs .
Vehicles not driven for l ong period s
If you do not drive your vehicle over a period
of several days or weeks, electrical compo
nents are gradually cut back o r switched off .
This reduces energy consumption and main
tains sta rting capab ility over a longer per iod
c::> page 146. Some of the convenience func
tions may not operate, s uch as the interior
lights or power seat adjustment. The conven
ience functions will be avai lab le again when
you switch on the ignition and start the en g ine.
Winter operation
D uring the winter months, ba tte ry capaci ty
tends to decrease as temperatures d rop. This
is because more powe r is also consumed while
Checkin g and fillin g 175
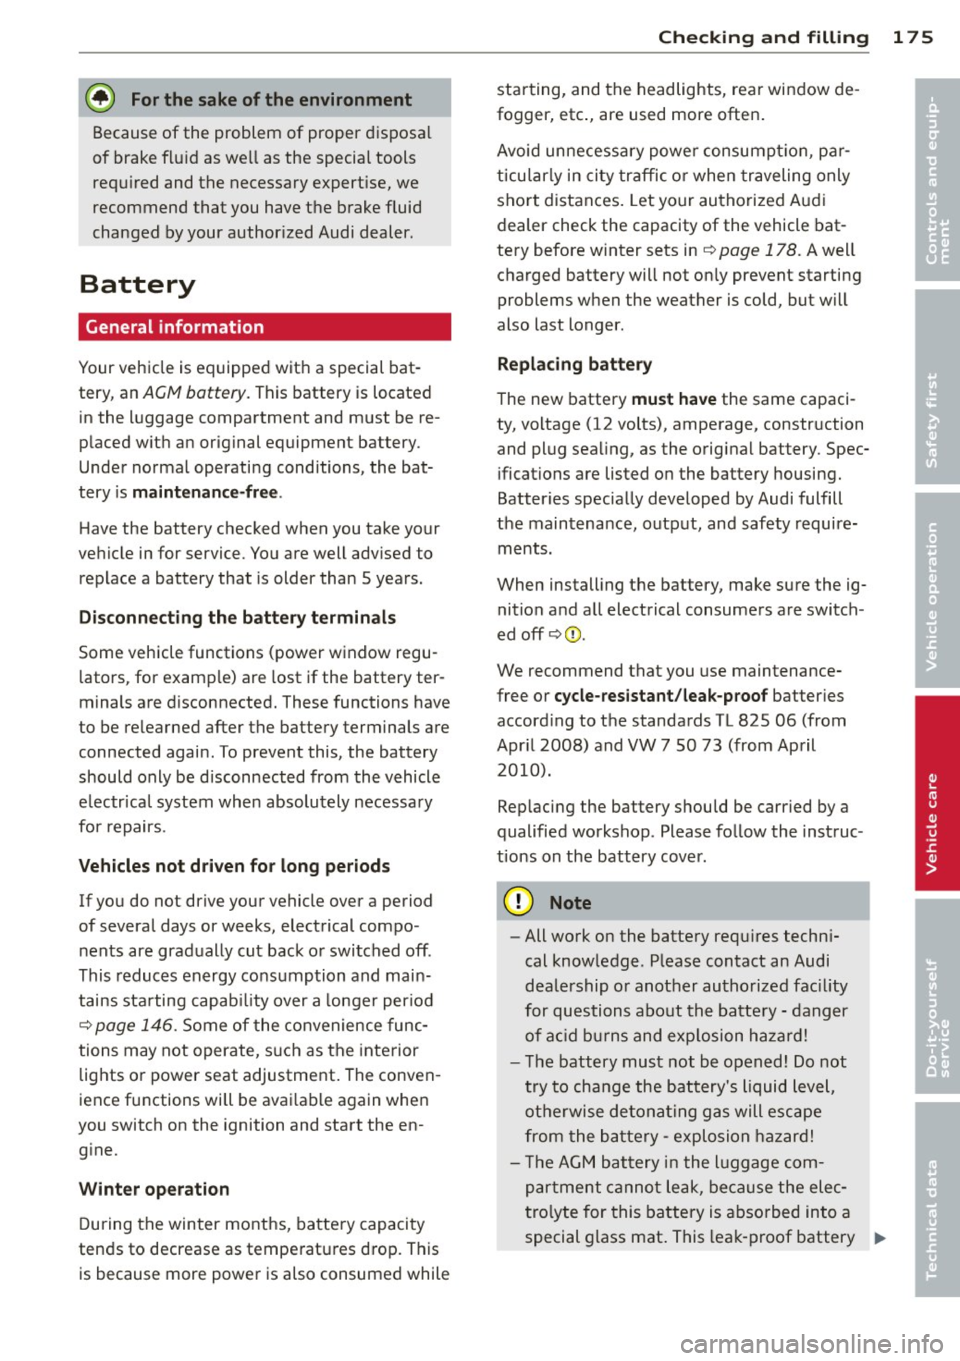
starting, and the headlights, rear window de
fogger, etc ., are used more often .
Avoid unnecess ary powe r consumpt io n, p ar
t icu lar ly in city traffic o r when traveling only
sho rt distances. Let your authorized A udi
dealer check the capacity of the vehicle bat
tery before winter sets in
c::> page 178. A well
charged battery will not on ly prevent starting
problems when the weather is cold, but will
also last longer .
Replacing battery
The new battery must ha ve the same capaci
ty, voltage (12 volts), amperage, construction
and plug sea ling, as the original battery. Spec
ifications are listed o n the battery housing.
Batter ies spec ia lly developed by Audi fulfill
the maintenance, outp ut, and safety require
ments.
When installing the battery, make sure the ig nition and a ll electrical consumers are switch
ed off
c::> (D .
We recommend that you use maintenance
free or
cycle -res istant /leak-proof batter ies
accord ing to the standards TL 825 06 (from
Apr il 2008) and VW 7 50 73 (from Ap ril
2010).
Rep lacing the battery should be carried by a
qualified workshop. Please fo llow the instruc
tions on the battery cover.
([) Note
-All work on the battery requ ires techn i
cal know ledge. P lease contact an Audi
deale rship o r anot her au tho rized fac ility
for questions abo ut the batte ry -dang er
of a cid b urns and exp losion ha zard!
- T he battery must not be opened! Do not
try to cha nge the battery 's liquid level,
ot herwise de tona ting gas will esc ape
from the ba ttery -explosion ha zard!
- T he AGM battery in the l uggage com
p artment cannot leak, because the elec
tro lyte for this battery is abso rbed into a
special glass mat. This lea k-p roof battery
Iii>
•
•
Page 215 of 244

Fuse Location, Instrument Panel left
0
Fig. 161 Fuse carrier behind the instrument panel end
face, cover removed
Some of the eq u i prnent items listed a re op
tional or only available on certain model con
f igurations.
Note that the following table is accurate at
the time of going to press and is subject to
change. In the event of d iscrepancies, the la
bel on the in side of the cover always takes
precedence .
The power seats are protected by circuit
breakers ,
which automatically reset after a
few seconds after the overload has been rem
ed ied.
No. Equipment Amps
Engine relay, fuel tank cont ro l
1
unit, A irbag Off light, light
10 switch (sw itch illumi nation), di-
agnostic connector
2
ABS, ASR, ESC, brake light
5 switch
3 AFS headlight (left) 5
No.
4
5
6
7
8
9
10
11
12
13
14
15
16
17
18
19
20
21 22
23
Fuses and bulbs 213
Equipment Amps
Oil level sensor (extended main-
tenance interval)
(WIV), t ir e
press ure monitoring system,
sw itch for Electron ic Stabiliza-
5 tion Control (ESC), AFS head-
lights (control unit), A/C system
(pressure sensor), backup light
sw itch
Automatic headlight range con- trol, AFS headlight (right) /
5/10
manual headlight range con-
trol, halogen headlights
Control unit for CAN data trans-
fer (gateway), electrornechani-
5 cal steering, automatic trans-
miss ion shift gate
Acoustic Park Assist, automatic
d ip ping interior rear
view rnir-
ror, garage door opener, heata-
5 ble windshield washer nozzles,
washer pump, w ind deflector
relay (Roadster)
H aldex clutch/Ha ldex clutch
5/10 (TTS)
Control un it Audi magnetic ride
5
A irbag contro l unit 5
Mass airflow sensor, crankcase 5/10
heating
Door control unit (central lock -
10 ing driver/passenger)
Diagnostic connector
10
Rain sensor, automatic trans-
5 miss ion sh ift gate
Roof light (interior lighting)
5
A/C system (contro l unit) 10
Tire pressure monitoring sys -
5 tern (control un it)
Not used
Not used
Not used
Fuel injectors (gasoline eng ine)
10
Wind deflector (Roadster) 30
Horn 20
Page 235 of 244
F
Fan ... .. .. .. .. .... .. .... ... .. .. .... 68
Radiator ... .. ... .. ..... ... .. .. ... 173
F astening
Booste r seats ............ .. .. .. .. . 136
Conve rtible c hild s afety sea ts . .. .. .. . 134
I nfant sea ts
Flat t ire 134
Changing .. .. .............. ... ... 208
F loor mats . . . . . . . . . . . . . . . . . . . . . . . . . . 96
F og lights . . . . . . . . . . . . . . . . . . . . . . . . . . 50
Foldi ng master key w it h remote contro l . . 32
F oot pedals . . . . . . . . . . . . . . . . . . . . . . . . . 96
F or the sake of the environmen t
Gasoline fumes and the environment . . 16 2
L e tt ing yo ur engine warm up ... .. .. .. 73
Refueli ng .. .. .. .. .. .... ... .. .. ... 162
Saving fue l by early upshifting . ... .. .. 1 0
Fr ont airbags
D escr ipt io n ... .. ......... .. .. .. ... 1 12
H ow they work . .. ..... ... .. .. .. .. . 11 7
Fronta l co llisions and the laws of physics 10 1
Front seats . . . . . . . . . . . . . . . . . . . . . . . . . 59
Adjusting .. ............. .... .. .... 93
Adjusting the manual seats . .. .. .. .. .. 60
Ch ild restra ints in the front seat ... .. . 109
Fu el
Additives ... .. .. .. .. .... ... .. .. ... 160
Blended gasoline ......... .. .. .. .. . 160
Current fuel mileage . . . . . . . . . . . . . . . . 23
F iller neck ................ ... ... .. 161
Fuel gauge . . . . . . . . . . . . . . . . . . . . . . . . 12
Fue l supp ly too low . . . . . . . . . . . . . . . . . 20
Gasoline . .. .. .. ......... .. .. .. ... 160
Gasoline additives ........ .. .. .. .. . 16 1
Octane rating ............ .. .. .. .. . 160
Recommenda tion . ..... ... .. .. .. .. . 160
Refue lling . ... .... .. .... ... .. .. ... 162
Reserve .... .. .. .. .. .... ... .. .. .... 1 2
Tank capacity . ........... .. .. .. .. . 223
Unlock ing the fue l filler f lap by ha nd . . 163
F ue l economy messages (eff iciency pro -
g ram) ..... .. .. .. .. .. .... ... .. .. .... 27
F use arrangement ......... .. .. .. .. . 213
Inde x 233
G
Garage door opener ( Home link) ... .. .. . 88
Gas d ischarge lamps .. . .. .. .. ... ... .. 215
Ga uges
Engine coolant temperature . . . . . . . . . . 11
Fuel gauge . . . . . . . . . . . . . . . . . . . . . . . . 12
Tachometer . . . . . . . . . . . . . . . . . . . . . . . 10
General i llustration
Instruments and controls .... ... .. .. .. 8
Generator (warning/ indicator ligh ts) . .. . 16
G lossary of tire and loading term inology 181
G love compartme nt . . . . . . . . . . . . . . . . . . 65
G ross Vehicle We ight Rating (GVWR) ... 222
H
Head lights ....... .. ..... ........... 48
adaptive light .. .. .. . .. .... .... .. .. . 49
Cleaning .. .. .... ... .. ... ... .... .. 155
defective . . . . . . . . . . . . . . . . . . . . . . . . . . 20
F ron t fog lights . . . . . . . . . . . . . . . . . . . . 50
Switching off . ..... . .. .. ..... ... .. . 48
Switching on ... .... . ... ...... ... .. . 48
Washer system . . . . . . . . . . . . . . . . . . . . . SS
Xenon headlights . .. ........... .... . 48
Hea d restr aints .. .... ... .......... .. . 94
Adjus ting ... .... .. . .. .. ..... ... .. . 94
Heated exter io r mir ro rs . . . . . . . . . . . . . . . . . . . . 52
fron t seats ( climate co ntrol) ..... .. .. . 71
re ar w indow ..................... .. 70
Heated seats .. .. .. .. . .. .... .... .. .. . 71
Heated washer jets Wiper and washer system .... ... .. .. . 54
Hea ting .... .. .. .. .... ............. . 67
Hig h beam . . . . . . . . . . . . . . . . . . . . . . 48, 50
Hig h voltage warning label .... ... .. .. 222
Hill Descent Assist . .. .. .. ...... .... .. 84
Hill ho ld assist
Start ing on hills .. ................. . 75
Homelin k unive rsal remote con trol . .... 88
Hood Open ing .. .. .. .. .... ............. 164
Re lease leve r .. .. ... ............ .. 164
Hor n .... .. .. .. .. .. ............... .. 8
How many airbags does my vehicle have? 114
•
•
Page 236 of 244
234 Index
How often should I check my t ire pres -
sures? . ..... ... . ...... ... .. .. .... . 187
H ow safety belt pretensioners wo rk ... . 106
Hydroplaning ............... .. .... . 191
I
Ignition key . . . . . . . . . . . . . . . . . . . . . . . . . 72
I gnition key safety lock . . . . . . . . . . . . . . . 73
Ignition lock . . . . . . . . . . . . . . . . . . . . . . . . 72
I gnition lock positions . . . . . . . . . . . . . . . . 72
I mmobilizer . ................ ... ... . 12
Important things to do before driving ... 91
I mproperly wor n safety be lts . .. .. .... . 10 5
Indicator light Airbag system . . . . . . . . . . . . . . . 118, 1 19
Aud i magnetic ride ...... .. .. .. .. .. .. 21
C lutch ove rheati ng . . . . . . . . . . . . . . . . . . 86
PASSENG ER A IR BAG O FF .. .. .. .. .. . 119
Indicator lights
refer to Wa rni ng/ind icator lights .. .. . . 1 2
Infant seats . ............. .. .. .. .. . 134
I ns tal ling ch ild safety sea ts
Safe ty bel ts ............. .... .... . 13 7
Instrument cluster and controls .. .. .... 10
Instrument panel i llum ination ... .. ... . 52
I ns trumen ts a nd controls
General illus tration ..... .. .. .. .. .. . .. 8
Interior lights . . . . . . . . . . . . . . . . . . . . . . . 51
L uggage compartment . ... .. .. .. .. . . 52
J
Jump-starting 216
Ju mper cables . .. .. ..... ... .. .. .... . 21 7
K
Key ... .. .... ... .......... .. .. .. .. .. 3 2
B at tery replacement . ... .. .. .. .... .. 33
Check light .... .. ..... ... .. .. .... .. 32
Conve nience opening and closing of pow-
er top . ...... ........... .... .... .. 43
Conve nience opening and closing of w in-
dows .. .... ........ ..... .. ........ 40
Emergency key . . . . . . . . . . . . . . . . . . . . . 32
Key replacement . . . . . . . . . . . . . . . . . . . 32 Master key
.... .. ... .. ..... .... . .. . 32
Valet key . ..... .. .. ... ..... ... .. .. . 32
K eyless ent ry remote cont ro l ...... .... . 33
K ick-down .. .... .. ................. . 85
Knee a irbags . ..... .. ... ..... ... .. .. 123
Description . ..... ... .. ..... ... .. .. 123
How they wor k ... .. ... ..... ... .. .. 124
Important sa fety instructions .... .... 124
L
Lap timer ... .... .. .. ... ..... ... .. .. . 28
Launc h Control Prog ram ...... ... .. .. . 85
Leathe r cleaning/protect ion ...... .... 157
L eav ing home ... .. ... .. ..... ... .. .. . 49
Lifting jack ..... .. .. ... ....... ... .. 209
Lifting vehicle ..... .. ... ..... ... .. .. 221
Li gh t/rain senso r defective ........... . 21
Lights . .... .... .. ............. ..... 48
Coming/Leav ing home ............. .. 49
E mergency flashe r . . . . . . . . . . . . . . . . . . 51
E xterior lig hting .. .... ...... ... .. ... 49
F ront fog lights . . . . . . . . . . . . . . . . . . . . 50
He ad ligh ts .. .. .. ... .......... .. .. . 48
High beam . . . . . . . . . . . . . . . . . . . . 48, 50
I n strument panel illumination ... .. .. . 52
Side marker lig hts . .... ..... ... .. .. . 48
Turn signals ... .. ................. . 50
Xenon headlights . ............. ..... 48
L oad ing the luggage compartmen t ... .. . 96
Locking Power locki ng switch .............. .. 36
Rea r lid/trun k lid . ... .......... .. .. . 37
R emote mas te r k ey .......... .. .. .. . 35
U sin g the key .... .. .... .... ... .. .. . 36
L uggage compartment
L ight . ..... ... .. .. ........ ... ... .. 52
L oad ing ... .. .. .. .. ... ........ .... . 96
S ki bag . .. .. .. .. ............. .. .. . 62
M
Maintenance .... .... ... ..... ... .. .. 225
Malfunction Ind icator Lamp (MIL) 19,30
Manu al convertib le top
cl osing ... .... .. .. .... . ..... ... .. . 42
Master key .. .. .. .. ... .. .. ... ..... .. . 33
Battery replacement . . . . . . . . . . . . . . . . 33