Page 67 of 396

65
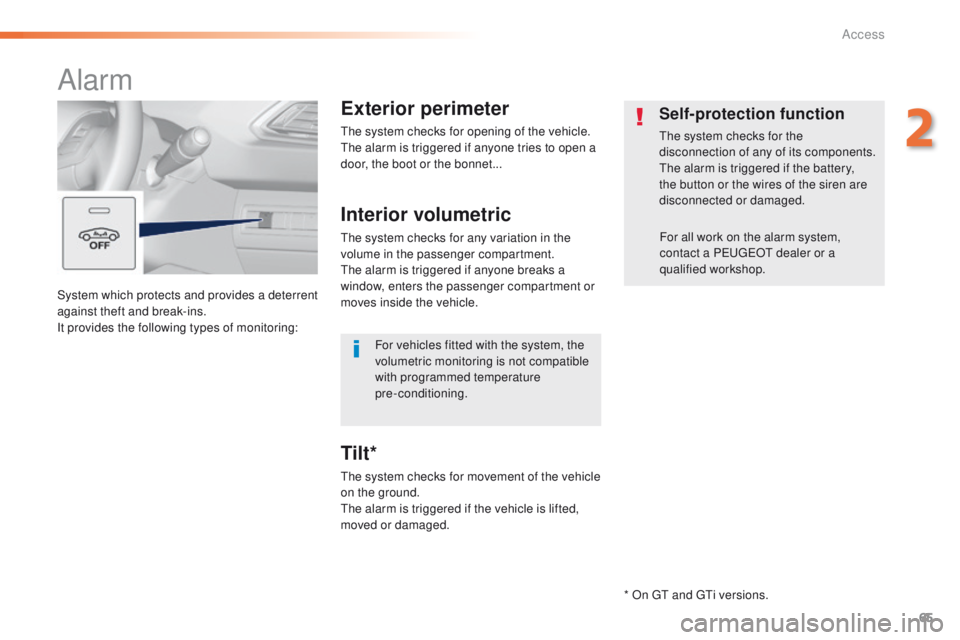
System which protects and provides a deterrent
against theft and break-ins.
It provides the following types of monitoring:
Alarm
Exterior perimeter
the system checks for opening of the vehicle.the alarm is triggered if anyone tries to open a
door, the boot or the bonnet...
Self-protection function
the system checks for the
disconnection of any of its components.
th
e alarm is triggered if the battery,
the button or the wires of the siren are
disconnected or damaged.
For all work on the alarm system,
contact a P
e
uge
Ot
dealer or a
qualified workshop.
Interior volumetric
the system checks for any variation in the
volume in the passenger compartment.
th
e alarm is triggered if anyone breaks a
window, enters the passenger compartment or
moves inside the vehicle.
th
e system checks for movement of the vehicle
on the ground.
th
e alarm is triggered if the vehicle is lifted,
moved or damaged.
Tilt*
For vehicles fitted with the system, the
volumetric monitoring is not compatible
with programmed temperature
pre-conditioning.
* On
gt and gt
i v
ersions.
2
Access
Page 68 of 396

66
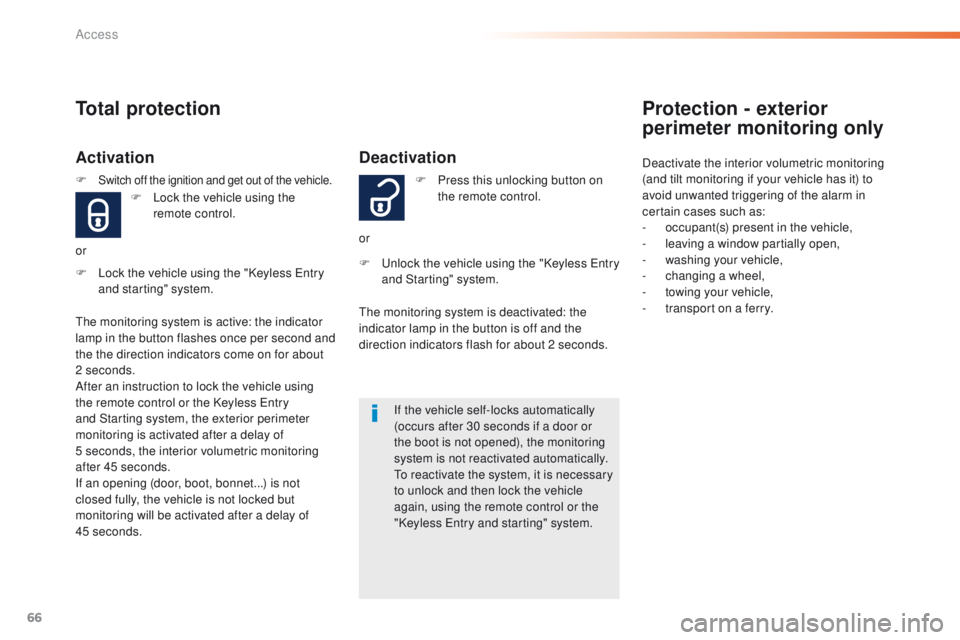
Deactivation
F Lock the vehicle using the "Keyless en try
and starting" system. F
P
ress this unlocking button on
the remote control.
or
F un lock the vehicle using the "Keyless en try
and Starting" system.
If the vehicle self-locks automatically
(occurs after 30 seconds if a door or
the boot is not opened), the monitoring
system is not reactivated automatically.
to r
eactivate the system, it is necessary
to unlock and then lock the vehicle
again, using the remote control or the
"Keyless
e
n
try and starting" system.
th
e monitoring system is deactivated: the
indicator lamp in the button is off and the
direction indicators flash for about 2 seconds.
Total protection
Activation
F Lock the vehicle using the remote control.
or
th
e monitoring system is active: the indicator
lamp in the button flashes once per second and
the the direction indicators come on for about
2 seconds.
After an instruction to lock the vehicle using
the remote control or the Keyless
e
n
try
and Starting system, the exterior perimeter
monitoring is activated after a delay of
5
seconds, the interior volumetric monitoring
after 45 seconds.
If an opening (door, boot, bonnet...) is not
closed fully, the vehicle is not locked but
monitoring will be activated after a delay of
45
seconds.
F
Switch off the ignition and get out of the vehicle.
Protection - exterior
perimeter monitoring only
Deactivate the interior volumetric monitoring
(and tilt monitoring if your vehicle has it) to
avoid unwanted triggering of the alarm in
certain cases such as:
-
o
ccupant(s) present in the vehicle,
-
l
eaving a window partially open,
-
w
ashing your vehicle,
-
c
hanging a wheel,
-
t
owing your vehicle,
-
t
ransport on a ferry.
Access
Page 70 of 396

68
Failure of the remote control
to deactivate the monitoring functions:
F un lock the vehicle using the key (integral
with the remote control) in the driver's door
lock.
F
O
pen the door; the alarm is triggered.
F
S
witch on the ignition; the alarm stops. t
h
e
indicator lamp in the button goes off.
Locking the vehicle without
activating the alarm
F Lock or deadlock the vehicle using the key (integral with the remote control) in the
driver's door lock.
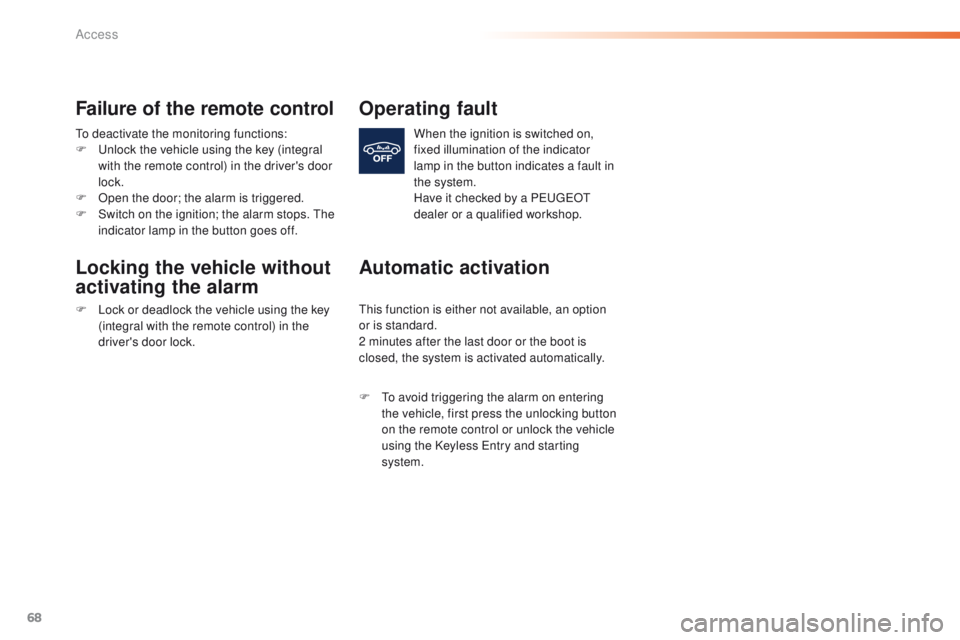
Operating fault
When the ignition is switched on,
fixed illumination of the indicator
lamp in the button indicates a fault in
the system.
Have it checked by a P
e
uge
Ot
dealer or a qualified workshop.
Automatic activation
this function is either not available, an option
or is standard.
2 minutes after the last door or the boot is
closed, the system is activated automatically.
F
t
o a
void triggering the alarm on entering
the vehicle, first press the unlocking button
on the remote control or unlock the vehicle
using the Keyless
e
n
try and starting
system.
Access
Page 79 of 396

77
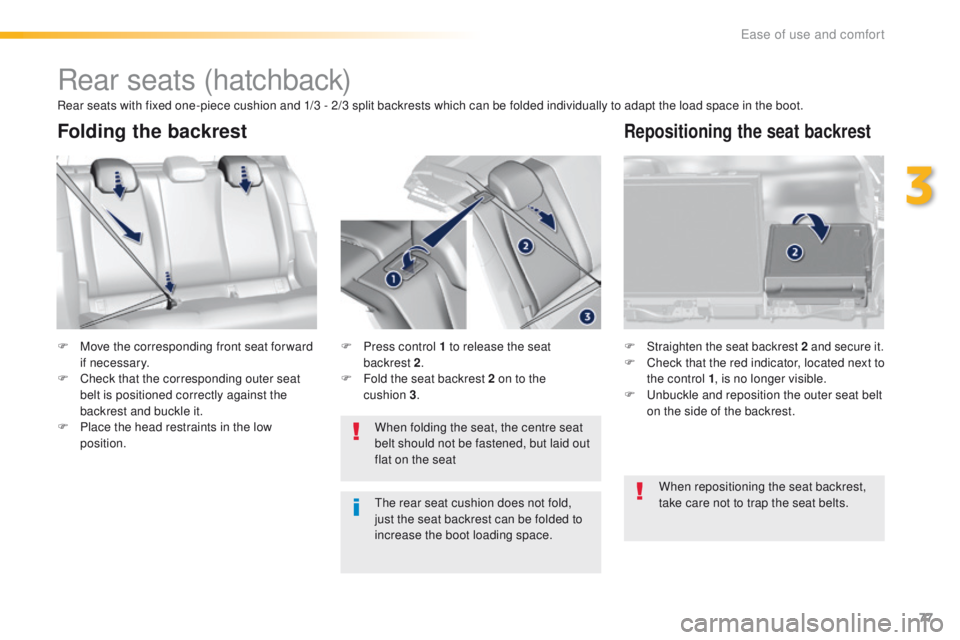
Rear seats (hatchback)
F Move the corresponding front seat for ward if necessary.
F
C
heck that the corresponding outer seat
belt is positioned correctly against the
backrest and buckle it.
F
P
lace the head restraints in the low
position. F
Straighten the seat backrest 2 and secure it.F Check that the red indicator, located next to
the control 1 , is no longer visible.
F
u
n
buckle and reposition the outer seat belt
on the side of the backrest.
When folding the seat, the centre seat
belt should not be fastened, but laid out
flat on the seat
F
P
ress control 1 to release the seat
backrest
2
.
F
F
old the seat backrest 2 on to the
cushion
3 .
Folding the backrestRepositioning the seat backrest
Rear seats with fixed one-piece cushion and 1/3 - 2/3 split backrests which can be folded individually to adapt the load space in the boot.
th
e rear seat cushion does not fold,
just the seat backrest can be folded to
increase the boot loading space. When repositioning the seat backrest,
take care not to trap the seat belts.
3
ease of use and comfort
Page 80 of 396
78
Rear seats (SW)
1/3 - 2/3 split rear seats which can be folded to vary the boot load space.
ea
ch section of the seat (1/3 or 2/3) has its own control to release the seat back from inside the
boot.
Folding the seat from the
boot
F Check that nothing is preventing the seat back from folding (seat belts, ...) and that
no object might inter fere with the seat
manoeuvre (above as well as below).
F
P
lace the head restraints in the low
position. F
P ull the control from inside the boot, the
seat backrest folds onto the cushion.
Folding the seat from the
rear
F Check that nothing is preventing the seat backrest folding and that no object might
interfere with the seat manoeuvre
(above as well as below).
F
M
ove the corresponding front seat
forwards if necessary.
F
C
heck that the seat belt is positioned
correctly on the side of the seat back.
F
P
lace the head restraints in the low
position.
ease of use and comfort
Page 87 of 396
85
Ski flap
F Lower the armrest.
F P ress the flap opening control.
F
L
ower the flap.
F
L
oad the objects from inside the boot.
F
L
ower the rear armrest for a more
comfortable position.
It may be fitted with cup holders and also gives
access to the ski flap.
Rear armrest
Do not leave the flap open when not
carrying long objects in the vehicle.
It allows long objects to be carried in the
vehicle.
3
ease of use and comfort
Page 88 of 396
86
Boot fittings (hatchback)
1. Rear parcel shelf
2. Boot floor
R
aise the floor for access to the storage.
3.
St
orage wells
i
n which are stowed:
-
t
he towing eye,
-
t
he temporary puncture repair kit,
-
t
he spare wheel, depending on trim
level, an option or standard.
4.
S
towing rings
5.
S
trap (depending on version)
Ease of use and comfort
Page 89 of 396
87
Boot fittings (SW)
1. Boot lamp
2. Rear seat folding controls
3.
1
2 V accessory socket (120 W max)
4.
R
emovable storage boxes
P
ull up to unclip them.
5.
St
orage wells
w
here are stowed:
-
t
he towing eye,
-
t
he temporary puncture repair kit,
-
t
he spare wheel, depending on trim
level, an option or standard.
6.
Strap
7.
L
oad space cover
(
see corresponding section)
8.
e
ye
s for fixing a net (to restrain luggage)
(
depending on version)
F
e
x
tract the eyes one at a time then slide
them into the oblong housing.
F
W
hile pressing the button, move the eye to
the desired position.
F
O
bserve the direction of fitting (eyes in the
vertical position towards the outside of the
vehicle).
3
Ease of use and comfort