2014 SUBARU TRIBECA warning
[x] Cancel search: warningPage 155 of 426
3-22Instruments and controls
&High beam indicator
light
This light shows that the headlights are inthe high beam mode.
This indicator light also illuminates whenthe headlight flasher is operated.
&Cruise control indica-
tor light
This light illuminates when the“CRUISE”main switch is pressed to activate thecruise control function. For details, refer to“To set cruise control”F7-30.
CAUTION
If the CHECK ENGINE warning light/malfunction indicator light illumi-nates, the cruise control indicatorlight flashes at the same time. Atthis time, avoid driving at highspeed and have your vehicle in-spected at a SUBARU dealer assoon as possible.
NOTE
If you move the cruise control lever orpress the main switch button whileturning the ignition switch“ON”, thecruise control function is deactivated
and the cruise control indicator lightflashes. To reactivate the cruise controlfunction, turn the ignition switch backto the“Acc”or“LOCK”position, andthen turn it again to the“ON”position.
&Cruise control set in-
dicator light
This light illuminates when vehicle speedhasbeen set to use the cruise controlfunction.
&Headlight indicator
light
This indicator light illuminates when thelight switch is turned to the“”position(to turn on the parking lights) or to the“”position (to turn on the headlights).
&Front fog light indicator
light
This indicator light illuminates while thefront fog lights are illuminated.
Clock
NOTE
If your vehicle is equipped with agenuine SUBARU navigation system,refer to the Owner’s Manual supple-ment for the navigation system.
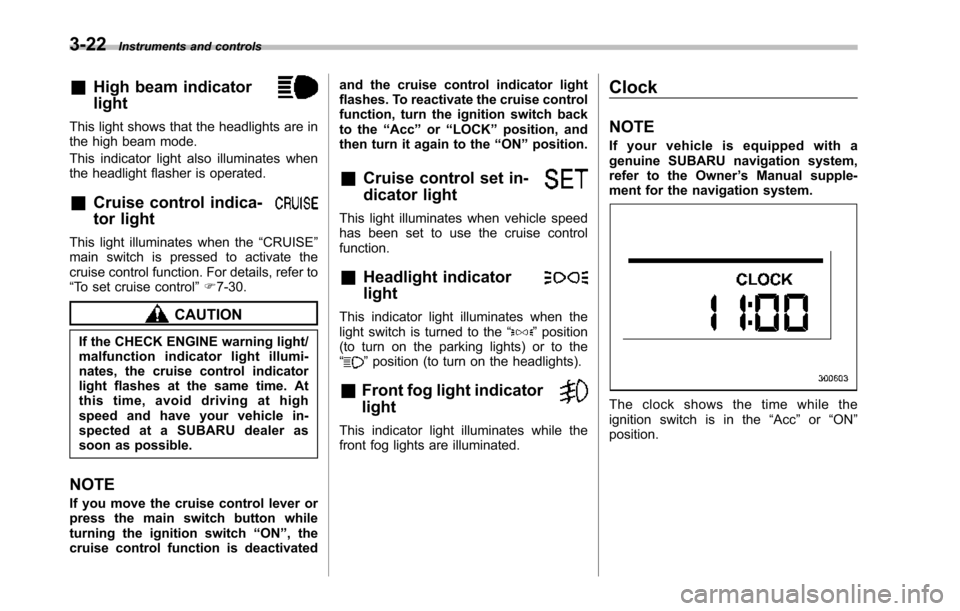
The clock shows the time while theignition switch is in the“Acc”or“ON”position.
Page 157 of 426
3-24Instruments and controls
&Low outside temperature
warning
U.S.-spec. models
Except U.S.-spec. models
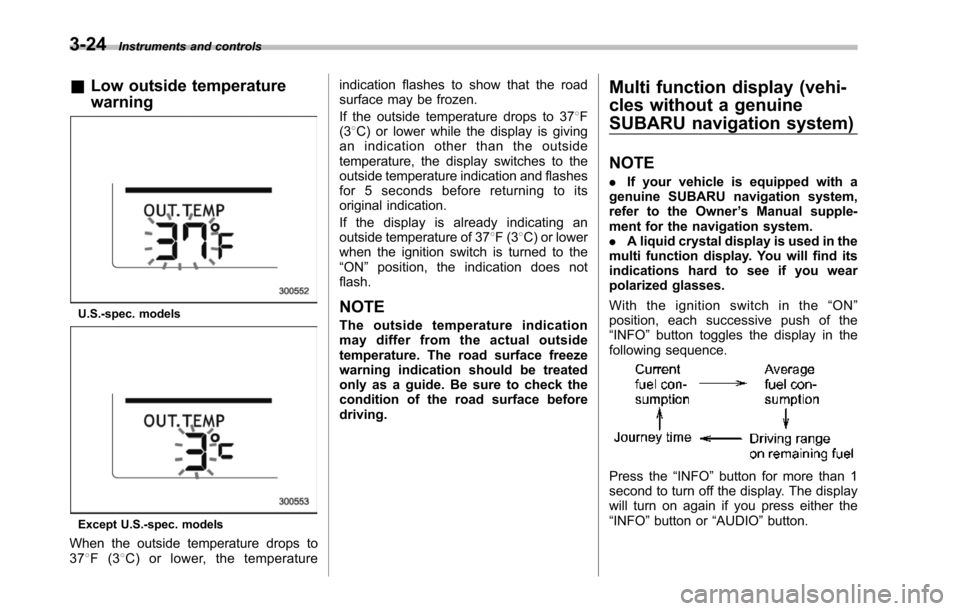
When the outside temperature drops to378F(38C) or lower, the temperature
indication flashes to show that the roadsurface may be frozen.
If the outside temperature drops to 378F(38C) or lower while the display is givingan indication other than the outsidetemperature, the display switches to theoutside temperature indication and flashesfor 5 seconds before returning to itsoriginal indication.
If the display is already indicating anoutside temperature of 378F(38C) or lowerwhen the ignition switch is turned to the“ON”position, the indication does notflash.
NOTE
The outside temperature indicationmay differ from the actual outsidetemperature.The road surface freezewarning indication should be treatedonly as a guide. Be sure to check thecondition of the road surface beforedriving.
Multi function display (vehi-
cles without a genuine
SUBARU navigation system)
NOTE
.If your vehicle is equipped with agenuine SUBARU navigation system,refer to the Owner’s Manual supple-ment for the navigation system..A liquid crystal display is used in themulti function display. You will find itsindications hard to see if you wearpolarized glasses.
With the ignition switch in the“ON”position, each successive push of the“INFO”button toggles the display in thefollowing sequence.
Press the“INFO”button for more than 1second to turn off the display. The displaywill turn on again if you press either the“INFO”button or“AUDIO”button.
Page 159 of 426
3-26Instruments and controls
&Driving range on remaining
fuel
U.S.-spec. models
Except U.S.-spec.models
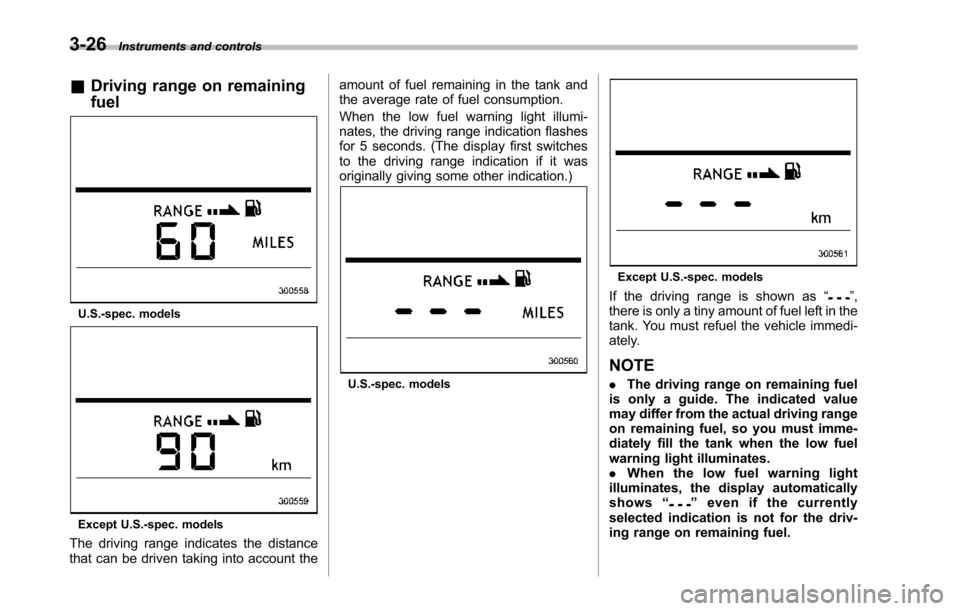
The driving range indicates the distancethat can be driven taking into account the
amount of fuel remaining in the tank andthe average rate of fuel consumption.
When the low fuel warning light illumi-nates, the driving range indication flashesfor 5 seconds. (The display first switchesto the driving range indication if it wasoriginally giving some other indication.)
U.S.-spec. models
Except U.S.-spec. models
If the driving range is shown as“”,there is only a tiny amount of fuel left in thetank. You must refuel the vehicle immedi-ately.
NOTE
.The driving range on remaining fuelis only a guide. The indicated valuemay differ from the actual driving rangeon remaining fuel, so you must imme-diately fill the tank when the low fuelwarning light illuminates..When the low fuel warning lightilluminates, the display automaticallyshows“”even if the currentlyselected indication is not for the driv-ing range on remaining fuel.
Page 160 of 426
&Journey time
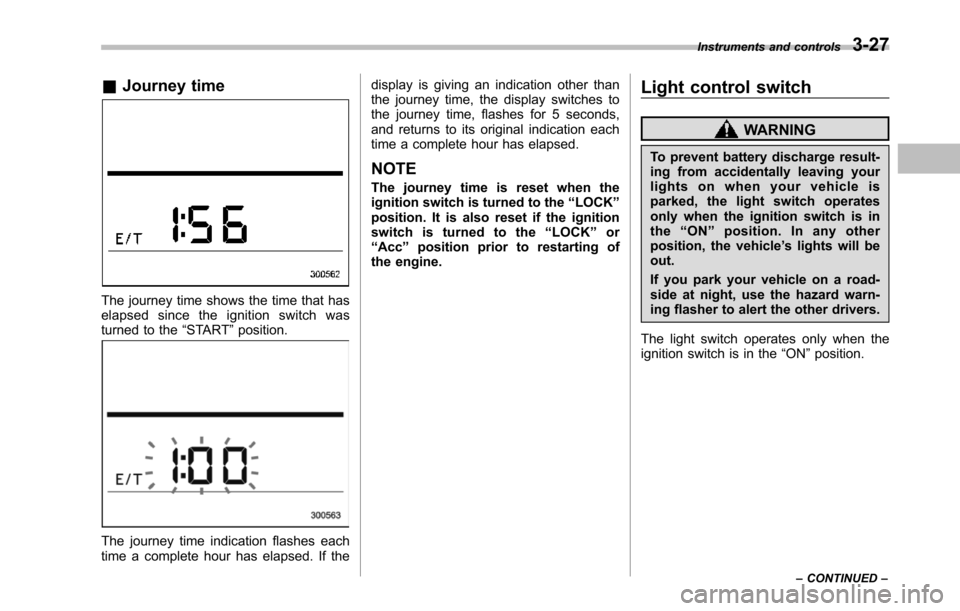
The journey time shows the time that haselapsed since the ignition switch wasturned to the“START”position.
The journey time indication flashes eachtime a complete hour has elapsed. If the
display is giving an indication other thanthe journey time, the display switches tothe journey time, flashes for 5 seconds,and returns to its original indication eachtime a complete hour has elapsed.
NOTE
The journey time is reset when theignition switch is turned to the“LOCK”position. It is also reset if the ignitionswitch is turned to the“LOCK”or“Acc”position prior to restarting ofthe engine.
Light control switch
WARNING
To prevent battery discharge result-ing from accidentally leaving yourlights on when your vehicle isparked, the light switch operatesonly when the ignition switch is inthe“ON”position. In any otherposition, the vehicle’s lights will beout.
If you park your vehicle on a road-side at night, use the hazard warn-ing flasher to alert the other drivers.
The light switch operates only when theignition switch is in the“ON”position.
Instruments and controls3-27
–CONTINUED–
Page 162 of 426
&Daytime running light system
WARNING
The brightness of the illumination ofthe high beam headlights is reducedby the daytime running light system.The light switch must always beturned to the“”position when itis dark outside.
The high beam headlights will automati-cally illuminate at reduced brightnesswhen the engine has started, under thefollowing conditions.
.The select lever is in a position otherthan the“P”position.
.The parkingbrake is fully released.
.The light switch is in the“OFF”or“”position.
NOTE
When the light switch is in the“”position,the front side marker lights,parking lights and license plate lightsare also illuminated.
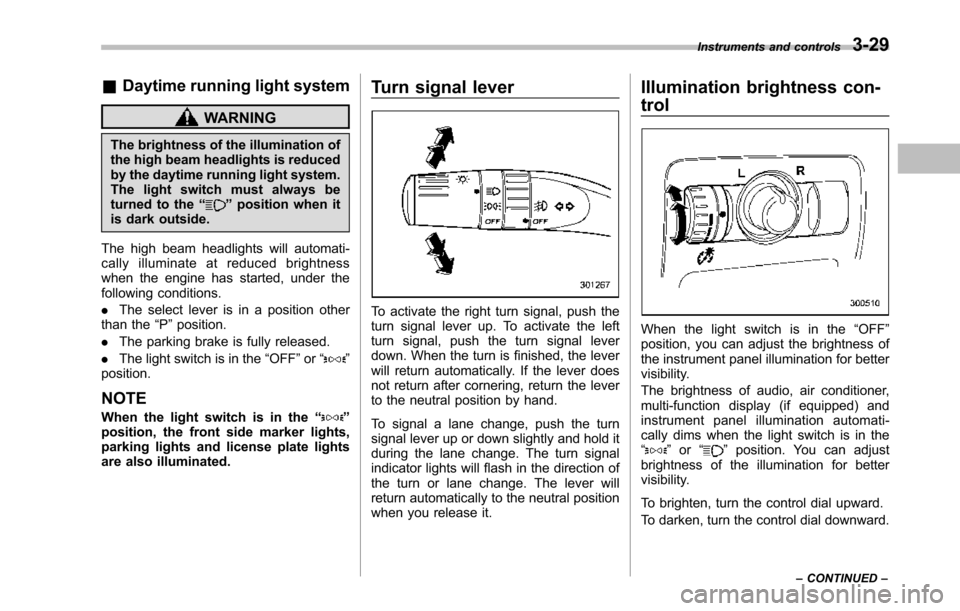
Turn signal lever
To activate the right turn signal, push theturn signal lever up. To activate the leftturn signal, push the turn signal leverdown. When the turn is finished, the leverwill return automatically. If the lever doesnot return after cornering, return the leverto the neutral position by hand.
To signal a lane change, push the turnsignal lever up or down slightly and hold itduring the lane change. The turn signalindicator lights will flash in the direction ofthe turn or lane change. The lever willreturn automatically to the neutral positionwhen you release it.
Illumination brightness con-
trol
When the light switch is in the“OFF”position, you can adjust the brightness ofthe instrument panel illumination for bettervisibility.
The brightnessof audio, air conditioner,multi-function display (if equipped) andinstrument panel illumination automati-cally dims when the light switch is in the“”or“”position. You can adjustbrightness of the illumination for bettervisibility.
To brighten, turn the control dial upward.
To darken, turn the control dial downward.
Instruments and controls3-29
–CONTINUED–
Page 166 of 426
Wiper and washer
WARNING
In freezing weather, do not use thewindshield washer until the wind-shield is sufficiently warmed by thedefroster.
Otherwise the washer fluid canfreeze on the windshield, blockingyour view.
CAUTION
.Do not operate the washer con-tinuously for more than 10 sec-onds, or when the washer fluidtank is empty. This may causeoverheating of the washer motor.Check the washer fluid levelfrequently, such as at fuel stops.
.Do not operate the wipers whenthe windshieldor rear window isdry. This may scratch the glass,damage the wiper blades andcause the wiper motor to burnout. Before operating the wiperon a dry windshield or rearwindow, always use the wind-shield washer.
.In freezing weather, be sure thatthe wiper blades are not frozen tothe windshield or rear windowbefore switching on the wipers.Attempting to operate the wiperwith the blades frozen to thewindow glass could cause notonly the wiper blades to bedamagedbut also the wiper mo-tor to burn out. If the wiperblades are frozen to the windowglass, be sure to operate thedefroster, wiper deicer (ifequipped) or rear window defog-ger before turning on the wiper.
.If the wipers stop during opera-tion because of ice or some otherobstruction on the window, thewiper motor could burn out evenif the wiper switch is turned off. Ifthis occurs, promptly stop thevehicle in a safe place, turn theignition switch to the“LOCK”position and clean the windowglass to allow proper wiper op-eration.
.Use clean water if windshieldwasher fluid is unavailable. Inareas where water freezes inwinter, use SUBARU WindshieldWasher Fluid or the equivalent.Refer to“Windshield washer
fluid”F11-28.
Also, when driving the vehiclewhen there are freezing tempera-tures, use non-freezing type wi-per blades.
.Do not clean the wiper bladeswith gasoline or a solvent, suchas paint thinner or benzine. Thiswill cause deterioration of thewiper blades.
NOTE
.The front wiper motor is protectedagainst overloads by a circuit breaker.The motor operates continuously un-der an unusually heavy load, the circuitbreaker may trip to stop the motortemporarily. If this happens, park yourvehicle in a safe place, turn off thewiper switch, and wait for approxi-mately 10 minutes. The circuit breakerwill reset itself, and the wipers willagain operate normally..Clean your wiper blades and win-dow glass periodically with a washersolution to prevent streaking, and toremove accumulations of road salt orroad film. Operate the windshieldwasher for at least 1 second so thatwasher solution will be sprinkled allover the windshield or rear window.
Instruments and controls3-33
–CONTINUED–
Page 168 of 426
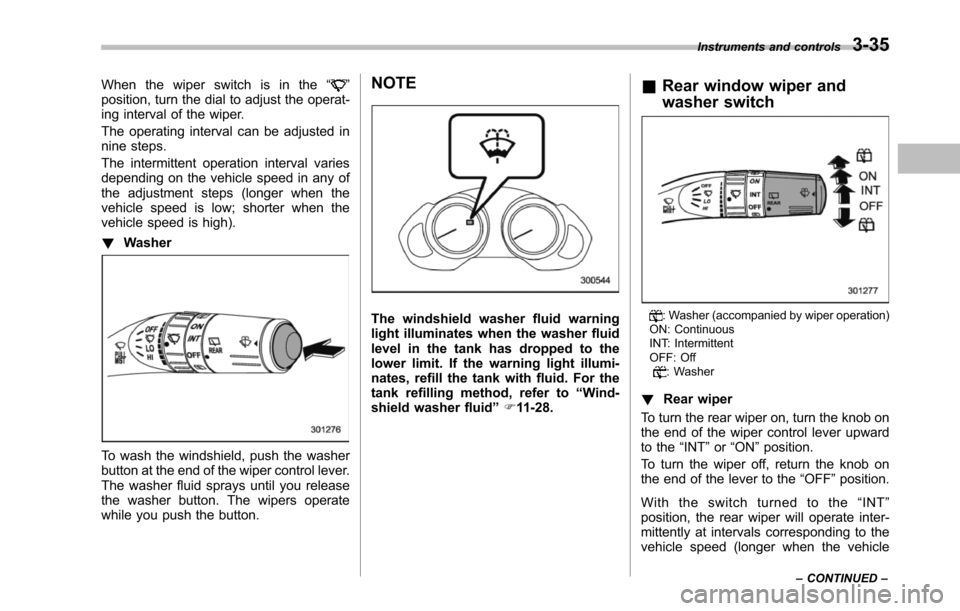
When the wiper switch is in the“”position, turn the dial to adjust the operat-ing interval of the wiper.
The operating interval can be adjusted innine steps.
The intermittent operation interval variesdepending on the vehicle speed in any ofthe adjustment steps (longer when thevehicle speed is low; shorter when thevehicle speed is high).
!Washer
To wash the windshield, push the washerbutton at the end of the wiper control lever.The washer fluid sprays until you releasethe washer button. The wipers operatewhile you push the button.
NOTE
The windshield washer fluid warninglightilluminates when the washer fluidlevel in the tank has dropped to thelower limit. If the warning light illumi-nates, refill the tank with fluid. For thetank refilling method, refer to“Wind-shield washerfluid”F11-28.
&Rear window wiper and
washer switch
: Washer (accompanied by wiper operation)ON: ContinuousINT: IntermittentOFF: Off: Washer
!Rear wiper
To turn the rear wiper on, turn the knob onthe end of the wiper control lever upwardto the“INT”or“ON”position.
To turn the wiper off, return the knob onthe end of the lever to the“OFF”position.
With the switch turned to the“INT”position, the rear wiper will operate inter-mittently at intervals corresponding to thevehicle speed (longer when the vehicle
Instruments and controls3-35
–CONTINUED–
Page 175 of 426
3-42Instruments and controls
!Compass zone adjustment
1. The zone setting is factory preset toZone 8. Refer to the“Compass calibrationzone”map attached to the end of thismanual to verify that the compass zonesetting is correct for your geographicallocation.
2. Press and hold the right button for 3seconds then release, and the word“ZONE”will briefly appear and then thezone number will be displayed.
3. Press the right-hand button repeatedlyto cycle the display through all possiblezone settings. Stop cycling when thecorrect zone setting for your location isdisplayed.
4. Releasing the button for 3 seconds willexit the zone setting mode.
&Outside mirrors
!Convex mirror (passenger side)
WARNING
Objects look smaller in a convexmirror and farther away than whenviewed in a flat mirror. Do not usethe convex mirror to judge thedistance of vehicles behind youwhen changing lanes. Use the insidemirror (or glance backwards) todetermine the actual size and dis-tance of objects that you view inconvex mirror.
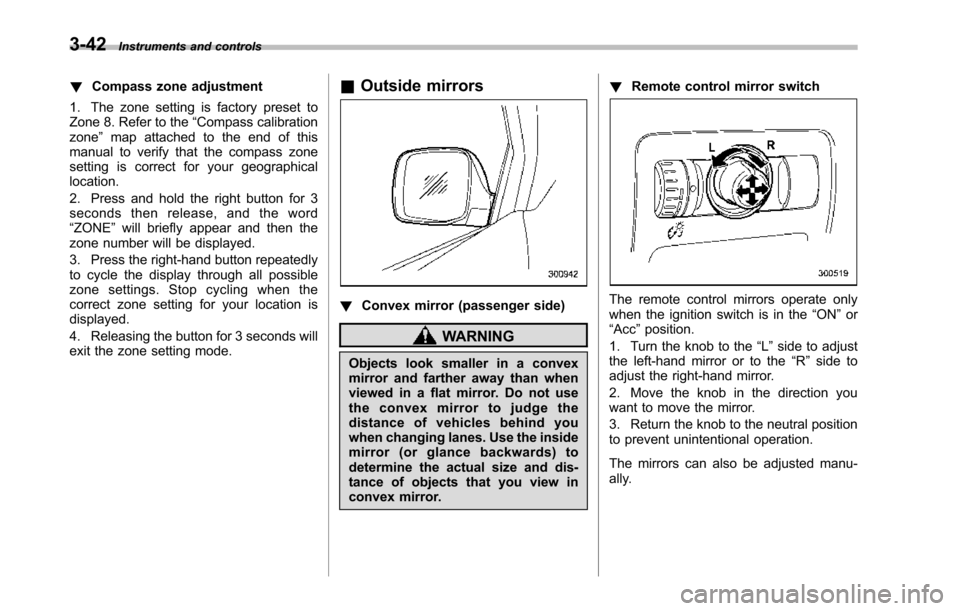
!Remote control mirror switch
The remote control mirrors operate onlywhen the ignition switch is in the“ON”or“Acc”position.
1. Turn the knob to the“L”side to adjustthe left-hand mirror or to the“R”side toadjust the right-hand mirror.
2. Move the knob in the direction youwant to move the mirror.
3. Return the knob to the neutral positionto prevent unintentional operation.
The mirrors can also be adjusted manu-ally.