Page 57 of 80

Touch “Location” to view weather information for
a different location:
●“Near Current Location”
Select to view weather information for the cur-
rent location.
● “Near Destination”
Select to view weather information near the
destination of the current route. Route guid-
ance must be active for this option to be
available.
● “In Another City”
Select to view weather information for a differ-
ent city. Follow the on screen prompts and
character input screens to select the desired
location.
NOTE:
When the weather function is accessed for
the first time of the day, the GPS location
may not be used. If this occurs, touch the
“Location” key to update the location.
NOTE:
This feature can also be accessed using
the NISSAN Voice Recognition System (if
so equipped) by pressing the
orbutton on the steering wheel and
when prompted, saying “Information” then
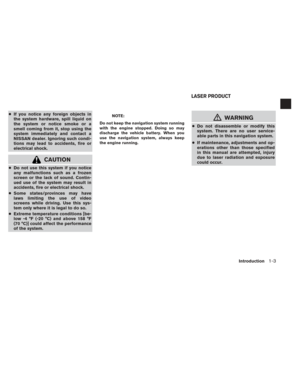
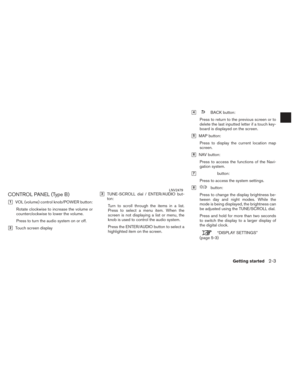
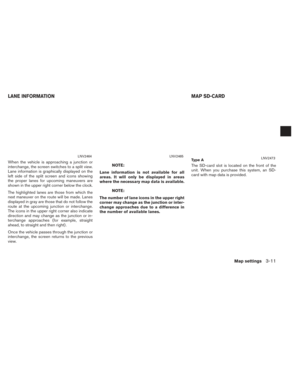
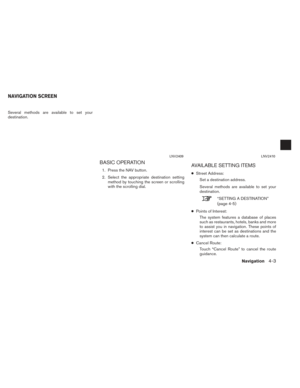
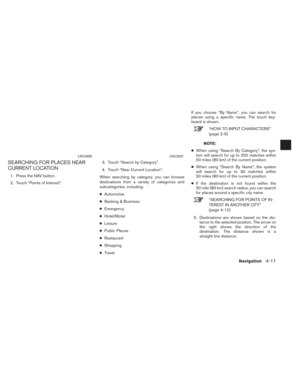
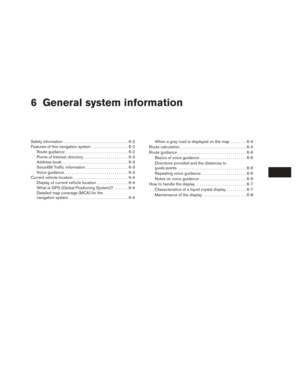
“Current Weather” or “Weather Forecast”. To display fuel prices at gas stations in the sur-
rounding area on the screen:
1. Press theor MENU button.
2. Touch “SiriusXM Travel Link”.
3. Touch “Fuel Prices”.
NOTE:
This feature can also be accessed using
the NISSAN Voice Recognition System (if
so equipped) by pressing the
orbutton on the steering wheel and
when prompted, saying “Information” then
“Fuel Prices”.
LNV2442LNV2461
FUEL PRICES
Navigation4-23
Page 58 of 80
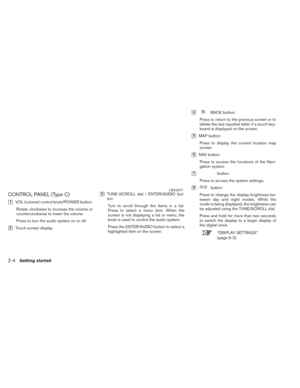
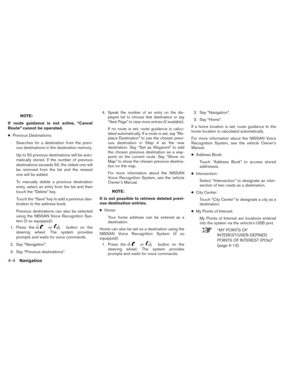
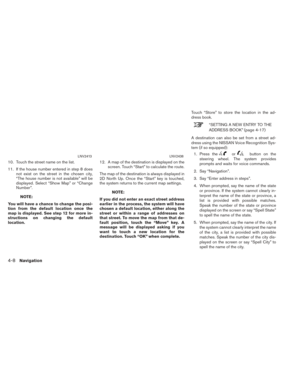
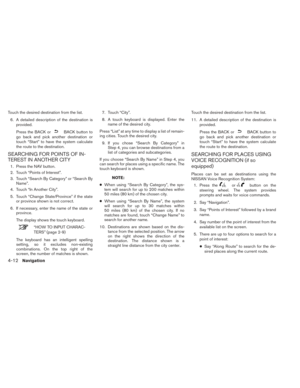
4. A list of gas stations is displayed with thedistance and direction to each entry. Touch
an entry on the screen to view information
about that gas station.
5. The name, address and phone number of the gas station are displayed. If available,
the prices for each grade of gasoline are
also displayed. Touch “Store” to store the
location in the address book. Touch “Call”
to call the location using the Bluetooth®
Hands-Free Phone System. Touch “Map” to
view the location on the map. Touch “Start”
to begin route guidance to the location.
4-24Navigation
Page 59 of 80
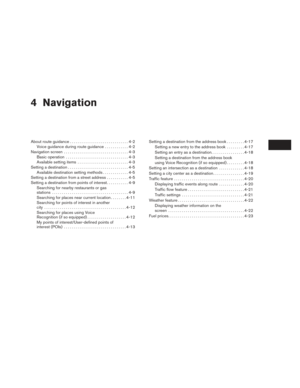
5 Other settings
System settings...................................5-2
Touchscreen click ..............................5-3
System beeps. . . ...............................5-3
Return to factory settings ........................5-3
Display settings ...................................5-3
Display ........................................5-3 Brightness
.....................................5-3
Rear View Camera Settings . . . ..................5-4
Temperature Unit Settings .......................5-4
Clock settings .....................................5-4
Set clock manually ..............................5-5
Language settings .................................5-5
Page 60 of 80

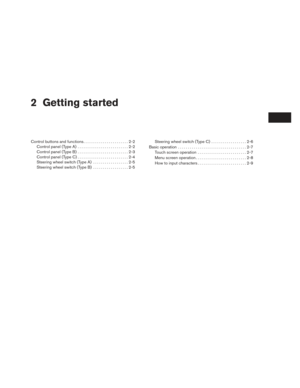
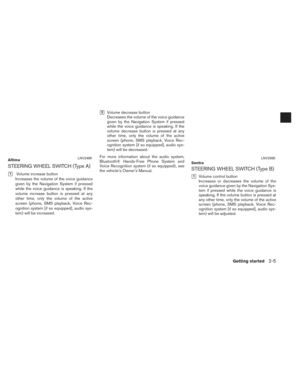
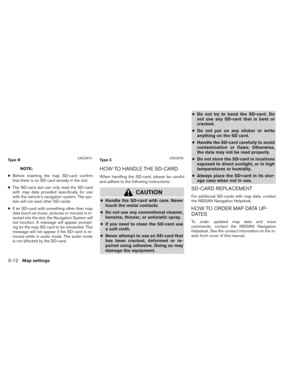
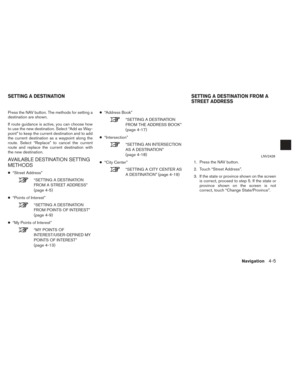
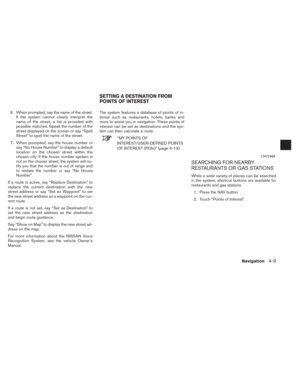
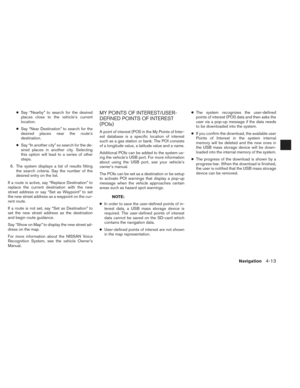
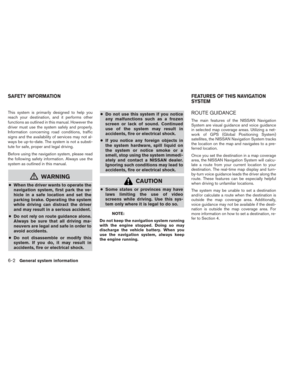
The system can be customized according to
your preference.1. Press the
or MENU button.
2. Touch “Settings”. 3. Touch “System”.
4. Select the preferred setting item on the
screen and the next screen will be shown.
You may need to use the scrolling dial or the
touch screen to scroll if more than one
screen of options is available.
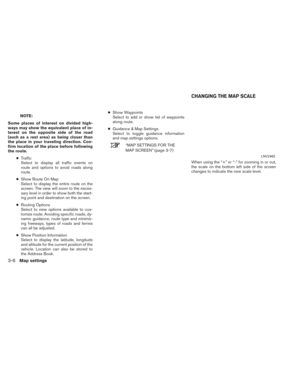
The following settings are available:
● Display
“DISPLAY SETTINGS”
(page 5-3)
● Clock
“CLOCK SETTINGS” (page 5-4)
● Language
“LANGUAGE SETTINGS”
(page 5-5) ●
Camera
“CAMERA DISPLAY SETTINGS”
(page 5-4)
● Temperature Unit
“TEMPERATURE UNIT”
(page 5-4)
● Touchscreen Click
“TOUCHSCREEN CLICK”
(page 5-3)
● System Beeps
“SYSTEM BEEPS” (page 5-3)
● “Return to Factory Settings/Clear Memory”
“RETURN TO FACTORY SET-
TINGS” (page 5-3)
5. Select the button of the preferred item and adjust the setting. Alternatively, use the
scrolling dial or steering wheel scrolling
switch (if so equipped) .
6. Press the BACK or
BACK button to
return to the previous screen or press the
NAV button to return to the current location
map screen.
LNV2490LNV2460
SYSTEM SETTINGS
5-2Other settings
Page 61 of 80

TOUCHSCREEN CLICK
Use this setting to change the audible confirma-
tion between the on or off position when a
screen button is touched.
Select the “Touchscreen Click” key to toggle be-
tween On and Off.
SYSTEM BEEPS
Use this setting to change the audible confirma-
tion when:
●a button on the unit is pressed and held for
about two seconds, such as the
button.
● a pop-up message appears on the screen.
Select the “System Beeps” key to toggle be-
tween ON and OFF.
RETURN TO FACTORY SETTINGS
Use this setting to restore the factory default
settings.
Touch the “Return to Factory Settings/Clear
Memory” key and then confirm the message. If
you choose “Yes”, the system will reset the set-
tings to the default settings. If you choose “No”,
the default settings will not be restored and the
display returns to the system settings screen.
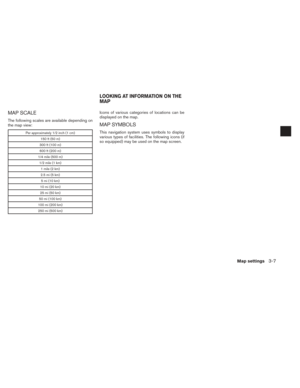
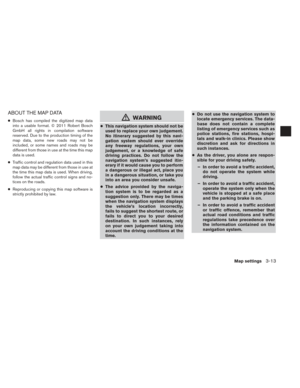
DISPLAY
Switching the display on or off
This setting allows you to turn the display on or
off. When the display is turned off, the clock will
still be displayed.
To turn off the display, press and hold the
button.
The display will switch on when:
● the
button is pressed.
● any other button is pressed.
● receiving incoming calls or during a phone
call. When the call is ended, the display re-
turns to clock display.
Voice guidance (if active) continues even when
the display is turned off.
Press and hold the
button for more than
two seconds to switch the display to a larger dis-
play of the digital clock.
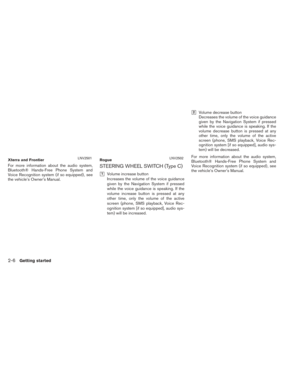
Changing day-night brightness
Press the
button for less than two sec-
onds to toggle:
● between day and auto (night) when head-
lights are on. ●
between night and auto (day) when head-
lights are off.
While the display is showing the current bright-
ness mode, turn the TUNE/SCROLL dial to ad-
just the brightness.
The day or night mode can also be toggled from
the Display Settings menu.
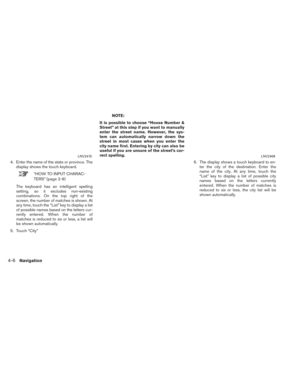
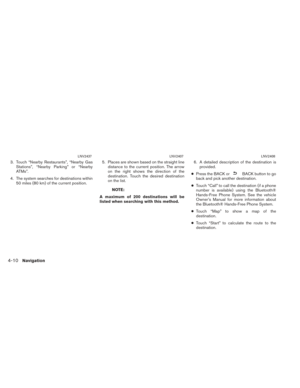
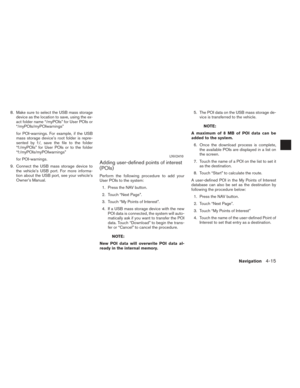
BRIGHTNESS
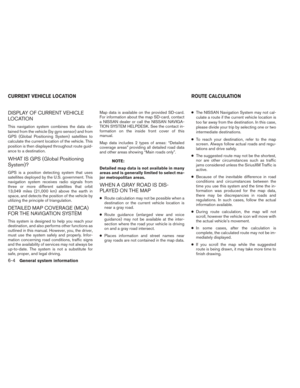
This menu allows you to adjust the brightness of
the screen. 1. Press the
or MENU button.
2. Touch the “Settings” key.
3. Touch the “System” key.
4. Touch the “Display” key.
5. Adjust the brightness using the “+” and “-” keys.
6. To save the setting, press the BACK or
BACK button to return to the pre-
vious screen.
DISPLAY SETTINGS
Other settings5-3
Page 62 of 80
 for the rear view camera.
Brightness, contrast and color can also be
adjusted.1. Press the
or MENU button.
2")
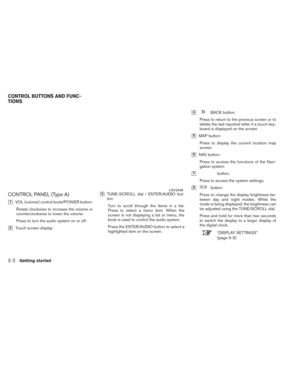
REAR VIEW CAMERA SETTINGS
Use this setting to change the display mode
(automatic/day/night) for the rear view camera.
Brightness, contrast and color can also be
adjusted.1. Press the
or MENU button.
2. Touch the “Settings” key.
3. Touch the “System” key.
4. Scroll down and touch the “Camera” key.
Toggle display mode and use the “+” and “–”
keys to adjust brightness, contrast and color for
rear camera display.
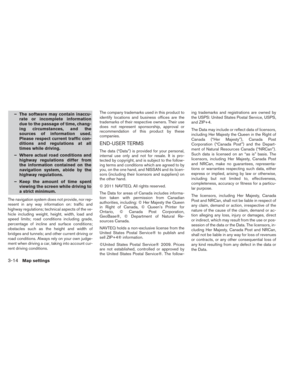
TEMPERATURE UNIT SETTINGS
Use this setting to change the temperature units
(Fahrenheit/Celsius) . 1. Press the
or MENU button.
2. Touch the “Settings” key.
3. Touch the “System” key.
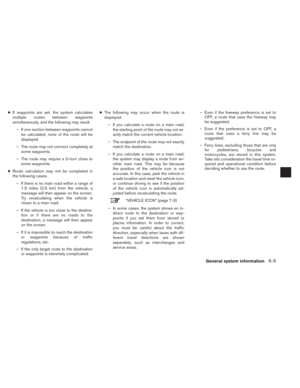
4. Scroll down and touch the “Temperature Unit” key. This setting allows you to make clock
adjustments.
1. Press the
.
2. Touch the “Settings” key.
3. Touch the “System” key.
4. Touch the “Clock” key.
5. Select the preferred setting item and make an adjustment.
● “Time Format”:
Touch the “Time Format” key to change the
clock format between 12-hour and 24-hour.
● “Date Format”:
Touch the “Date Format” key to choose one
of five available date formats.
● “Clock Mode”:
Select “Manual” to manually set the clock
with the “Set Clock Manually” key. Select
“Auto” to have the clock automatically ad-
justed by the GPS system. Select “Time
Zone” to have the time set to a specific time
zone. ●
“Set Clock Manually”:
Allows you to set the clock manually. This
feature is only available if “Manual” is se-
lected for “Clock Mode”.
“SET CLOCK MANUALLY”
(page 5-5)
● “Daylight Savings Time”:
Touch the “Daylight Savings Time” key to
toggle daylight savings time on or off. This
feature is unavailable if “Clock Mode” is set
to “Auto”.
● “Time Zone”:
Select and touch an appropriate time zone
of the current vehicle location to bypass the
GPS satellite. This feature is only available if
“Time Zone” is selected for “Clock Mode”.
NOTE:
If “Daylight Savings Time” is set to “ON”
and a time zone is chosen for an area that
does not observe Daylight Savings Time,
the “Daylight Savings Time” setting re-
mains “On” and must be turned off
manually.
CLOCK SETTINGS
5-4Other settings
Page 63 of 80

6. After adjusting the desired settings, pressthe BACK or
BACK button to return
to the previous screen. You can also press
the MAP button to return to the current lo-
cation map screen or the FM, AM, CD or
AUX button to return to the audio screen.
SET CLOCK MANUALLY
Adjust the hour, minute, day, month and year us-
ing the “+” and “–” keys.
1. Press the
button.
2. Touch the “Settings” key.
3. Touch the “System” key.
4. Touch the “Clock” key.
5. Toggle “Clock Mode” key to “Manual”.
6. Toggle “MODE” to “AM” or “PM”, then use “+” and “–” keys to adjust hour, minute, day,
month and year.
After adjusting the desired settings, press the
BACK or
BACK button to return to the
previous screen. This setting allows you to change the language
used by the system.
1. Press the
or MENU button.
2. Touch the “Settings” key.
3. Touch the “System” key.
4. Touch the “Language” key.
5. Select the appropriate language. The avail- able languages are:
– English
– Français
– Español
LANGUAGE SETTINGS
Other settings5-5
Page 64 of 80