Page 305 of 489

You have reached the destination or an
intermediate destination. Radio menu
:
Waveband
; Station frequency with memory position
= Name of artist
? Name of track
Station ;is displayed with the station fre-
quency or station name. The memory position is only displayed along with station ;if this
has been stored.
X Switch on Audio 20 or COMAND Online,
see the separate operating instructions.
X Use ò on the steering wheel to call up
the list of menus.
X Press the :or9 button on the steer-
ing wheel to select the Radio Radiomenu.
X Confirm by pressing aon the steering
wheel.
Currently selected station ;appears in
the multifunction display.
X To open the station list: press:or
9 briefly.
X To select a station from the station list:
press :or9 briefly.
X To select a station from the station list
using rapid scrolling: press and briefly
hold the :or9 button.
X To select a waveband or station preset:
press abriefly. X
Use : or9 to select the waveband
or station preset.
X Press ato confirm the selection.
i You can store your stations in Audio 20 or
COMAND Online, see the separate operat-
ing instructions.
i DAB radio mode (Digital
AudioBroadcast-
ing) is an optimised digital transmission
standard designed for the mobile reception
of radio transmissions. Media menu
Changing the media source You can change the media source and play-
back mode (audio, video or TV) at any time in
the Media Media menu.
You can change the media source and play-
back mode (audio, video or TV) at any time in the Media Media menu.
X Switch on Audio 20 or COMAND Online,
see the separate operating instructions.
X Use ò on the steering wheel to call up
the list of menus.
X Press the :or9 button on the steer-
ing wheel to select the Media Mediamenu.
X Confirm by pressing aon the steering
wheel.
X To open/close the media sources list:
press abriefly.
The list shows the following media sources,
for example: 302
Menus and submenusOn-board computer and displays
Page 306 of 489

R
disc (CD/DVD)
R memory card (SD/SDHC)
R MEDIA REGISTER
R USB storage device
R Bluetooth ®
audio device
Observe the additional information on media
support and on media mode in the separate
Audio 20 or COMAND Online operating
instructions.
Audio player or audio media operation :
Media source, e.g. name of USB memory
stick
; Current track
= Name of artist
? Name of album
A Folder name
Audio files from various audio players or
media can be played, depending on the equip-
ment fitted in the vehicle.
X Switch on Audio 20 or COMAND Online,
see the separate operating instructions.
X Use ò on the steering wheel to call up
the list of menus.
X Press the :or9 button on the steer-
ing wheel to select the Media
Media menu.
X Confirm by pressing aon the steering
wheel.
X To select audio player or data carrier:
press abriefly, to open the list of media
sources.
X Use : or9 to select the correspond-
ing audio player or audio media. X
Press ato confirm.
X To open the track list: press:or9
briefly.
X To select next/previous track from the
track list: briefly press :or9.
X To select a track from the track list
using rapid scrolling: press and
hold : or9 until the desired track is
reached.
If you press and hold the :or9
button, the rapid scrolling speed is
increased. Not all audio devices or media
support this function.
If the corresponding track information is
stored on the audio drive or audio media, the multifunction display may display the follow-
ing:
R track number
R track name
R artist
R album
The track information does not appear in
audio AUX mode (Auxiliary audio mode:
external audio source connected).
Video DVD operation X
Switch on Audio 20 or COMAND Online,
see the separate operating instructions.
X Use ò on the steering wheel to call up
the list of menus.
X Press the :or9 button on the steer-
ing wheel to select the Media Mediamenu. Menus and submenus
303On-board computer and displays Z
Page 307 of 489

X
Confirm by pressing aon the steering
wheel.
X To select DVD single drive or data car-
rier: press abriefly, to open the list of
media sources.
X Use : or9 to select the correspond-
ing DVD player or DVD media.
X Press ato confirm.
X To open the scene list: press:or
9 briefly.
X To select the next or previous scene
from the scene list: briefly press:or
9.
X To select a scene from the scene list
using rapid scrolling: press and
hold : or9 until desired scene :is
reached.
X Press ato confirm your selection.
TV operation :
Station frequency with memory position
; Programme information, e.g. the name of
the film
= Name of channel list
The memory position is only displayed along
with channel :if this has been stored.
X Switch on COMAND Online; see the sepa-
rate operating instructions.
X Use ò on the steering wheel to call up
the list of menus.
X Press the :or9 button on the steer-
ing wheel to select the Media
Media menu. X
Confirm by pressing aon the steering
wheel.
X To select TV: pressabriefly to open
the list of media sources.
X Use : or9 to select TV.
X Press ato confirm.
X To open the channel list: press:or
9 briefly.
X To select a channel from the channel
list: press :or9 briefly.
X To select a channel from the channel
list using rapid scrolling: press and
briefly hold the :or9 button.
X Press ato confirm your selection.
i You can store TV channels in COMAND
Online, see the separate operating instruc-
tions. Telephone menu
Introduction G
WARNING
Operating the integrated information systems and communications equipment in the vehicle
while driving will distract you from traffic con-
ditions. You could then lose control of the
vehicle. There is a risk of an accident.
Only operate these devices if road traffic con-
ditions permit. If you are unsure about the
surrounding conditions, pull over to a safe
location and make entries only while the vehi-
cle is stationary.
When telephoning, you must observe the
legal requirements for the country in which
you are currently driving. X Switch on the mobile phone, see the sepa-
rate telephone operating instructions.
X Switch on Audio 20 or COMAND Online,
see the separate operating instructions. 304
Menus and submenusOn-board computer and displays
Page 308 of 489

X
Insert the mobile phone into the bracket
(Y page 386).
or
X Establish a Bluetooth ®
connection to Audio
20 or COMAND Online, see the separate
operating instructions.
X Use ò on the steering wheel to call up
the list of menus.
X Press :or9 on the steering wheel
to select the Telephone
Telephone menu.
X Confirm by pressing aon the steering
wheel.
You will see one of the following display mes-
sages in the multifunction display:
R Telephone ready
Telephone ready or the name of the net-
work provider: the mobile phone has found a network and is ready to receive.
R Telephone No service
Telephone No service: there is no net-
work available or the mobile phone is
searching for a network.
i You can obtain further information about
suitable mobile phones and connecting
mobile phones via Bluetooth ®
:
R from any Mercedes-Benz Service Centre
R on the Internet at http://
www.mercedes-benz.com/connect
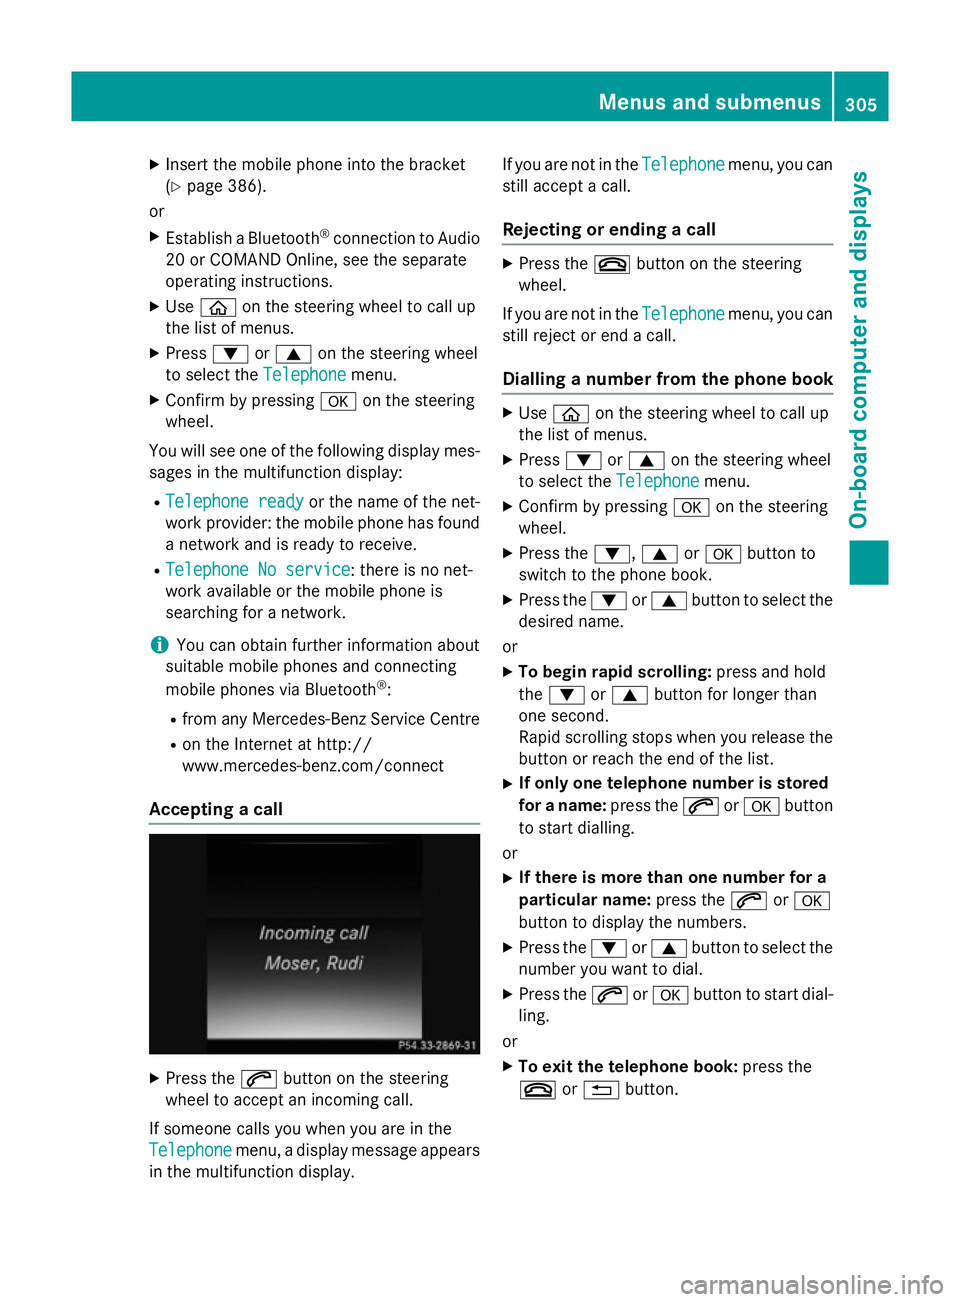
Accepting a call X
Press the 6button on the steering
wheel to accept an incoming call.
If someone calls you when you are in the
Telephone
Telephone menu, a display message appears
in the multifunction display. If you are not in the
Telephone
Telephone menu, you can
still accept a call.
Rejecting or ending a call X
Press the ~button on the steering
wheel.
If you are not in the Telephone Telephonemenu, you can
still reject or end a call.
Dialling a number from the phone book X
Use ò on the steering wheel to call up
the list of menus.
X Press :or9 on the steering wheel
to select the Telephone
Telephonemenu.
X Confirm by pressing aon the steering
wheel.
X Press the :,9ora button to
switch to the phone book.
X Press the :or9 button to select the
desired name.
or X To begin rapid scrolling: press and hold
the : or9 button for longer than
one second.
Rapid scrolling stops when you release the button or reach the end of the list.
X If only one telephone number is stored
for a name: press the6ora button
to start dialling.
or X If there is more than one number for a
particular name: press the6ora
button to display the numbers.
X Press the :or9 button to select the
number you want to dial.
X Press the 6ora button to start dial-
ling.
or X To exit the telephone book: press the
~ or% button. Menus and submenus
305On-board computer and displays Z
Page 309 of 489

Redialling
The on-board computer saves the last names
or numbers dialled in the redial memory.
X Use ò on the steering wheel to call up
the list of menus.
X Press :or9 on the steering wheel
to select the Telephone
Telephone menu.
X Confirm by pressing aon the steering
wheel.
X Press the 6button to switch to the
redial memory.
X Press the :or9 button to select the
desired name or number.
X Press the 6ora button to start dial-
ling.
or
X To exit the redial memory: press the
~ or% button. Assistance graphic menu
X
Use ò on the steering wheel to call up
the list of menus.
X Press the :or9 button on the steer-
ing wheel to select the Assistance
Assistance
graphic
graphic menu.
X Confirm by pressing aon the steering
wheel.
The multifunction display shows the
DISTRONIC PLUS distance display in the
assistance graphic.
X Press :to display the ATTEN-
TION ASSIST assessment. The assistance graphic shows you the status
of and/or information from the following driv-ing systems or driving safety systems:
R DISTRONIC PLUS (Y page 228)
R Traffic Sign Assist (Y page 256)
R Distance warning function and autono-
mous braking system of COLLISION PRE-
VENTION ASSIST PLUS (Y page 308)
R PRE-SAFE ®
Brake (Y page 82)
R Blind Spot Assist (Y page 259) or Active
Blind Spot Assist (Y page 263)
R ATTENTION ASSIST (Y page 255)
R Lane Keeping Assist (Y page 261)or Active
Lane Keeping Assist (Y page 266) Service menu
Introduction In the
Service Service menu, you have the following
options:
R Calling up display messages in the mes-
sage memory (Y page 314)
R Restarting the tyre pressure loss warning
system (Y page 437)
R Checking the tyre pressure electronically
(Y page 434)
R Calling up the service due date
(Y page 395)
R Displaying the coolant temperature
(Y page 307)
R Displaying the AdBlue ®
level and range
(Y page 307) (BlueTEC vehicles only) 306
Menus and submenusOn-board computer and displays
Page 310 of 489

Displaying the coolant temperature
The coolant temperature is also shown in the
instrument cluster in the rev counter.
Observe the notes on coolant temperature
(Y page 293).
X Use ò on the steering wheel to call up
the list of menus.
X Press the :or9 button on the steer-
ing wheel to select the Service Servicemenu.
X Confirm by pressing aon the steering
wheel.
X Use : or9 to select the Coolant Coolant
submenu.
X Press ato confirm your selection.
The coolant temperature is shown in a bar
display.
Displaying AdBlue ®
level and range This menu is only available in BlueTEC vehi-
cles.
X Use ò on the steering wheel to call up
the list of menus.
X Press the :or9 button on the steer-
ing wheel to select the Service
Service menu.
X Confirm by pressing aon the steering
wheel.
X Select the AdBlue AdBluesubmenu using :or
9.
X Press ato confirm your selection.
The range and AdBlue ®
level appear in a bar
graph in the multifunction display.
Observe the information and notes on "Refu- elling" (Y page 204). Settings menu
Introduction In the
Settings
Settings menu, you have the following
options:
R Changing assistance settings
(Y page 307)
R Changing head-up display settings
(Y page 310)
R Changing the light settings (Y page 311)
R Changing the instrument cluster settings
(Y page 312)
R Changing the vehicle settings
(Y page 313)
R Restoring the factory settings
(Y page 313)
Assistance submenu Deactivating/activating ESP
®
Observe the "Important safety notes" section
in the description of ESP ®
(Y page 80). G
WARNING
If you deactivate ESP ®
, ESP ®
no longer sta-
bilises the vehicle. There is an increased risk
of skidding and an accident.
Only deactivate ESP ®
in the situations descri-
bed in the following. Menus and submenus
307On-boardcompu ter and displays Z
Page 311 of 489

It may be best to deactivate ESP
®
in the fol-
lowing situations:
R when using snow chains
R in deep snow
R on sand or gravel
For further information about ESP ®
, see
(Y page 80).
X Start the engine.
X Use ò on the steering wheel to call up
the list of menus.
X Press the :or9 button on the steer-
ing wheel to select the Settings
Settings menu.
X Confirm by pressing aon the steering
wheel.
X Use : or9 to select the Assis‐
Assis‐
tance
tance submenu.
X Press ato confirm.
X Press the :or9 button to select
ESP
ESP.
X Press ato confirm.
The current selection is displayed.
X To activate/deactivate: press thea
button again.
If the å warning lamp in the instrument
cluster lights up when the vehicle is ready
to drive, ESP ®
is deactivated.
If the ÷ andå warning lamps light up
continuously, ESP ®
is not available due to a
malfunction.
Observe the information on warning lamps
(Y page 357).
Observe the information on display messages
(Y page 315).
Activating/deactivating the message dis-
play for Traffic Sign Assist
X Use ò on the steering wheel to call up
the list of menus.
X Press the :or9 button on the steer-
ing wheel to select the Settings
Settings menu.
X Confirm by pressing aon the steering
wheel. X
Use : or9 to select the Assis‐ Assis‐
tance tance submenu.
X Press ato confirm.
X Press the :or9 button to select
Traffic Sign Assist
Traffic Sign Assist.
X Press the abutton.
The current selection is displayed.
X To activate or deactivate: pressa.
When the display is activated, recognised
traffic signs are displayed in the multifunc- tion display for five seconds.
For further information about Traffic Sign
Assist, see (Y page 256).
Activating/deactivating COLLISION PRE-
VENTION ASSIST PLUS
X Use ò on the steering wheel to call up
the list of menus.
X Press the :or9 button on the steer-
ing wheel to select the Settings
Settings menu.
X Confirm by pressing aon the steering
wheel.
X Use : or9 to select the Assis‐ Assis‐
tance
tance submenu.
X Press ato confirm.
X Use 9 or: to select Collision
Collision
Prevention
Prevention.
X Press ato confirm.
The current selection is displayed.
X To activate/deactivate: press thea
button again.
When COLLISION PREVENTION ASSIST
PLUS is deactivated, the æsymbol
appears in the multifunction display in the
Assistance graphic Assistance graphic menu.
For further information about COLLISION
PREVENTION ASSIST PLUS, see (Y page 77).308
Menus and submenusOn-board computer and displays
Page 312 of 489

Activating/deactivating PRE-SAFE
®
Brake
PRE ‑SAFE ®
Brake is only available in vehicles
with DISTRONIC PLUS.
X Use ò on the steering wheel to call up
the list of menus.
X Press the :or9 button on the steer-
ing wheel to select the Settings
Settings menu.
X Confirm by pressing aon the steering
wheel.
X Use : or9 to select the Assis‐ Assis‐
tance
tance submenu.
X Press ato confirm.
X Press the :or9 button to select
PRE-SAFE Brake
PRE-SAFE Brake.
X Press ato confirm.
The current selection is displayed.
X To activate/deactivate: press thea
button again.
When PRE-SAFE ®
Brake is deactivated, the
æ symbol appears in the Assistance
Assistance
graphic
graphic menu in the multifunction dis-
play.
For more information on PRE‑SAFE ®
Brake,
see (Y page 82).
Activating/deactivating Blind Spot Assist
X Use ò on the steering wheel to call up
the list of menus.
X Press the :or9 button on the steer-
ing wheel to select the Settings
Settings menu.
X Confirm by pressing aon the steering
wheel.
X Use : or9 to select the Assis‐ Assis‐
tance
tance submenu.
X Press ato confirm.
X Press the :or9 button to select
Blind Spot Assist
Blind Spot Assist .
X Press ato confirm.
The current selection is displayed.
X To activate/deactivate: press thea
button again.
When Blind Spot Assist or Active Blind Spot Assist is activated, grey radar waves prop- agating backwards appear next to the vehi-
cle in the Assistance graphic Assistance graphic menu in
the multifunction display.
For further information about Blind Spot
Assist, see (Y page 259).
For further information about Active Blind
Spot Assist, see (Y page 263).
Setting ATTENTION ASSIST X Use ò on the steering wheel to call up
the list of menus.
X Press the :or9 button on the steer-
ing wheel to select the Settings Settingsmenu.
X Confirm by pressing aon the steering
wheel.
X Use : or9 to select the Assis‐
Assis‐
tance
tance submenu.
X Press ato confirm.
X Press the :or9 button to select
Attention Assist
Attention Assist .
X Press ato confirm.
X Press the :or9 button to set Off
Off,
Standard
Standard orSensitive
Sensitive .
X Press the abutton to confirm the selec-
tion.
When ATTENTION ASSIST is deactivated,
the é symbol appears in the Assis‐ Assis‐
tance graphic
tance graphic menu in the multifunction
display when the ignition is on.
For further information about ATTENTION
ASSIST, see (Y page 255).
Setting Lane Keeping Assist
X Use ò on the steering wheel to call up
the list of menus.
X Press the :or9 button on the steer-
ing wheel to select the Settings Settingsmenu.
X Confirm by pressing aon the steering
wheel.
X Use : or9 to select the Assis‐
Assis‐
tance
tance submenu.
X Press ato confirm.
X Press :or9 to select Lane Keep‐
Lane Keep‐
ing Assist
ing Assist . Menus and submenus
309On-board computer and displays Z