Page 9 of 41
FUEL QUALITY
Note:Use of any fuel other than thoserecommended may cause powertraindamage, a loss of vehicle performance, andrepairs may not be covered under warranty.
Choosing the Right Fuel
Use only UNLEADED gasoline orUNLEADED gasoline blended with amaximum of 15% ethanol in your gasolinevehicle. If your vehicle is a Flex Fuel Vehicle(FFV), it will have a yellow bezel placedover the fuel fill inlet.
Do not use:
•fuels containing more than 15%ethanol or E-85 fuel
•fuels containing methanol
•fuels containing metallic basedadditives, including manganese-basedcompounds
•fuels containing the octane boosteradditive, methylcyclopentadienylmanganese tricarbonyl (MMT)
•leaded-fuel (The use of leaded fuel isprohibited by law)
Note:Use of any fuel other than therecommended fuel can cause powertraindamage, impair the emission control systemor cause loss of vehicle performance. Anydamage to the vehicle that is caused by theuse of fuel not recommended will not becovered under warranty.
Octane Recommendations
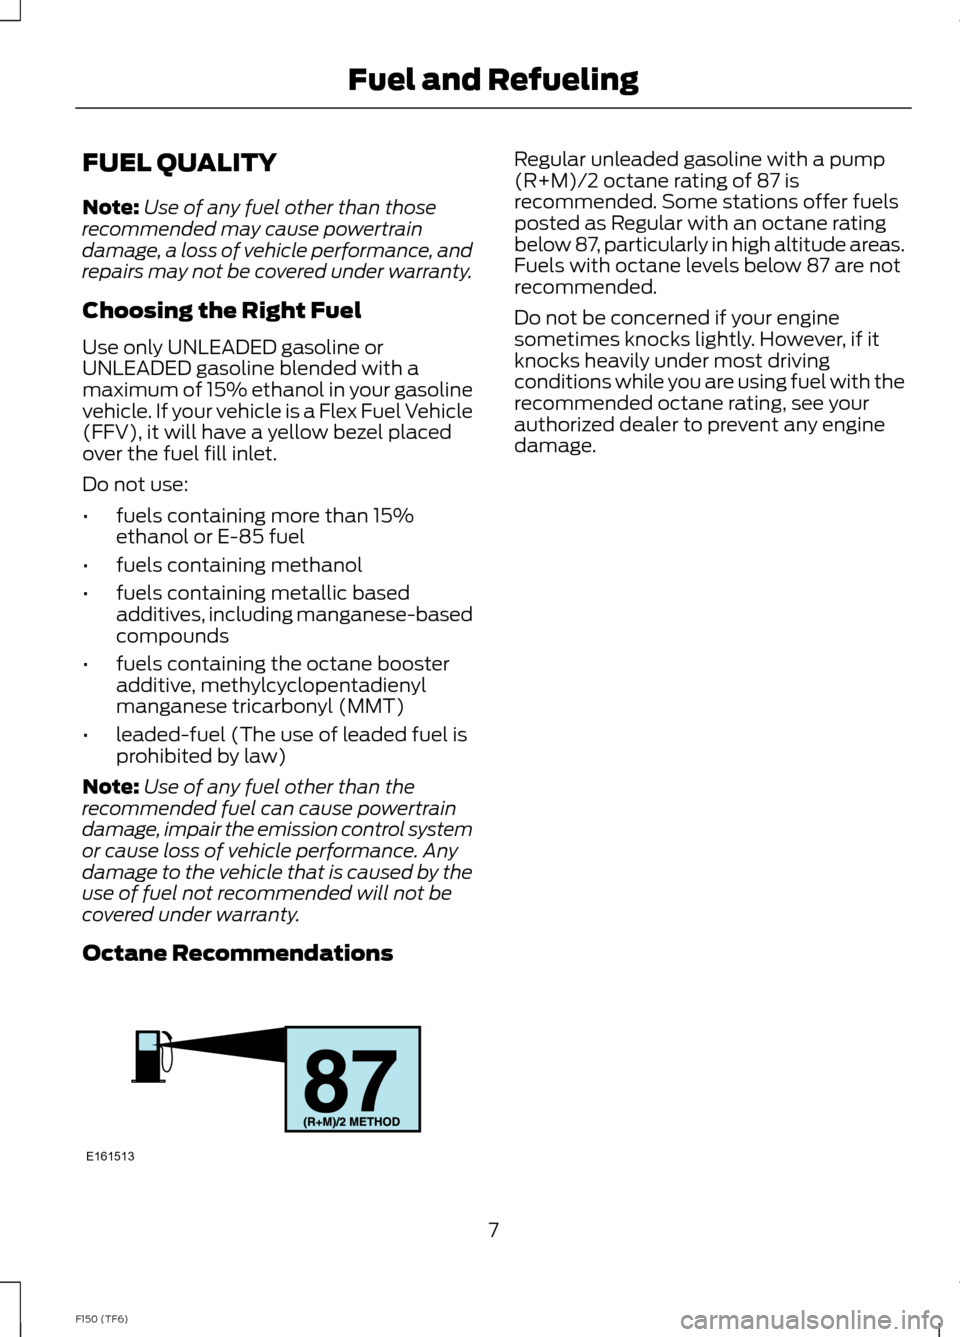
Regular unleaded gasoline with a pump(R+M)/2 octane rating of 87 isrecommended. Some stations offer fuelsposted as Regular with an octane ratingbelow 87, particularly in high altitude areas.Fuels with octane levels below 87 are notrecommended.
Do not be concerned if your enginesometimes knocks lightly. However, if itknocks heavily under most drivingconditions while you are using fuel with therecommended octane rating, see yourauthorized dealer to prevent any enginedamage.
7F150 (TF6)Fuel and RefuelingE161513
Page 10 of 41
PRINCIPLE OF OPERATION
WARNINGS
Hill descent control cannot controldescent in all surface conditions andcircumstances, such as ice orextremely steep grades. Hill descentcontrol is a driver assist system and cannotsubstitute for good judgment by the driver.Failure to do so may result in loss of vehiclecontrol, crash or serious injury.
Hill descent control does not providehill hold at zero miles per hour (0kilometers per hour). When stopped,the parking brake must be applied or thevehicle must be placed in P (Park) or itmay roll away.
Hill descent control allows the driver to setand maintain vehicle speed whiledescending steep grades in various surfaceconditions.
Hill descent control can maintain vehiclespeeds on downhill grades between 2 mph(3 km/h) and 12 mph (20 km/h). Above 20mph (32 km/h), the system remainsarmed, but descent speed cannot be setor maintained.
Hill descent control requires a coolingdown interval after a period of sustaineduse. The amount of time that the featurecan remain active before cooling varieswith conditions. The system will provide awarning in the message center and a chimewill sound when the system is about todisengage for cooling. At this time,manually apply the brakes as needed tomaintain descent speed.
USING HILL DESCENT
CONTROL
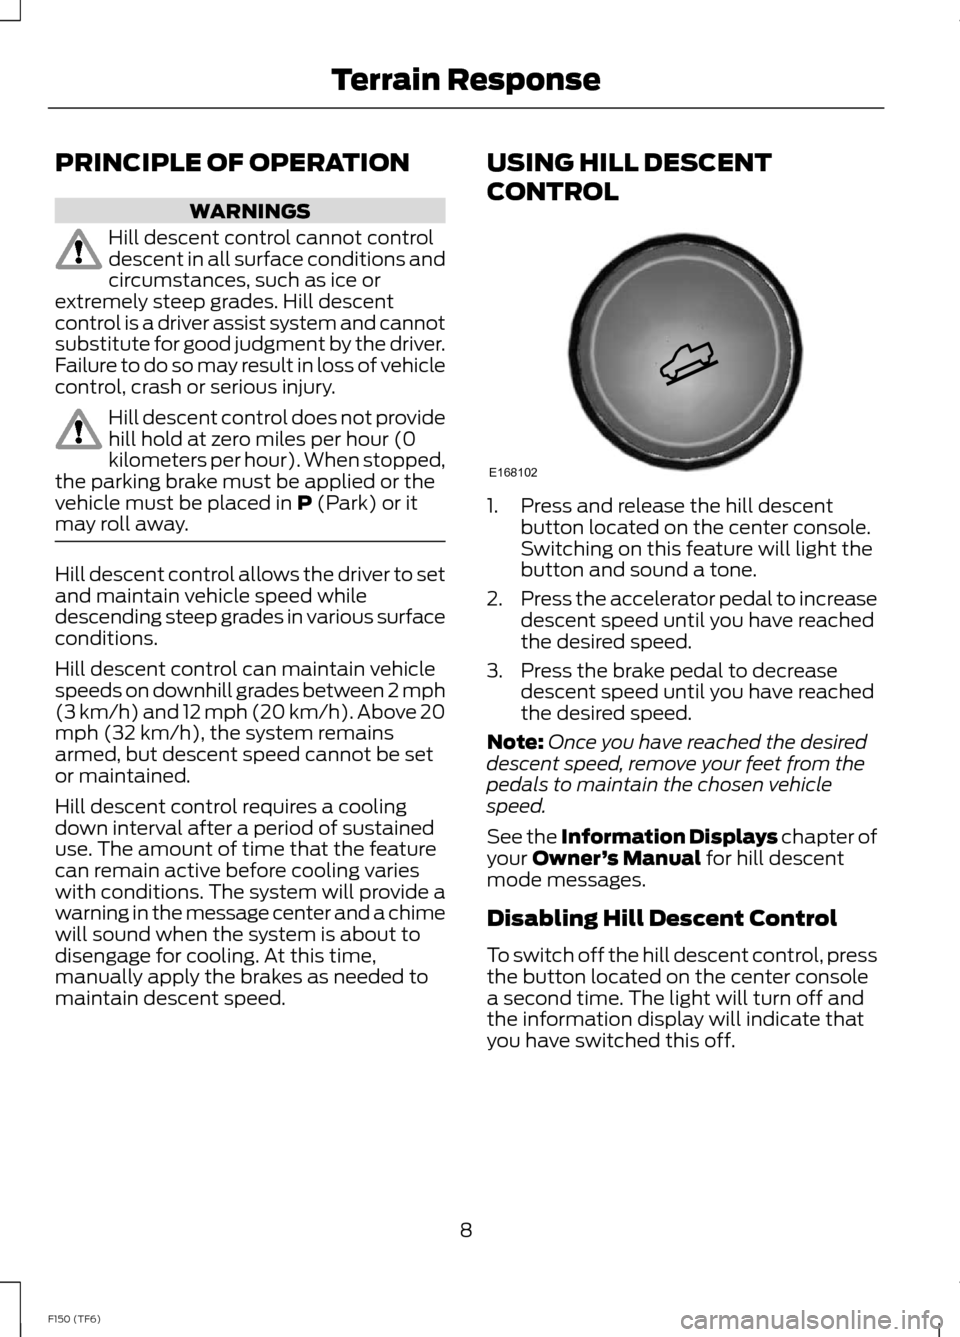
1.Press and release the hill descentbutton located on the center console.Switching on this feature will light thebutton and sound a tone.
2.Press the accelerator pedal to increasedescent speed until you have reachedthe desired speed.
3.Press the brake pedal to decreasedescent speed until you have reachedthe desired speed.
Note:Once you have reached the desireddescent speed, remove your feet from thepedals to maintain the chosen vehiclespeed.
See the Information Displays chapter ofyour Owner’s Manual for hill descentmode messages.
Disabling Hill Descent Control
To switch off the hill descent control, pressthe button located on the center consolea second time. The light will turn off andthe information display will indicate thatyou have switched this off.
8F150 (TF6)Terrain ResponseE168102
Page 11 of 41
FRONT VIEW CAMERA
Front Off-Road Camera System
WARNINGS
The off-road mode camera systemis an off-road aid supplement devicethat still requires the driver to use itin conjunction with viewing the front of thevehicle.
Due to the limited coverage of thecamera system, objects close toeither corner of the bumper may notbe visible on the screen.
Drive forward as slowly as possiblesince higher speeds might limit yourreaction time to stop the vehicle.
Do not use the camera system withthe hood open. If the hood is open,the camera will be out of positionand the video image may be incorrect.
Use caution when turning the frontcamera features on or off while in D(Drive). Make sure the vehicle is notmoving.
Note:The front off-road camera system isa convenience feature and is not asubstitute for your front windshield. Alwaysbe aware of the environment around you.
The front view camera provides a videoimage of the area in front of the vehicle,which appears on the touchscreen. Thisfeature will aid you in off-road conditions,such as rock-climbing, slow-speedmaneuvering and cresting hills, when yourview through the front windshield isunclear.
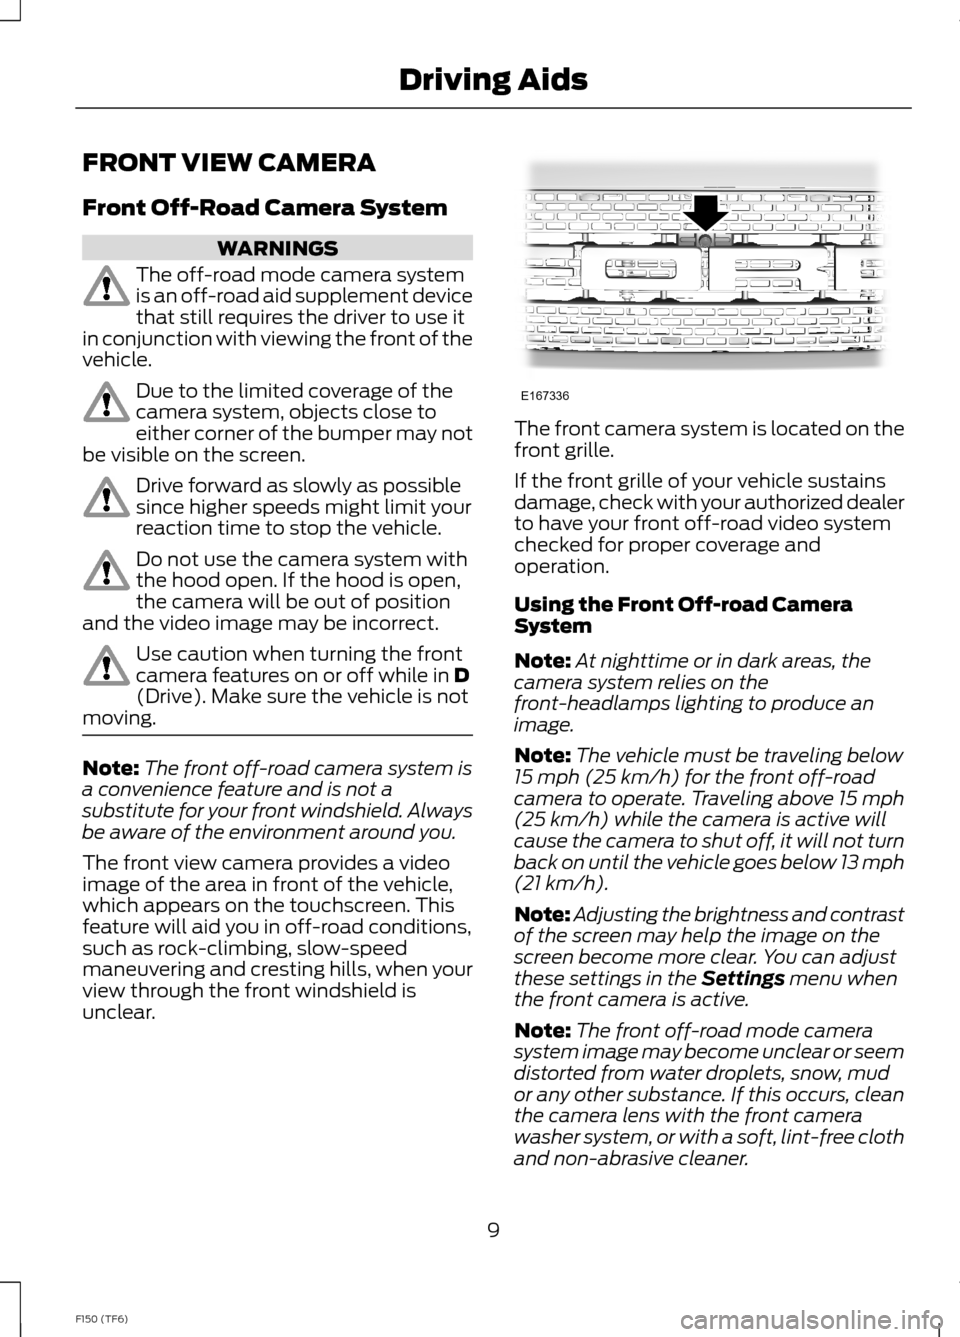
The front camera system is located on thefront grille.
If the front grille of your vehicle sustainsdamage, check with your authorized dealerto have your front off-road video systemchecked for proper coverage andoperation.
Using the Front Off-road CameraSystem
Note:At nighttime or in dark areas, thecamera system relies on thefront-headlamps lighting to produce animage.
Note:The vehicle must be traveling below15 mph (25 km/h) for the front off-roadcamera to operate. Traveling above 15 mph(25 km/h) while the camera is active willcause the camera to shut off, it will not turnback on until the vehicle goes below 13 mph(21 km/h).
Note:Adjusting the brightness and contrastof the screen may help the image on thescreen become more clear. You can adjustthese settings in the Settings menu whenthe front camera is active.
Note:The front off-road mode camerasystem image may become unclear or seemdistorted from water droplets, snow, mudor any other substance. If this occurs, cleanthe camera lens with the front camerawasher system, or with a soft, lint-free clothand non-abrasive cleaner.
9F150 (TF6)Driving AidsE167336
Page 12 of 41
Turning on the Front Off-road CameraSystem
Your vehicle must meet the followingconditions to turn the system on:
•You must be in off-road mode withelectronic locking differential (ELD)activated, or in 4L.
See the Off-Road Mode section in theDriving Hints chapter of this supplement,and Electronic Locking Differential (ELD)in the Four-Wheel Drive chapter of yourOwner’s Manual for information on howto activate these systems.
1.Select the Truck Apps menu in yourinformation display screen.
2.Select the sub-menu Off-RoadCamera.
3.Press OK to enable and disable thecamera.
The area displayed on the screen may varyaccording to the vehicle orientation androad conditions.
Active and Fixed Guidelines
Fixed guidelines
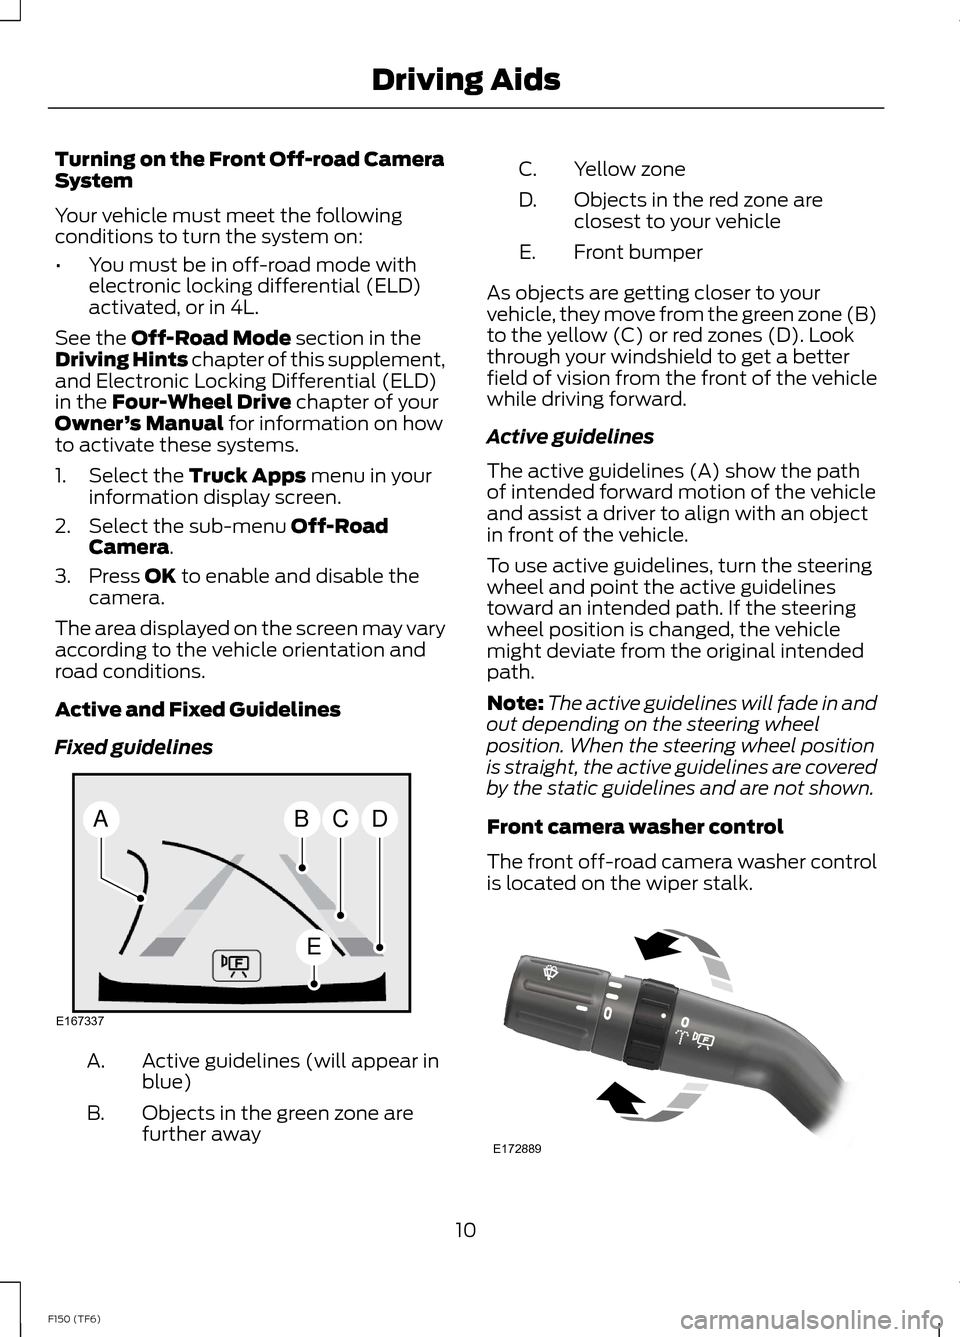
Active guidelines (will appear inblue)A.
Objects in the green zone arefurther awayB.
Yellow zoneC.
Objects in the red zone areclosest to your vehicleD.
Front bumperE.
As objects are getting closer to yourvehicle, they move from the green zone (B)to the yellow (C) or red zones (D). Lookthrough your windshield to get a betterfield of vision from the front of the vehiclewhile driving forward.
Active guidelines
The active guidelines (A) show the pathof intended forward motion of the vehicleand assist a driver to align with an objectin front of the vehicle.
To use active guidelines, turn the steeringwheel and point the active guidelinestoward an intended path. If the steeringwheel position is changed, the vehiclemight deviate from the original intendedpath.
Note:The active guidelines will fade in andout depending on the steering wheelposition. When the steering wheel positionis straight, the active guidelines are coveredby the static guidelines and are not shown.
Front camera washer control
The front off-road camera washer controlis located on the wiper stalk.
10F150 (TF6)Driving AidsBECDAE167337 E172889
Page 13 of 41
O - Front camera washer off.
F - Front camera washer on.
To use the front camera washer, rotate thedial until the dot mark lines up with the Ffront camera position. The washer willclean for as long as desired. Return the dialto line up with the O position when you arefinished washing the camera.
11F150 (TF6)Driving AidsE167339
Page 14 of 41
TOWING A TRAILER
Towing Capacity
Gross combination weight rating(GCWR)Maximum tow weightVehicle type
12500 lb (5670 kg)6000 lb (2721 kg)SuperCab
14700 lb (6668 kg)8000 lb (3629 kg)SuperCrew
Refer to the Towing chapter in yourOwner’s Manual for additional towinginformation.
TRANSPORTING THE VEHICLE
If you need to have your vehicle towed,contact your roadside assistance centeror a professional towing service.
12F150 (TF6)TowingE167340
Page 15 of 41
It is required that your vehicle be towedwith flatbed equipment. When towing witha flatbed, 4x4 blocks must be used whenloading and unloading your vehicle. Do nottow with a slingbelt. Ford Motor Companyhas not approved a slingbelt towingprocedure.
Note:If the vehicle is towed by other meansor incorrectly, vehicle damage may occur.
TOWING THE VEHICLE ON
FOUR WHEELS
Emergency Towing
If your vehicle becomes inoperable(without access to wheel dollies,car-hauling trailer, or flatbed transportvehicle), it can be flat-towed (all wheelson the ground, regardless of the powertrainand transmission configuration) under thefollowing conditions:
•Your vehicle is facing forward fortowing in a forward direction.
•Place the transmission in position N. Ifyou cannot move the transmission intoN, you may need to override it.
•Maximum speed is 35 mph (56 km/h).
•Maximum distance is 50 miles (80kilometers).
Recreational Towing
Note:Put your climate control system inrecirculated air mode to prevent exhaustfumes from entering your vehicle.
Follow these guidelines if you have a needfor recreational towing, such as towingyour vehicle behind a motorhome. Wedesigned these guidelines to preventdamage to your transmission.
Four-wheel-down Towing
You can only tow a four-wheel drivevehicle with all wheels on the ground byplacing the transfer case in its neutralposition and engaging thefour-wheel-down towing feature. Performthe steps outlined in the following sectionafter positioning your vehicle behind thetow vehicle and properly securing themtogether.
1.Turn the ignition to the on position. Donot start the engine.
2.Press and hold the brake pedal.
3.Rotate the four-wheel drive switch to2H.
4.Shift the transmission to position N.
5.Rotate the four-wheel drive switchfrom 2H to 4L and back to 2H fivetimes within seven seconds.
Note:If completed successfully, theinformation display shows NEUTRAL TOWLEAVE IN N or NEUTRAL TOW ENABLEDLEAVE TRANSMISSION IN NEUTRAL.This indicates that your vehicle is safe totow with all wheels on the ground
Note:If you do not see the message in thedisplay, you must perform the procedureagain from the beginning.
Note:You may hear an audible noise as thetransfer case shifts into its neutral position.This is normal.
6.Leave the transmission in position Nand turn the ignition as far as it will gotoward the off position (it will not turnfully off when the transmission is inposition N. You must leave the key inthe ignition while towing. To lock andunlock your vehicle, use the keylessentry keypad or extra set of keys.
7.Release the brake pedal.
13F150 (TF6)Towing
Page 16 of 41

WARNINGS
Do not disconnect the battery duringrecreational towing. Doing so willprevent the transfer case fromshifting properly and may cause the vehicleto roll even if the transmission is in P(Park).
Shifting the transfer case to itsneutral position for recreationaltowing may cause the vehicle to beable to roll even if the transmission is in P(Park). The driver or others could beinjured. Make sure the foot brake isdepressed and the vehicle is in a secureand safe position while the transfer caseis being shifted to its neutral position.
Failing to put the transfer case in itsneutral position will damage vehiclecomponents.
Note:You can check four-wheel-downtowing status at any time by opening thedriver's door or turning the ignition to theaccessory or on position and verifying theNEUTRAL TOW ENABLED messagedisplays in the cluster.
To exit four-wheel-down towing and returnthe transfer case to its 2H position:
1.With your vehicle still properly securedto the tow vehicle, press and hold thebrake pedal.
2.Turn the ignition to the on position. Donot start the engine.
3.Shift the transmission out of N and intoany gear.
4.Release the brake pedal.
Note:If completed successfully, theinstrument cluster displays 4X2, andNEUTRAL TOW DISABLED.
Note:If the indicator light and message donot display, you must perform the procedureagain from the beginning.
Note:You may hear an audible noise as thetransfer case shifts out of its neutralposition. This is normal.
5.Apply the parking brake, and thendisconnect the vehicle from the towvehicle.
6.Release the parking brake, start theengine, and shift the transmission toposition D to make sure the transfercase is out of position N.
7.If the transfer case does notsuccessfully shift out of position N, setthe parking brake until you can haveyour vehicle serviced.
14F150 (TF6)Towing