2014 FORD EXPEDITION ECO mode
[x] Cancel search: ECO modePage 146 of 519
Placing the Second Row Outboard 40% Seats in Cargo Mode
WARNING:Use caution when folding the seatback to the flat
back position as the system will move forward when you lift the
release handle.
WARNING:Always return the seat from the kneel position prior
to raising the seatback. Failure to do so could result in personal
injury.
Place the second-row seats in a kneel down load floor position to allow
more cargo space.
To place the seats in the cargo mode:
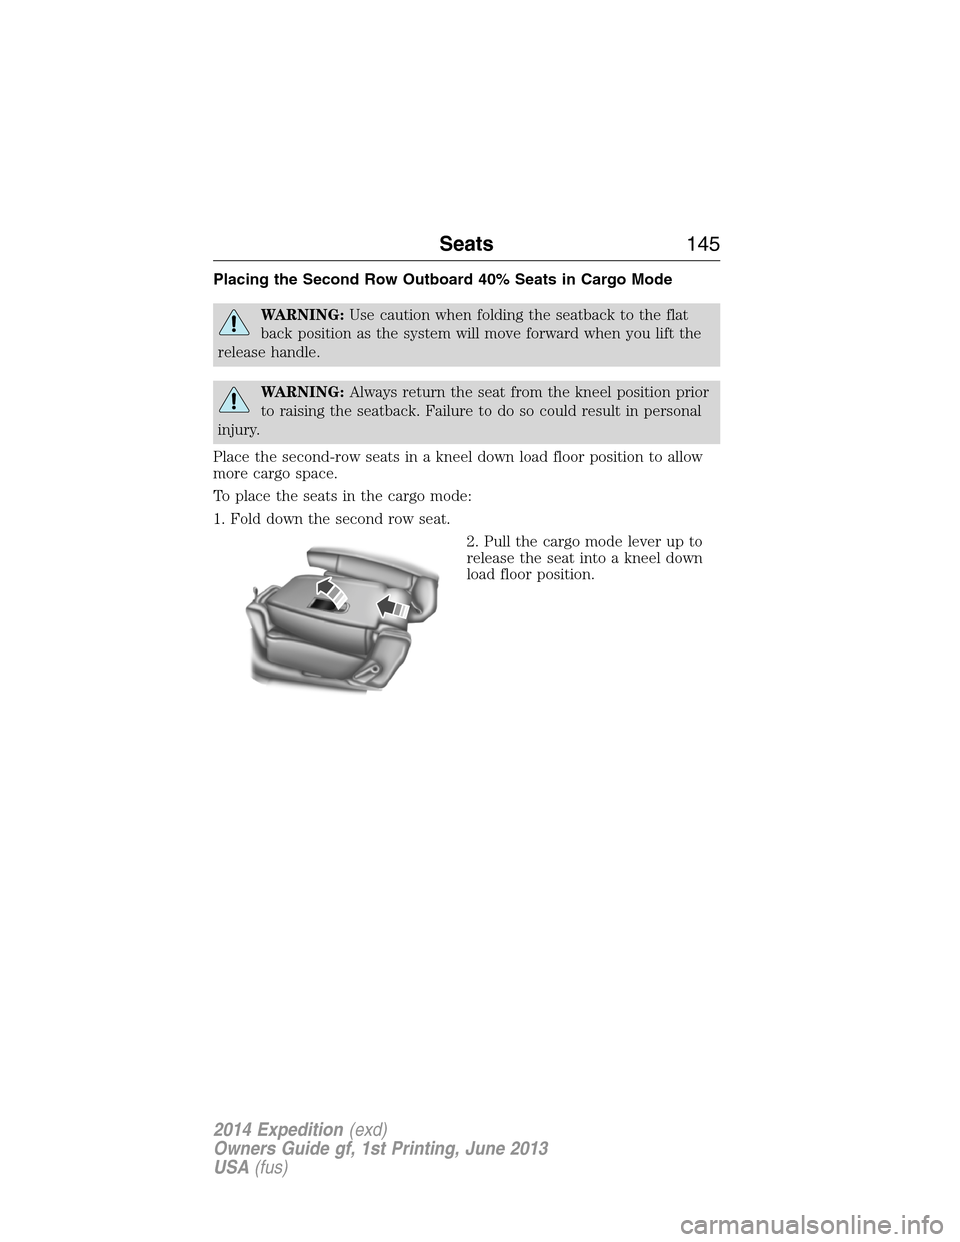
1. Fold down the second row seat.
2. Pull the cargo mode lever up to
release the seat into a kneel down
load floor position.
Seats145
2014 Expedition(exd)
Owners Guide gf, 1st Printing, June 2013
USA(fus)
Page 156 of 519
Note:Make sure you keep the original remote control transmitter for
use in other vehicles as well as for future system programming.
Note:We recommend that upon the sale or lease termination of your
vehicle, you erase the programmed function buttons for security reasons.
SeeErasing the Function Button Codeslater in this section.
Note:You can program a maximum of three devices. To change or
replace any of the three devices after it has been initially programmed,
you must first erase the current settings. SeeErasing the Function
Button Codeslater in this section.
Note:Programming the system to a community gate will require a
unique set of instructions depending on the gate system model. Contact
the help line at 1-866-572-2728 for further information.
Note:If you accidently enter the program mode by pressing and
releasing the outer two buttons or all three buttons simultaneously, do
not press any button until the module times out after a few seconds and
resets to normal mode. When the module has timed out, all three LED
lamps will flash rapidly for a few seconds then turn off. Any settings
should remain as previously set.
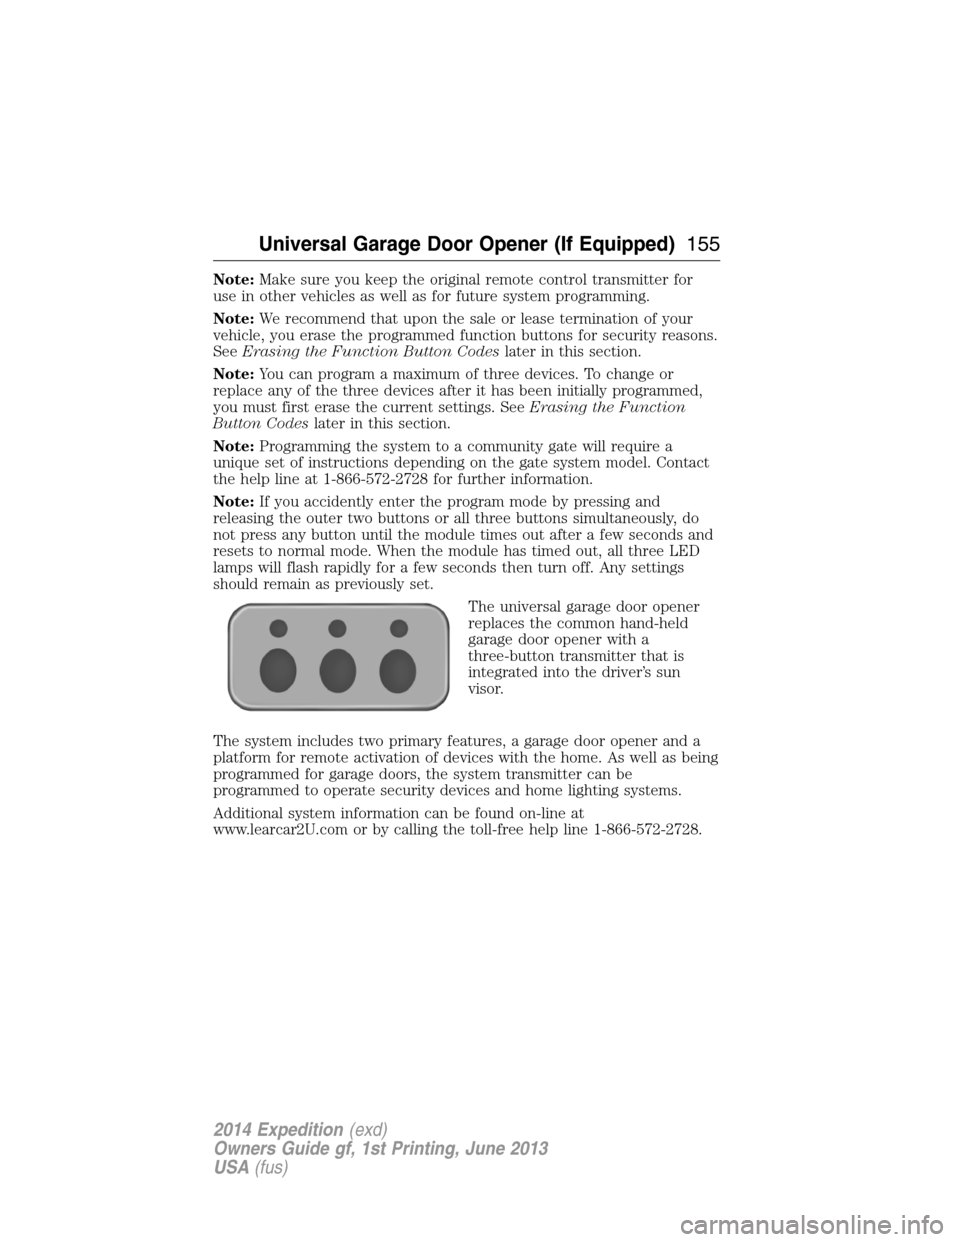
The universal garage door opener
replaces the common hand-held
garage door opener with a
three-button transmitter that is
integrated into the driver’s sun
visor.
The system includes two primary features, a garage door opener and a
platform for remote activation of devices with the home. As well as being
programmed for garage doors, the system transmitter can be
programmed to operate security devices and home lighting systems.
Additional system information can be found on-line at
www.learcar2U.com or by calling the toll-free help line 1-866-572-2728.
Universal Garage Door Opener (If Equipped)155
2014 Expedition(exd)
Owners Guide gf, 1st Printing, June 2013
USA(fus)
Page 162 of 519
Erasing the Function Button Codes
Note:You cannot erase individual
buttons.
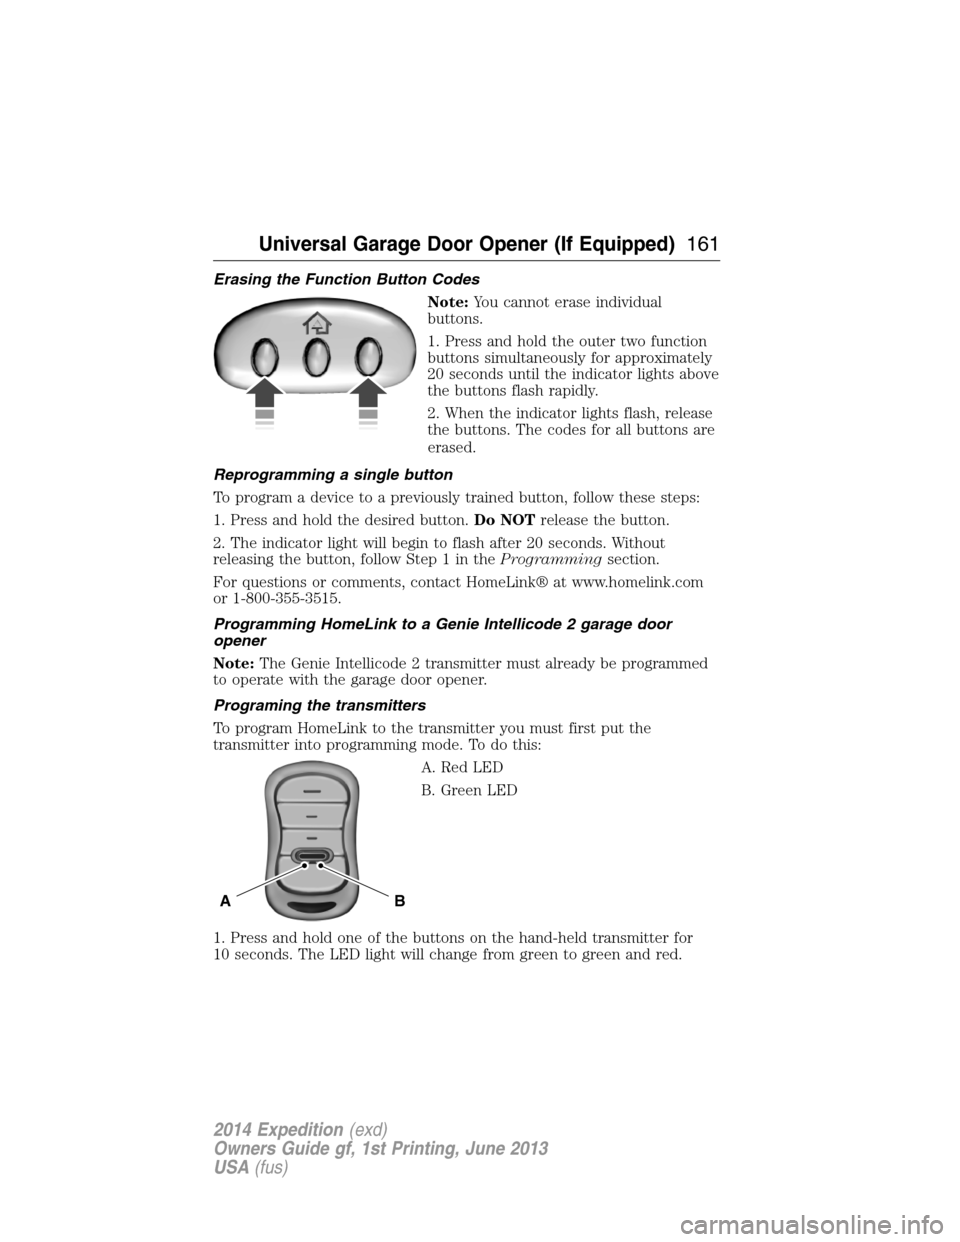
1. Press and hold the outer two function
buttons simultaneously for approximately
20 seconds until the indicator lights above
the buttons flash rapidly.
2. When the indicator lights flash, release
the buttons. The codes for all buttons are
erased.
Reprogramming a single button
To program a device to a previously trained button, follow these steps:
1. Press and hold the desired button.Do NOTrelease the button.
2. The indicator light will begin to flash after 20 seconds. Without
releasing the button, follow Step 1 in theProgrammingsection.
For questions or comments, contact HomeLink® at www.homelink.com
or 1-800-355-3515.
Programming HomeLink to a Genie Intellicode 2 garage door
opener
Note:The Genie Intellicode 2 transmitter must already be programmed
to operate with the garage door opener.
Programing the transmitters
To program HomeLink to the transmitter you must first put the
transmitter into programming mode. To do this:
A. Red LED
B. Green LED
1. Press and hold one of the buttons on the hand-held transmitter for
10 seconds. The LED light will change from green to green and red.
BA
Universal Garage Door Opener (If Equipped)161
2014 Expedition(exd)
Owners Guide gf, 1st Printing, June 2013
USA(fus)
Page 163 of 519
2. Press the same button twice to confirm the change to Programming
mode. If done properly the LED light will appear red.
3. Hold the transmitter within 1–3 inches (2–8 centimeters) of the
button on the sun visor you want to program.
4. Press and hold both the programmed Genie button on the hand-held
transmitter and the button on the sun visor you want to program. The
indicator light on the sun visor will flash rapidly when the programming
is successful.
Note:the Genie transmitter will transmit for up to 30 seconds. If
HomeLink does not program within 30 seconds the Genie transmitter will
need to be pressed again. If the Genie transmitter LED displays green
and red, release the button until the LED turns off before pressing the
button again.
Once HomeLink has been programmed successfully, the Genie
transmitter must be changed out of program mode. To do this:
1. Press and hold the previously programmed Genie button on the
hand-held transmitter for 10 seconds. The indicator light will change
from red to red and green.
2. Press the same button twice to confirm the change. If done correctly
the LED will turn green.
Programming HomeLink to the Genie Intellicode garage door
opener motor
Note:You may need a ladder to access the garage door opener motor.
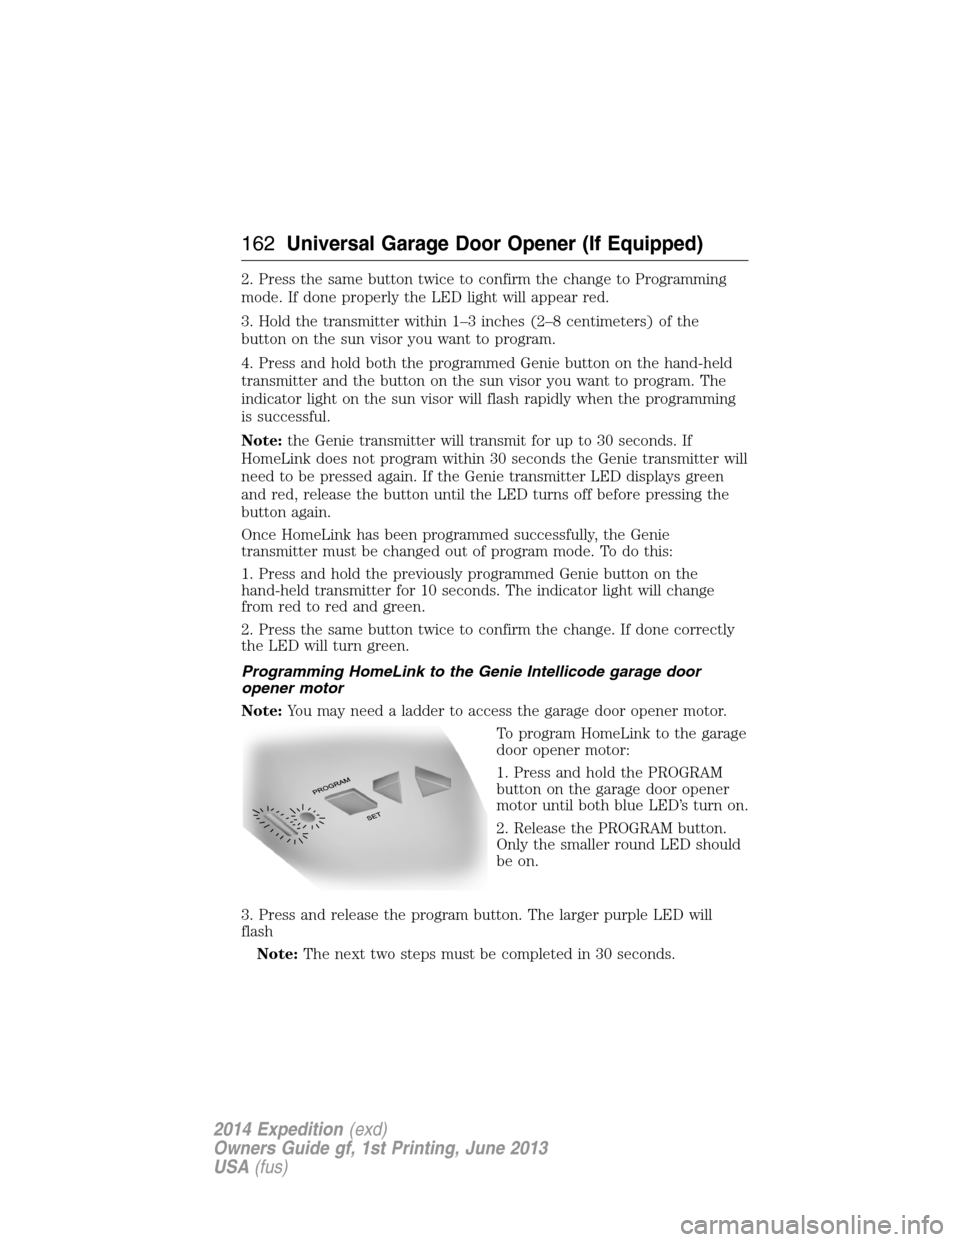
To program HomeLink to the garage
door opener motor:
1. Press and hold the PROGRAM
button on the garage door opener
motor until both blue LED’s turn on.
2. Release the PROGRAM button.
Only the smaller round LED should
be on.
3. Press and release the program button. The larger purple LED will
flash
Note:The next two steps must be completed in 30 seconds.
162Universal Garage Door Opener (If Equipped)
2014 Expedition(exd)
Owners Guide gf, 1st Printing, June 2013
USA(fus)
Page 164 of 519
4. Press and release the Genie Intellicode 2 hand-held transmitter’s
previously programmed button. Both indicator lights on the garage door
opener motor unit should now flash purple.
5. Press and hold the previously programmed button on the sun visor for
two seconds. Repeat this step up to 3 times until the garage door moves.
Programming is now complete.
Clearing a HomeLink device
To erase programming from the three HomeLink buttons, press and hold
the two outer HomeLink buttons until the indicator light begins to flash.
The LED will begin flashing in 10 to 20 seconds, at which time both
buttons should be released. Programming has now been erased, and the
LED should blink slowly to indicate the device is in train mode when any
one of the three HomeLink buttons is pressed.
FCC and RSS-210 Industry Canada Compliance
This device complies with Part 15 of the FCC Rules and with RSS-210 of
Industry Canada. Operation is subject to the following two conditions:
(1) this device may not cause harmful interference, and (2) this device
must accept any interference received, including interference that may
cause undesired operation.
Changes or modifications to your device not expressly approved by the
party responsible for compliance can void the user’s authority to operate
the equipment.
Universal Garage Door Opener (If Equipped)163
2014 Expedition(exd)
Owners Guide gf, 1st Printing, June 2013
USA(fus)
Page 187 of 519
conditions, the transmission may downshift, slow the vehicle and control
the vehicle speed when descending a hill, without the accelerator pedal
being pressed. The amount of downshift braking provided will vary based
upon the amount the brake pedal is depressed.
To deactivate the Tow/Haul feature and return to normal driving mode,
press the button on the end of the gearshift lever. The TOW HAUL light
will no longer be illuminated.
When you shut-off and restart the engine, the transmission will
automatically return to normal D (Overdrive) mode (Tow/Haul OFF).
3 (Third) (column-shift only)
Transmission operates in third gear only.
Used for improved traction on slippery roads.
2 (Second)
Transmission operates in 2nd gear only.
Use 2 (Second) to start-up on slippery roads.
1 (First)
•Transmission operates in 1st gear only.
•Provides maximum engine braking.
•Allows upshifts by moving gearshift lever.
•Will not downshift into 1 (First) at high speeds; allows for 1 (First)
when vehicle reaches slower speeds.
Forced downshifts
•Allowed in D (Drive) only.
•Press the accelerator to the floor.
•Allows transmission to select an appropriate gear.
Automatic Transmission Adaptive Learning
This feature is designed to increase durability and provide consistent
shift feel over the life of the vehicle. A new vehicle or transmission may
have firm shifts, soft shifts or both. This operation is considered normal
and will not affect function or durability of the transmission. Over time,
the adaptive learning process will fully update transmission operation.
Additionally, whenever the battery is disconnected or a new battery
installed, the strategy must be relearned.
186Transmission
2014 Expedition(exd)
Owners Guide gf, 1st Printing, June 2013
USA(fus)
Page 191 of 519
USING FOUR-WHEEL DRIVE (4WD) (IF EQUIPPED )
WARNING:For important information regarding safe operation
of this type of vehicle, seeGeneral Informationin theWheels
and Tireschapter.
Note:Do not use 4X4 mode on dry, hard surfaced roads. Doing so will
produce excessive noise, increase tire wear and may damage drive
components. 4X4 mode is only intended for consistently slippery or loose
surfaces.
Note:If 4X4 low is selected while the vehicle is moving above 3 mph
(5 km/h), the 4WD system will not perform a shift. This is normal and
should be no reason for concern. Refer toShifting to/from 4L
(4X4 Low)for proper operation.
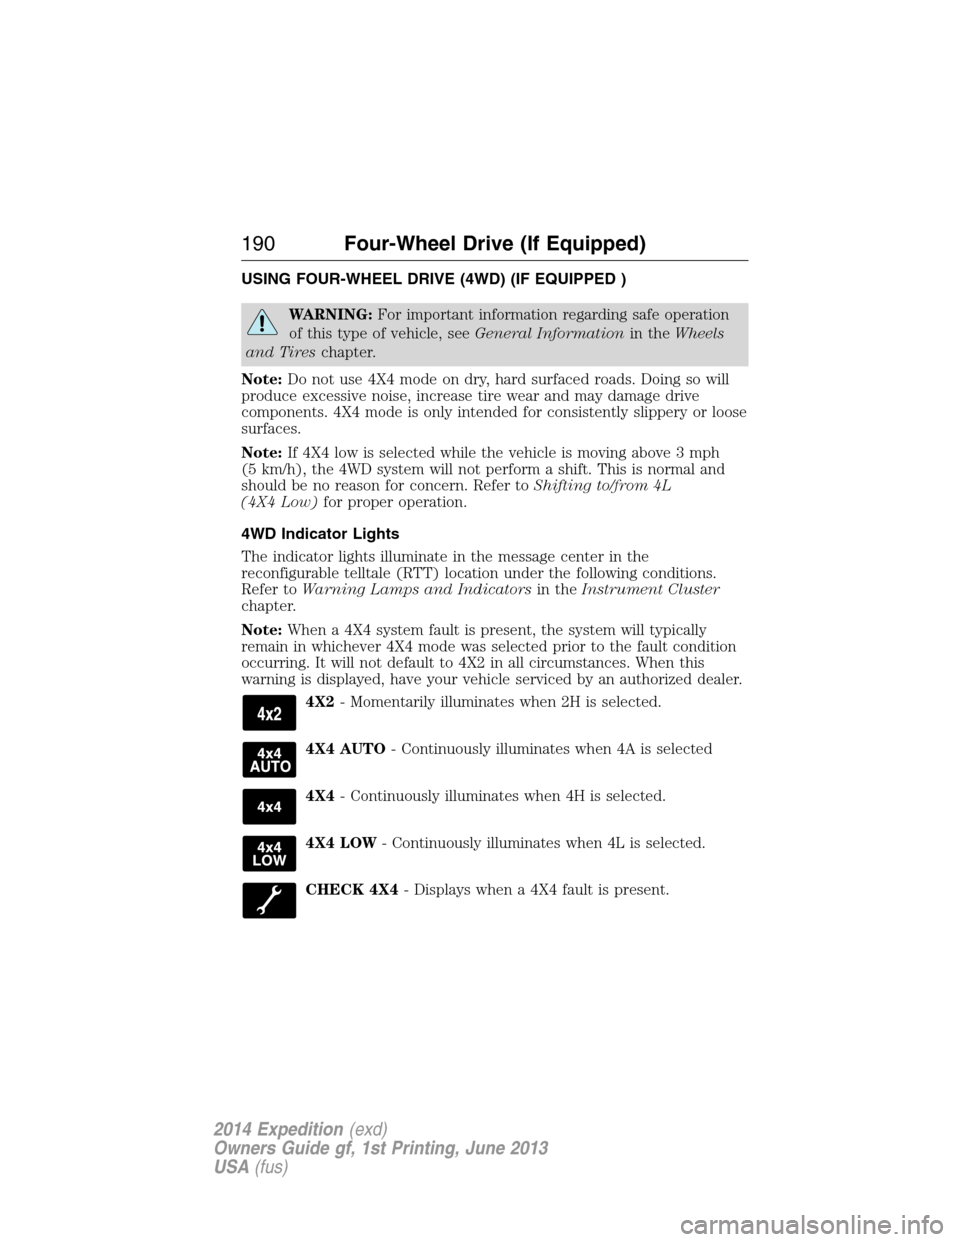
4WD Indicator Lights
The indicator lights illuminate in the message center in the
reconfigurable telltale (RTT) location under the following conditions.
Refer toWarning Lamps and Indicatorsin theInstrument Cluster
chapter.
Note:When a 4X4 system fault is present, the system will typically
remain in whichever 4X4 mode was selected prior to the fault condition
occurring. It will not default to 4X2 in all circumstances. When this
warning is displayed, have your vehicle serviced by an authorized dealer.
4X2- Momentarily illuminates when 2H is selected.
4X4 AUTO- Continuously illuminates when 4A is selected
4X4- Continuously illuminates when 4H is selected.
4X4 LOW- Continuously illuminates when 4L is selected.
CHECK 4X4- Displays when a 4X4 fault is present.
190Four-Wheel Drive (If Equipped)
2014 Expedition(exd)
Owners Guide gf, 1st Printing, June 2013
USA(fus)
Page 192 of 519
4WD switch positions
WARNING:Utility and four-wheel drive vehicles arenot
designed for cornering at speeds as high as passenger cars any
more than low-slung sports cars are designed to perform satisfactorily
under off-road conditions. Avoid sharp turns or abrupt maneuvers in
these vehicles.
Note:If your vehicle is equipped with AdvanceTrac® with RSC®, the
system will automatically turn off the stability enhancement feature
when you shift the 4WD system into 4L (4X4 LOW). You can manually
turn the system off by pressing the AdvanceTrac button, see the
Traction Controlchapter for more information. This will disable the
engine management feature, allowing the vehicle to maintain full power
and enhanced momentum through the obstacle. The brake traction
enhancement feature will still be enabled.
Note:The Control Trac® selector knob should not be changed while the
rear wheels are slipping.
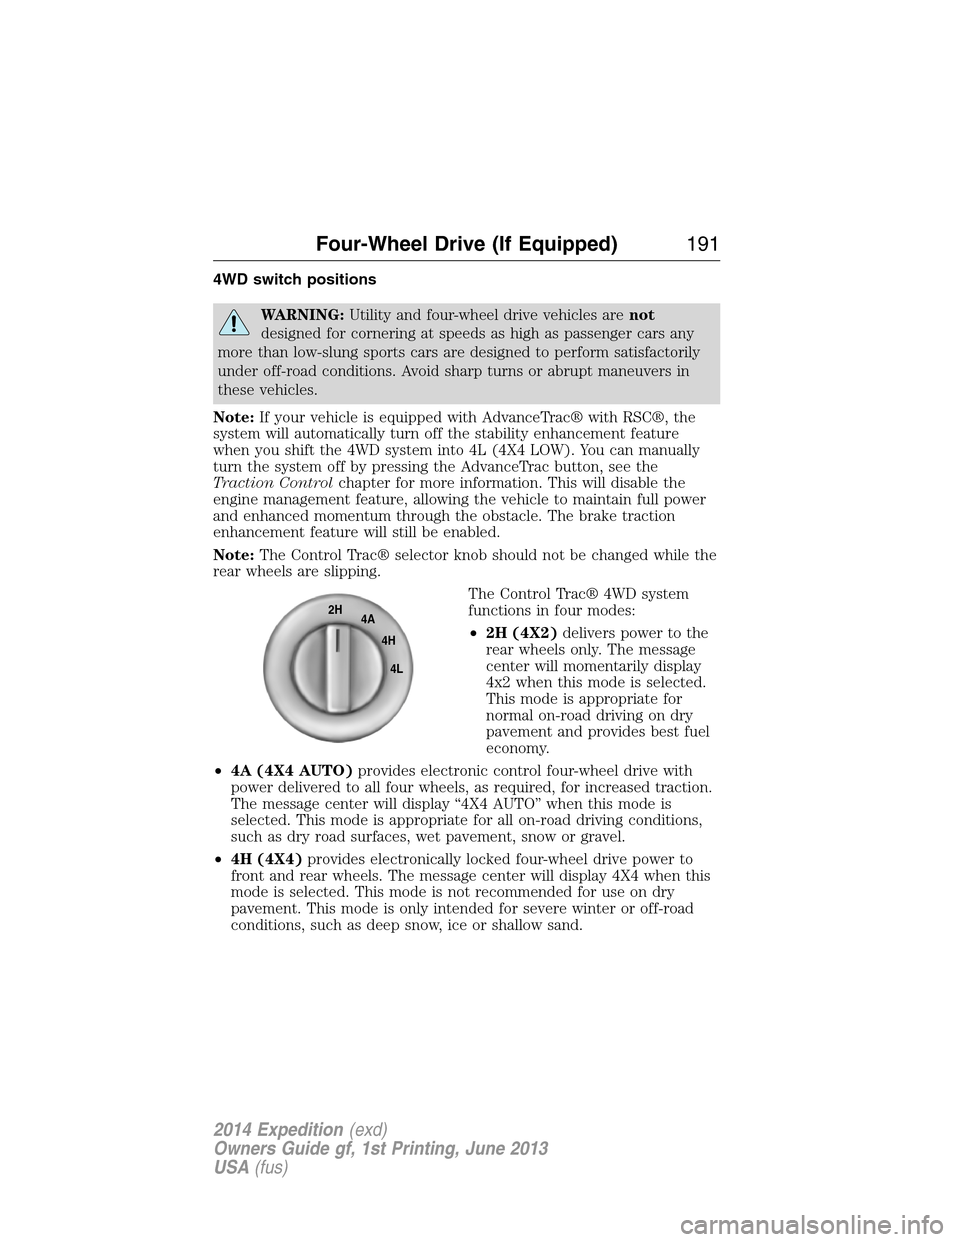
The Control Trac® 4WD system
functions in four modes:
•2H (4X2)delivers power to the
rear wheels only. The message
center will momentarily display
4x2 when this mode is selected.
This mode is appropriate for
normal on-road driving on dry
pavement and provides best fuel
economy.
•4A (4X4 AUTO)provides electronic control four-wheel drive with
power delivered to all four wheels, as required, for increased traction.
The message center will display “4X4 AUTO” when this mode is
selected. This mode is appropriate for all on-road driving conditions,
such as dry road surfaces, wet pavement, snow or gravel.
•4H (4X4)provides electronically locked four-wheel drive power to
front and rear wheels. The message center will display 4X4 when this
mode is selected. This mode is not recommended for use on dry
pavement. This mode is only intended for severe winter or off-road
conditions, such as deep snow, ice or shallow sand.
2H
4A
4H
4L
Four-Wheel Drive (If Equipped)191
2014 Expedition(exd)
Owners Guide gf, 1st Printing, June 2013
USA(fus)