2014 FORD EXPEDITION ECO mode
[x] Cancel search: ECO modePage 193 of 519
•4L (4X4 LOW)provides electronically locked four-wheel drive when
extra power at reduced speeds is required. The message center will
display 4X4 LOW when this mode is selected. This mode is not
recommended for use on dry pavement. Use this mode for off-road
low-speed operation or when extra power is required, such as climbing
steep grades, going through deep sand or pulling a boat out of the
water.
Shifting between system modes
Note:Do not perform these operations if the rear wheels are slipping.
Note:Some noise may be heard as the system shifts or engages.
You can move the control from 2H, 4A or 4H at a stop or while driving.
The information display may display a message indicating a 4X4 shift is
in progress. Once the shift is complete the information display will then
display the system mode selected.
Shifting to/from 4L (4X4 LOW)
1. Bring the vehicle to a rolling speed of 3 mph (5 km/h) or less.
2. Place the gearshift in N (Neutral).
3. Move the 4WD control to the desired mode.
The message center will display a message indicating a 4X4 shift is in
progress. The message center will then display the system mode
selected.
If any of the above shift conditions are not met, the shift will not occur
and the message center will display information guiding the driver
through the proper range of shifting procedures.
IfSHIFT DELAYED PULL FORWARDis displayed in the message
center, transfer case gear tooth blockage is present. To alleviate this
condition, place the transmission in a forward gear, move the vehicle
forward approximately 5 feet (2 meters), and shift the transmission back
to neutral to allow the transfer case to complete the range shift.
Note:4x4 low mode is not intended for use on dry pavement
192Four-Wheel Drive (If Equipped)
2014 Expedition(exd)
Owners Guide gf, 1st Printing, June 2013
USA(fus)
Page 194 of 519
How Your Vehicle Differs From Other Vehicles
WARNING:Vehicles with a higher center of gravity such as
utility and four-wheel drive vehicles handle differently than
vehicles with a lower center of gravity. Utility and four-wheel drive
vehicles arenotdesigned for cornering at speeds as high as passenger
cars any more than low-slung sports cars are designed to perform
satisfactorily under off-road conditions. Avoid sharp turns, excessive
speed and abrupt maneuvers in these vehicles. Failure to drive
cautiously could result in an increased risk of loss of vehicle control,
vehicle rollover, personal injury and death.
Truck and utility vehicles can differ from some other vehicles. Your
vehicle may be higher to allow it to travel over rough terrain without
getting hung up or damaging underbody components.
The differences that make your vehicle so versatile also make it handle
differently than an ordinary passenger car.
Maintain steering wheel control at all times, especially in rough terrain.
Since sudden changes in terrain can result in abrupt steering wheel
motion, make sure you grip the steering wheel from the outside. Do not
grip the spokes.
Drive cautiously to avoid vehicle damage from concealed objects such as
rocks and stumps.
You should either know the terrain or examine maps of the area before
driving. Map out your route before driving in the area. To maintain
steering and braking control of your vehicle, you must have all four
wheels on the ground and they must be rolling, not sliding or spinning.
Driving Off-Road With Truck and Utility Vehicles
Note:On some 4WD models, the initial shift from two-wheel drive to
four-wheel drive while the vehicle is moving can cause some momentary
clunk and ratcheting sounds. This is the front drivetrain coming up to
speed and the automatic locking hubs engaging and is not cause for
concern.
Note:Your vehicle may be equipped with a front air dam that can
become damaged (due to reduced ground clearance) when taking your
vehicle off-road. This air dam can be taken off by removing two bolts.
4WD vehicles are specially equipped for driving on sand, snow, mud and
rough terrain and have operating characteristics that are somewhat
different from conventional vehicles, both on and off the road.
Four-Wheel Drive (If Equipped)193
2014 Expedition(exd)
Owners Guide gf, 1st Printing, June 2013
USA(fus)
Page 195 of 519
Power is supplied to all four wheels through a transfer case. On 4WD
vehicles, the transfer case allows you to select 4WD when necessary.
Information on transfer case operation and shifting procedures can be
found in this chapter. Information on transfer case maintenance can be
found in theMaintenancechapter. You should become thoroughly
familiar with this information before you operate your vehicle.
4WD (when you select a 4WD mode) uses all four wheels to power the
vehicle. This increases traction, enabling you to drive over terrain and
road conditions that a conventional two-wheel drive vehicle cannot.
Basic Operating Principles In Special Conditions
•Do not use 4WD on dry, hard surfaced roads. Doing so will produce
excessive noise, increase tire wear and may damage drive components.
4WD modes are only intended for consistently slippery or loose
surfaces.
•Drive slower in strong crosswinds which can affect the normal steering
characteristics of your vehicle.
•Be extremely careful when driving on pavement made slippery by
loose sand, water, gravel, snow or ice.
If your vehicle goes off the edge of the pavement
•If your vehicle goes off the edge of the pavement, slow down, but
avoid severe brake application, ease the vehicle back onto the
pavement only after reducing your speed. Do not turn the steering
wheel too sharply while returning to the road surface.
•It may be safer to stay on the apron or shoulder of the road and slow
down gradually before returning to the pavement. You may lose
control if you do not slow down or if you turn the steering wheel too
sharply or abruptly.
•It often may be less risky to strike small objects, such as highway
reflectors, with minor damage to your vehicle rather than attempt a
sudden return to the pavement which could cause the vehicle to slide
sideways out of control or roll over. Remember, your safety and the
safety of others should be your primary concern.
194Four-Wheel Drive (If Equipped)
2014 Expedition(exd)
Owners Guide gf, 1st Printing, June 2013
USA(fus)
Page 226 of 519
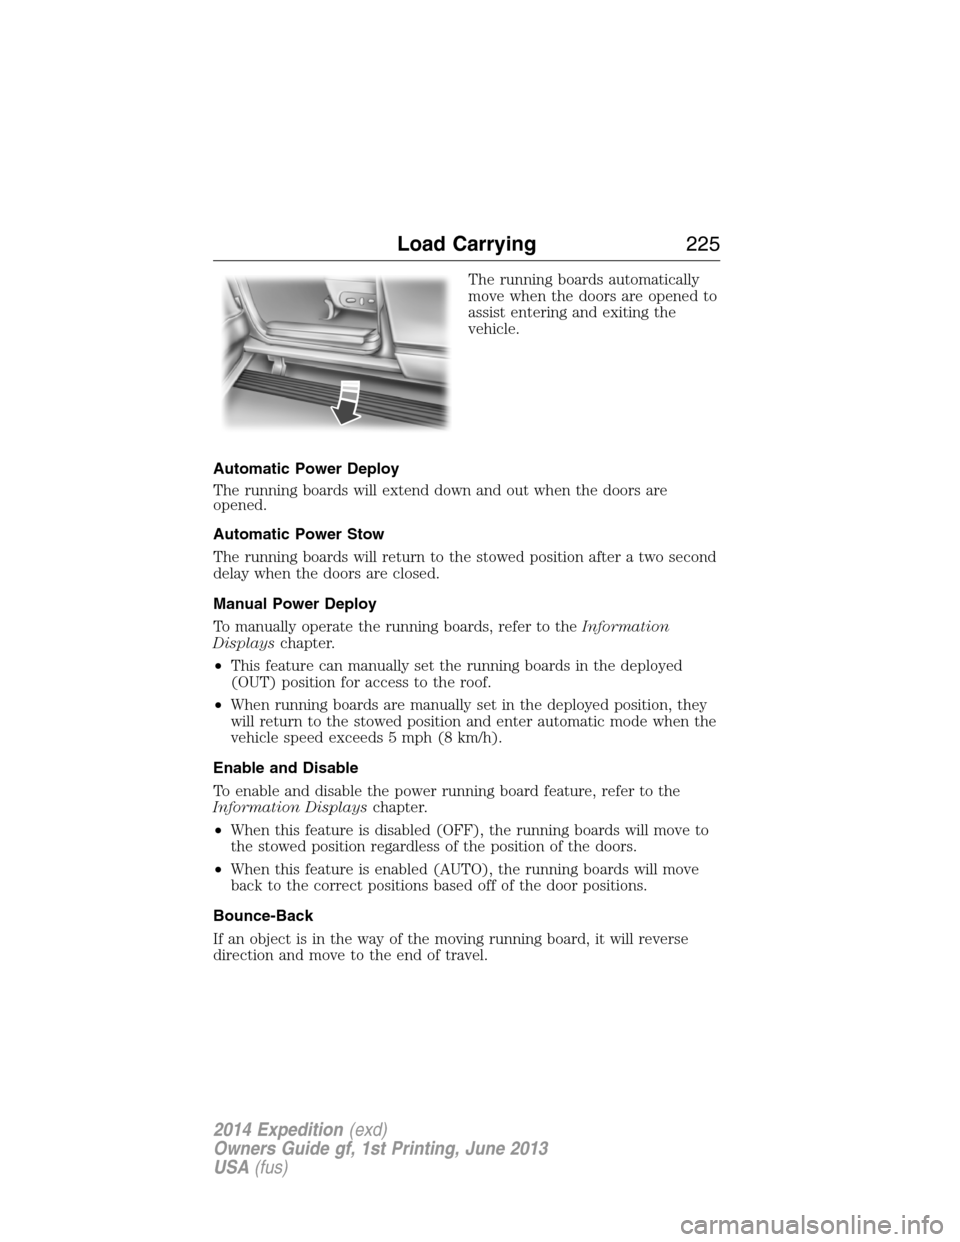
The running boards automatically
move when the doors are opened to
assist entering and exiting the
vehicle.
Automatic Power Deploy
The running boards will extend down and out when the doors are
opened.
Automatic Power Stow
The running boards will return to the stowed position after a two second
delay when the doors are closed.
Manual Power Deploy
To manually operate the running boards, refer to theInformation
Displayschapter.
•This feature can manually set the running boards in the deployed
(OUT) position for access to the roof.
•When running boards are manually set in the deployed position, they
will return to the stowed position and enter automatic mode when the
vehicle speed exceeds 5 mph (8 km/h).
Enable and Disable
To enable and disable the power running board feature, refer to the
Information Displayschapter.
•When this feature is disabled (OFF), the running boards will move to
the stowed position regardless of the position of the doors.
•When this feature is enabled (AUTO), the running boards will move
back to the correct positions based off of the door positions.
Bounce-Back
If an object is in the way of the moving running board, it will reverse
direction and move to the end of travel.
Load Carrying225
2014 Expedition(exd)
Owners Guide gf, 1st Printing, June 2013
USA(fus)
Page 232 of 519
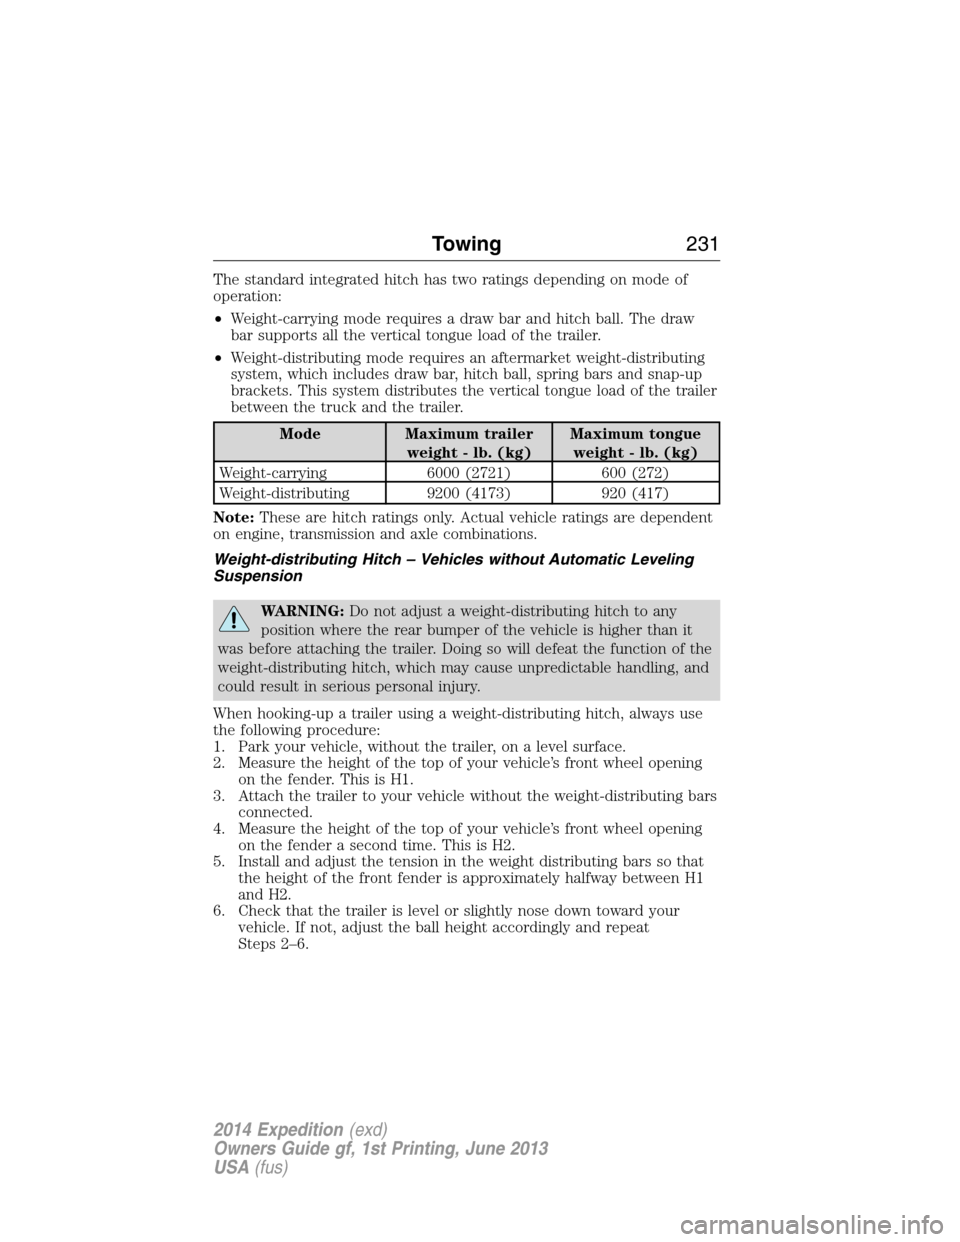
The standard integrated hitch has two ratings depending on mode of
operation:
•Weight-carrying mode requires a draw bar and hitch ball. The draw
bar supports all the vertical tongue load of the trailer.
•Weight-distributing mode requires an aftermarket weight-distributing
system, which includes draw bar, hitch ball, spring bars and snap-up
brackets. This system distributes the vertical tongue load of the trailer
between the truck and the trailer.
Mode Maximum trailer
weight - lb. (kg)Maximum tongue
weight - lb. (kg)
Weight-carrying 6000 (2721) 600 (272)
Weight-distributing 9200 (4173) 920 (417)
Note:These are hitch ratings only. Actual vehicle ratings are dependent
on engine, transmission and axle combinations.
Weight-distributing Hitch – Vehicles without Automatic Leveling
Suspension
WARNING:Do not adjust a weight-distributing hitch to any
position where the rear bumper of the vehicle is higher than it
was before attaching the trailer. Doing so will defeat the function of the
weight-distributing hitch, which may cause unpredictable handling, and
could result in serious personal injury.
When hooking-up a trailer using a weight-distributing hitch, always use
the following procedure:
1. Park your vehicle, without the trailer, on a level surface.
2. Measure the height of the top of your vehicle’s front wheel opening
on the fender. This is H1.
3. Attach the trailer to your vehicle without the weight-distributing bars
connected.
4. Measure the height of the top of your vehicle’s front wheel opening
on the fender a second time. This is H2.
5. Install and adjust the tension in the weight distributing bars so that
the height of the front fender is approximately halfway between H1
and H2.
6. Check that the trailer is level or slightly nose down toward your
vehicle. If not, adjust the ball height accordingly and repeat
Steps 2–6.
Towing231
2014 Expedition(exd)
Owners Guide gf, 1st Printing, June 2013
USA(fus)
Page 242 of 519
TOWING THE VEHICLE ON FOUR WHEELS
Emergency Towing
If your vehicle becomes inoperable (without access to wheel dollies,
car-hauling trailer, or flatbed transport vehicle), it can be flat-towed (all
wheels on the ground, regardless of the powertrain and transmission
configuration) under the following conditions:
•Your vehicle is facing forward for towing in a forward direction.
•
Place the transmission in positionN.SeeAutomatic transmissionin
theTransmissionchapter if you cannot move the transmission intoN.
•Maximum speed is 35 mph (56 km/h).
•Maximum distance is 50 miles (80 kilometers).
Recreational Towing
Note:Put your climate control system in recirculated air mode to
prevent exhaust fumes from entering your vehicle. See theClimate
Controlchapter.
Follow these guidelines if you have a need for recreational towing,
such as towing your vehicle behind a motorhome. We designed these
guidelines to prevent damage to your transmission.
Do not tow your vehicle with any wheels on the ground as transmission
or vehicle damage may occur. It is recommended to tow your vehicle
with all four (4) wheels off the ground, such as when using a car-hauling
trailer. Otherwise, you cannot tow your vehicle. See an authorized
dealer if you must flat-tow a vehicle equipped with the Control Trac®
four–wheel drive system.
Towing241
2014 Expedition(exd)
Owners Guide gf, 1st Printing, June 2013
USA(fus)
Page 243 of 519
BREAKING-IN
You need to break in new tires for approximately 300 miles
(480 kilometers). During this time, your vehicle may exhibit some unique
driving characteristics. Avoid driving too fast during the first 1000 miles
(1600 kilometers). Vary your speed frequently and change up through
the gears early. Do not labor the engine. Do not tow during the first
1000 miles (1600 kilometers).
ECONOMICAL DRIVING
Fuel economy is affected by several things, such as how you drive, the
conditions you drive under and how you maintain your vehicle.
There are some things to keep in mind that may improve your fuel
economy:
•Accelerate and slow down in a smooth, moderate fashion.
•Drive at steady speeds without stopping.
•Anticipate stops; slowing down may eliminate the need to stop.
•Combine errands and minimize stop-and-go driving.
•Close the windows for high-speed driving.
•Drive at reasonable speeds (traveling at 55 mph [88 km/h] uses 15%
less fuel than traveling at 65 mph [105 km/h]).
•Keep the tires properly inflated and use only the recommended size.
•Use the recommended engine oil.
•Perform all regularly scheduled maintenance.
There are also some things you may not want to do because they may
reduce your fuel economy:
•Sudden or hard accelerations.
•Rev the engine before turning it off.
•Idle for periods longer than one minute.
•Warm up your vehicle on cold mornings.
•Use the air conditioner or front defroster.
•Use the speed control in hilly terrain.
•Rest your foot on the brake pedal while driving.
•Drive a heavily loaded vehicle or tow a trailer.
242Driving Hints
2014 Expedition(exd)
Owners Guide gf, 1st Printing, June 2013
USA(fus)
Page 251 of 519

Connecting the Jumper Cables
WARNING:Do not connect the end of the second cable to the
negative (-) terminal of the battery to be jumped. A spark may
cause an explosion of the gases that surround the battery.
Note:Do not attach the negative (-) cable to fuel lines, engine rocker
covers, the intake manifold or electrical components as grounding points.
Note:In the illustration, the vehicle on the bottom is used to designate
the assisting (boosting) battery.
1. Connect the positive (+) jumper
cable to the positive (+) terminal of
the discharged battery.
2. Connect the other end of the
positive (+) cable to the positive
(+) terminal of the assisting battery.
3. Connect the negative (-) cable to
the negative (-) terminal of the
assisting battery.
4. Make the final connection of the
negative (-) cable to an exposed
metal part of the stalled vehicle’s
engine, away from the battery and
the carburetor or fuel injection
system.
Ensure that the cables are clear of fan blades, belts, moving parts of both
engines, or any fuel delivery system parts.
Jump Starting
1. Start the engine of the booster vehicle and run the engine at a
moderately increased speed.
2. Start the engine of the disabled vehicle.
3. Once the disabled vehicle has been started, run both engines for an
additional three minutes before disconnecting the jumper cables.
4
2
1
3
250Roadside Emergencies
2014 Expedition(exd)
Owners Guide gf, 1st Printing, June 2013
USA(fus)