Page 93 of 476

IconDescription
Mix Mode
Mix Mode
Mix Mode is obtained by pressing both the Windshield Mode button and the Floor Mode
button, activating them both. Air is directed through the floor, defrost, and side window
demister outlets. This setting works best in cold or snowy conditions that require extra
heat to the windshield. This setting is good for maintaining comfort while reducing mois-
ture on the windshield.
Climate Control Power Button
Press and release this button to turn the Climate Control on/off.
Driver Temperature Knob
Provides the driver with independent temperature control. Rotate the adjustment knob to
set desired temperature shown in the Temperature Display. Rotate fully counterclockwise
for maximum A/C (LO). The set temperature is shown on the display. Turning the control
knob completely in one direction or the other activates the HI (maximum heating) or LO
(maximum cooling) functions shown in the display, respectively. To deactivate these func-
tions, turn the temperature knob to the desired temperature.
4
GETTING TO KNOW YOUR VEHICLE 91
Page 94 of 476

CAUTION!
Failure to follow these cautions can cause damage
to the heating elements:
•Use care when washing the inside of the rear
window. Do not use abrasive window cleaners on
the interior surface of the window. Use a soft
cloth and a mild washing solution, wiping paral-
lel to the heating elements. Labels can be peeled
off after soaking with warm water.
• Do not use scrapers, sharp instruments, or abra-
sive window cleaners on the interior surface of
the window.
• Keep all objects a safe distance from the window.
Climate Control System Compressor
Push the A/C Control button to activate/deactivate the
compressor (activation is indicated by the LED on the
button turning on).
The system remembers that the compressor has been
turned off, even after the engine has stopped.
Pushing the A/C button will stop AUTO MODE
(AUTO LED will turn off). To restore automatic control
of compressor, push the AUTO button again. NOTE:
With the compressor off, air cannot be intro-
duced to the passenger compartment with a tempera-
ture lower than the outside temperature. Under certain
environmental conditions, windows could fog rapidly
since the air is not dehumidified.
MAX A/C
MAX A/C sets the system for maximum cooling per-
formance.
Rotate the driver temperature control adjust knob coun-
terclockwise for MAX A/C. Both driver and passenger
temperature displays will show MAX A/C LO.
In MAX A/C, the blower speed and mode position can
be adjusted to desired user settings. Pressing other
settings will cause the MAX A/C operation to switch to
the selected setting and MAX A/C to exit.
Rapid Window Demisting (MAX-Defrost Function)
Push the MAX-defrost button to activate (LED on) the
windshield and side window demisting function.
92 GETTING TO KNOW YOUR VEHICLE
Page 100 of 476

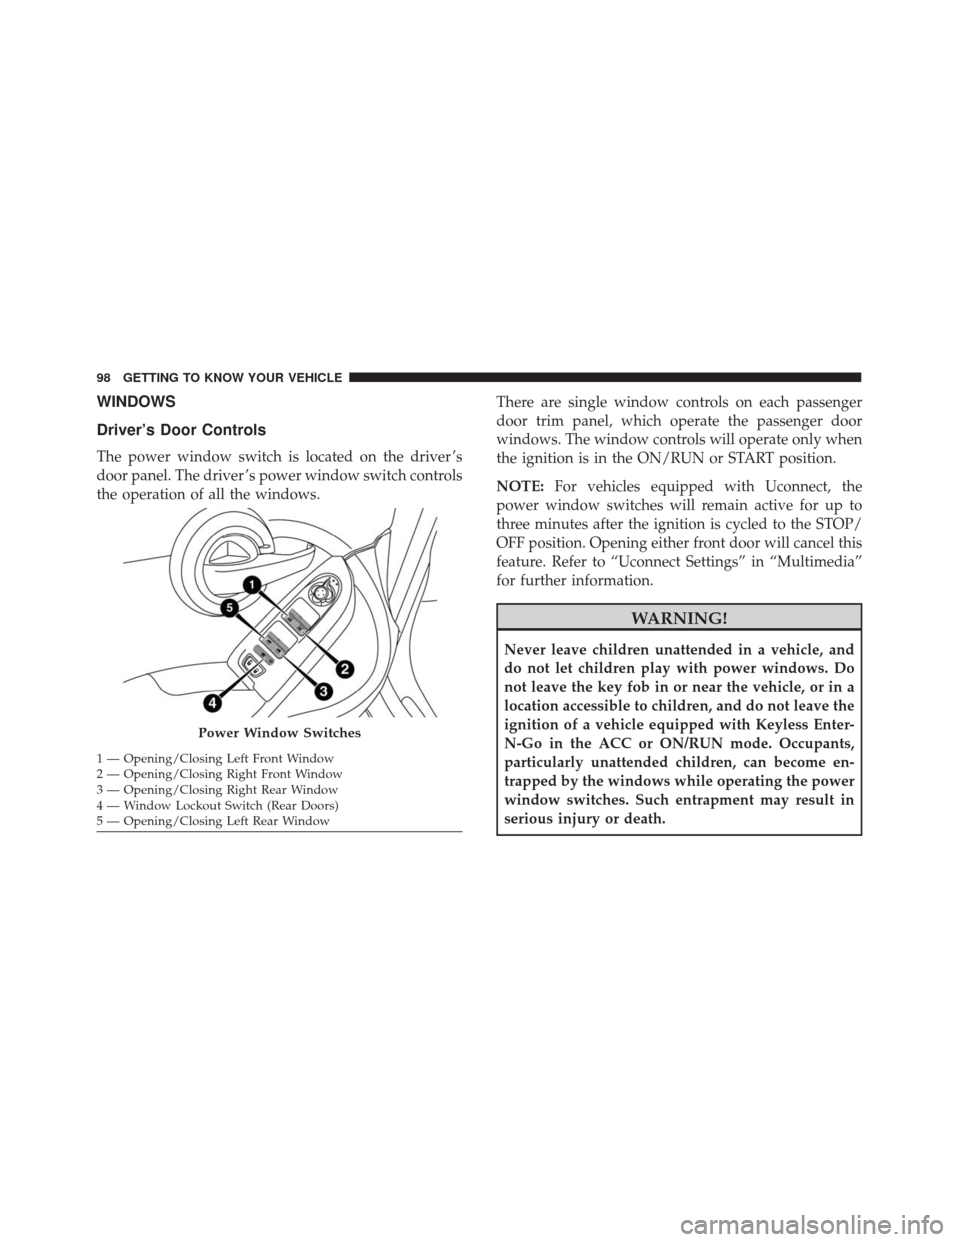
WINDOWS
Driver’s Door Controls
The power window switch is located on the driver ’s
door panel. The driver ’s power window switch controls
the operation of all the windows.There are single window controls on each passenger
door trim panel, which operate the passenger door
windows. The window controls will operate only when
the ignition is in the ON/RUN or START position.
NOTE:
For vehicles equipped with Uconnect, the
power window switches will remain active for up to
three minutes after the ignition is cycled to the STOP/
OFF position. Opening either front door will cancel this
feature. Refer to “Uconnect Settings” in “Multimedia”
for further information.
WARNING!
Never leave children unattended in a vehicle, and
do not let children play with power windows. Do
not leave the key fob in or near the vehicle, or in a
location accessible to children, and do not leave the
ignition of a vehicle equipped with Keyless Enter-
N-Go in the ACC or ON/RUN mode. Occupants,
particularly unattended children, can become en-
trapped by the windows while operating the power
window switches. Such entrapment may result in
serious injury or death.
Power Window Switches
1 — Opening/Closing Left Front Window
2 — Opening/Closing Right Front Window
3 — Opening/Closing Right Rear Window
4 — Window Lockout Switch (Rear Doors)
5 — Opening/Closing Left Rear Window 98 GETTING TO KNOW YOUR VEHICLE
Page 103 of 476

WARNING!
•Never leave children alone in a vehicle, or with
access to an unlocked vehicle. Never leave the key
fob in or near the vehicle or in a location acces-
sible to children. Occupants, particularly unat-
tended children, can become entrapped by the
power sunroof while operating the power sunroof
(Continued)
WARNING! (Continued)
switch. Such entrapment may result in serious
injury or death.
• In a collision, there is greater risk of being thrown
from a vehicle with an open sunroof. You could
also be seriously injured or killed. Always fasten
your seat belt properly and make sure all passen-
gers are properly secured too.
• Do not allow small children to operate the sun-
roof. Never allow your fingers, other body parts,
or any object to project through the sunroof
opening. Injury may result.
Opening The Sunroof
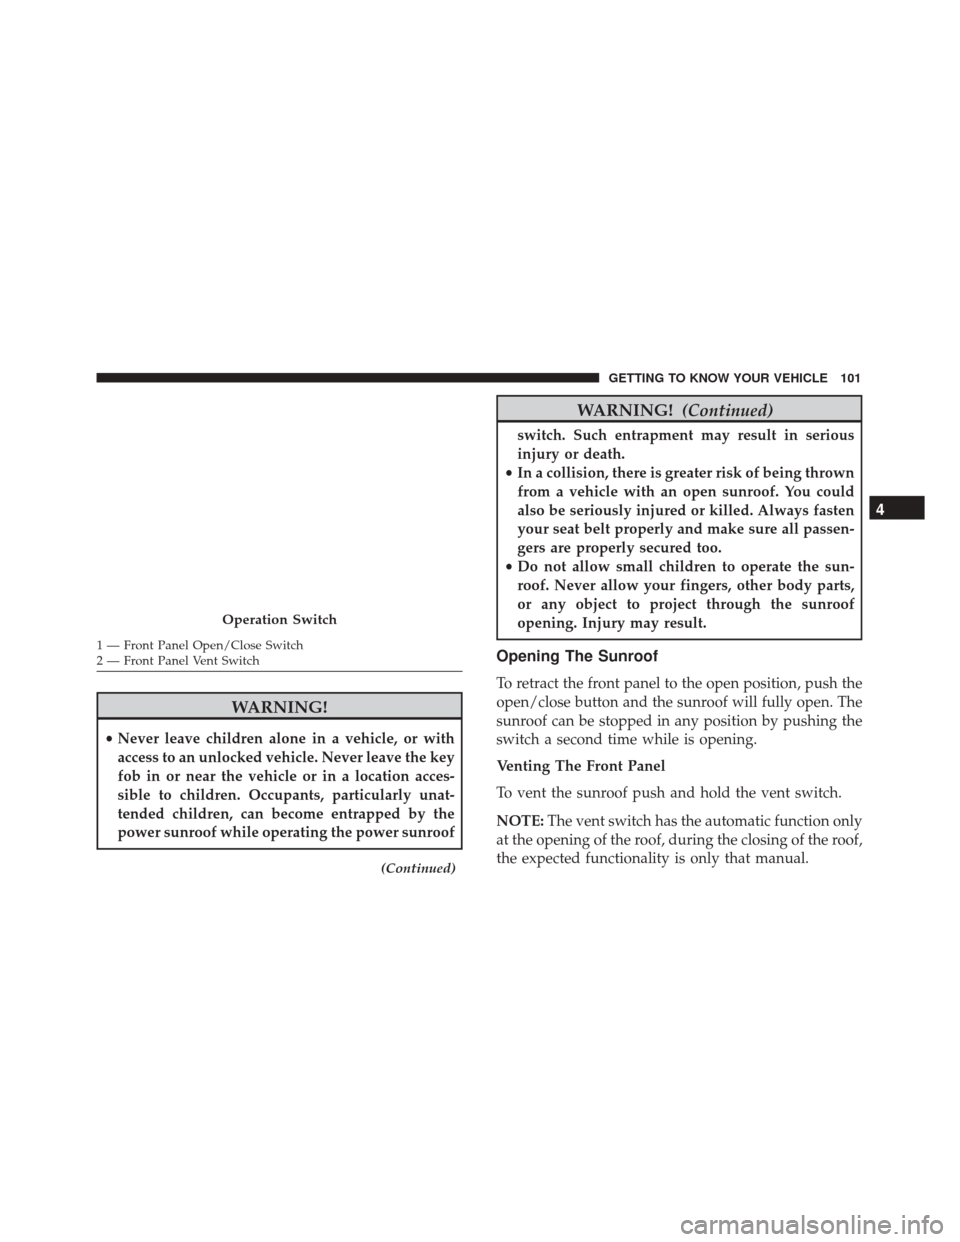
To retract the front panel to the open position, push the
open/close button and the sunroof will fully open. The
sunroof can be stopped in any position by pushing the
switch a second time while is opening.
Venting The Front Panel
To vent the sunroof push and hold the vent switch.
NOTE: The vent switch has the automatic function only
at the opening of the roof, during the closing of the roof,
the expected functionality is only that manual.
Operation Switch
1 — Front Panel Open/Close Switch
2 — Front Panel Vent Switch
4
GETTING TO KNOW YOUR VEHICLE 101
Page 104 of 476

Closing The Sunroof
To close the front panel completely, pull the sunroof
switch from the open position. The sunroof can be
stopped in any position by pulling the sunroof switch a
second time while it is closing.
NOTE:During the open/close or vent operation any
push on the switches will stop the closing of the panel.
Wind Buffeting
Wind buffeting can be described as the perception of
pressure on the ears or a helicopter-type sound in the
ears. Your vehicle may exhibit wind buffeting with the
windows down, or the sunroof (if equipped) in certain
open or partially open positions. This is a normal
occurrence and can be minimized. If the buffeting
occurs with the rear windows open, open the front and
rear windows together to minimize the buffeting. If the
buffeting occurs with the sunroof open, adjust the
sunroof opening to minimize the buffeting or open any
window.
Sun Shade
The two sun shades are manually operated and can be
adjusted in any position.
Anti-Pinch Safety Device
This feature will detect an obstruction in the opening of
the sunroof during Express Close operation. If an
obstruction in the path of the sunroof is detected, the
sunroof will automatically retract. Remove the obstruc-
tion if this occurs. Next, push the switch forward and
release to Express Close.
Emergency Operation
If the power sunroof switch fails, the sunroof can be
operated manually as follows:
1. Remove the protective cap located on the inner lining.
2. Remove the Allen Key that is supplied in the tool bag in the cargo area.
3. Insert the Allen Key into the key hole and turn it clockwise to open the roof or counter-clockwise to
close.
102 GETTING TO KNOW YOUR VEHICLE
Page 106 of 476
HOOD
Opening
The hood release lever (to open the primary latch) and
safety latch (to open the secondary latch) must be
released to open the hood.
1. Pull the hood release lever located under the driver ’sside of the instrument panel. 2. Move to the outside of the vehicle.
3. Push the safety latch release lever toward the pas-
senger side of the vehicle. The safety latch is located
behind the center front edge of the hood.
4. Remove the support rod from the locking tab and insert it into the seat located on the underside of the
hood.
Hood Release Lever
Safety Latch Release lever Location
104 GETTING TO KNOW YOUR VEHICLE
Page 107 of 476

NOTE:
•Before lifting the hood, check that the wiper arms are
not in motion and not in the lifted position.
• While lifting the hood, use both hands.
• Vehicle must be at a stop and the automatic trans-
mission must be in PARK. Manual transmission
vehicles must have the electric park brake engaged.
Closing
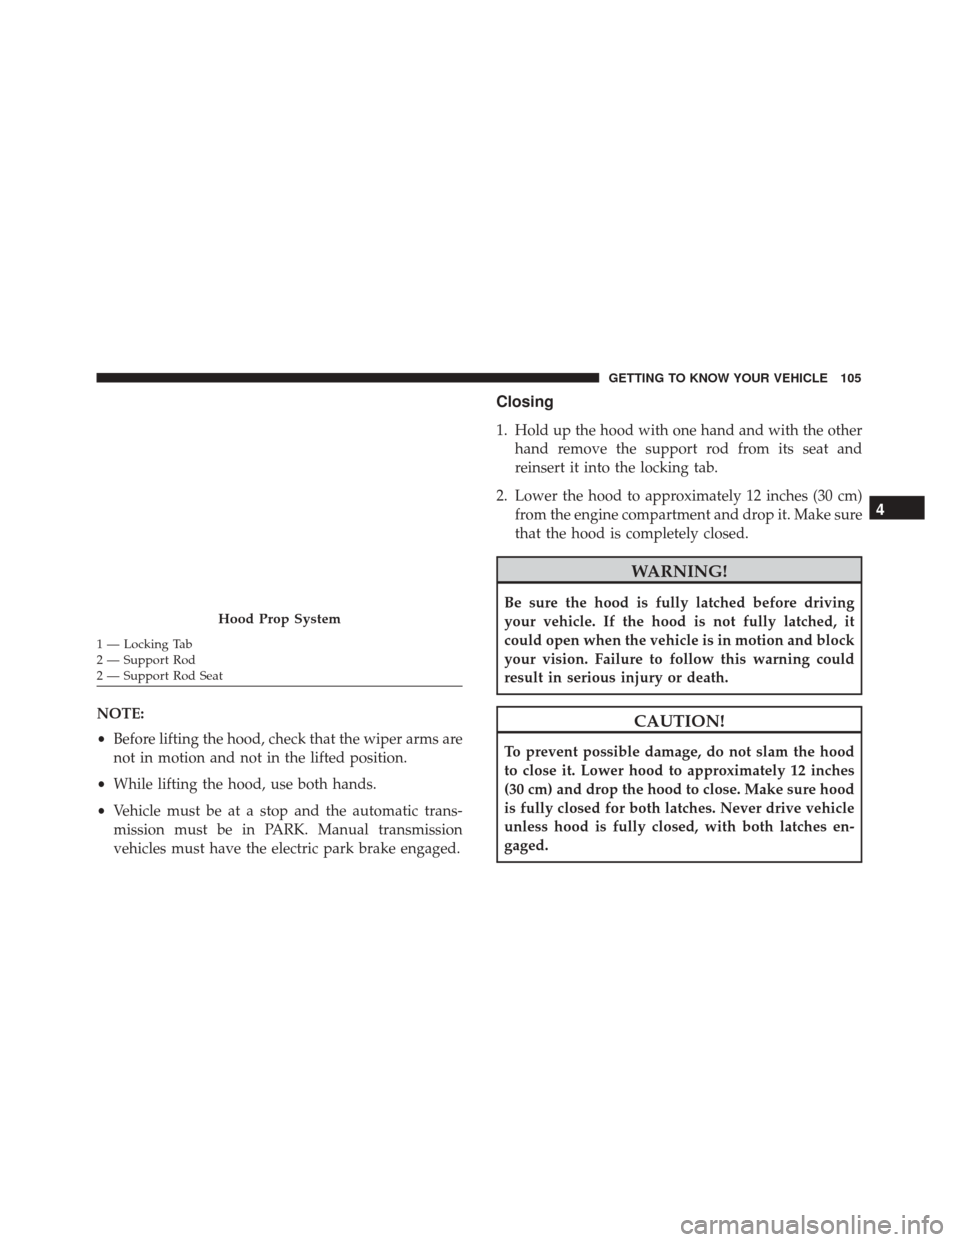
1. Hold up the hood with one hand and with the other hand remove the support rod from its seat and
reinsert it into the locking tab.
2. Lower the hood to approximately 12 inches (30 cm) from the engine compartment and drop it. Make sure
that the hood is completely closed.
WARNING!
Be sure the hood is fully latched before driving
your vehicle. If the hood is not fully latched, it
could open when the vehicle is in motion and block
your vision. Failure to follow this warning could
result in serious injury or death.
CAUTION!
To prevent possible damage, do not slam the hood
to close it. Lower hood to approximately 12 inches
(30 cm) and drop the hood to close. Make sure hood
is fully closed for both latches. Never drive vehicle
unless hood is fully closed, with both latches en-
gaged.
Hood Prop System
1 — Locking Tab
2 — Support Rod
2 — Support Rod Seat
4
GETTING TO KNOW YOUR VEHICLE 105
Page 108 of 476
LIFTGATE
The liftgate release function is disabled when the ve-
hicle is in motion.
Opening
Opening From Outside
To unlock the liftgate from the outside, squeeze the
electronic liftgate release and pull the liftgate open with
one fluid motion.
When opening the door, the turn signal lights will flash
twice and the interior dome light will illuminate. Theinterior dome light will turn off automatically by clos-
ing the liftgate. Refer to “Interior Lights” in “Getting To
Know Your Vehicle.”
If the liftgate is left open, the interior dome light will
shut off after a few minutes to conserve battery life.
Internal Emergency Release
Proceed as follows:
1. Lower the headrests and fold the seatbacks.
2. Using the supplied screwdriver (located under cargo
floor in tool kit), remove the yellow tab.
Electronic Liftgate Release
1 — Yellow Tab
106 GETTING TO KNOW YOUR VEHICLE