2014 FIAT 500L LIVING interior lights
[x] Cancel search: interior lightsPage 16 of 420
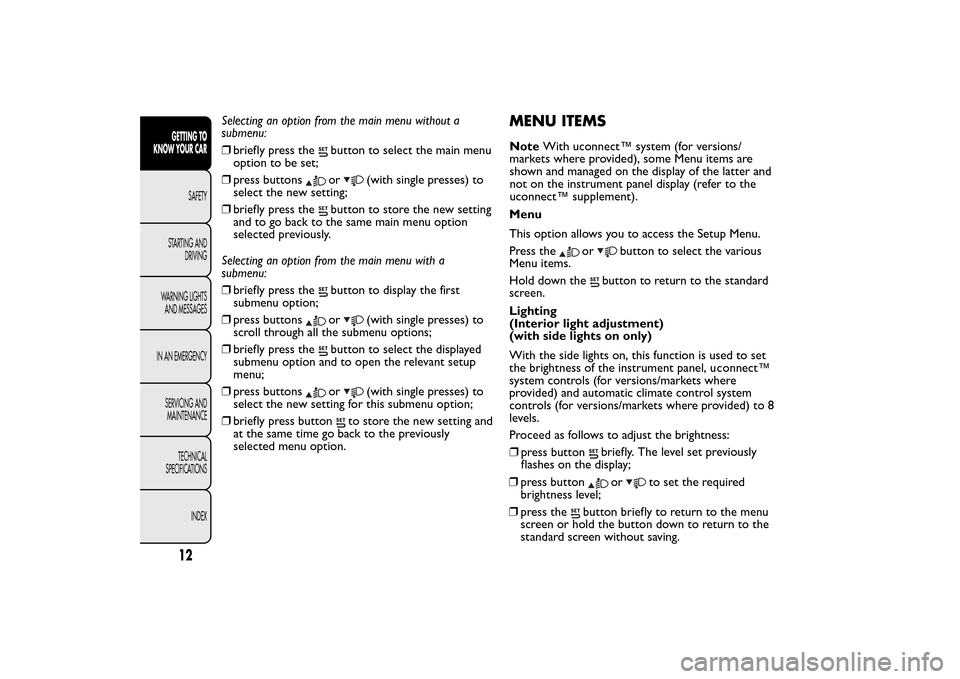
Selecting an option from the main menu without a
submenu:
❒briefly press the
button to select the main menu
option to be set;
❒press buttonsor
(with single presses) to
select the new setting;
❒briefly press the
button to store the new setting
and to go back to the same main menu option
selected previously.
Selecting an option from the main menu with a
submenu:
❒briefly press thebutton to display the first
submenu option;
❒press buttonsor
(with single presses) to
scroll through all the submenu options;
❒briefly press the
button to select the displayed
submenu option and to open the relevant setup
menu;
❒press buttonsor
(with single presses) to
select the new setting for this submenu option;
❒briefly press button
to store the new setting and
at the same time go back to the previously
selected menu option.
MENU ITEMSMenu
This option allows you to access the Setup Menu.
Press the
or
button to select the various
Menu items.
Hold down the
button to return to the standard
screen.
Lighting
(Interior light adjustment)
(with side lights on only)
With the side lights on, this function is used to set
the brightness of the instrument panel, uconnect™
system controls (for versions/markets where
provided) and automatic climate control system
controls (for versions/markets where provided) to 8
levels.
Proceed as follows to adjust the brightness:
❒press buttonbriefly. The level set previously
flashes on the display;
12GETTING TO
KNOW YOUR CAR
SAFETY
STARTING AND
DRIVING
WARNING LIGHTS
AND MESSAGES
IN AN EMERGENCY
SERVICING AND
MAINTENANCE
TECHNICAL
SPECIFICATIONS
INDEX
❒press button
or
to set the required
brightness level;
❒press the
button briefly to return to the menu
screen or hold the button down to return to the
standard screen without saving. NoteWith uconnect™ system (for versions/
markets where provided), some Menu items are
shown and managed on the display of the latter and
not on the instrument panel display (refer to the
uconnect™ supplement).
Page 32 of 420
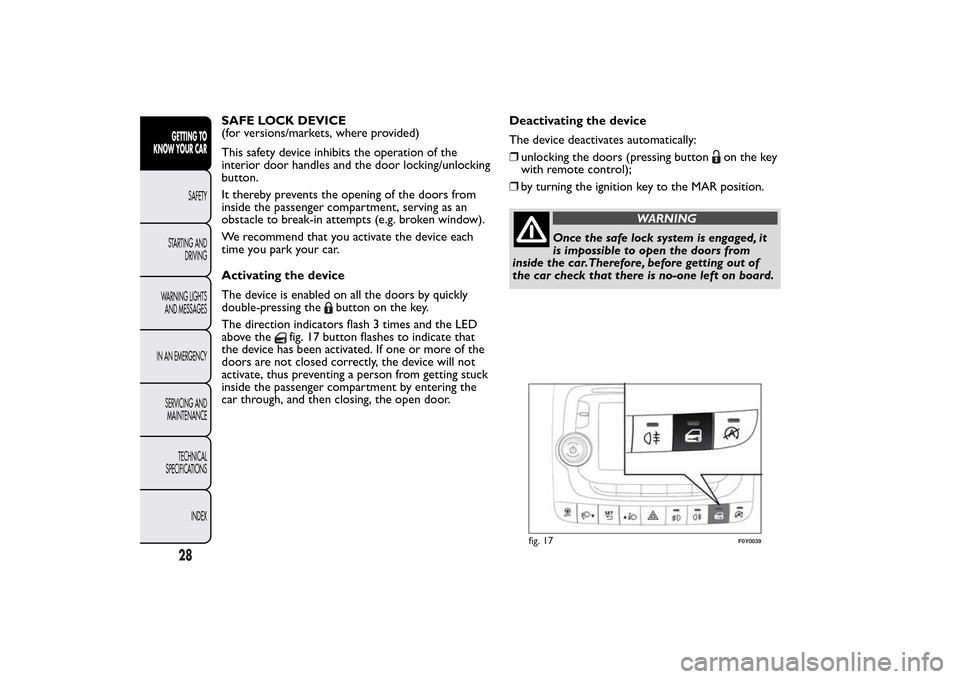
SAFE LOCK DEVICE
(for versions/markets, where provided)
This safety device inhibits the operation of the
interior door handles and the door locking/unlocking
button.
It thereby prevents the opening of the doors from
inside the passenger compartment, serving as an
obstacle to break-in attempts (e.g. broken window).
We recommend that you activate the device each
time you park your car.
Activating the device
The device is enabled on all the doors by quickly
double-pressing the
button on the key.
The direction indicators flash 3 times and the LED
above the
fig. 17 button flashes to indicate that
the device has been activated. If one or more of the
doors are not closed correctly, the device will not
activate, thus preventing a person from getting stuck
inside the passenger compartment by entering the
car through, and then closing, the open door.Deactivating the device
The device deactivates automatically:
❒unlocking the doors (pressing button
on the key
with remote control);
❒by turning the ignition key to the MAR position.
WARNING
Once the safe lock system is engaged, it
is impossible to open the doors from
inside the car.Therefore, before getting out of
the car check that there is no-one left on board.
fig. 17
F0Y0039
28GETTING TO
KNOW YOUR CAR
SAFETY
STARTING AND
DRIVING
WARNING LIGHTS
AND MESSAGES
IN AN EMERGENCY
SERVICING AND
MAINTENANCE
TECHNICAL
SPECIFICATIONS
INDEX
Page 43 of 420
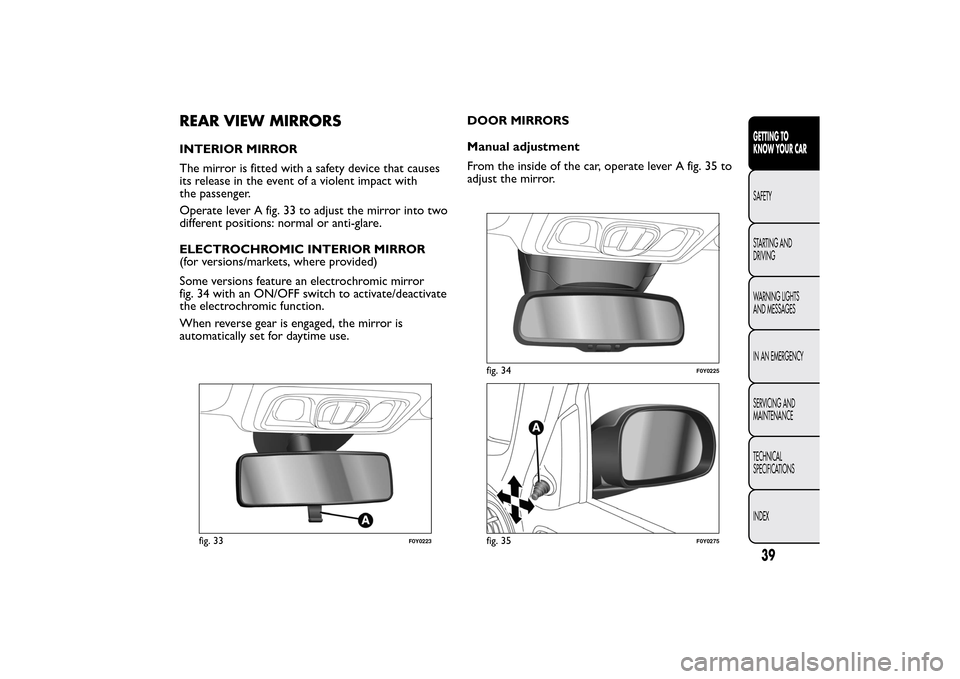
REAR VIEW MIRRORSINTERIOR MIRROR
The mirror is fitted with a safety device that causes
its release in the event of a violent impact with
the passenger.
Operate lever A fig. 33 to adjust the mirror into two
different positions: normal or anti-glare.
ELECTROCHROMIC INTERIOR MIRROR
(for versions/markets, where provided)
Some versions feature an electrochromic mirror
fig. 34 with an ON/OFF switch to activate/deactivate
the electrochromic function.
When reverse gear is engaged, the mirror is
automatically set for daytime use.DOOR MIRRORS
Manual adjustment
From the inside of the car, operate lever A fig. 35 to
adjust the mirror.
fig. 33
F0Y0223
fig. 34
F0Y0225
fig. 35
F0Y0275
39GETTING TO
KNOW YOUR CARSAFETY
STARTING AND
DRIVING
WARNING LIGHTS
AND MESSAGES
IN AN EMERGENCY
SERVICING AND
MAINTENANCE
TECHNICAL
SPECIFICATIONS
INDEX
Page 58 of 420
The amount of air introduced into the passenger
compartment is not affected by car speed; it is
regulated by the fan, which is controlled
electronically.
The air temperature is always automatically
controlled according to the temperature set on the
display (except for when the system is off or in
certain conditions when the compressor is
not running).
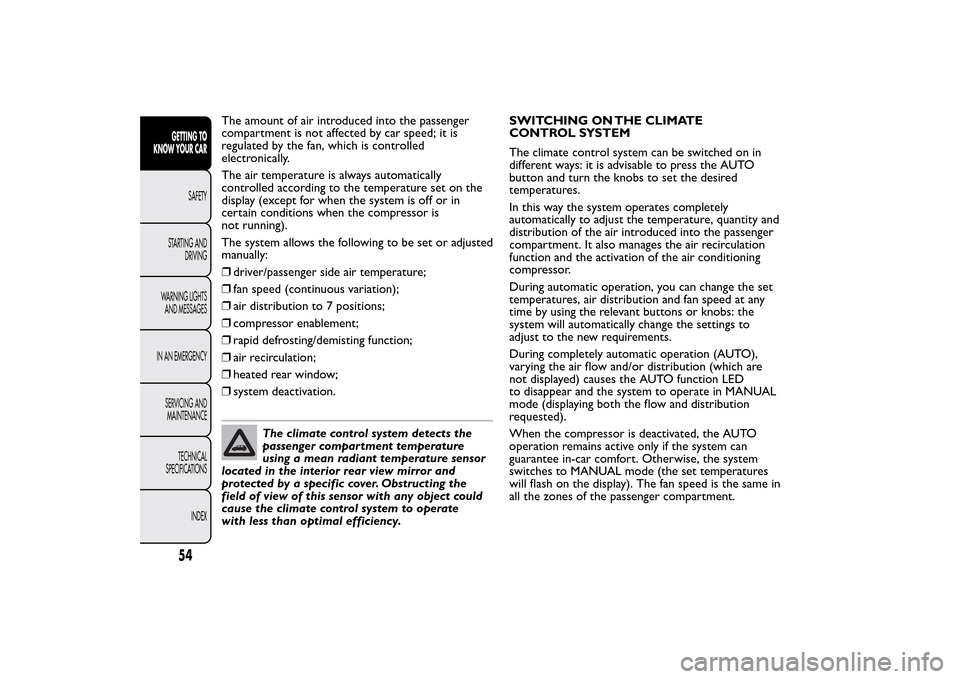
The system allows the following to be set or adjusted
manually:
❒driver/passenger side air temperature;
❒fan speed (continuous variation);
❒air distribution to 7 positions;
❒compressor enablement;
❒rapid defrosting/demisting function;
❒air recirculation;
❒heated rear window;
❒system deactivation.
The climate control system detects the
passenger compartment temperature
using a mean radiant temperature sensor
located in the interior rear view mirror and
protected by a specific cover. Obstructing the
field of view of this sensor with any object could
cause the climate control system to operate
with less than optimal efficiency.SWITCHING ON THE CLIMATE
CONTROL SYSTEM
The climate control system can be switched on in
different ways: it is advisable to press the AUTO
button and turn the knobs to set the desired
temperatures.
In this way the system operates completely
automatically to adjust the temperature, quantity and
distribution of the air introduced into the passenger
compartment. It also manages the air recirculation
function and the activation of the air conditioning
compressor.
During automatic operation, you can change the set
temperatures, air distribution and fan speed at any
time by using the relevant buttons or knobs: the
system will automatically change the settings to
adjust to the new requirements.
During completely automatic operation (AUTO),
varying the air flow and/or distribution (which are
not displayed) causes the AUTO function LED
to disappear and the system to operate in MANUAL
mode (displaying both the flow and distribution
requested).
When the compressor is deactivated, the AUTO
operation remains active only if the system can
guarantee in-car comfort. Otherwise, the system
switches to MANUAL mode (the set temperatures
will flash on the display). The fan speed is the same in
all the zones of the passenger compartment.
54GETTING TO
KNOW YOUR CAR
SAFETY
STARTING AND
DRIVING
WARNING LIGHTS
AND MESSAGES
IN AN EMERGENCY
SERVICING AND
MAINTENANCE
TECHNICAL
SPECIFICATIONS
INDEX
Page 66 of 420
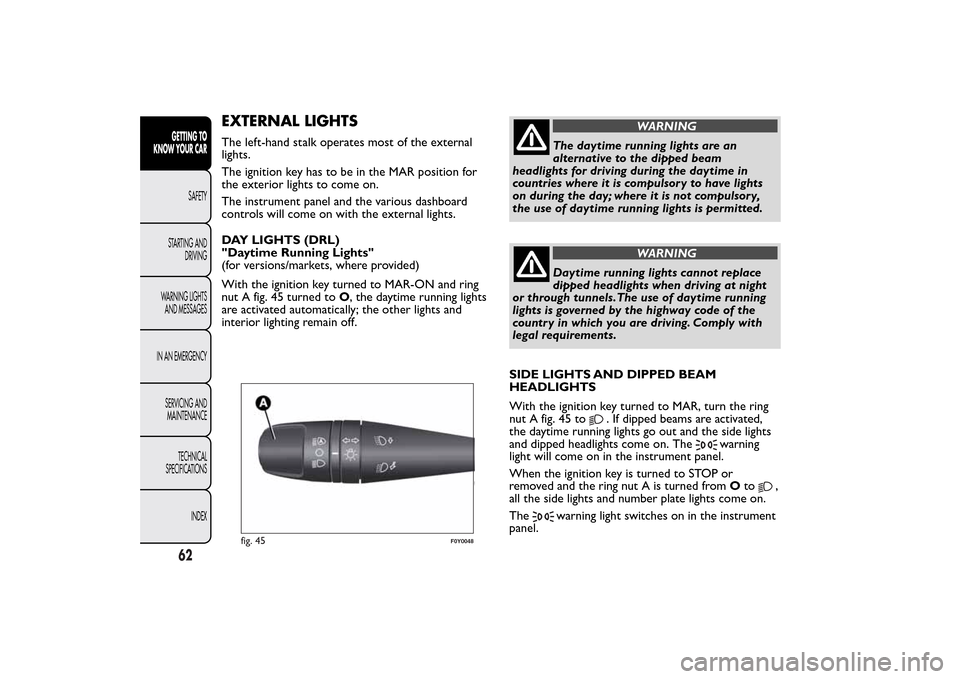
EXTERNAL LIGHTSThe left-hand stalk operates most of the external
lights.
The ignition key has to be in the MAR position for
the exterior lights to come on.
The instrument panel and the various dashboard
controls will come on with the external lights.
DAY LIGHTS (DRL)
"Daytime Running Lights"
(for versions/markets, where provided)
With the ignition key turned to MAR-ON and ring
nut A fig. 45 turned toO, the daytime running lights
are activated automatically; the other lights and
interior lighting remain off.
WARNING
The daytime running lights are an
alternative to the dipped beam
headlights for driving during the daytime in
countries where it is compulsory to have lights
on during the day; where it is not compulsory,
the use of daytime running lights is permitted.
WARNING
Daytime running lights cannot replace
dipped headlights when driving at night
or through tunnels.The use of daytime running
lights is governed by the highway code of the
country in which you are driving. Comply with
legal requirements.
SIDE LIGHTS AND DIPPED BEAM
HEADLIGHTS
With the ignition key turned to MAR, turn the ring
nut A fig. 45 to
. If dipped beams are activated,
the daytime running lights go out and the side lights
and dipped headlights come on. The
warning
light will come on in the instrument panel.
When the ignition key is turned to STOP or
removed and the ring nut A is turned fromOto
,
all the side lights and number plate lights come on.
The
warning light switches on in the instrument
panel.
fig. 45
F0Y0048
62GETTING TO
KNOW YOUR CAR
SAFETY
STARTING AND
DRIVING
WARNING LIGHTS
AND MESSAGES
IN AN EMERGENCY
SERVICING AND
MAINTENANCE
TECHNICAL
SPECIFICATIONS
INDEX
Page 70 of 420
"Smart washing" function
Pull the lever towards the steering wheel (unstable
position) to activate the windscreen washer.
Keeping the stalk pulled for more than half a second,
with just one movement it is possible to operate
the washer jet and the wiper at the same time.
The wiper stops working three strokes after the
stalk is released.
A further stroke after approximately six seconds
completes the wiping cycle (for versions/markets,
where provided).
RAIN SENSOR
(for versions/markets, where provided)
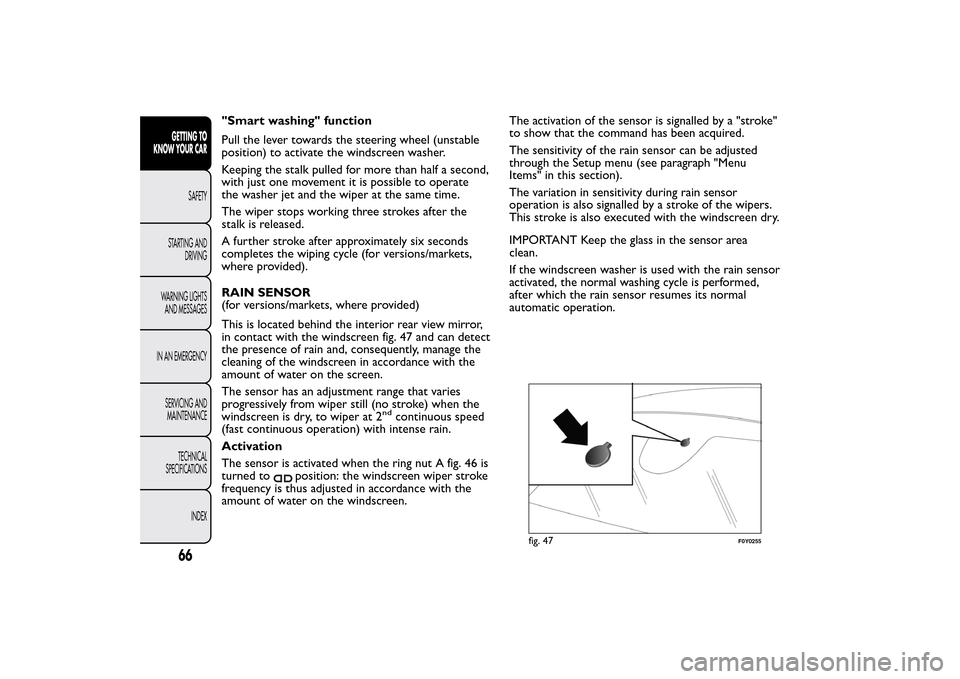
This is located behind the interior rear view mirror,
in contact with the windscreen fig. 47 and can detect
the presence of rain and, consequently, manage the
cleaning of the windscreen in accordance with the
amount of water on the screen.
The sensor has an adjustment range that varies
progressively from wiper still (no stroke) when the
windscreen is dry, to wiper at 2
nd
continuous speed
(fast continuous operation) with intense rain.
Activation
The sensor is activated when the ring nut A fig. 46 is
turned to
position: the windscreen wiper stroke
frequency is thus adjusted in accordance with the
amount of water on the windscreen.The activation of the sensor is signalled by a "stroke"
to show that the command has been acquired.
The sensitivity of the rain sensor can be adjusted
through the Setup menu (see paragraph "Menu
Items" in this section).
The variation in sensitivity during rain sensor
operation is also signalled by a stroke of the wipers.
This stroke is also executed with the windscreen dry.
IMPORTANT Keep the glass in the sensor area
clean.
If the windscreen washer is used with the rain sensor
activated, the normal washing cycle is performed,
after which the rain sensor resumes its normal
automatic operation.
fig. 47
F0Y0255
66GETTING TO
KNOW YOUR CAR
SAFETY
STARTING AND
DRIVING
WARNING LIGHTS
AND MESSAGES
IN AN EMERGENCY
SERVICING AND
MAINTENANCE
TECHNICAL
SPECIFICATIONS
INDEX
Page 78 of 420
The lights switch off in three ways:
❒when all doors are closed, the 3-minute timer will
stop and a 10-second one will start. This timer will
stop when the key is turned to MAR-ON;
❒when doors are locked (either with remote
control or with key on driver side door), the roof
light switches off;
❒the interior lights are switched off in any case after
15 minutes to preserve battery charge.
Timing when getting out of the car
After removing the key from the ignition switch, the
roof lights switch on as follows:
❒if the ignition key is removed within 3 minutes
from the engine stopping, the roof lights switch on
for 10 seconds;
❒for about 3 minutes when one of the doors is
opened;
❒for about 10 seconds when one of the doors is
closed.
The timing stops automatically when the doors are
locked.REAR ROOF LIGHT
Versions without sun roof (or glazed roof )
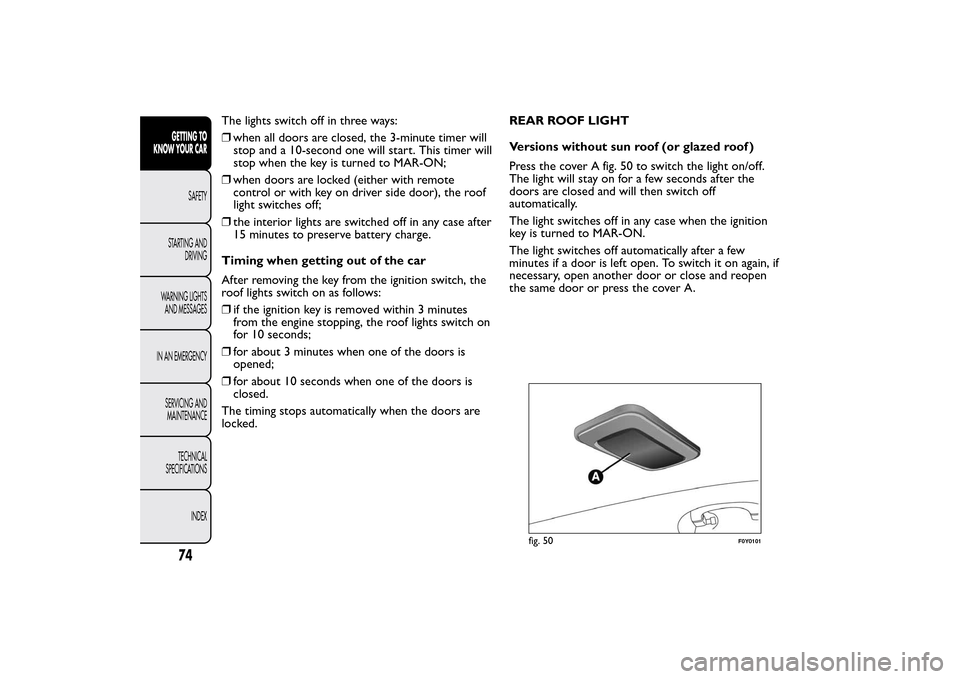
Press the cover A fig. 50 to switch the light on/off.
The light will stay on for a few seconds after the
doors are closed and will then switch off
automatically.
The light switches off in any case when the ignition
key is turned to MAR-ON.
The light switches off automatically after a few
minutes if a door is left open. To switch it on again, if
necessary, open another door or close and reopen
the same door or press the cover A.
fig. 50
F0Y0101
74GETTING TO
KNOW YOUR CAR
SAFETY
STARTING AND
DRIVING
WARNING LIGHTS
AND MESSAGES
IN AN EMERGENCY
SERVICING AND
MAINTENANCE
TECHNICAL
SPECIFICATIONS
INDEX
Page 83 of 420
FUEL CUT-OFF SYSTEM
This intervenes in the event of an impact causing:
❒the interruption of the fuel supply with the engine
consequently cutting out
❒the automatic unlocking of the doors
❒the automatic switching on of the interior lights
❒the switching on of the hazard warning lights.
On some versions, the intervention of the system is
indicated by a message shown on the display.
IMPORTANT Carefully check the car for fuel leaks,
for instance in the engine compartment, under
the car or near the tank area. After a collision, turn
the ignition key to STOP to prevent the battery from
running down.To restore the correct operation of the car, proceed
as follows:
❒turn the ignition key to the MAR position;
❒activate the right direction indicator;
❒deactivate the right direction indicator;
❒activate the left direction indicator;
❒deactivate the left direction indicator;
❒activate the right direction indicator;
❒deactivate the right direction indicator;
❒activate the left direction indicator;
❒deactivate the left direction indicator;
❒turn the ignition key to the STOP position;
❒turn the ignition key to the MAR-ON position.
WARNING
If, after an impact , you smell fuel or
notice leaks from the fuel system, do not
reactivate the system to avoid the risk of fire.
79GETTING TO
KNOW YOUR CARSAFETY
STARTING AND
DRIVING
WARNING LIGHTS
AND MESSAGES
IN AN EMERGENCY
SERVICING AND
MAINTENANCE
TECHNICAL
SPECIFICATIONS
INDEX