Page 26 of 177
26CD Player
■ Dirt and liquids on CDs can smearthe lens of the audio player inside
the device and cause faults.
■ Protect CDs from heat and direct sunlight.
■ The following restrictions apply for the data stored on an MP3/WMA
CD:
Maximum folder/playlist number:
200.
Maximum file/song number: 800.
At least 8 folders in depth hierarchy are supported.
WMA files with Digital Rights
Management (DRM) from online music shops cannot be played.
WMA files can only be played back
safely if they were created with
Windows Media Player version 9 or later.
Applicable playlist
extensions: .m3u, .pls, .wpl.Playlist entries must be in the form
of relative paths.
■ This chapter deals only with playing
MP3 files since the operation for
MP3 and WMA files is identical.
When a CD with WMA files is
loaded MP3 related menus are displayed.
Usage Notice
Within the CD player menus you can only use the touch screen to select/
activate the screen buttons at the
bottom of the menus.
Starting CD replay Push an audio or MP3 CD with the
labelled side upward into the CD slot
until it is pulled in.
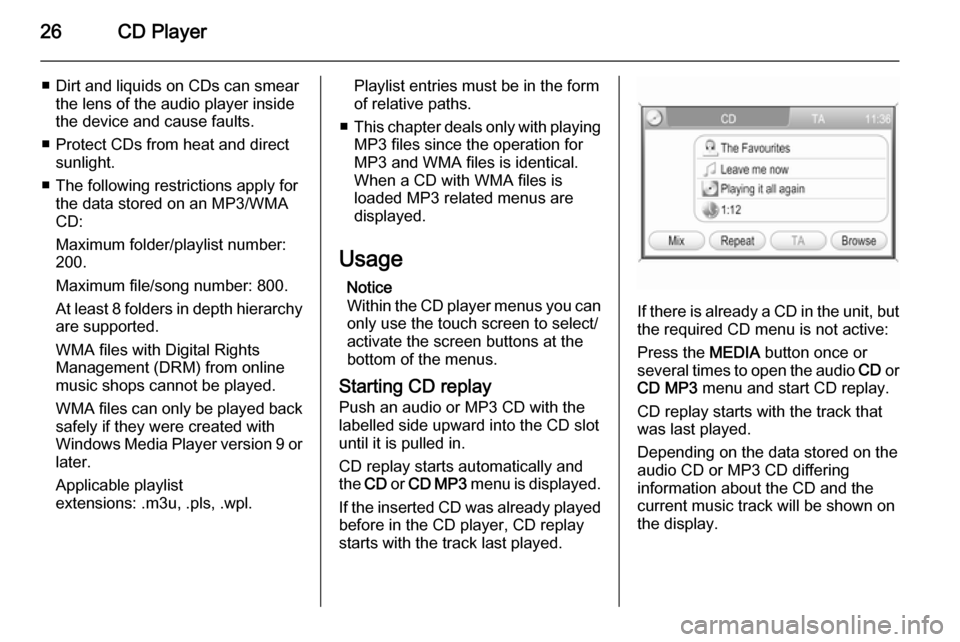
CD replay starts automatically and
the CD or CD MP3 menu is displayed.
If the inserted CD was already played before in the CD player, CD replay
starts with the track last played.
If there is already a CD in the unit, but the required CD menu is not active:
Press the MEDIA button once or
several times to open the audio CD or
CD MP3 menu and start CD replay.
CD replay starts with the track that
was last played.
Depending on the data stored on the
audio CD or MP3 CD differing
information about the CD and the
current music track will be shown on
the display.
Page 27 of 177
CD Player27
If the normal CD replay mode is active
(no mix or repeat mode activated, see
below): replay starts with the first
track on the CD again, after all tracks on the CD have been played.
Notice
Folders and playlists stored on an
MP3 CD are treated equally by the
CD player.
The descriptions below regarding
folders on an MP3 CD also apply to
playlists.
Pausing CD replay To pause replay of the inserted CD:turn the volume to zero.
To restart CD replay: turn the volume on again.
Selecting a track
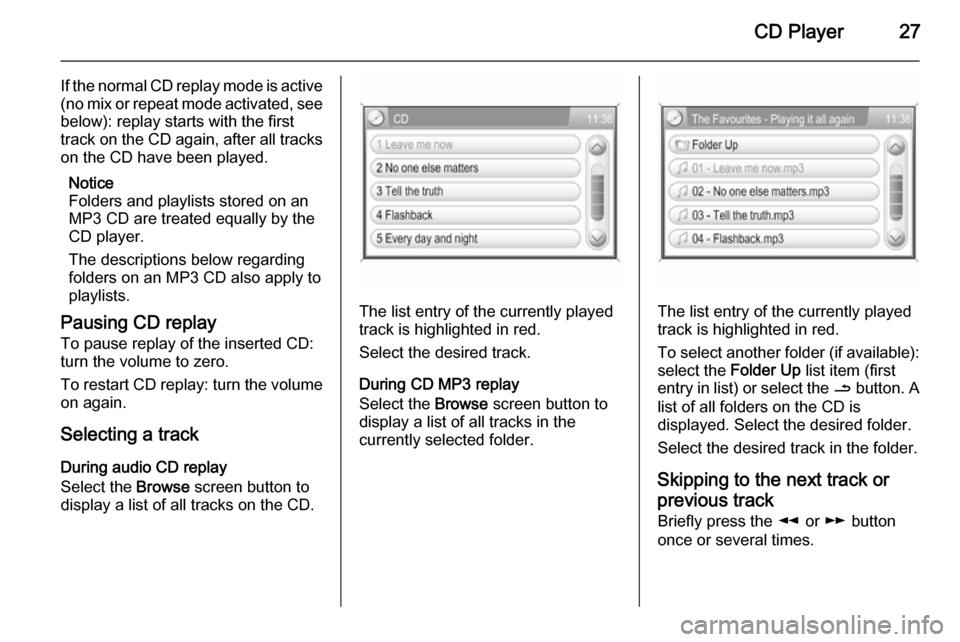
During audio CD replay
Select the Browse screen button to
display a list of all tracks on the CD.
The list entry of the currently played
track is highlighted in red.
Select the desired track.
During CD MP3 replay
Select the Browse screen button to
display a list of all tracks in the
currently selected folder.The list entry of the currently played
track is highlighted in red.
To select another folder (if available): select the Folder Up list item (first
entry in list) or select the / button. A
list of all folders on the CD is
displayed. Select the desired folder.
Select the desired track in the folder.
Skipping to the next track orprevious track Briefly press the l or m button
once or several times.
Page 28 of 177
28CD Player
Fast forward or rewind
Press the l or m button and hold
it down to fast forward or rewind the
current track.
Notice
The activation of the fast forward or
rewind function is indicated by a beep, if system sounds are activated
3 11.
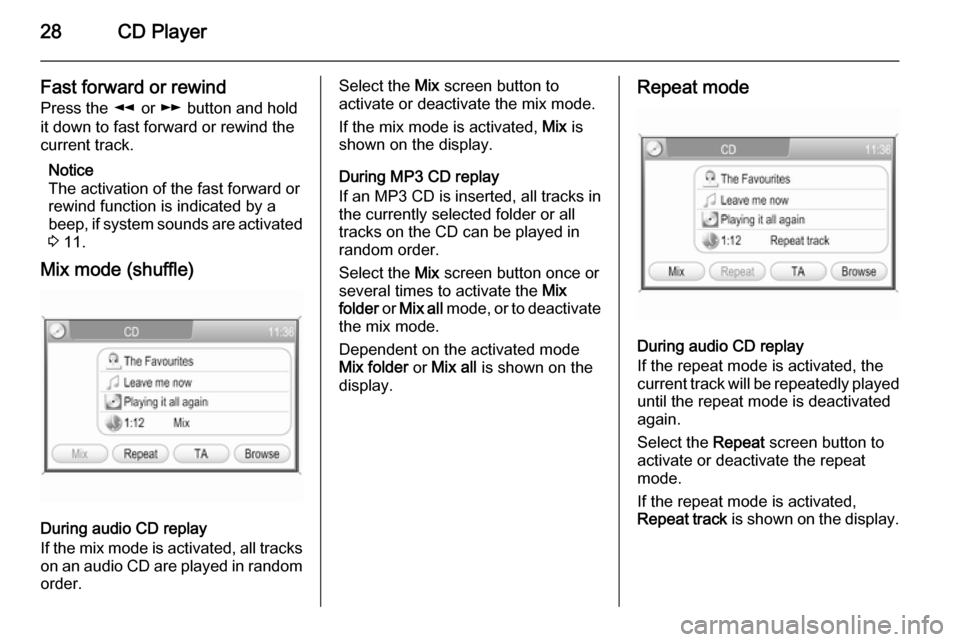
Mix mode (shuffle)
During audio CD replay
If the mix mode is activated, all tracks
on an audio CD are played in random order.
Select the Mix screen button to
activate or deactivate the mix mode.
If the mix mode is activated, Mix is
shown on the display.
During MP3 CD replay
If an MP3 CD is inserted, all tracks in the currently selected folder or all
tracks on the CD can be played in
random order.
Select the Mix screen button once or
several times to activate the Mix
folder or Mix all mode, or to deactivate
the mix mode.
Dependent on the activated mode
Mix folder or Mix all is shown on the
display.Repeat mode
During audio CD replay
If the repeat mode is activated, the
current track will be repeatedly played
until the repeat mode is deactivated
again.
Select the Repeat screen button to
activate or deactivate the repeat
mode.
If the repeat mode is activated,
Repeat track is shown on the display.
Page 29 of 177
CD Player29
During MP3 CD replay
If an MP3 CD is inserted, the current track or all tracks in the currently
selected folder can be repeatedly
played until the repeat mode is
deactivated again.
Select the Repeat screen button once
or several times to activate the
Repeat track or the Repeat folder
mode or to deactivate the repeat mode.
Dependent on the activated mode
Repeat track or Repeat folder is
shown on the display.
Enabling or disabling traffic
announcements (TA) Select the TA screen button to enable
or disable the reception of traffic
announcements.
Further details on the TA function
3 22.
Removing a CD Press the R button.
The CD is pushed out of the CD slot.If the CD is not removed after
ejection, it will be drawn back in again
automatically after a few seconds.
Page 32 of 177
32USB port
ISO9660 Level 1, Level 2, (Romeo,
Joliet).
MP3 and WMA files written in any
format other than listed above may
not play correctly, and their file
names and folder names may not
be displayed correctly.
■ The following restrictions apply for the data stored on external devicesconnected to the USB port:
Maximum folder/playlist number:
5000.
Maximum file/song number: 15000.
Maximum file/song number per
folder/playlist: 6000.
Maximum folders in depth
hierarchy: at least 8.
WMA files with Digital Rights
Management (DRM) from online
music shops cannot be played.
WMA files can only be played back safely, if they were created with
Windows Media Player version 9 or later.
Applicable playlist
extensions: .m3u, .pls, .wpl.Playlist entries must be in the form
of relative paths.
The system attribute for folders/ files that contain audio data must
not be set.
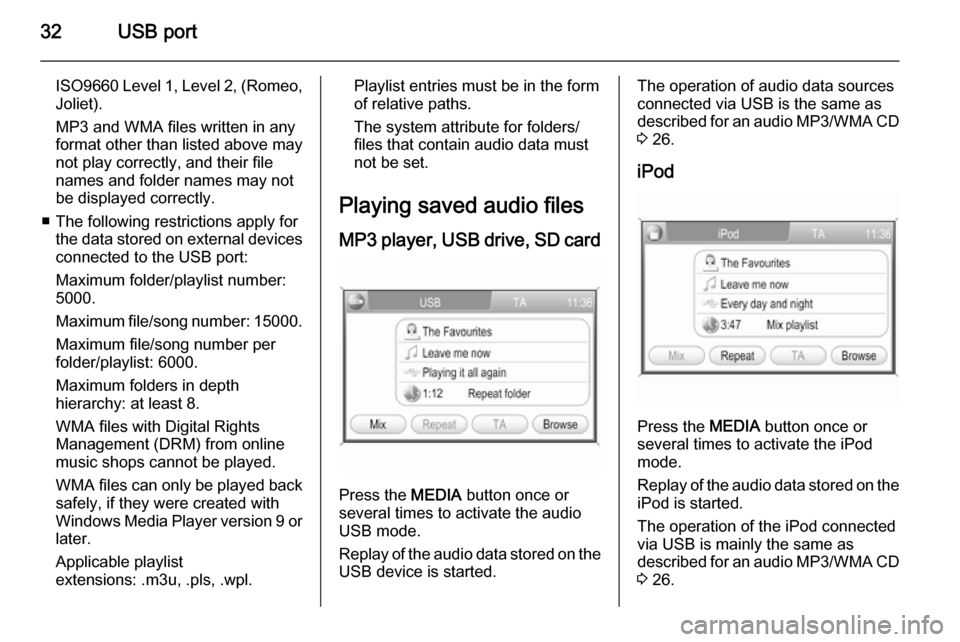
Playing saved audio files MP3 player, USB drive, SD card
Press the MEDIA button once or
several times to activate the audio
USB mode.
Replay of the audio data stored on the USB device is started.
The operation of audio data sources
connected via USB is the same as described for an audio MP3/WMA CD
3 26.
iPod
Press the MEDIA button once or
several times to activate the iPod
mode.
Replay of the audio data stored on the iPod is started.
The operation of the iPod connected
via USB is mainly the same as
described for an audio MP3/WMA CD
3 26.
Page 33 of 177
USB port33
Below only the aspects of operationthat are different/additional are
described.
Music browser
Depending on the model/version of
the connected iPod and the data stored, there are various options for
the selection and playing of tracks.
Select the Browse screen button to
display a menu with the available
options for music browsing.
Select the desired option for music
browsing.
The following operating steps are
mainly the same as described for track selection in folders on an MP3/
WMA CD 3 26.
Page 37 of 177
Navigation37
The route guidance is provided by
voice commands and a direction
arrow, as well as with the aid of a
multi-colour map display.
TMC traffic information system
and dynamic route guidance
The TMC traffic information system
receives all current traffic information from TMC radio stations. If dynamic
route guidance is active, this
information is included in the
calculation of the overall route. During
this process, the route is planned so that traffic problems related to pre-
selected criteria are avoided.
If there is a traffic problem during
active route guidance, depending on
the pre-settings, a message appears as to whether the route should be
changed.
TMC traffic information is displayed
on the map display as symbols or as
detailed text in the TRAFFIC
MESSAGES menu.
To be able to use TMC traffic
information, the system has to receive TMC stations in the relevant region.Dynamic route guidance only works if
traffic information is received via the
TMC traffic information system.
The dynamic route guidance function
can be deactivated, see chapter
"Guidance" 3 65.
Map data
All required map data is stored on an SD card provided with the
Infotainment system.
Detailed descriptions on map SD card
handling and replacement, see
chapter "Maps" 3 71
Usage Control elements and menusThe most important control elements
and menus for the navigation system
are as follows:
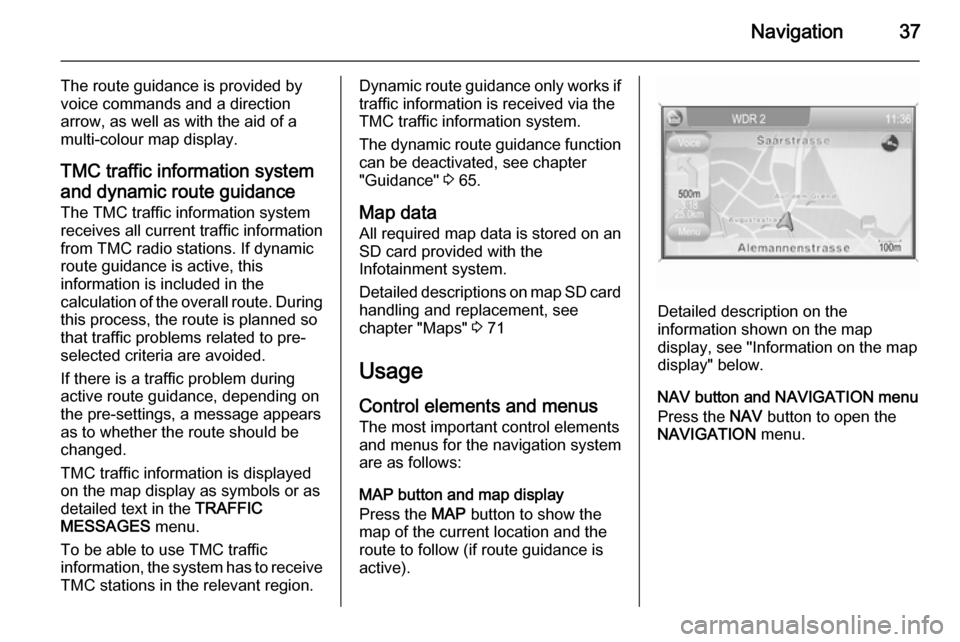
MAP button and map display
Press the MAP button to show the
map of the current location and the
route to follow (if route guidance is
active).
Detailed description on the
information shown on the map
display, see "Information on the map
display" below.
NAV button and NAVIGATION menu
Press the NAV button to open the
NAVIGATION menu.
Page 38 of 177
38Navigation
The NAVIGATION menu provides
access to all system functions for destination input 3 48 and route
guidance 3 65.
TRAF button and
TRAFFIC MESSAGES menu
Press the TRAF button to open the
TRAFFIC MESSAGES menu.The TRAFFIC MESSAGES menu
shows all traffic events on the current route (if route guidance is active),
and/or all traffic events in the vicinity
of the current vehicle position, see
chapter "Guidance" 3 65.
SETUP button and
NAVIGATION SETUP menu
Press the SETUP button to open the
SETUP menu. In that menu, select
the menu item Navigation to open the
NAVIGATION SETUP menu.The NAVIGATION SETUP menu
provides various settings for
adjustment of the navigation system. Detailed description on all settingsavailable, see "Setting up the
navigation system" below.
Information on the map display
To display the map of the current
location: press the MAP button.