2013 MERCEDES-BENZ SL-CLASS ROADSTER navigation
[x] Cancel search: navigationPage 357 of 572
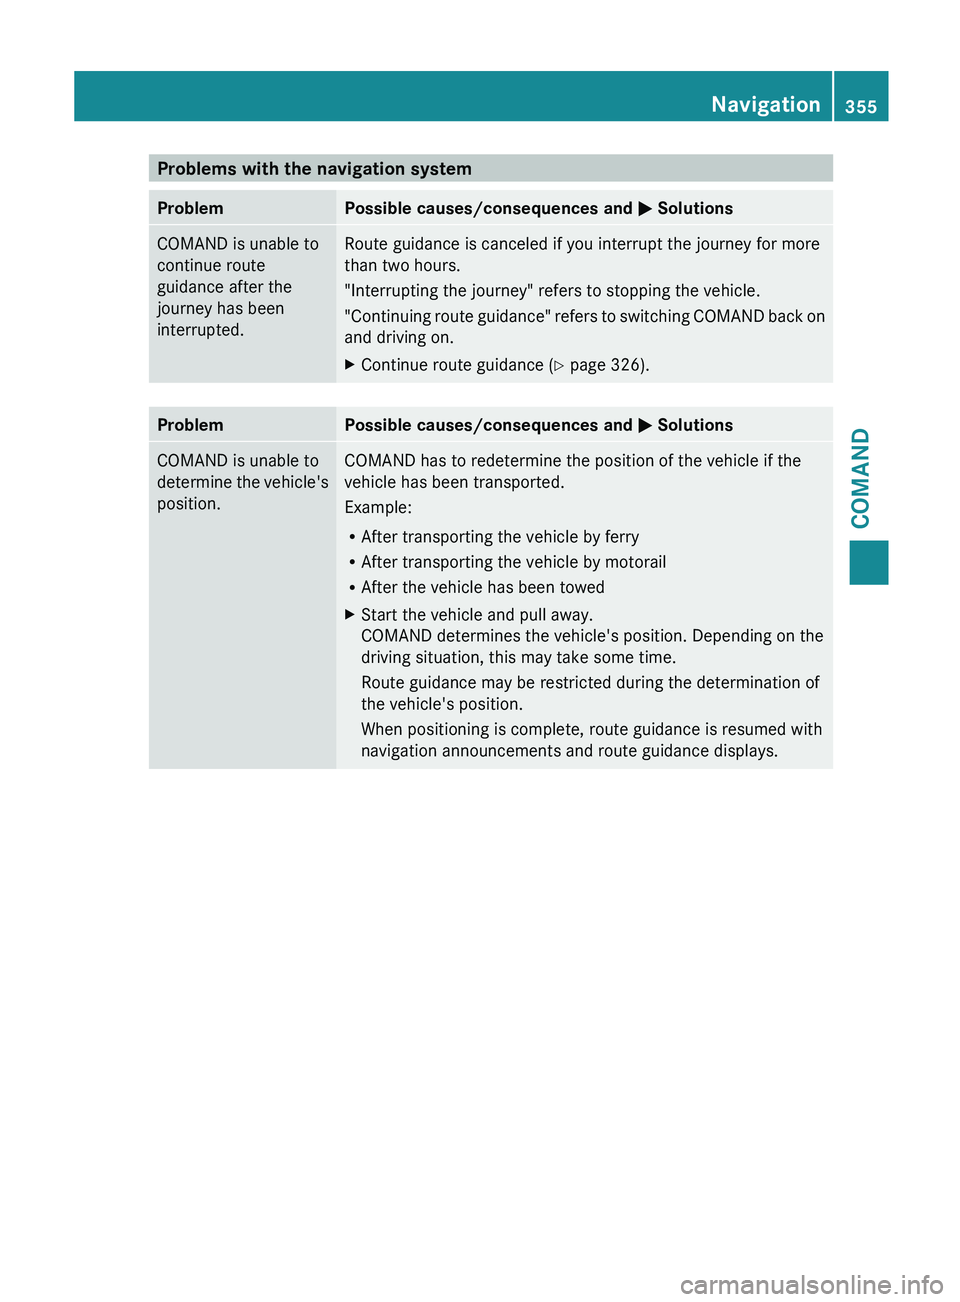
Problems with the navigation system
Problem Possible causes/consequences and
M Solutions
COMAND is unable to
continue route
guidance after the
journey has been
interrupted. Route guidance is canceled if you interrupt the journey for more
than two hours.
"Interrupting the journey" refers to stopping the vehicle.
"Continuing
route
guidance" refers to switching COMAND back on
and driving on.
X Continue route guidance (Y page 326). Problem Possible causes/consequences and
M
Solutions
COMAND is unable to
determine
the
vehicle's
position. COMAND has to redetermine the position of the vehicle if the
vehicle has been transported.
Example:
R
After transporting the vehicle by ferry
R After transporting the vehicle by motorail
R After the vehicle has been towed
X Start the vehicle and pull away.
COMAND determines the vehicle's position. Depending on the
driving situation, this may take some time.
Route guidance may be restricted during the determination of
the vehicle's position.
When positioning is complete, route guidance is resumed with
navigation announcements and route guidance displays. Navigation
355
COMAND Z
Page 358 of 572
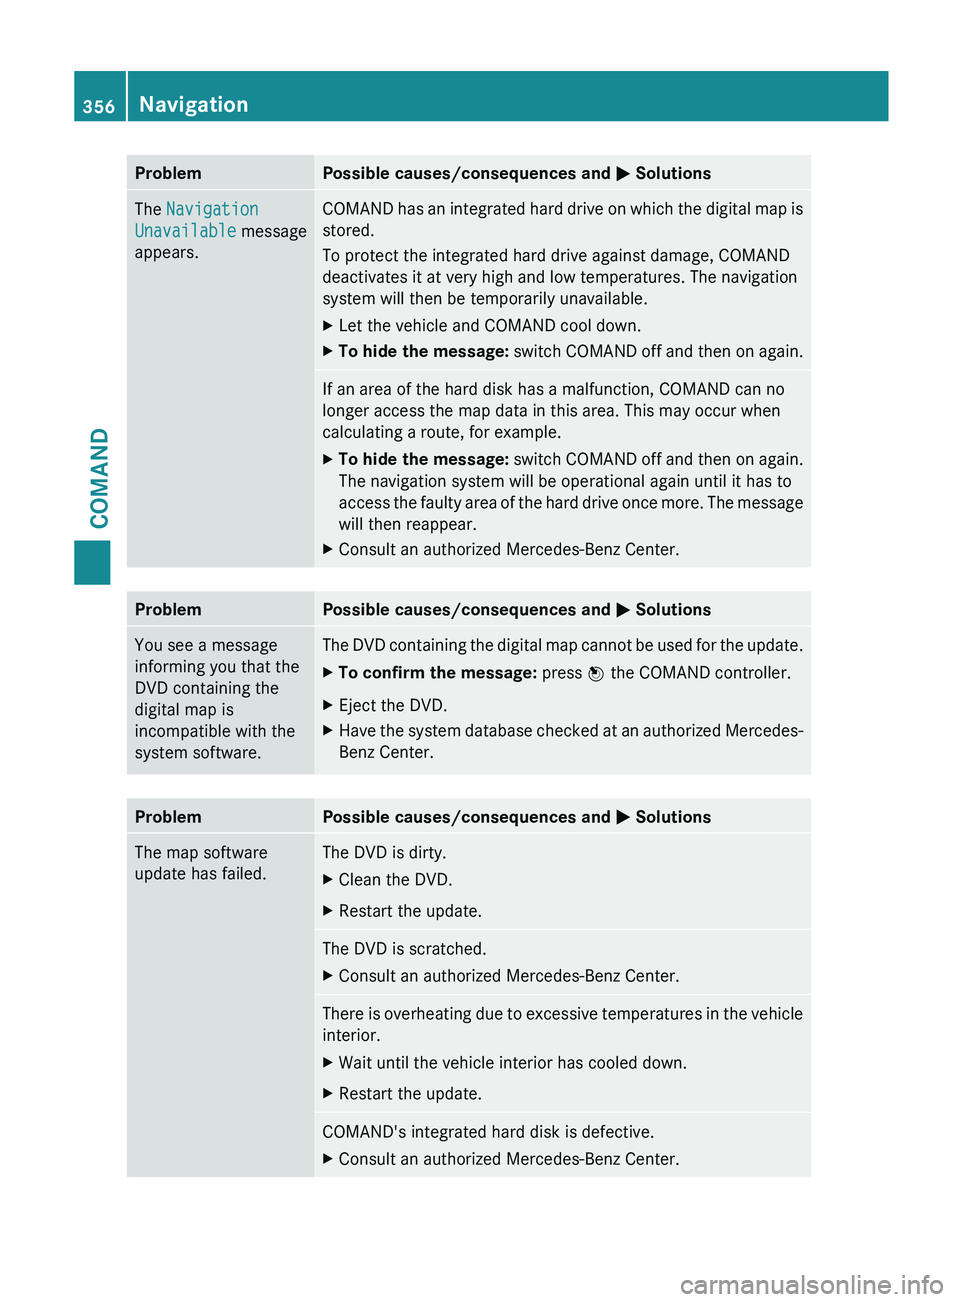
Problem Possible causes/consequences and
M SolutionsThe Navigation
Unavailable message
appears. COMAND has an integrated hard drive on which the digital map is
stored.
To protect the integrated hard drive against damage, COMAND
deactivates it at very high and low temperatures. The navigation
system will then be temporarily unavailable.
X
Let the vehicle and COMAND cool down.
X To hide the message:
switch COMAND off and then on again. If an area of the hard disk has a malfunction, COMAND can no
longer access the map data in this area. This may occur when
calculating a route, for example.
X
To hide the message: switch
COMAND off and then on again.
The navigation system will be operational again until it has to
access the faulty area of the hard drive once more. The message
will then reappear.
X Consult an authorized Mercedes-Benz Center. Problem Possible causes/consequences and
M SolutionsYou see a message
informing you that the
DVD containing the
digital map is
incompatible with the
system software. The DVD containing the digital map cannot be used for the update.
X
To confirm the message: press W the COMAND controller.
X Eject the DVD.
X Have the system database checked at an authorized Mercedes-
Benz Center. Problem Possible causes/consequences and
M SolutionsThe map software
update has failed. The DVD is dirty.
X
Clean the DVD.
X Restart the update. The DVD is scratched.
X
Consult an authorized Mercedes-Benz Center. There is overheating due to excessive temperatures in the vehicle
interior.
X
Wait until the vehicle interior has cooled down.
X Restart the update. COMAND's integrated hard disk is defective.
X
Consult an authorized Mercedes-Benz Center.356
Navigation
COMAND
Page 380 of 572
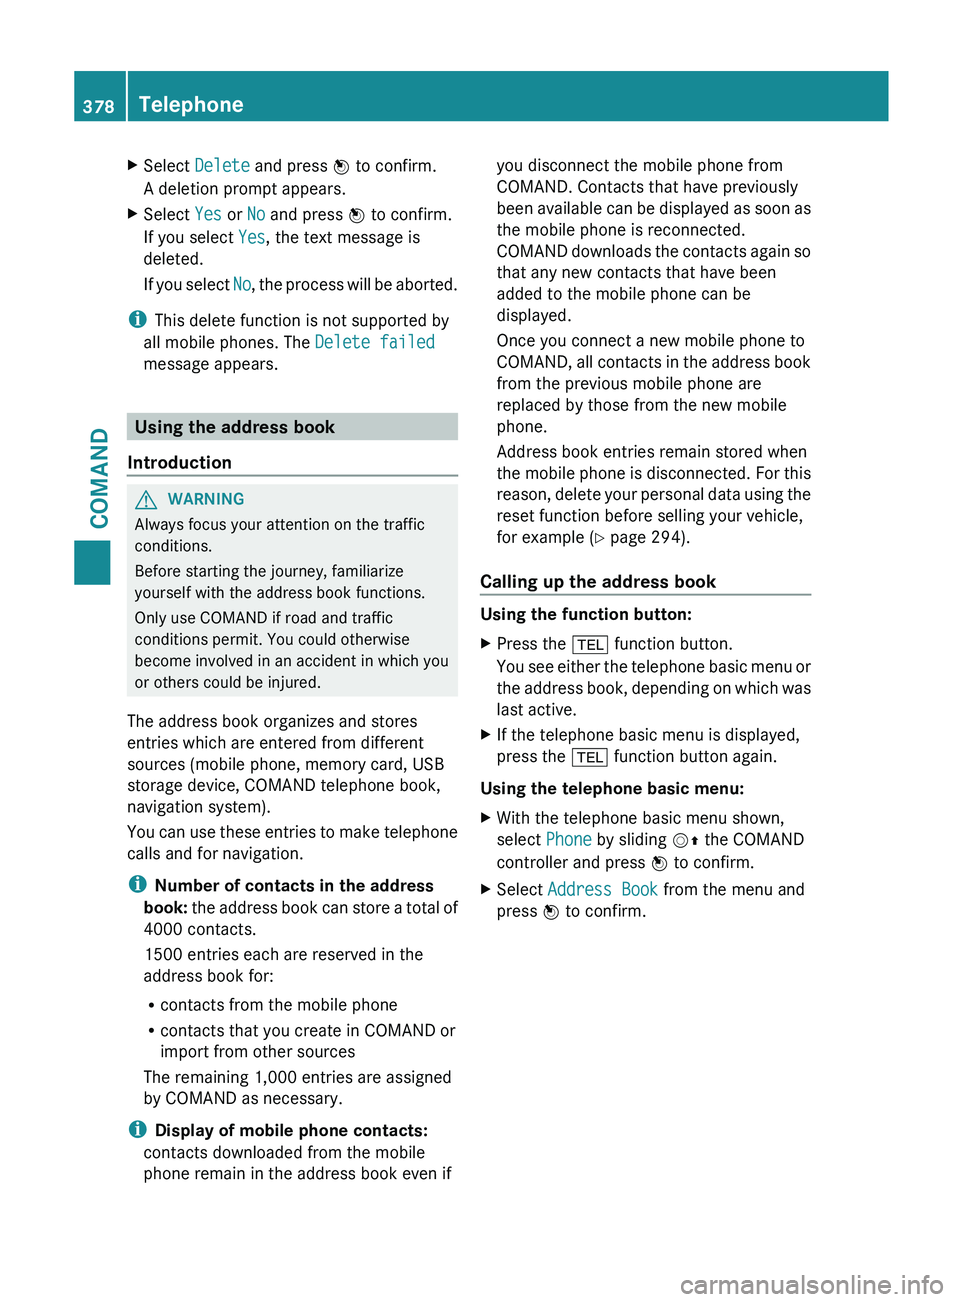
X
Select Delete and press W to confirm.
A deletion prompt appears.
X Select Yes or No and press W to confirm.
If you select Yes, the text message is
deleted.
If you
select No, the process will be aborted.
i This delete function is not supported by
all mobile phones. The Delete failed
message appears. Using the address book
Introduction G
WARNING
Always focus your attention on the traffic
conditions.
Before starting the journey, familiarize
yourself with the address book functions.
Only use COMAND if road and traffic
conditions permit. You could otherwise
become involved in an accident in which you
or others could be injured.
The address book organizes and stores
entries which are entered from different
sources (mobile phone, memory card, USB
storage device, COMAND telephone book,
navigation system).
You can
use these entries to make telephone
calls and for navigation.
i Number of contacts in the address
book: the address book can store a total of
4000 contacts.
1500 entries each are reserved in the
address book for:
R contacts from the mobile phone
R contacts that you create in COMAND or
import from other sources
The remaining 1,000 entries are assigned
by COMAND as necessary.
i Display of mobile phone contacts:
contacts downloaded from the mobile
phone remain in the address book even if you disconnect the mobile phone from
COMAND. Contacts that have previously
been
available
can be displayed as soon as
the mobile phone is reconnected.
COMAND downloads the contacts again so
that any new contacts that have been
added to the mobile phone can be
displayed.
Once you connect a new mobile phone to
COMAND, all contacts in the address book
from the previous mobile phone are
replaced by those from the new mobile
phone.
Address book entries remain stored when
the mobile phone is disconnected. For this
reason, delete your personal data using the
reset function before selling your vehicle,
for example ( Y page 294).
Calling up the address book Using the function button:
X
Press the % function button.
You see
either the telephone basic menu or
the address book, depending on which was
last active.
X If the telephone basic menu is displayed,
press the % function button again.
Using the telephone basic menu:
X With the telephone basic menu shown,
select Phone by sliding VZ the COMAND
controller and press W to confirm.
X Select Address Book from the menu and
press W to confirm. 378
Telephone
COMAND
Page 381 of 572
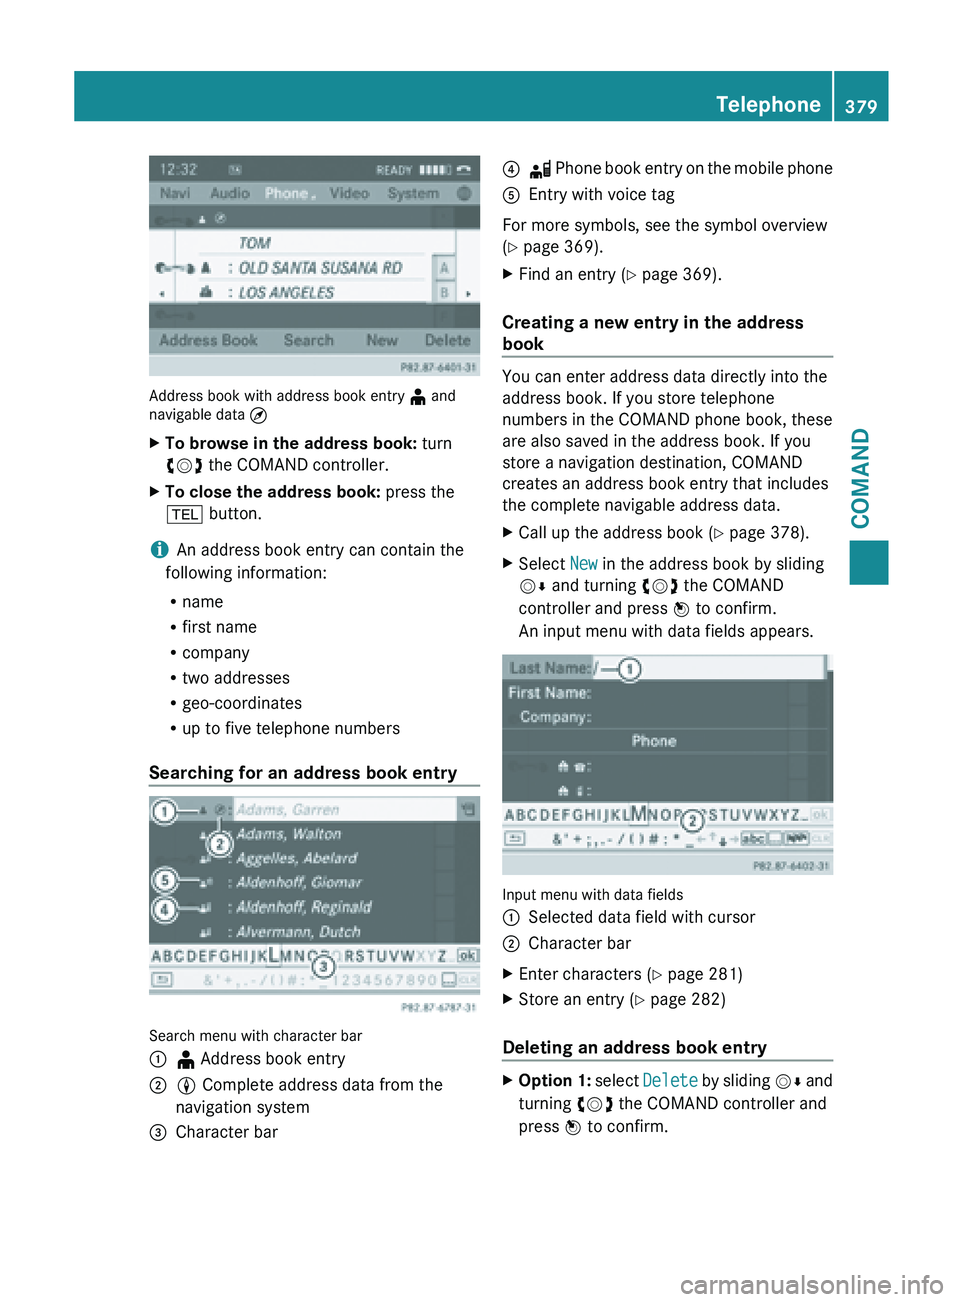
Address book with address book entry
¥ and
navigable data ¤
X To browse in the address book: turn
cVd the COMAND controller.
X To close the address book: press the
% button.
i An address book entry can contain the
following information:
R name
R first name
R company
R two addresses
R geo-coordinates
R up to five telephone numbers
Searching for an address book entry Search menu with character bar
:
¥ Address book entry
; L Complete address data from the
navigation system
= Character bar ?
d Phone book entry on the mobile phone
A Entry with voice tag
For more symbols, see the symbol overview
(
Y page 369).
X Find an entry ( Y page 369).
Creating a new entry in the address
book You can enter address data directly into the
address book. If you store telephone
numbers in the COMAND phone book, these
are also saved in the address book. If you
store a navigation destination, COMAND
creates an address book entry that includes
the complete navigable address data.
X
Call up the address book ( Y page 378).
X Select New in the address book by sliding
VÆ and turning cVd the COMAND
controller and press W to confirm.
An input menu with data fields appears. Input menu with data fields
:
Selected data field with cursor
; Character bar
X Enter characters ( Y page 281)
X Store an entry (Y page 282)
Deleting an address book entry X
Option 1: select Delete
by sliding VÆ and
turning cVd the COMAND controller and
press W to confirm. Telephone
379
COMAND Z
Page 386 of 572
select Phone by sliding
VÆ and turning
cVd the COMAND controller and press
W to confirm.
X Select Download Contacts and press W
to confirm.
A menu appears.
X Select From The Memory Card or From
USB device in the menu by turning cVd
the COMAND controller and press W to
confirm.
X Select Add or Overwrite and press W to
confirm.
Add imports the entries from the memory
card or USB device into the address book.
Overwrite imports the entries from the
memory card
or USB device and overwrites
all entries in the address book with the
¯ symbol. The previous entries are then
no longer available.
After the contact data has been imported
successfully, you will see a message to this
effect. The address book or the respective
telephone basic menu is displayed.
i You can
select Overwrite if the address
book already contains corresponding
entries. A message notifies you when the
address book is full.
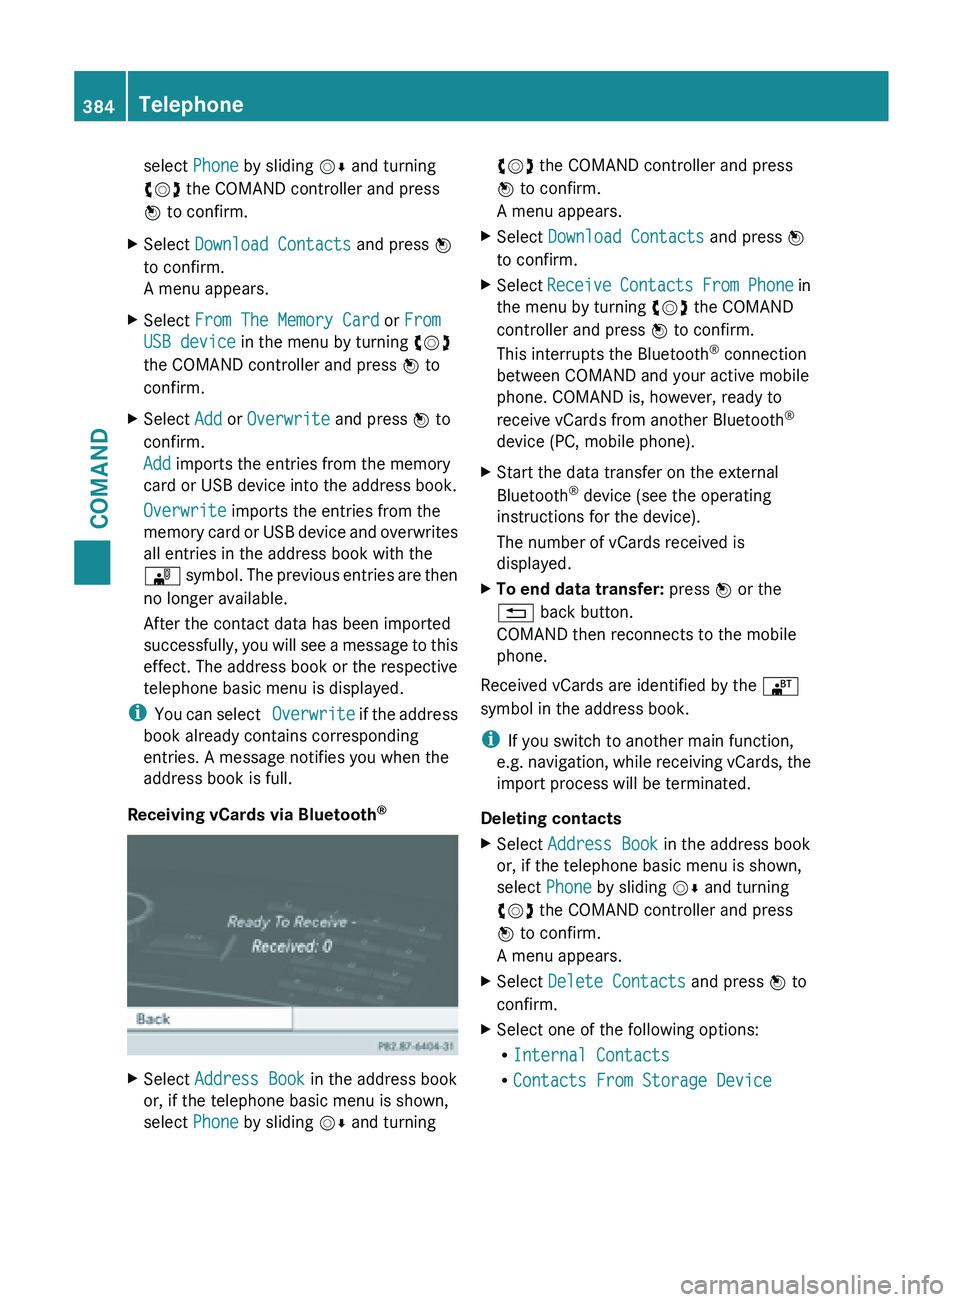
Receiving vCards via Bluetooth ®X
Select Address Book in the address book
or, if the telephone basic menu is shown,
select Phone by sliding VÆ and turning cVd the COMAND controller and press
W to confirm.
A menu appears.
X Select Download Contacts and press W
to confirm.
X Select Receive Contacts
From Phone in
the menu by turning cVd the COMAND
controller and press W to confirm.
This interrupts the Bluetooth ®
connection
between COMAND and your active mobile
phone. COMAND is, however, ready to
receive vCards from another Bluetooth ®
device (PC, mobile phone).
X Start the data transfer on the external
Bluetooth ®
device (see the operating
instructions for the device).
The number of vCards received is
displayed.
X To end data transfer: press W or the
% back button.
COMAND then reconnects to the mobile
phone.
Received vCards are identified by the ®
symbol in the address book.
i If you switch to another main function,
e.g. navigation,
while receiving vCards, the
import process will be terminated.
Deleting contacts
X Select Address Book in the address book
or, if the telephone basic menu is shown,
select Phone by sliding VÆ and turning
cVd the COMAND controller and press
W to confirm.
A menu appears.
X Select Delete Contacts and press W to
confirm.
X Select one of the following options:
R
Internal Contacts
R Contacts From Storage Device384
Telephone
COMAND
Page 390 of 572
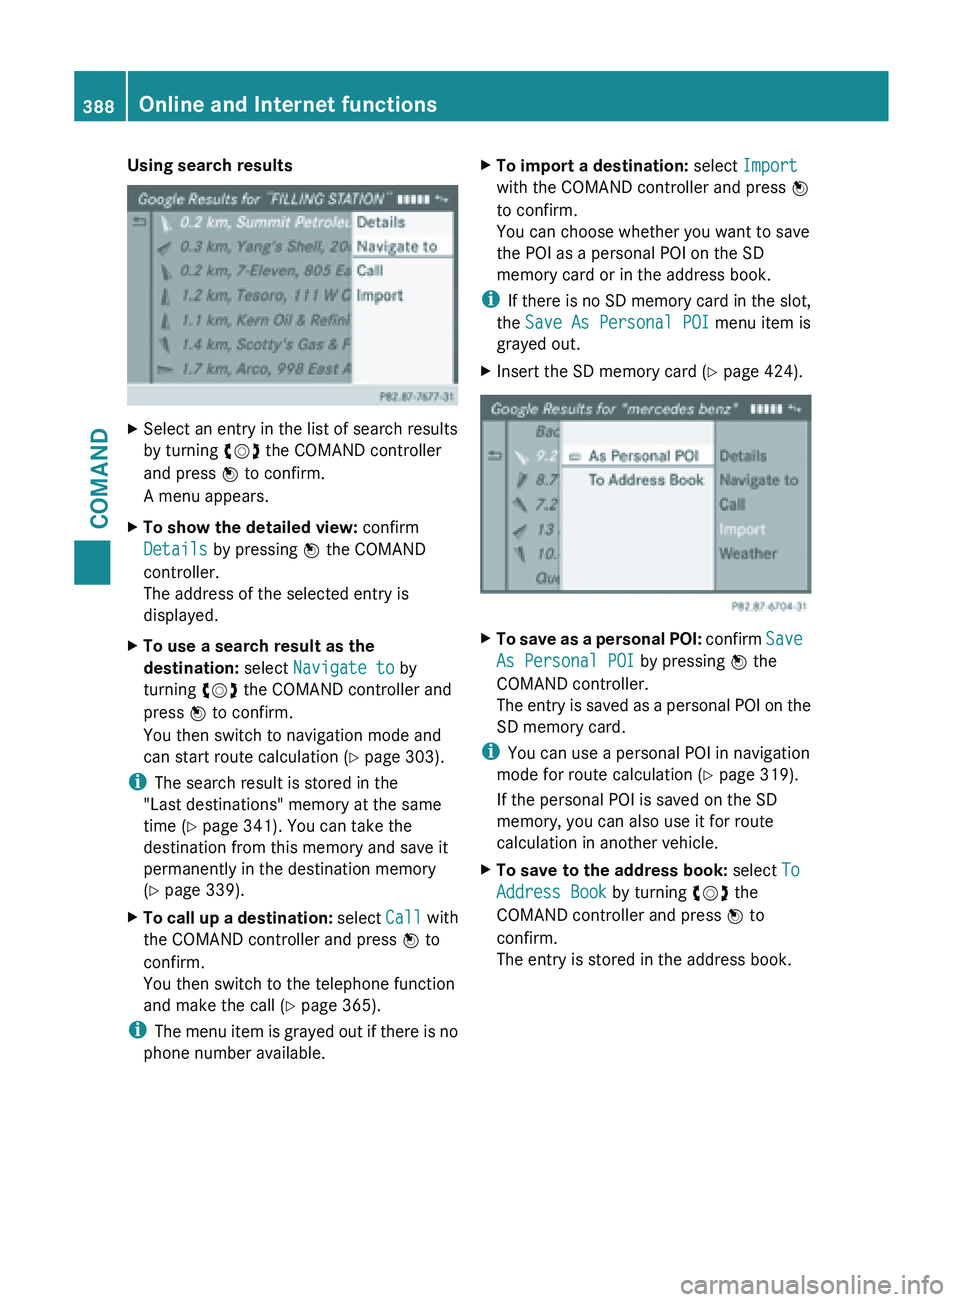
Using search results
X
Select an entry in the list of search results
by turning cVd the COMAND controller
and press W to confirm.
A menu appears.
X To show the detailed view: confirm
Details by pressing W the COMAND
controller.
The address of the selected entry is
displayed.
X To use a search result as the
destination: select Navigate to by
turning cVd the COMAND controller and
press W to confirm.
You then switch to navigation mode and
can start route calculation (Y page 303).
i The search result is stored in the
"Last destinations" memory at the same
time (Y page 341). You can take the
destination from this memory and save it
permanently in the destination memory
(Y page 339).
X To call up a destination: select
Call with
the COMAND controller and press W to
confirm.
You then switch to the telephone function
and make the call ( Y page 365).
i The menu
item is grayed out if there is no
phone number available. X
To import a destination: select Import
with the COMAND controller and press W
to confirm.
You can choose whether you want to save
the POI as a personal POI on the SD
memory card or in the address book.
i If there
is no SD memory card in the slot,
the Save As Personal POI menu item is
grayed out.
X Insert the SD memory card (Y page 424). X
To save as a personal POI: confirm Save
As Personal POI
by pressing W the
COMAND controller.
The entry is saved as a personal POI on the
SD memory card.
i You can use a personal POI in navigation
mode for route calculation ( Y page 319).
If the personal POI is saved on the SD
memory, you can also use it for route
calculation in another vehicle.
X To save to the address book: select To
Address Book by turning cVd the
COMAND controller and press W to
confirm.
The entry is stored in the address book. 388
Online and Internet functions
COMAND
Page 393 of 572
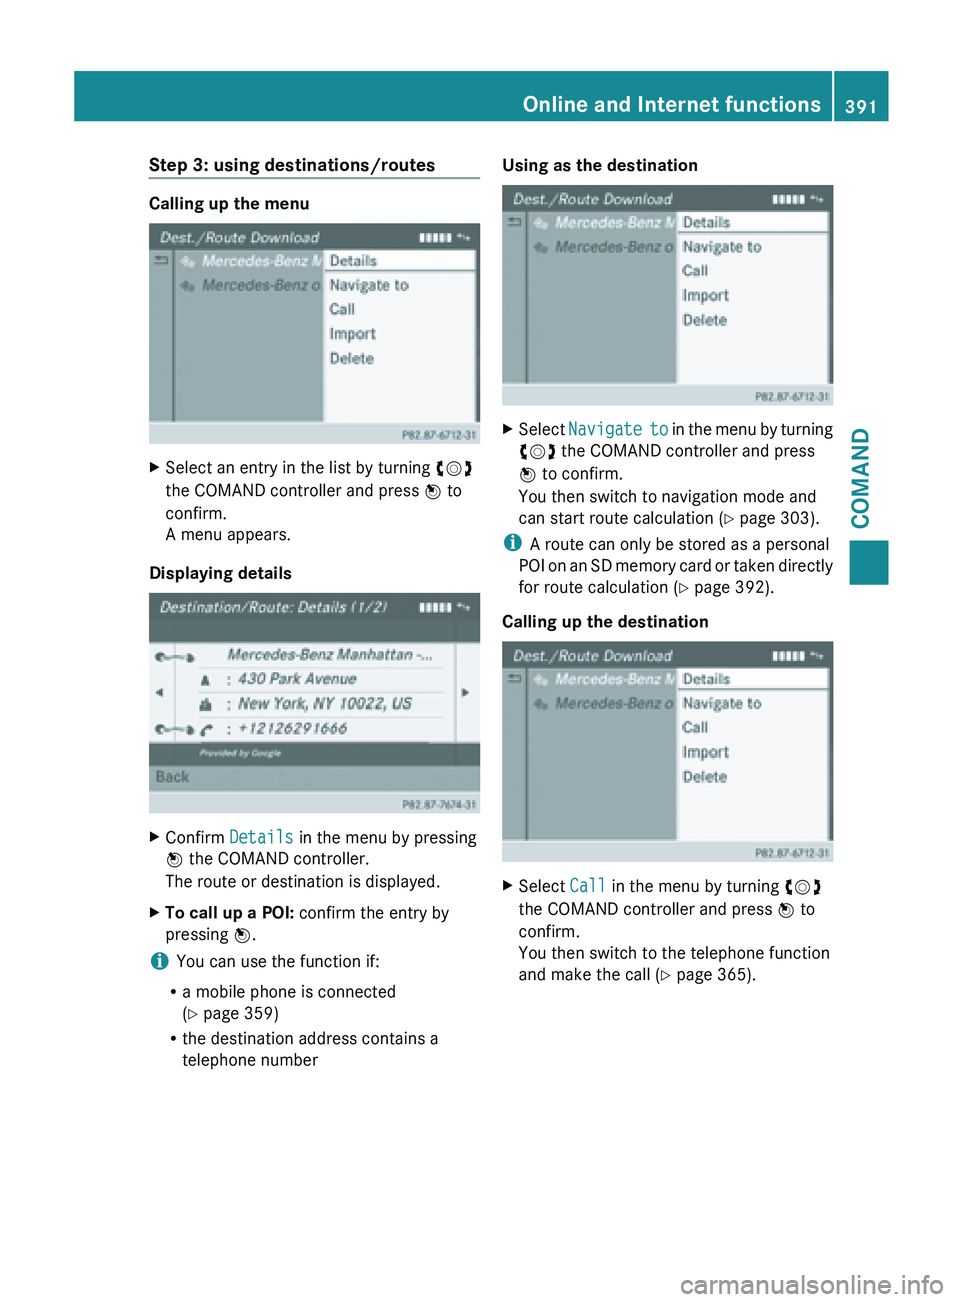
Step 3: using destinations/routes
Calling up the menu
X
Select an entry in the list by turning cVd
the COMAND controller and press W to
confirm.
A menu appears.
Displaying details X
Confirm Details in the menu by pressing
W the COMAND controller.
The route or destination is displayed.
X To call up a POI: confirm the entry by
pressing W.
i You can use the function if:
R a mobile phone is connected
(Y page 359)
R the destination address contains a
telephone number Using as the destination
X
Select Navigate to in the menu by turning
cVd the COMAND controller and press
W to confirm.
You then switch to navigation mode and
can start route calculation (Y page 303).
i A route can only be stored as a personal
POI on
an SD memory card or taken directly
for route calculation ( Y page 392).
Calling up the destination X
Select Call in the menu by turning cVd
the COMAND controller and press W to
confirm.
You then switch to the telephone function
and make the call ( Y page 365). Online and Internet functions
391COMAND Z
Page 394 of 572
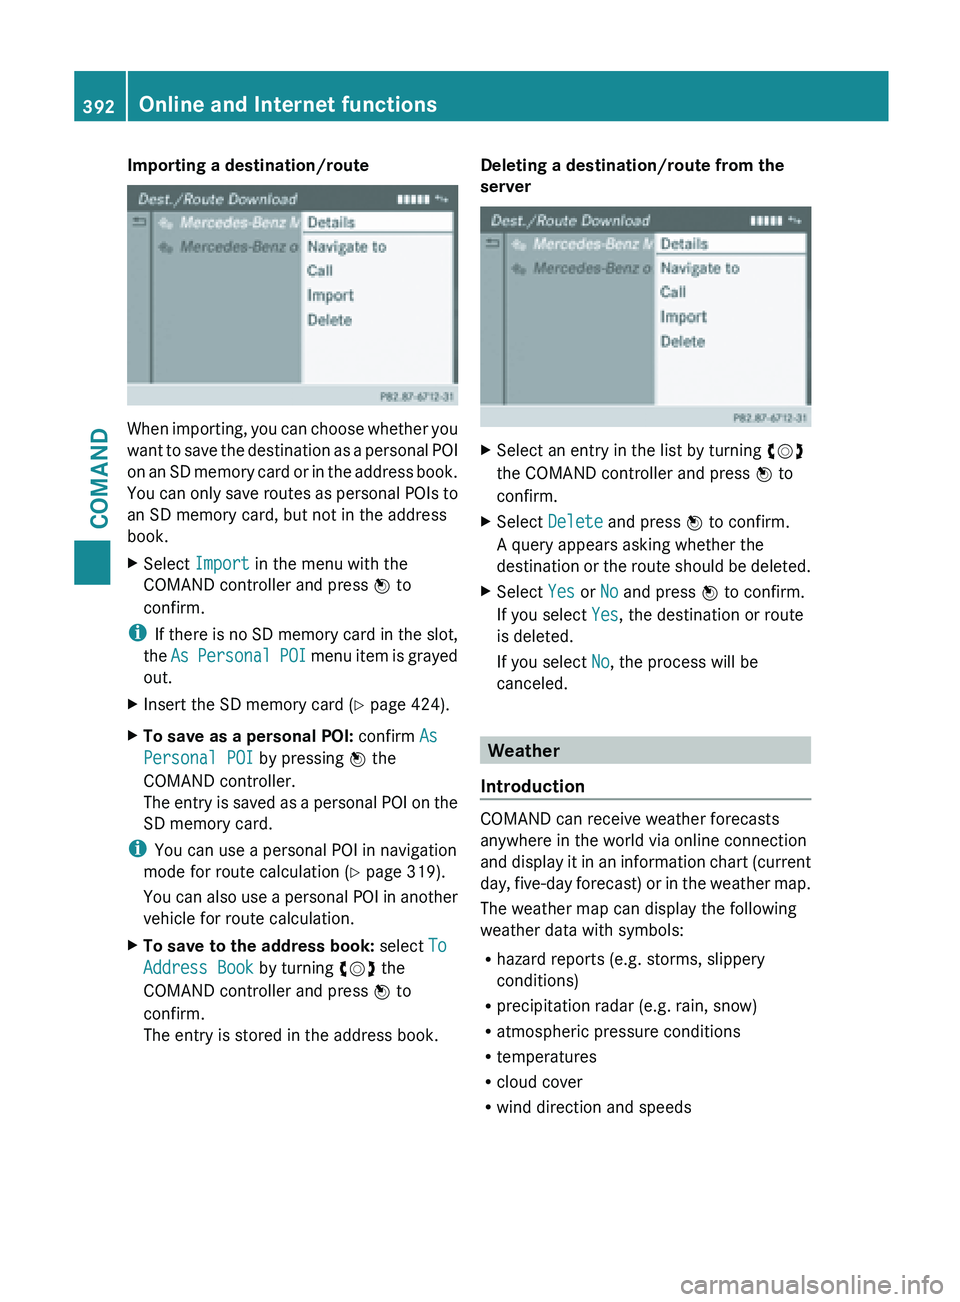
Importing a destination/route
When importing, you can choose whether you
want
to
save the destination as a personal POI
on an SD memory card or in the address book.
You can only save routes as personal POIs to
an SD memory card, but not in the address
book.
X Select Import in the menu with the
COMAND controller and press W to
confirm.
i If there
is no SD memory card in the slot,
the As Personal POI menu item is grayed
out.
X Insert the SD memory card (Y page 424).
X To save as a personal POI: confirm As
Personal POI by pressing W the
COMAND controller.
The entry
is saved as a personal POI on the
SD memory card.
i You can use a personal POI in navigation
mode for route calculation ( Y page 319).
You can
also use a personal POI in another
vehicle for route calculation.
X To save to the address book: select To
Address Book by turning cVd the
COMAND controller and press W to
confirm.
The entry is stored in the address book. Deleting a destination/route from the
server
X
Select an entry in the list by turning cVd
the COMAND controller and press W to
confirm.
X Select Delete and press W to confirm.
A query appears asking whether the
destination or
the route should be deleted.
X Select Yes or No and press W to confirm.
If you select Yes, the destination or route
is deleted.
If you select No, the process will be
canceled. Weather
Introduction COMAND can receive weather forecasts
anywhere in the world via online connection
and display
it in an information chart (current
day, five-day forecast) or in the weather map.
The weather map can display the following
weather data with symbols:
R hazard reports (e.g. storms, slippery
conditions)
R precipitation radar (e.g. rain, snow)
R atmospheric pressure conditions
R temperatures
R cloud cover
R wind direction and speeds392
Online and Internet functions
COMAND