Page 146 of 256
146
3. MEMORY POINTS
GS450h_300h_350_250_NAVI_OM30D64E_(EE)
13.10.23 11:07
1Open the console box.
2Open the cover and connect a USB
memory.
Turn on the power of the USB memory
if it is not turned on.
3Close the console box.
4Select “Menu”.
5Select “Memory point” on the navi-
gation menu screen.
6Select “Copy from USB”.
If a password has already been set,
enter the password. For instructions on
setting a password, see page 145.
If there are multiple memory points
stored on the USB memory, the follow-
ing options are displayed.
Select the memory points to be copied,
and then select “Start”.
COPYING FROM A USB
MEMORY
Memory points that have been
backed up can be downloaded to the
navigation system using a USB
memory.
Page 147 of 256
147
3. MEMORY POINTS
GS450h_300h_350_250_NAVI_OM30D64E_(EE)
13.10.23 11:07
3
NAVIGATION SYSTEM
7When copying from a USB memory
starts, this screen is displayed.
To cancel this function, select “Can-
cel”.
When registration is complete, the sys-
tem will return to the “Memory point”
screen.
INFORMATION
Memory points that are located out-
side of the map’s data range cannot be
registered.
A maximum of 500 memory points
can be registered.
When there are 21 or more memory
points stored on a USB memory, only
20 memory points will be displayed at
a time.
If memory points which have the
same name are already stored in the
navigation system, the system may
not update those memory points.
Page 149 of 256

149
4. SETUP
GS450h_300h_350_250_NAVI_OM30D64E_(EE)
13.10.23 11:07
3
NAVIGATION SYSTEM
To reset all setup items, select
“Default”.
1Press the “MENU” button on the
Remote Touch, then select “Setup”.
2Select “Navigation” on the “Setup”
screen.
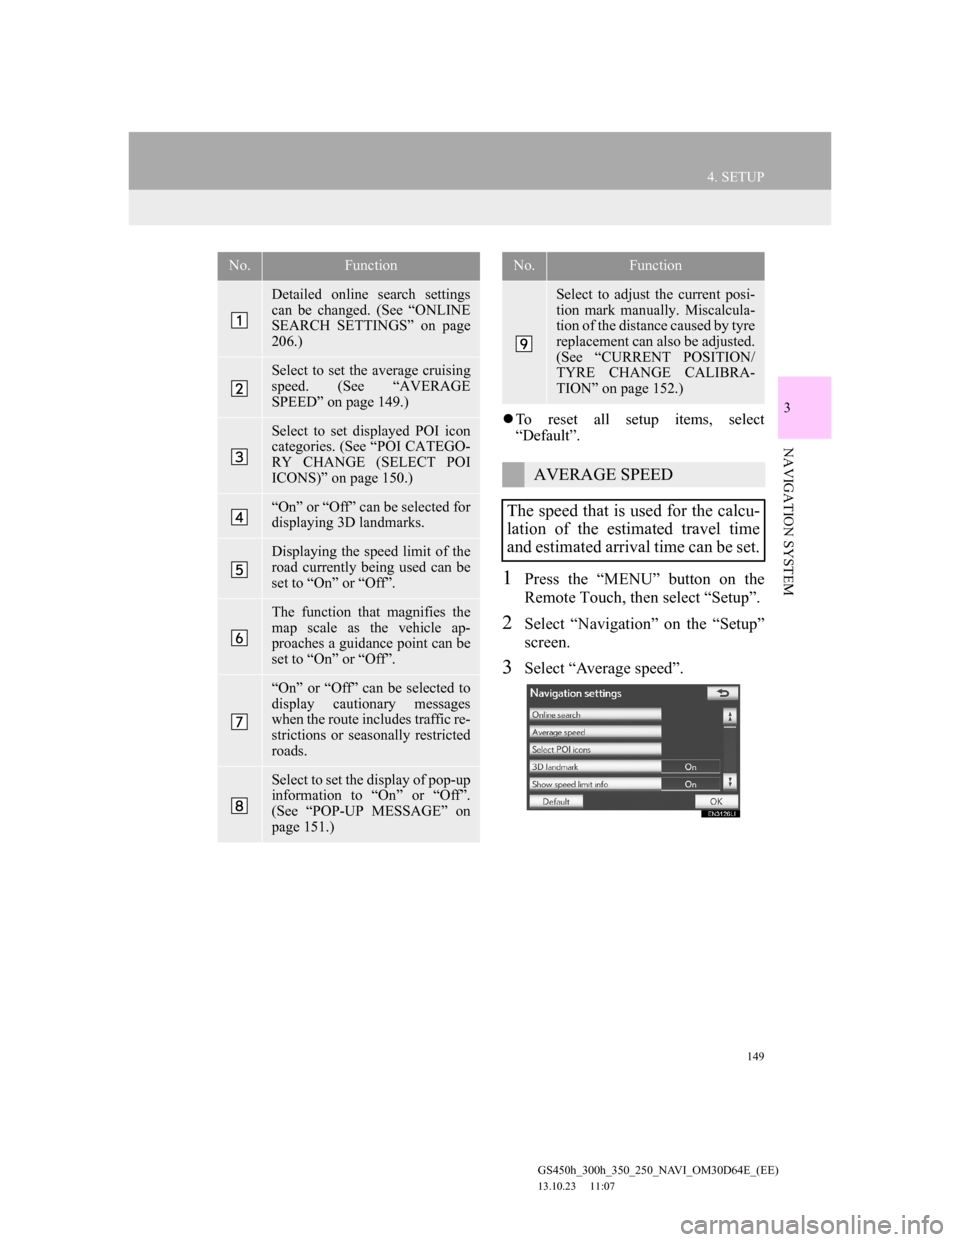
3Select “Average speed”.
No.Function
Detailed online search settings
can be changed. (See “ONLINE
SEARCH SETTINGS” on page
206.)
Select to set the average cruising
speed. (See “AVERAGE
SPEED” on page 149.)
Select to set displayed POI icon
categories. (See “POI CATEGO-
RY CHANGE (SELECT POI
ICONS)” on page 150.)
“On” or “Off” can be selected for
displaying 3D landmarks.
Displaying the speed limit of the
road currently being used can be
set to “On” or “Off”.
The function that magnifies the
map scale as the vehicle ap-
proaches a guidance point can be
set to “On” or “Off”.
“On” or “Off” can be selected to
display cautionary messages
when the route includes traffic re-
strictions or seasonally restricted
roads.
Select to set the display of pop-up
information to “On” or “Off”.
(See “POP-UP MESSAGE” on
page 151.)
Select to adjust the current posi-
tion mark manually. Miscalcula-
tion of the distance caused by tyre
replacement can also be adjusted.
(See “CURRENT POSITION/
TYRE CHANGE CALIBRA-
TION” on page 152.)
AVERAGE SPEED
The speed that is used for the calcu-
lation of the estimated travel time
and estimated arrival time can be set.
No.Function
Page 151 of 256
151
4. SETUP
GS450h_300h_350_250_NAVI_OM30D64E_(EE)
13.10.23 11:07
3
NAVIGATION SYSTEM
5Select the desired group.
If the desired POI category is not on the
screen, select “List all categories” to
list all POI categories.
6Select the desired category.
The screen returns to the “Change cate-
gory” screen.
7Select “OK”.
1Press the “MENU” button on the
Remote Touch, then select “Setup”.
2Select “Navigation” on the “Setup”
screen.
3Select “Pop-up message”.
4Select “On” or “Off”.
5Select “OK”.
When “Pop-up message” is turned off,
the following messages will not be dis-
played.
This message appears when the map
scale is over 1 km (0.5 miles).
POP-UP MESSAGE
When “Pop-up message” is turned
on, pop-up information will be dis-
played.
Page 152 of 256
152
4. SETUP
GS450h_300h_350_250_NAVI_OM30D64E_(EE)
13.10.23 11:07
This message appears when the map
is switched to dual map screen mode.
1Press the “MENU” button on the
Remote Touch, then select “Setup”.
2Select “Navigation” on the “Setup”
screen.
3Select “Calibration”.
4Select the desired screen button.
POSITION/DIRECTION CALI-
BRATION
1Select “Position / Direction”.
CURRENT POSITION/TYRE
CHANGE CALIBRATION
The current position mark can be ad-
justed manually. Miscalculation of
the distance caused by tyre replace-
ment can also be adjusted.
For additional information on the
accuracy of a current position, see
“LIMITATIONS OF THE NAVIGA-
TION SYSTEM” on page 160.
When driving, the current position
mark will be automatically corrected
by GPS signals. If GPS reception is
poor due to location, the current po-
sition mark can be adjusted manual-
ly.
Page 153 of 256
153
4. SETUP
GS450h_300h_350_250_NAVI_OM30D64E_(EE)
13.10.23 11:07
3
NAVIGATION SYSTEM
2Select one of the 8 directional screen
buttons to move the cursor to the
desired point on the map.
3Select “OK”.
4Select either or to adjust the
direction of the current position
mark.
5Select “OK”.
The map will be displayed.
TYRE CHANGE CALIBRATION
1To perform distance calibration pro-
cedure, select “Tyre change”.
The message appears and the quick dis-
tance calibration is automatically
started. A few seconds later, a map will
be displayed.
The tyre change calibration function
will be used when replacing the
tyres. This function will adjust mis-
calculation caused by the circumfer-
ence difference between the old and
new tyres.
INFORMATION
If this procedure is not performed
when the tyres are replaced, the cur-
rent position mark may be incorrectly
displayed.
Page 154 of 256
154
4. SETUP
GS450h_300h_350_250_NAVI_OM30D64E_(EE)
13.10.23 11:07
2. VEHICLE SETTINGS
1Press the “MENU” button on the
Remote Touch.
2Select “Setup”.
3Select “Vehicle”.
4Select “Maintenance”.
5Select the desired screen button.
Setting maintenance information (See
page 155.)
Setting dealer (See page 156.)
MAINTENANCE
When the navigation system is
turned on, the “Information” screen
displays when it is time to replace a
part or certain components. (See
page 37.)
Page 155 of 256

155
4. SETUP
GS450h_300h_350_250_NAVI_OM30D64E_(EE)
13.10.23 11:07
3
NAVIGATION SYSTEM
1Press the “MENU” button on the
Remote Touch, then select “Setup”.
2Select “Vehicle” on the “Setup”
screen.
3Select “Maintenance” on the “Vehi-
cle settings” screen.
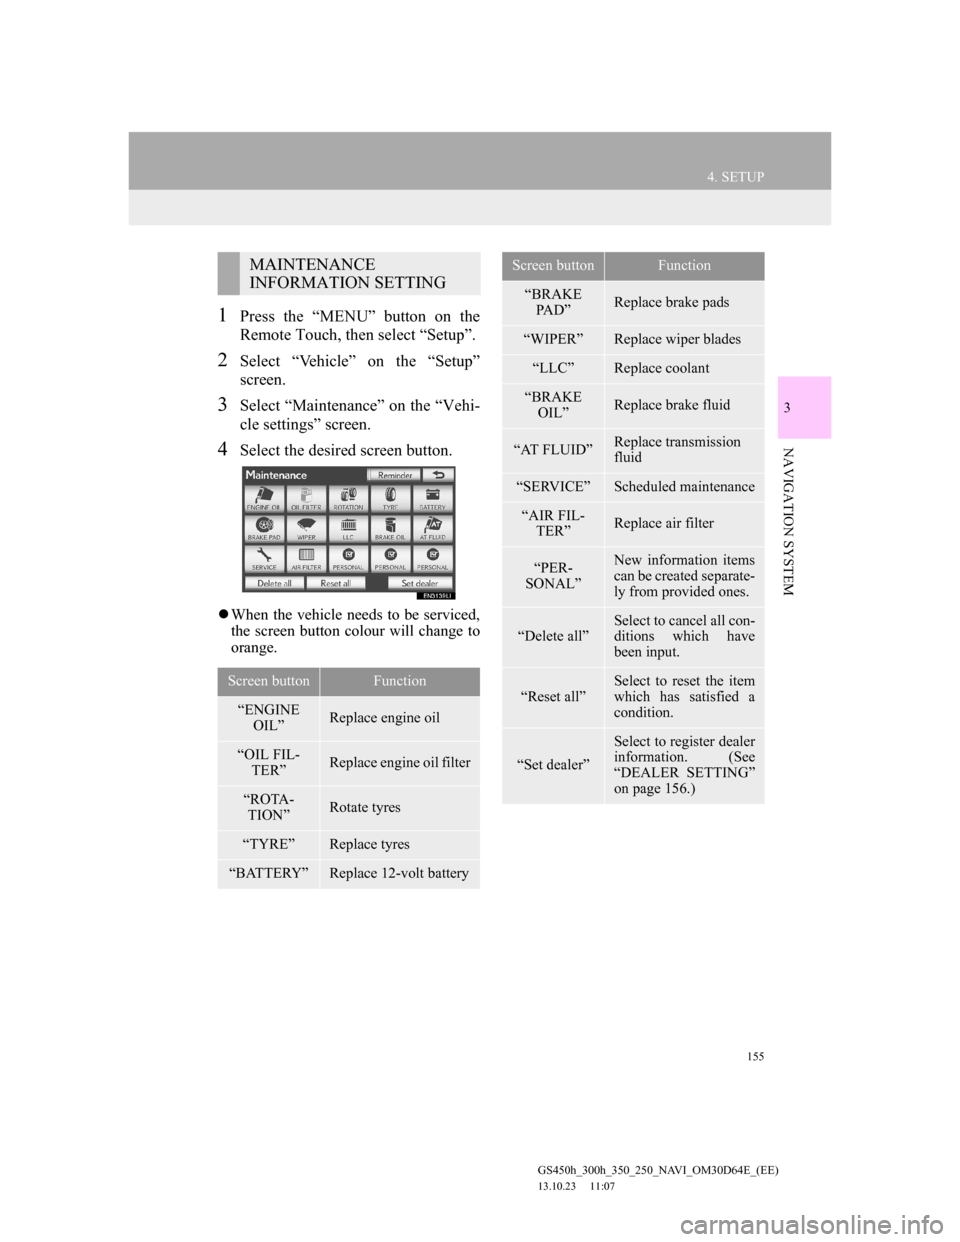
4Select the desired screen button.
When the vehicle needs to be serviced,
the screen button colour will change to
orange.
MAINTENANCE
INFORMATION SETTING
Screen buttonFunction
“ENGINE
OIL”Replace engine oil
“OIL FIL-
TER”Replace engine oil filter
“ROTA-
TION”Rotate tyres
“TYRE”Replace tyres
“BATTERY”Replace 12-volt battery
“BRAKE
PAD”Replace brake pads
“WIPER”Replace wiper blades
“LLC”Replace coolant
“BRAKE
OIL”Replace brake fluid
“AT FLUID”Replace transmission
fluid
“SERVICE”Scheduled maintenance
“AIR FIL-
TER”Replace air filter
“PER-
SONAL”New information items
can be created separate-
ly from provided ones.
“Delete all”Select to cancel all con-
ditions which have
been input.
“Reset all”
Select to reset the item
which has satisfied a
condition.
“Set dealer”
Select to register dealer
information. (See
“DEALER SETTING”
on page 156.)
Screen buttonFunction